
avg —
Kystyby with potatoes Tatar style
Instructions
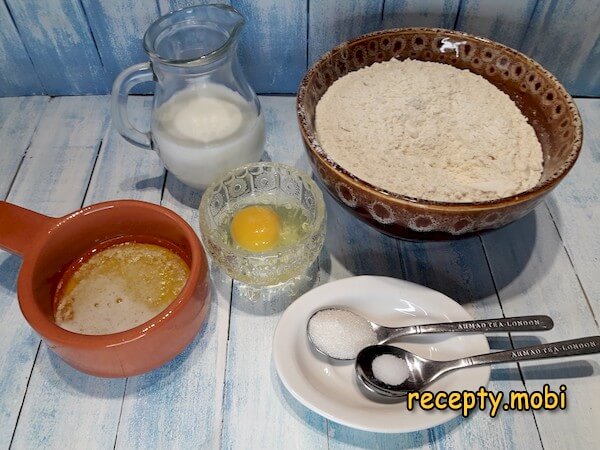
I prepare the ingredients for the kystyby pancakes. You may need a little more or a little less flour – it depends on the quality and type of grain, so I don't add it all at once but gradually as I mix.
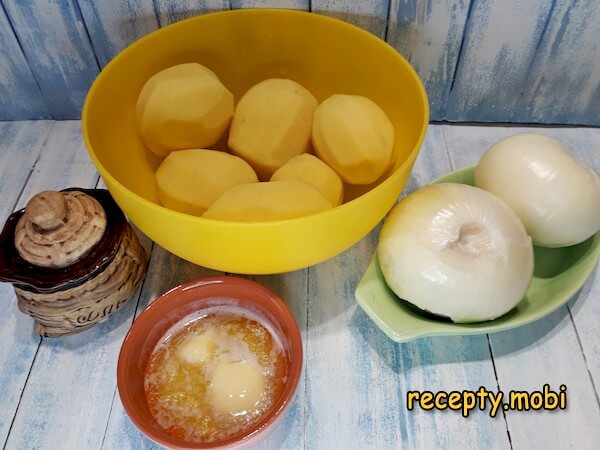
I gather the ingredients for the filling. There should be plenty of it so the pancakes are not too flat, so you need to take at least 1 kilogram of potatoes – it is exactly this generous filling that distinguishes authentic kystyby from thin pancakes with only a token layer of mash.
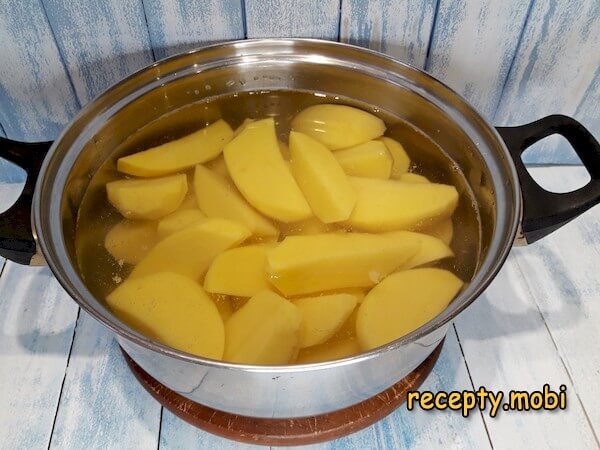
I put the potatoes on to boil straight away, cutting them into pieces and covering them with cold water. Cold water is the "secret" to even heating – the potatoes cook through without a hard middle.
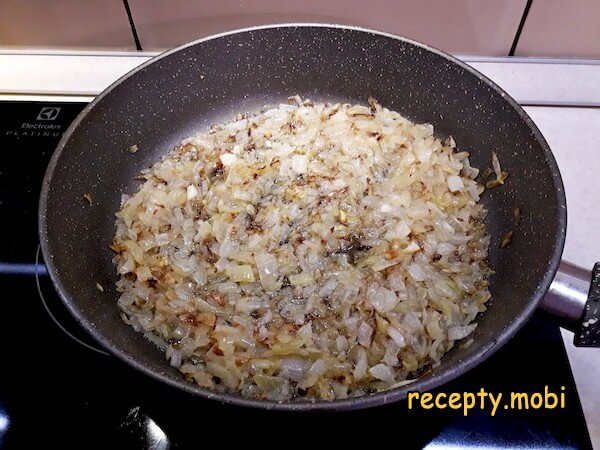
At the same time I prepare the onion sauté. I chop the onion into small cubes – the finer it is, the more evenly it spreads through the mashed potato, with no large pieces of onion.

I fry the onion in oil until lightly golden, adding a little salt as I do. Salt at this stage helps the onion release its water faster and reach the right texture for mixing into the mash.
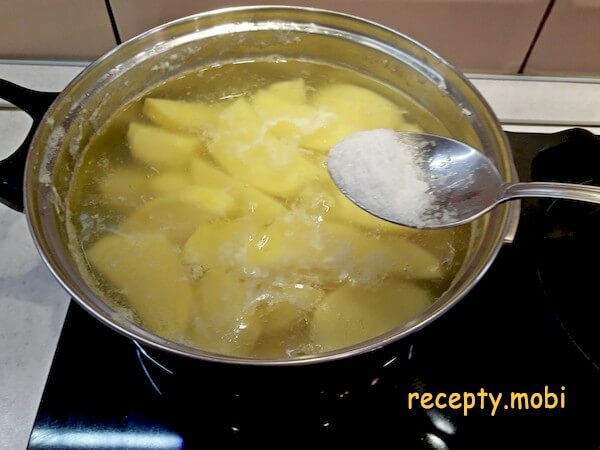
When the potatoes start to boil, I remove the foam that has formed and salt the water. I reduce the heat and carry on cooking until the potatoes are done – you can check this with a fork, which should pierce a piece freely all the way through.
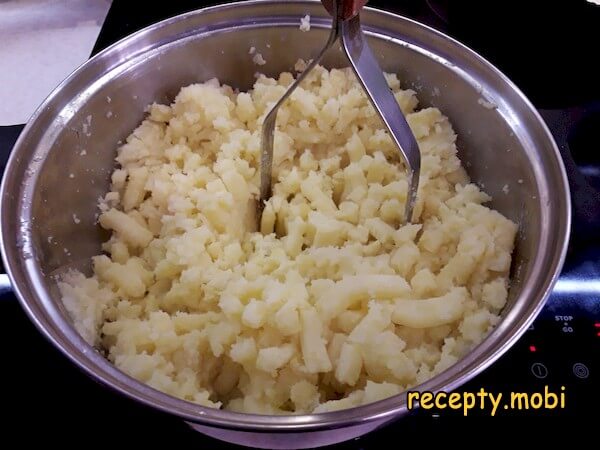
I drain off all the water and mash the potatoes. I use a potato masher rather than a blender – a blender makes the mash "gluey", while kystyby needs a textured, hand-mashed mass.
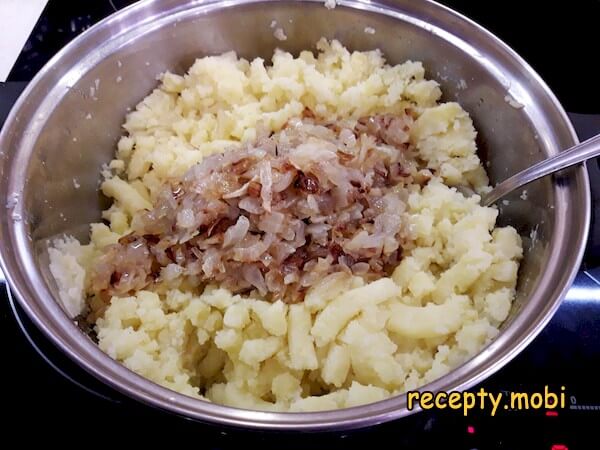
I add the onion sauté to the pan – together with the oil it was cooked in. This aromatic oil enriches the flavour of the filling.
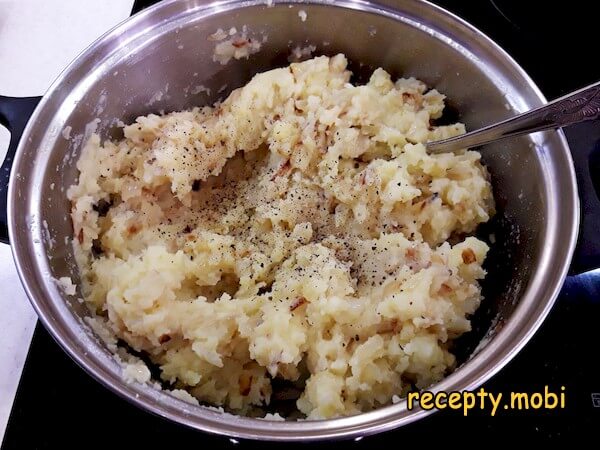
I pepper the mash and stir well until smooth. I taste the filling and add more salt if needed – mashed potato "eats" salt, so you may need more than expected.
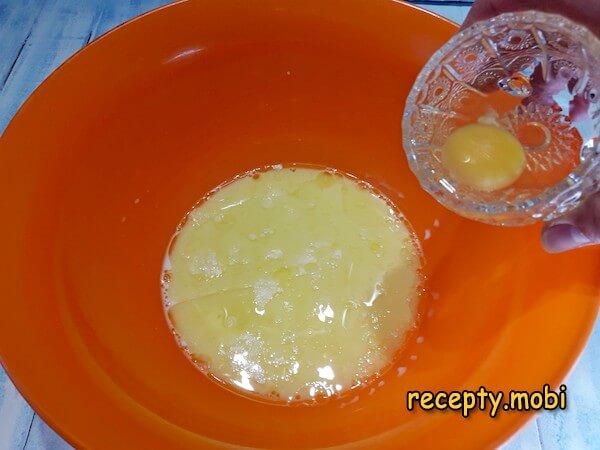
For the dough, I combine milk and melted butter in a bowl. I add the egg, salt and sugar. I mix everything together – it is the warm milk that gives the best activation, so the dough turns out soft and elastic.
Next I add the flour in batches, mixing the dough with a spoon for as long as I can – adding the flour gradually gives control over how thick the dough becomes.
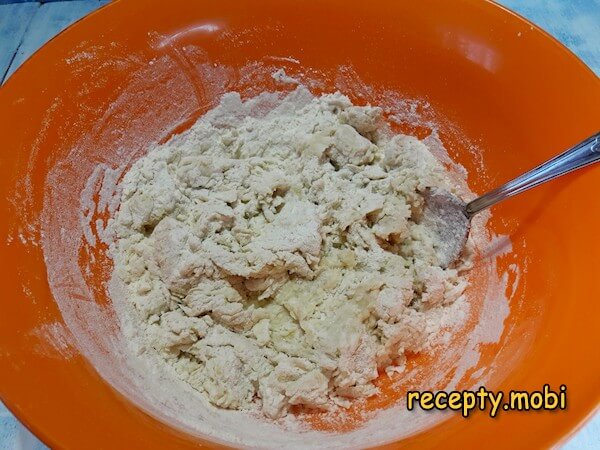
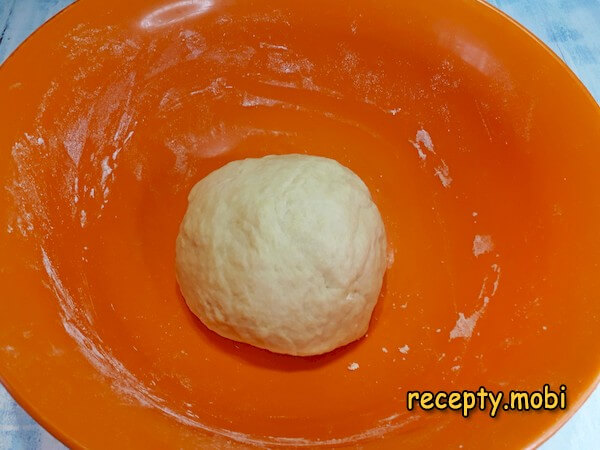
Then I finish kneading by hand. You should get a soft, obedient dough that does not stick to your hands. I gather it into a ball, cover it with a towel and leave it to rest for 10 minutes – the gluten will relax and the dough will be easy to roll out.
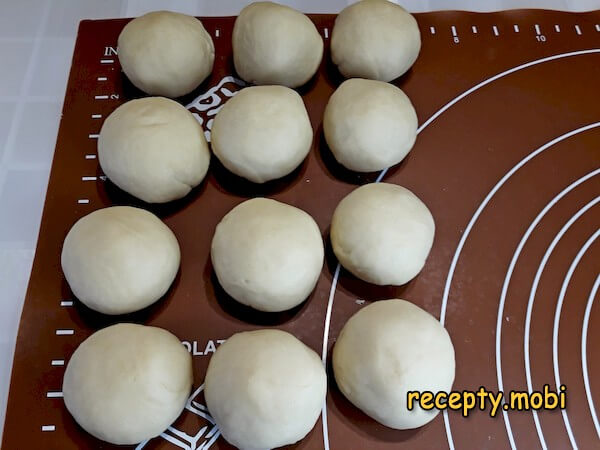
After this I knead the dough a little more, roll it into a sausage and divide it into 12 pieces – each piece will give one pancake 18 cm in diameter.
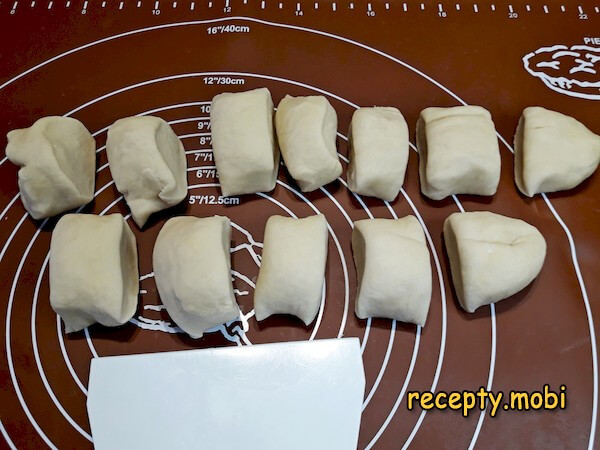
I roll the pieces into balls and cover them with cling film so they don't dry out – without film the dough quickly forms a crust and rolls out badly.
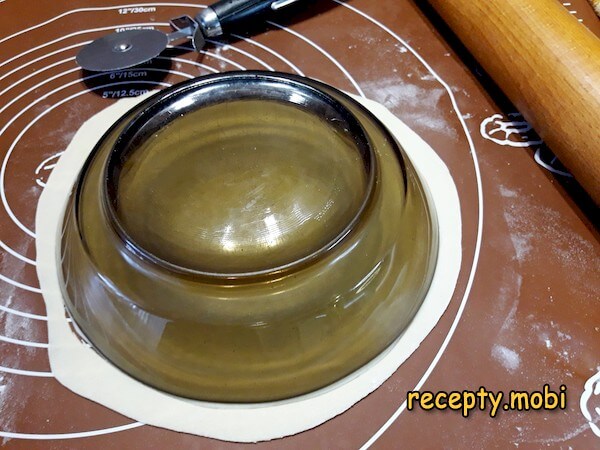
You can start rolling straight away. The pancakes should be thin, thin enough that the work surface is faintly visible through them. So they are all the same size and look neat, it is best to trim the pancakes to shape using a suitable plate. I gather the trimmings into a lump, from which one more pancake can be rolled out at the end.
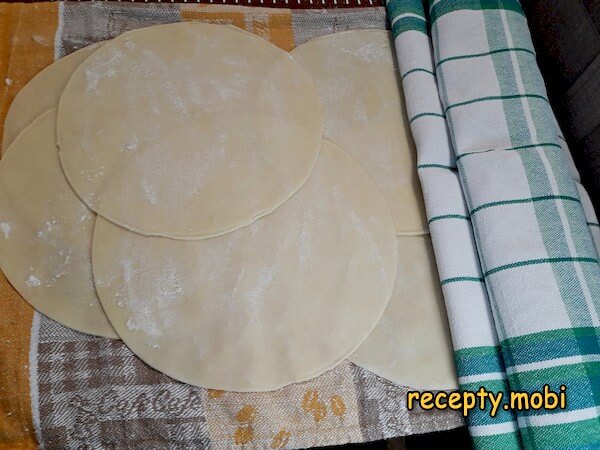
I stack the pancakes on a towel, lightly dusted with flour, and cover them with a towel as well. This way they won't dry out or stick to one another – an important point when preparing a batch of 12-13 pancakes at once.
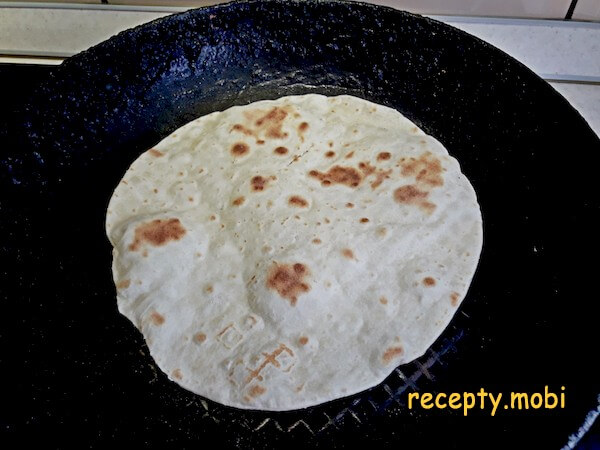
I heat a dry frying pan well (preferably without a non-stick coating). I set the heat to just above medium and lay down a pancake. It very quickly starts to bubble, and after about 30 seconds it needs to be turned over to the other side – it is exactly the dry pan that gives the characteristic "charred" pattern and the authentic flavour of a Tatar pancake.
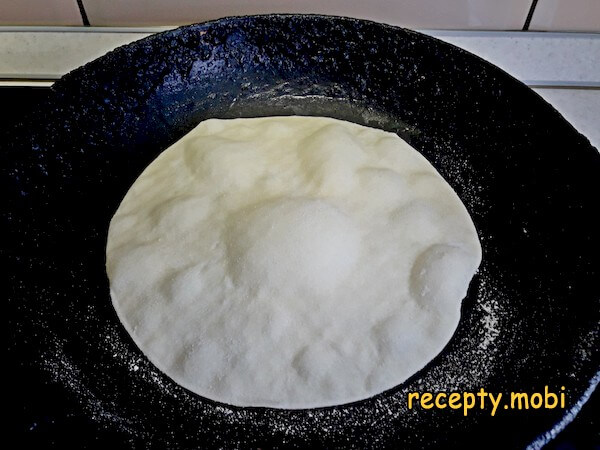
I bake the second side for 30 seconds too. I stack the finished pancakes, covering them first with cling film and then with a towel, so they keep their elasticity and softness – this is the "secret" against drying out and sticking.
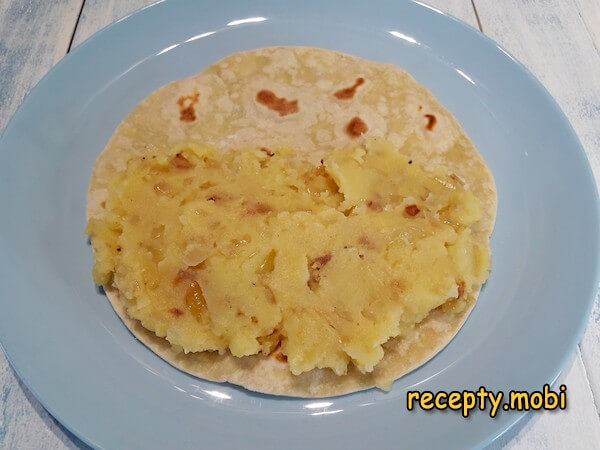
I start filling the pancakes. On one half of a pancake I place 2 tablespoons of mashed potato and spread it in a thick layer – a thick layer, not a thin one, so the finished kystyby is filling.
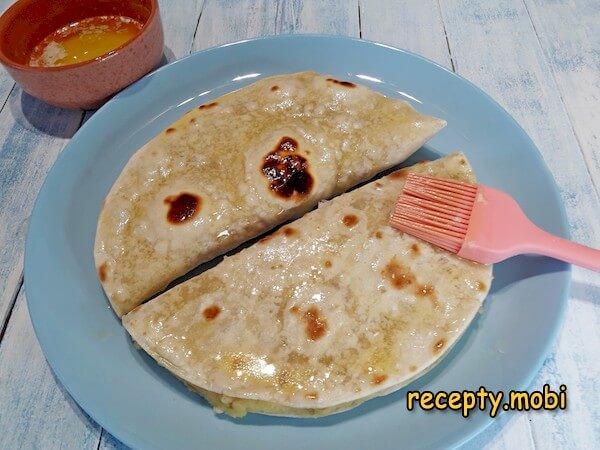
I cover it with the second half and brush it with melted butter on both sides – the butter is the "secret" to the creamy aroma and tenderness of the finished kystyby.
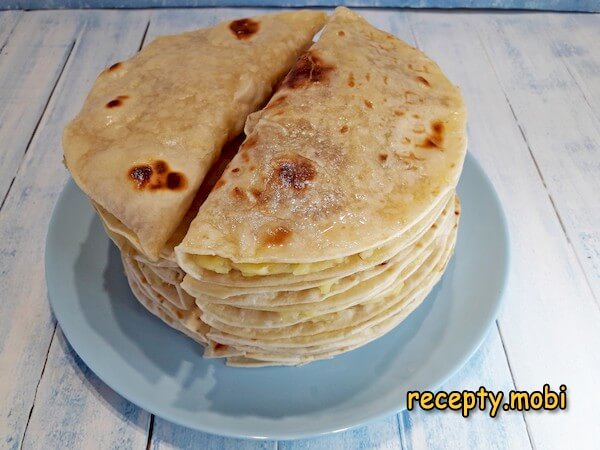
I stack the kystyby in a pile on top of one another – a warm stack under a towel stays soft and elastic for longer.I serve kystyby with potatoes Tatar style with meat, hot soup or shurpa instead of bread. It can also be eaten as a dish on its own. A thin pancake with a juicy potato filling is a wonderful combination for a hearty snack.


Tips
- 1
WARM MILK IS A MUST – the "secret" to elastic dough. Cold milk straight from the fridge gives a stiff dough that rolls out badly – the pancakes crack and tear. Milk warmed to 36-38 degrees gives a soft, obedient dough that is easy to roll out to the required thinness of 1-2 mm. The same principle works in flatbreads on soured milk – a warm base for elasticity.
- 2
A MASHER, NOT A BLENDER – the "secret" to the right mash. A blender makes mashed potato "gluey" and sticky by breaking down the starch molecules. A masher keeps the texture – the mash turns out light, textured and pleasant. Kystyby needs exactly this hand-mashed consistency of filling.
- 3
CLING FILM + TOWEL – the "secret" against drying out. Finished pancakes tend to dry out quickly in the air and become brittle. A double layer of protection (cling film to hold in the steam plus a towel to retain the heat) gives pancakes that stay soft and elastic right up to serving. Without this trick, by the end of the batch the first pancakes are already dry.
- 4
TATAR CULINARY TRADITION – the "secret" of an authentic table. Kystyby is part of the great Tatar culinary tradition, where main dishes are accompanied by flatbreads. Serving kystyby with azu Tatar style with pickled cucumbers is a classic Tatar meal that brings together two iconic dishes of this cuisine.
FAQ
What is kystyby and where is it from? +
Kystyby (Tatar: kıstıbí) is a national Tatar dish – an unleavened wheat pancake fried on a dry pan and folded in half around a potato filling. It is widespread throughout Tatarstan, Bashkiria, the Volga region and among the Tatar diaspora. There are also sweet versions with millet porridge, poppy seeds or pumpkin, but the classic is potato. In principle it is similar to the Mexican quesadilla, but without cheese and in a considerably more tender version. On the Tatar table it is served with soups, shurpa and meat as a replacement for bread.
What can replace the potato filling? +
Kystyby comes with various fillings. The classic options are: millet porridge in milk (sweet and savoury), pumpkin porridge, semolina porridge, boiled rice with butter and onion. Modern adaptations are: braised cabbage with mushrooms, minced meat with onion, cottage cheese with herbs, pumpkin with dried apricots (a sweet version). You can make a "mixed table" with different fillings – one pancake with potato, a second with millet, a third with meat. The main rule is that the filling should be smooth and not too moist, so the dough does not go soggy.
How long do ready kystyby keep? +
In the fridge in an airtight container or tightly wrapped in film – up to 2 days without loss of flavour. Before serving I reheat them in the microwave for 30-40 seconds (under a damp paper napkin) or on a dry pan under a lid for 1-2 minutes on each side. The pancakes can be frozen for 1 month without filling – once thawed they are baked like fresh ones. Finished kystyby with filling does not freeze well – the potato filling becomes watery after thawing.
What to serve kystyby Tatar style with? +
The classic Tatar combination is with shurpa or another hot meat soup, where kystyby goes instead of bread. With tea – especially with Tatar "kara chai" with milk and salt. With meat dishes: with azu, beshbarmak, tokmach (Tatar noodles). For sauces: sour cream with herbs, fermented-milk sauces (ayran, sour cream with garlic), the signature Tatar "eremchek" (a curd-and-sour-cream sauce). In winter they are served as a hearty snack with hot tea – the basis of a Tatar tea ceremony.
- Comment
or post as a guest
Be the first to comment.


