
avg —
Quick Pickled Tomatoes in a Bag
Instructions
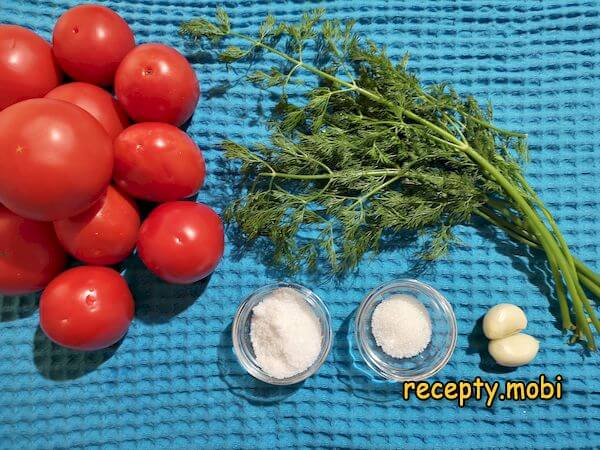
Prepare the ingredients you need. Rinse the tomatoes and the dill and pat them dry with a paper towel. Peel the garlic.
Cut a cross into the tomatoes on the side opposite the stem. Cut out the stem area, making diagonal cuts. The salt will pass through the cuts more quickly.

Finely chop the garlic.

Finely chop the dill.

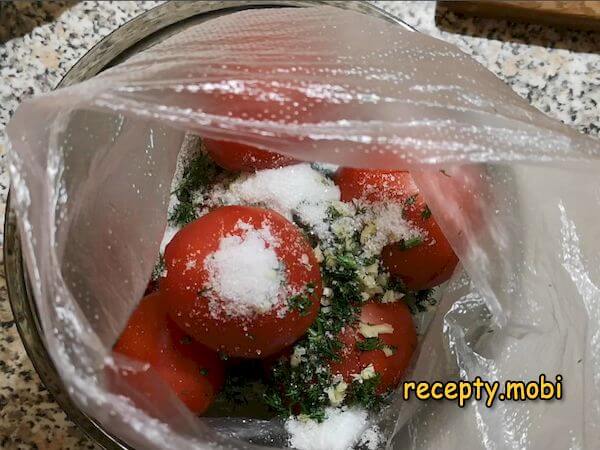
Place half of the chopped dill on the bottom of a cellophane bag and put the tomatoes on top of it.

Sprinkle the tomatoes with the remaining dill, add the chopped garlic, 1 tablespoon of salt and 1 teaspoon of sugar.
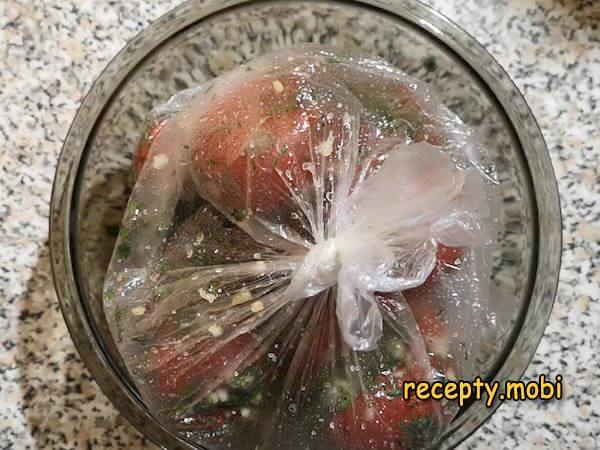
Tie the bag and shake it gently so that everything inside mixes evenly. Leave it at room temperature for 2 days, shaking the bag from time to time.
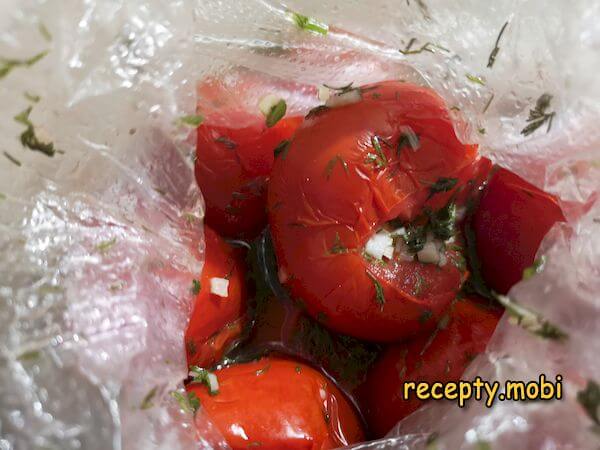
The lightly salted tomatoes in a bag are ready. Transfer them to a plate and serve.Enjoy your meal!


Tips
- 1
CUT THE TOMATOES CROSSWISE – through the cuts the salt and spices get into the tomato faster, and the salting is more even.
- 2
SHAKE THE BAG from time to time (3–4 times a day) – this way the salt and dill are distributed evenly over all the tomatoes.
- 3
STAND THE BAG ON A PLATE – the bag may "sweat" on the outside, and it can leak when you shake it. A plate will keep the table clean.
- 4
READY IN 2 DAYS – but you can try them after one day too (they will be "lightly lightly salted"). Longer than 3 days and they become salty. The same principle works in other express salting recipes.
Video
FAQ
Which tomatoes should I choose? +
The best choice is firm medium tomatoes (plum-shaped, cherry, "Slivka") – they will not "spread" from the salt. Meaty varieties (Bull's Heart, Pink Giant) are also suitable, but cut them in half for better salting. Avoid: overripe ones (soft, they will "go runny"), green ones (they will not soak up the salt), and damaged ones (they ferment quickly). Cherry tomatoes are the most convenient option: there is no need to cut them, they look attractive on the plate, and they are ready in a day. Choose aromatic ones with a rich red colour.
Can the salting be sped up? +
Yes, there are several methods. Cut the tomatoes in half (the salt gets in faster). Increase the amount of salt to 1.5 tablespoons per 1 kg. Keep them in a warm place (25–28 °C) – this speeds up fermentation. Add 1 teaspoon of hot water to the bag – this speeds up the salting. For "lightning-fast" salting in 3–4 hours: cut the tomatoes into cubes, salt them, and mix. But the classic method is one day at room temperature, and up to 2 days gives the ideal mellow flavour.
How long do the finished tomatoes keep? +
In the refrigerator in a closed container – 3–4 days. Take them out of the bag and transfer them to a glass jar with the brine that is left. If you leave them in the bag, they may "over-sour" (become too salty and "fermented"). On the third day the flavour is brighter, but the tomatoes become softer. Make them in small batches (1 kg for 2–3 days). You can freeze them as a puree – but not whole, as the texture will be lost.
What should I serve them with? +
The classic: with boiled potatoes and herbs – a traditional Russian combination. With shashlik or fried meat – the perfect summer addition. With black bread, butter and herring – for breakfast or as a snack. With pancakes (thin, unsweetened) – an unexpected but tasty combination. As a "pickle" with strong drinks (vodka, moonshine). For a festive table – in a pretty bowl, sprinkled with herbs. They go perfectly together with lightly salted cucumbers – a double salting on one plate.
- Comment
or post as a guest
Be the first to comment.


