
avg —
Pilaf with Meatballs in a Multicooker-Pressure Cooker
Instructions
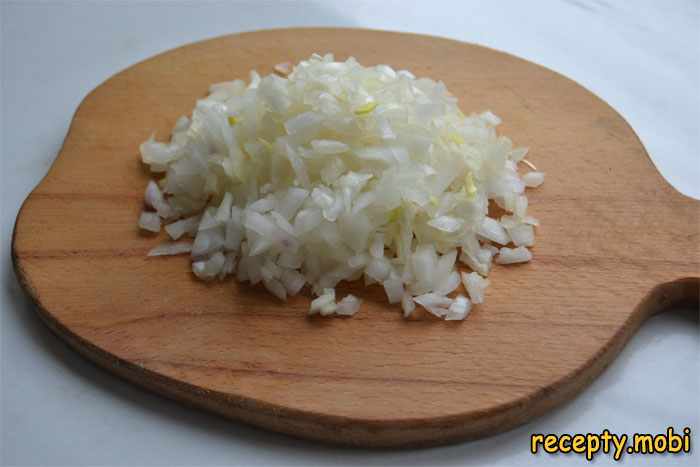
I start by preparing the vegetables. I peel the onions and finely chop them. For pilaf I use a fair amount of vegetables – they give juiciness and aroma.
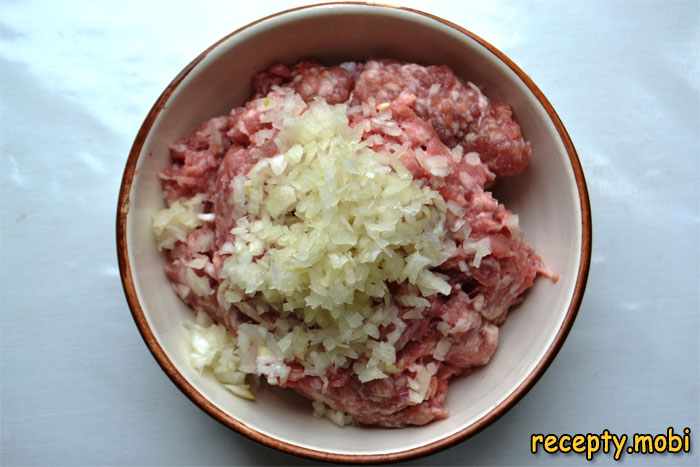
I add the smaller part of the onion (about 1/3) to the minced meat for the meatballs. The rest of the chopped onion I set aside – it will go into the vegetable fry-up for the pilaf.
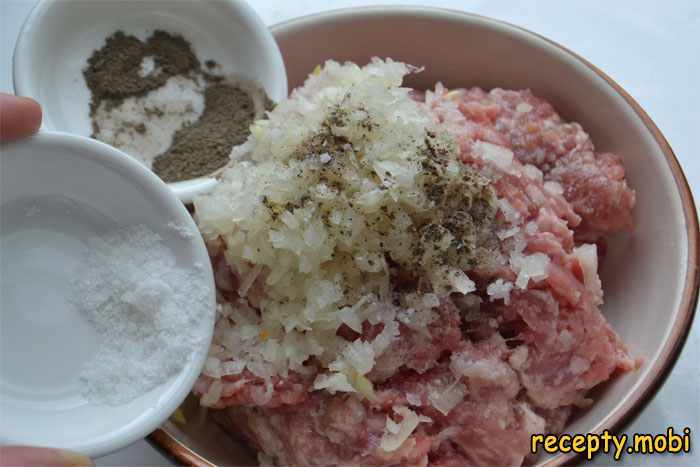
I salt the minced meat to taste and add black ground pepper for aroma. I mix all the ingredients thoroughly by hand until smooth.
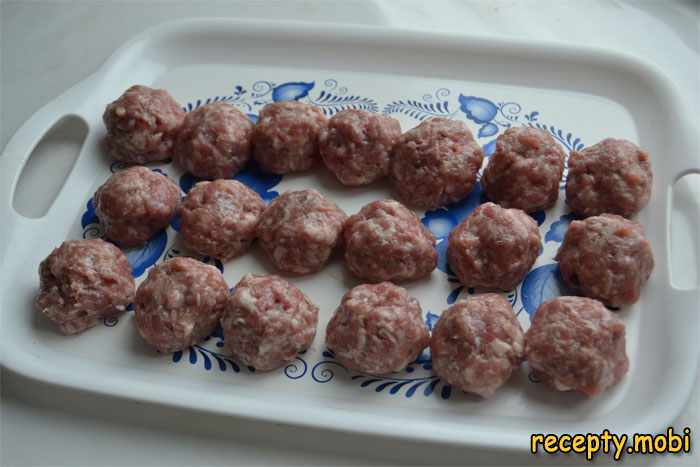
I lightly beat the mixed minced meat against the bowl to make it dense, then form small meatballs the size of a walnut. I wet my hands with water or oil so the meat does not stick. I place the finished balls on a plate.
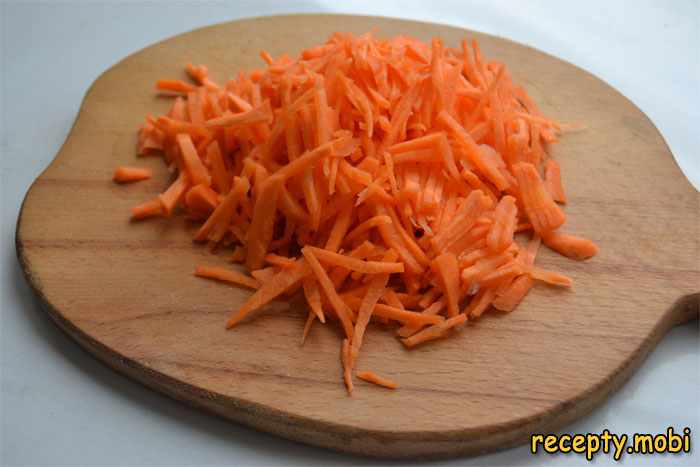
I peel the carrots, rinse them under running water and cut them into thin strips. For tasty pilaf I add plenty of carrots – they give sweetness and a lovely colour.
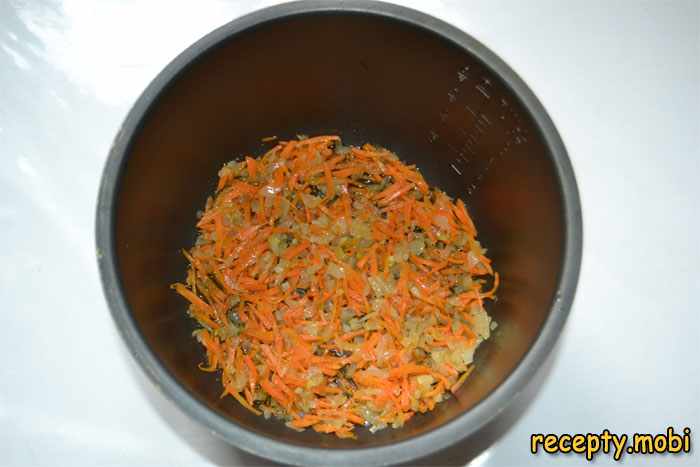
I pour vegetable oil (2 tbsp) into the bowl of the multicooker-pressure cooker and add the remaining chopped onion. I sauté it lightly on the "Fry" mode, then add the carrots and let them stew together with the onion. There is no need to fry them hard – it is enough for the vegetables to become soft and fragrant.
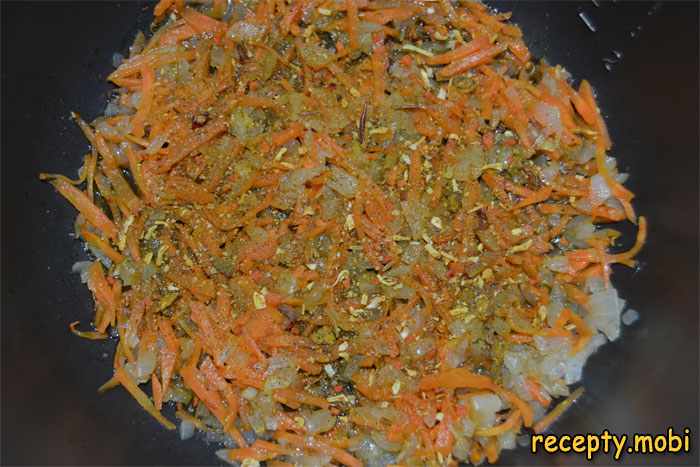
I add pilaf seasoning (1 tbsp) to the vegetables. If I don't have ready-made seasoning, I use separate spices: cumin, turmeric, dried barberries and basil. I stir so the spices release their aroma.
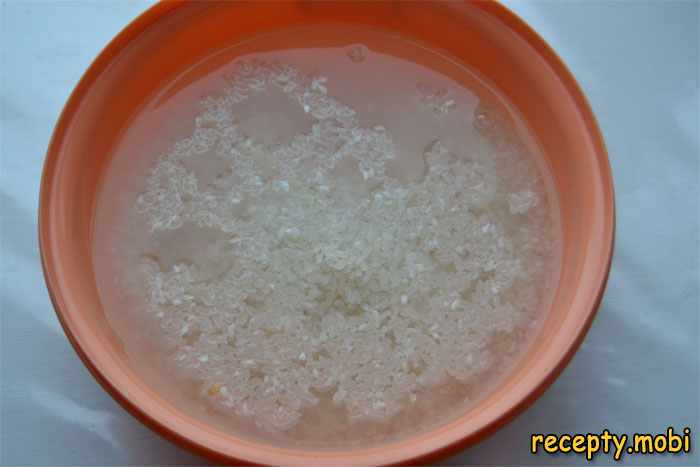
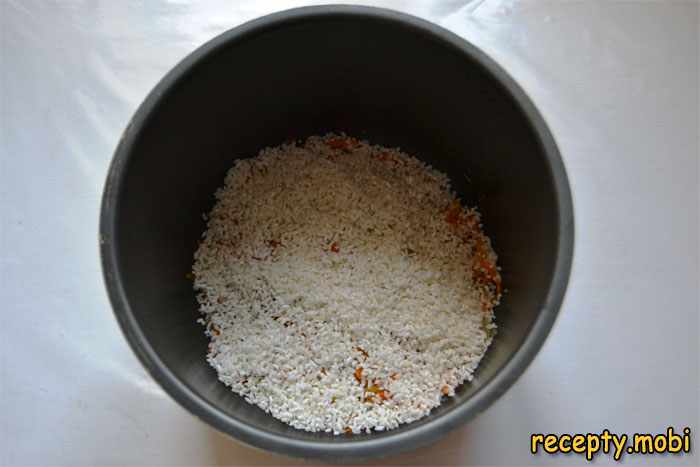
I rinse the rice (2 cups) thoroughly under cold water until it runs clear – this is important for crumbly pilaf.
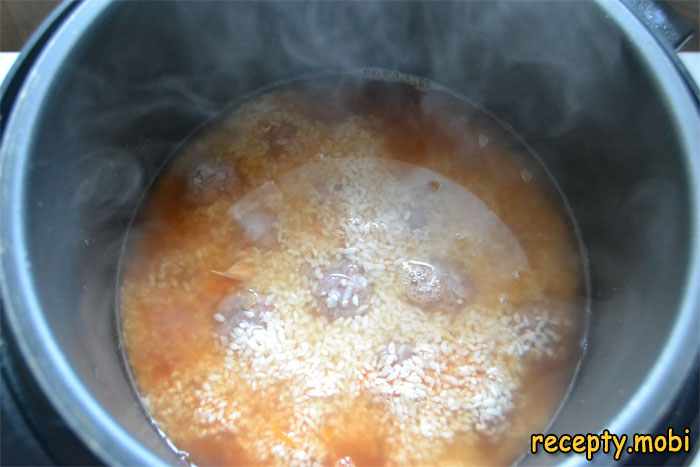
I pour half of the rinsed rice into the bowl of the pressure cooker, directly onto the vegetables. I don't stir – the pilaf is cooked in layers.
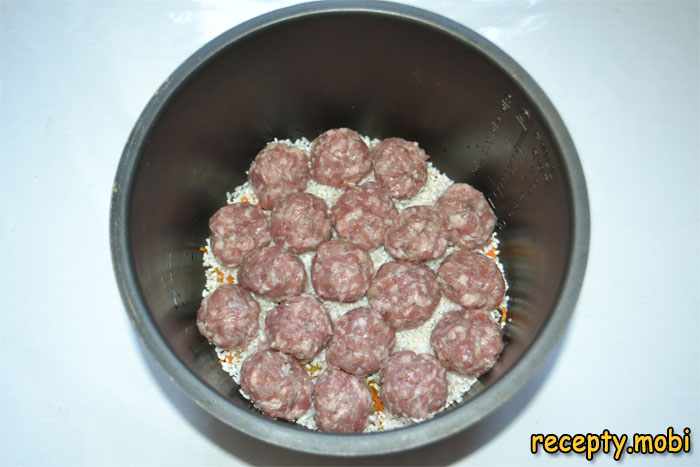
I place all the prepared meatballs on the layer of rice in a single layer, spreading them evenly over the surface.
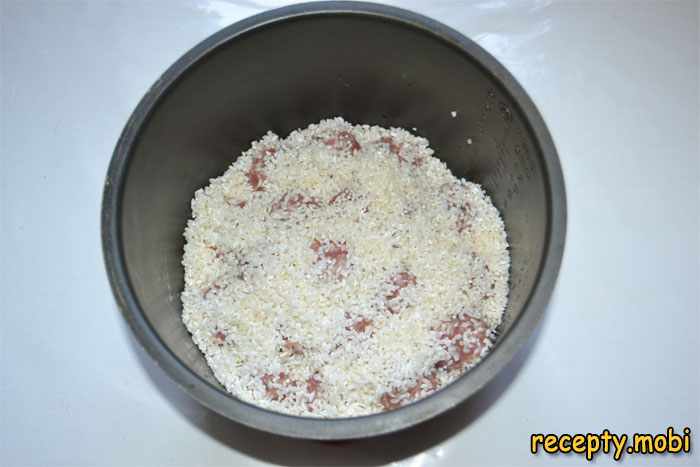
I pour the remaining half of the rice on top, completely covering the meatballs. This way they end up in the middle of the pilaf and steam well.
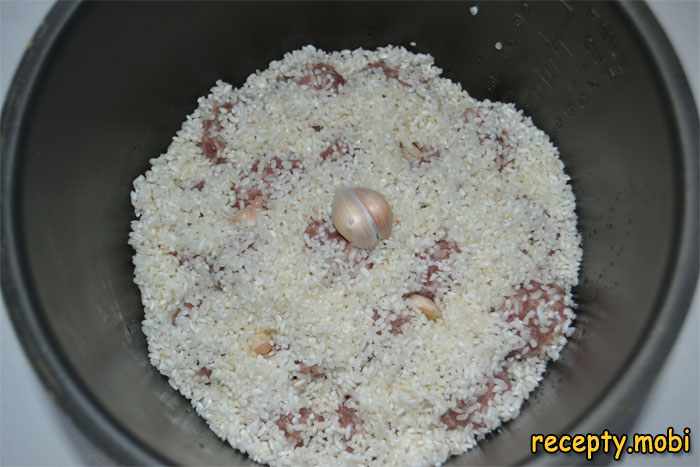
I separate half a head of garlic into cloves without peeling off the skins – I only rinse them under water. I push the garlic cloves into the rice – during cooking they release their aroma, and afterwards you can eat them or remove them.
I heat the water (2.5 cups) until hot and add salt to taste. I carefully pour the water into the bowl of the pressure cooker along the edge, trying not to wash away the layers.
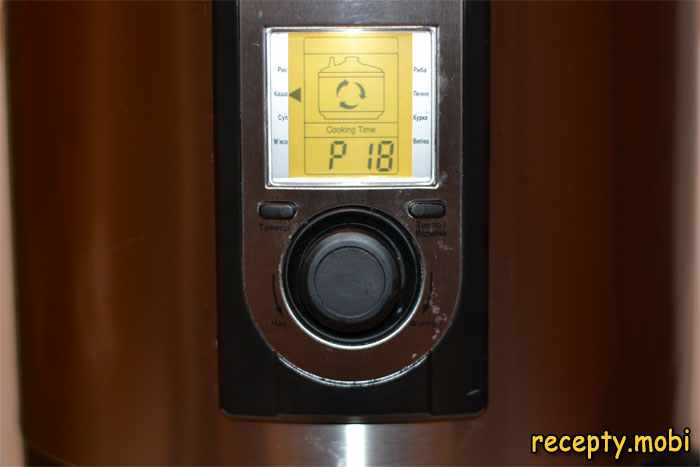
I close the lid of the multicooker-pressure cooker and set the "Pilaf" or "Rice" mode under pressure for 18–20 minutes. In an ordinary multicooker without pressure, I increase the time to 40 minutes.
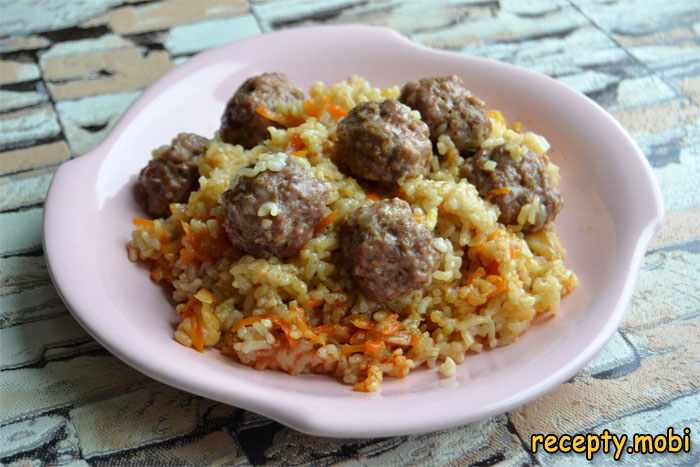
After the ready signal, I don't open the lid straight away – I let the pilaf stand under pressure for another 10 minutes. Then I carefully mix the pilaf, trying not to break the meatballs, and arrange it on plates. I serve it hot.


Tips
- 1
Always rinse the rice until the water runs clear – this removes excess starch and makes the pilaf crumbly rather than mushy.
- 2
Make the meatballs small (about the size of a walnut) – this way they have time to cook through while the rice cooks, and they spread evenly through the dish.
- 3
Once it's ready, don't open the lid straight away – 10 minutes of resting under pressure makes the rice even more crumbly and fragrant.
- 4
I add the garlic unpeeled – the skins protect the cloves from boiling apart, so they give a mild aroma rather than a sharp garlic taste.
FAQ
Can I cook it in an ordinary multicooker without pressure? +
Yes, the principle is the same, but the cooking time will increase to 40–50 minutes on the "Pilaf" or "Stew" mode. You may need a little more water – 3 cups instead of 2.5.
Which rice is best to use? +
For pilaf I traditionally use round-grain or medium-grain rice – it absorbs aromas well. Long-grain rice (basmati, jasmine) will also work, but the cooking time will be 3–5 minutes shorter.
Can I use minced chicken? +
Yes, minced chicken will work – the pilaf will be more diet-friendly. Add a little vegetable oil (1 tbsp) to the minced meat so the meatballs are not dry.
Why did my rice turn out sticky? +
Most likely the rice was not rinsed enough or too much water was added. Another reason could be that the pilaf was stirred during cooking – this should not be done.
Can I add other vegetables? +
Yes, you can add bell pepper, tomatoes or chickpeas. I cut the pepper into strips and add it together with the carrots. Tomatoes go in at the end of frying the vegetables. Chickpeas I soak overnight in advance.
- Comment
or post as a guest
Be the first to comment.


