avg —
Pickle soup for winter in jars

Instructions
I get the listed ingredients ready for making the pickle soup for winter in jars. All the equipment should be clean, dry and sterilised.
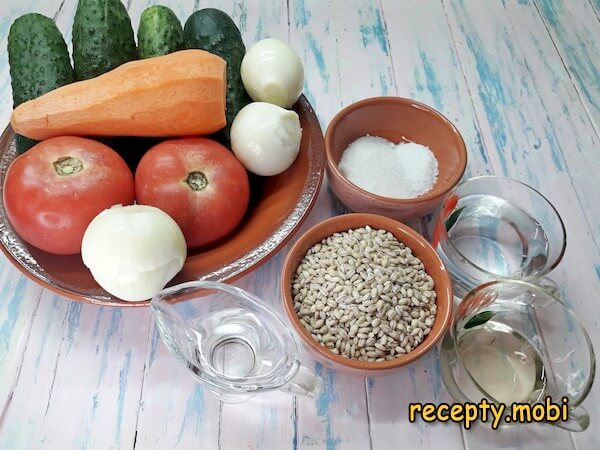
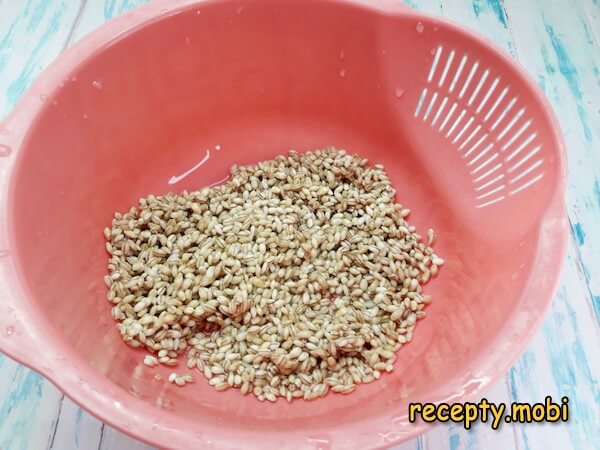
I rinse the pearl barley thoroughly and leave it in water for half an hour.
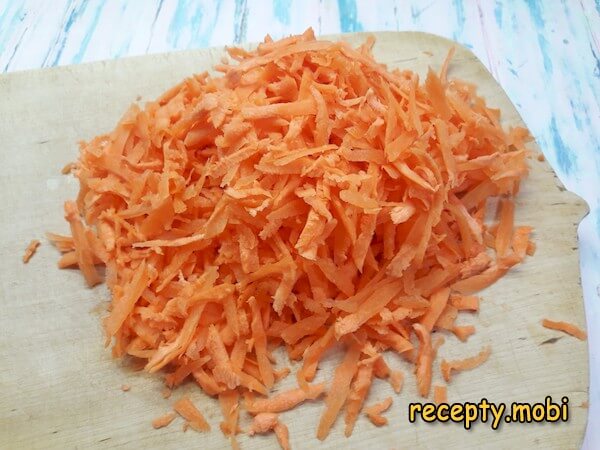
I grate the carrot coarsely.
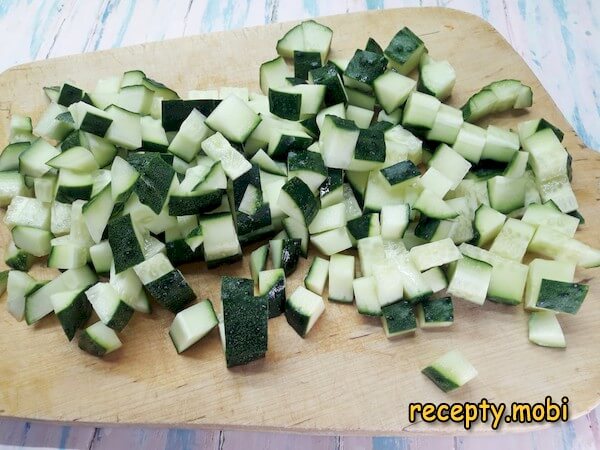
I dice the cucumbers.
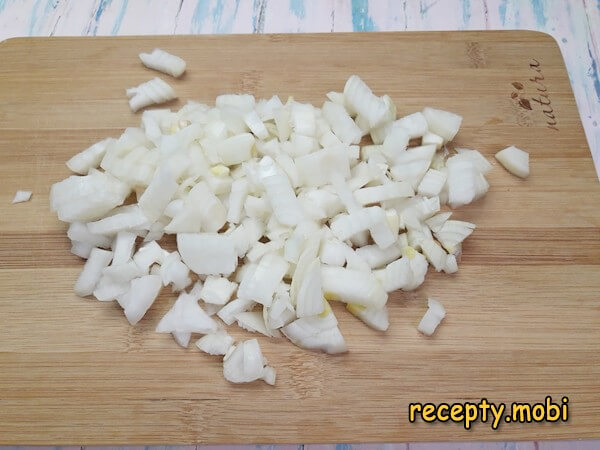
I chop the onion to a similar size.
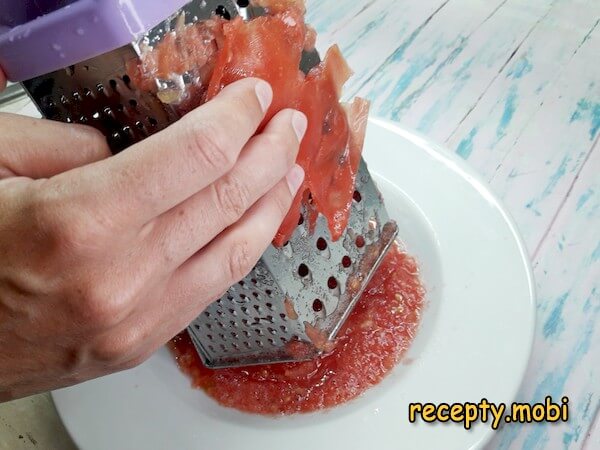
I cut the tomato into 2 halves, cut out the stem, and grate each half while holding it by the skin, which I then throw away.
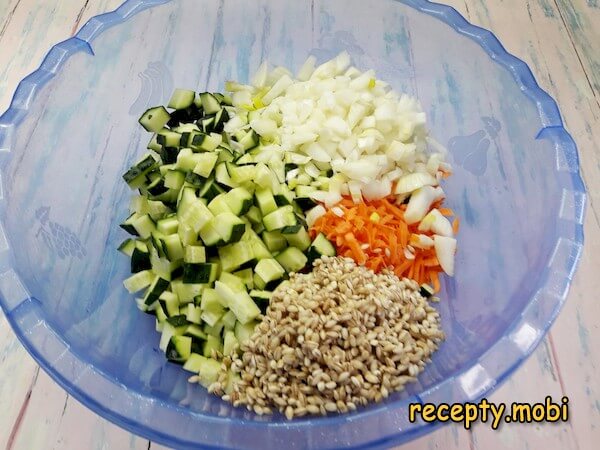
I put the vegetables together with the grain into a bowl that is convenient for mixing.
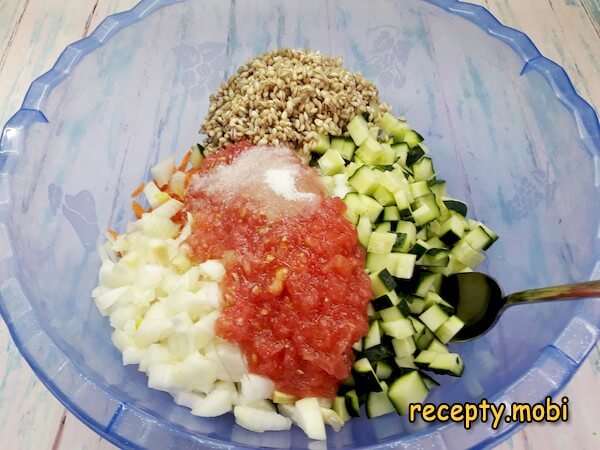
I add the grated tomato, salt and sugar to the same bowl.
Lifting the ingredients from the bottom up, I mix everything together.
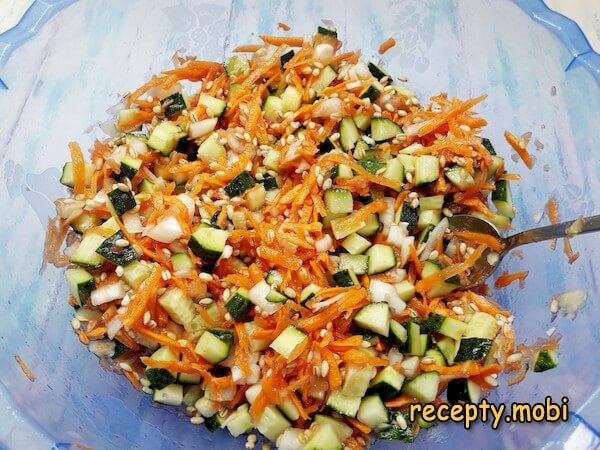
I transfer the mixture to a pot. I pour in the water and the oil.
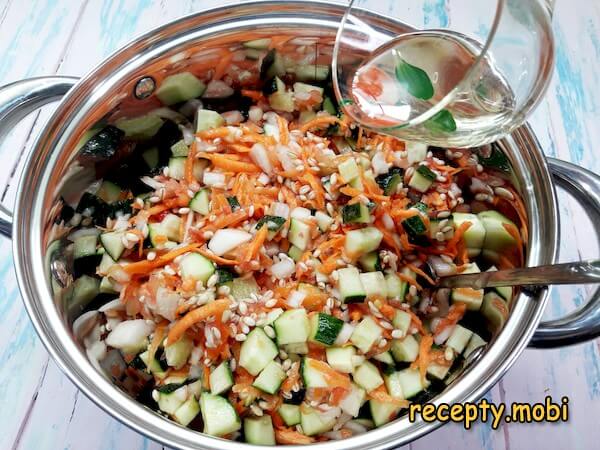
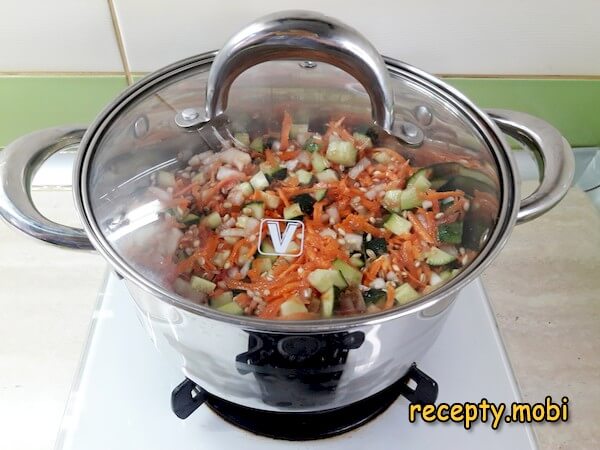
I cover with a lid, and once the first bubbles appear I turn the heat down to its minimum and stew everything for 20 minutes. A few times during this period I stir the mixture so it does not stick to the bottom.
During the stewing the amount of liquid will increase, and it will be sealed into the jars too.
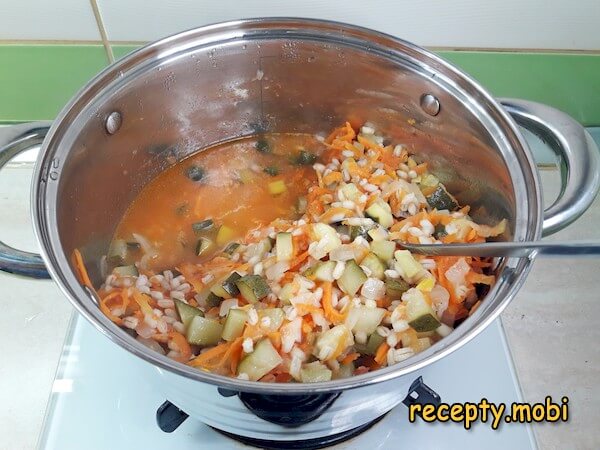
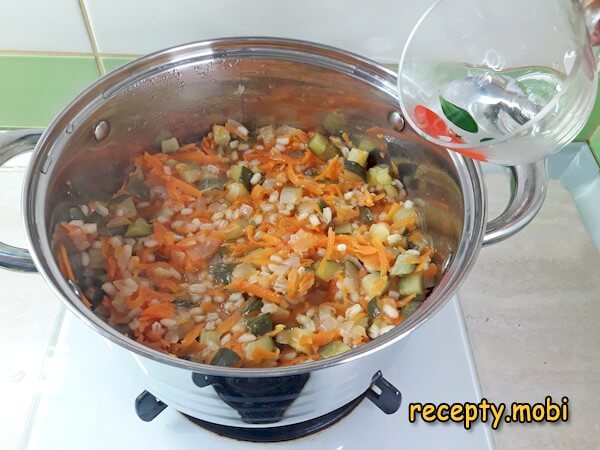
Now all that is left is to add the vinegar to the pot. After stirring, I stew the mixture for another 10 minutes.
To fill the jars it is handy to use a wide funnel, which should be boiled beforehand.
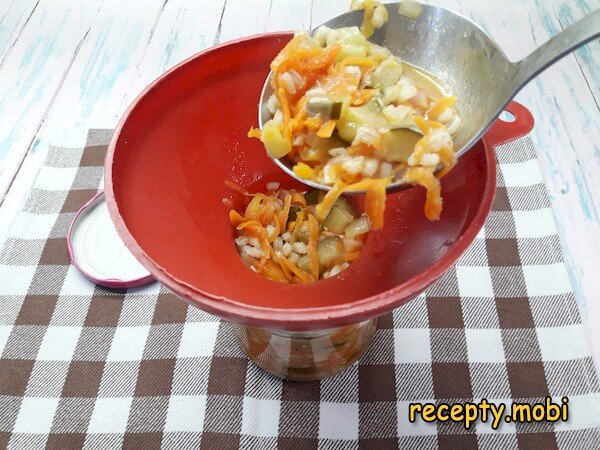
I fill the jars right up to the edge, distributing the liquid evenly.
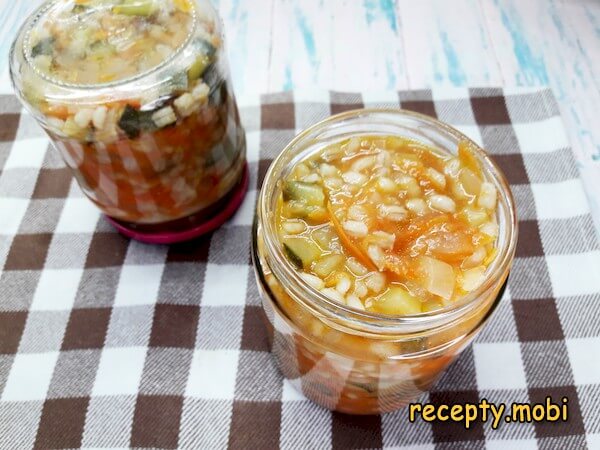
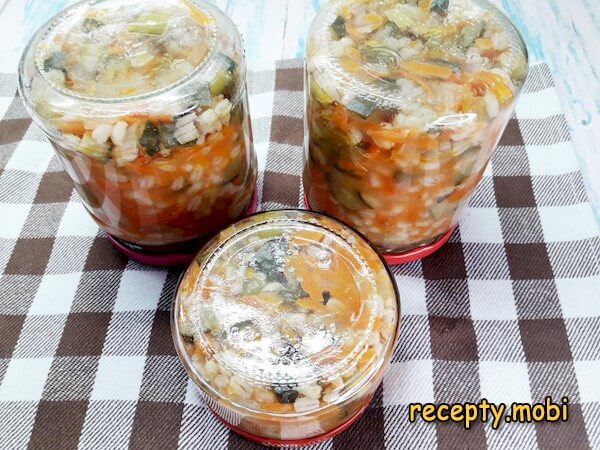
I screw on the lids and turn the sealed jars upside down. I wrap them in thick towels and leave them like that for about 12 hours to cool slowly.


Tips
- 1
SOAK THE PEARL BARLEY – the secret against long cooking. Without soaking the grain takes 1.5 hours to cook, and after soaking only 30 minutes. In the bottom of the jar it will "finish cooking" by the time you use it.
- 2
GRATE THE TOMATO – the secret against the skin. The skin stays in your hand, and only the flesh with its juice goes into the mixture.
- 3
VINEGAR AT THE END – the secret of the aroma. With long cooking the vinegar essence "boils away". Add it 10 minutes before sealing.
- 4
ANY CUCUMBERS – even non-standard ones. Crooked, overgrown, small – you dice them, and in the soup the difference is not noticeable. The same principle works in other kinds of winter soups.
FAQ
How do I use the preserve? +
Cook a meat or vegetable broth with potatoes (30 minutes). Add 1 half-litre jar of the pickle soup to 3 L of soup, simmer for 5–7 minutes – the soup is ready. Add herbs and sour cream when serving. You can use it as a side dish on its own (without soup) – with meat or porridge. For a "lean" version – use a vegetable broth. For a premium version – with chicken or beef plus a bay leaf and peppercorns. You can spread it on bread as a snack. For a "diet" version – without potatoes, like a light salad-soup. For a "hot" version – with extra black pepper and garlic when serving.
Which cucumbers should I choose? +
Any – from standard 8–12 cm ones to overgrown ones (on the author's advice). Varieties: "Nezhinsky", "Parisian gherkin", "Rodnichok", "Konkurent" are popular. Not suitable: yellow "withered" ones (they taste bitter), or badly rotten ones. Fresh ones are firm, dark green and free of dents. Soak the cucumbers in cold water for 1–2 hours before slicing – they will be crunchy in the soup. Don't peel them – the skin gives a crunchy texture and a natural colour. For a premium rassolnik – use farm barrel-pickled cucumbers. A dice size of 5–7 mm is optimal.
How long does the preserve keep? +
In sealed jars in a cool place (cellar, pantry) – up to 1 year. At room temperature – up to 6–8 months. Once opened, in the fridge – 5–7 days. Write the sealing date on the jars. If a lid bulges – do not open it, throw it away. Do not freeze it – the jars will burst. It is best used within the first 6 months – the flavour is brighter. Seal it in small 0.25–0.5 L jars – it is more convenient (1 jar = 1 batch of soup). Don't store it in the sun – the colour will "fade". Before adding it to soup, taste it for salt – the preserve can be fairly salty.
What to serve the soup with? +
Classic: with sour cream (1–2 tbsp per bowl) and fresh herbs (dill, parsley). With black or rye bread, or croutons. With garlic croutons – a "rustic" serving. With a glass of cold vodka – a "Russian" serving. With herbal tea – a warming lunch. With hot pirozhki or buns. For a "children's lunch" – with white bread and thinly sliced cucumber. With a glass of cold vodka. For a "family lunch" – a must. With mustard sauce. With pelmeni. With porridge as a first course. A versatile preserve for winter soups.
- Comment
or post as a guest
Be the first to comment.