
avg —
Khushuur (khushur)
Instructions
I prepare the ingredients for the khushuur filling. The meat should have some fat, so if I use lean beef, I add lard, tail fat, or fatty pork – a third of the total weight. Without fat, the finished khushuur turns out dry, lacking the characteristic meaty juiciness.

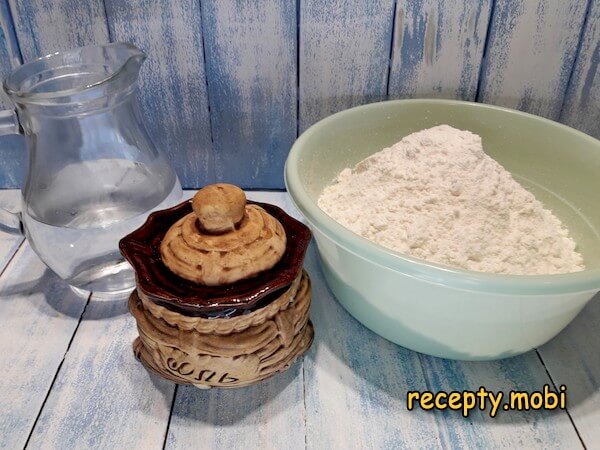
I gather the components for the dough. It is best to sift the flour in advance – sifting enriches it with air, and the dough comes out fluffier and more elastic when rolled.
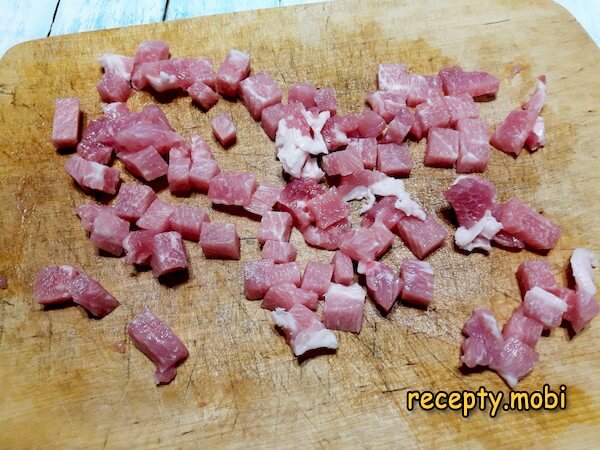
Since the filling in the classic version is not put through a meat grinder but chopped with a knife, it is easier to do this while the piece of meat is slightly frozen. I first cut it into 0.5–0.7 cm slabs, then divide it into small cubes – this "coarse" texture of the meat gives that characteristic chewy effect that sets khushuur apart from chebureks.
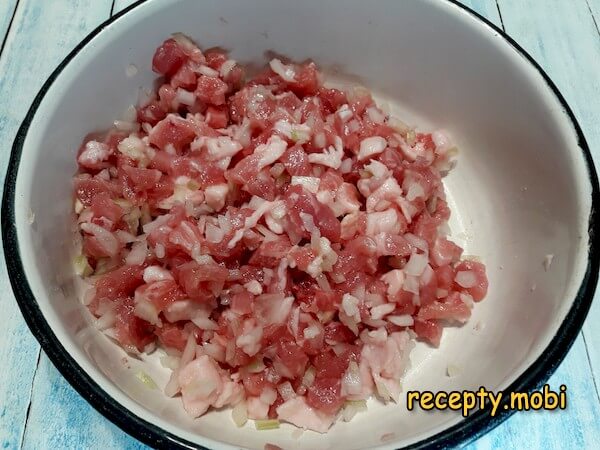
I also chop the onion with a knife – first into thin half-rings, then crosswise into tiny pieces. The onion is finely chopped so that it is distributed evenly through the filling and does not fall out in large pieces while eating.

I combine the chopped meat and onion – I mix them, not mash them into a paste. In classic khushuur the pieces of meat should keep their shape.
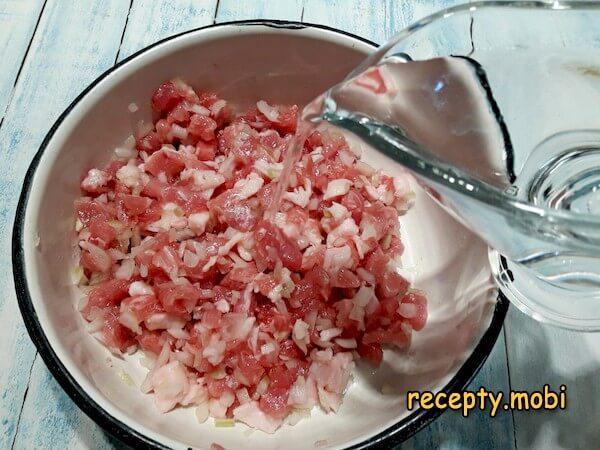
I pour in the water, add salt, and mix the filling once more. The water must not sit in the bowl as a separate component – it should all be absorbed into the meat and become one with it. This is the "secret" of khushuur's juiciness: the water in the filling turns into hot, fragrant juice when fried.
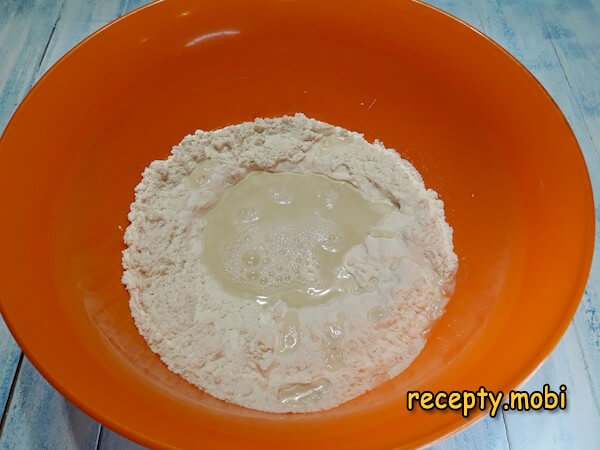
I move on to making the dough. I pour the flour into a spacious bowl and mix it with the salt. I make a well in the centre and pour the water into it – this is the classic "well" method, which lets you gradually mix the flour into the liquid.
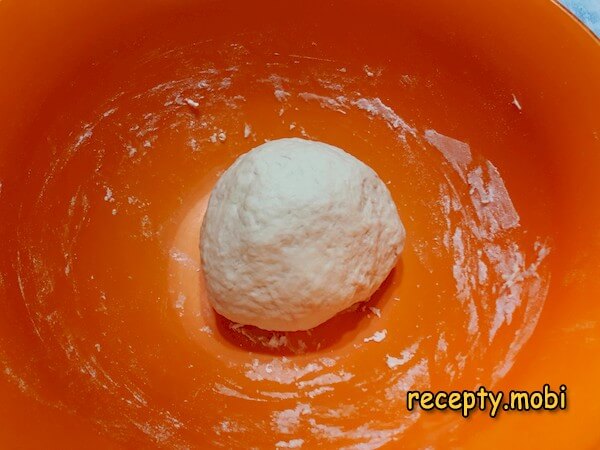
I knead the dough by hand right in the bowl. I do not knead it hard yet – it will be much easier to do after resting, since the gluten will relax and the dough structure will become soft and pliable. I cover the dough with a towel and let it rest for 10–15 minutes.
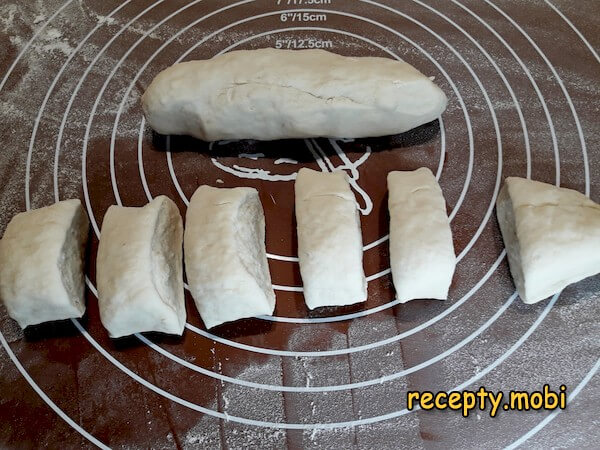
After the indicated time, I finish kneading the dough on the work surface. Then I separate a small part and roll it into a sausage. I cut it into 3 cm pieces – such a portion gives a disc 12–13 cm in diameter, ideal for the classic size of khushuur.
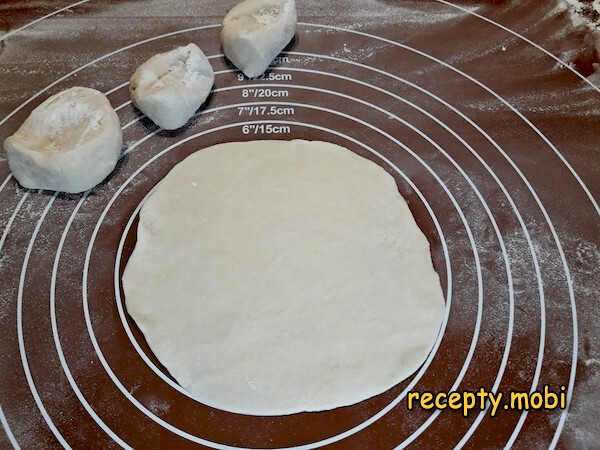
I dip them in flour and roll out thin discs 12–13 cm in diameter (no larger). A thin disc is an important condition, otherwise the khushuur will be "doughy" with a thin strip of meat in the centre.
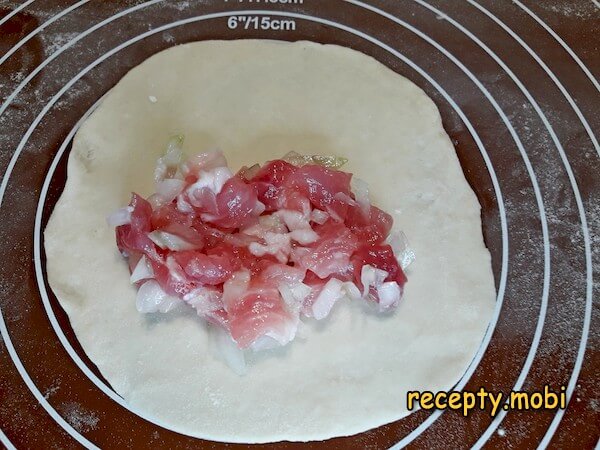
I place the filling on one half of the disc. There should be quite a lot of it so that the khushuur is not too flat – about 2 tablespoons. A generous filling is the "secret" of authentic khushuur.
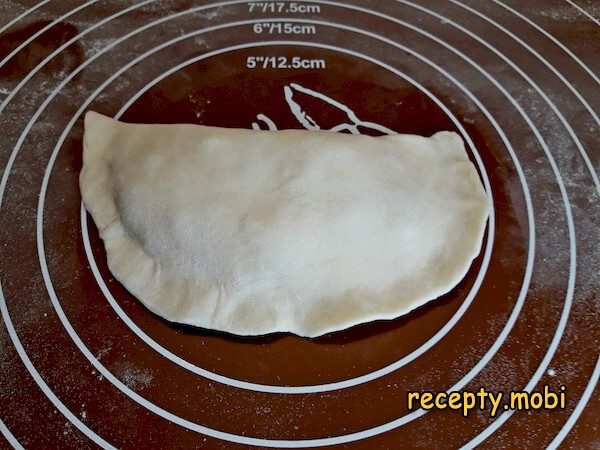
I join the edges of the disc the usual way – I fold the upper half over the lower one and press firmly along the whole edge.
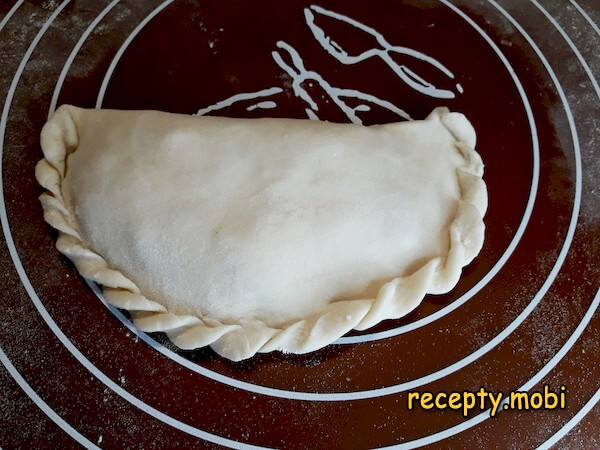
Then, for a stronger seam and simply for looks, I go along the join, tucking the edge into a braid – this pattern is not only decorative but also seals the khushuur further, so the filling does not leak out in the oil.
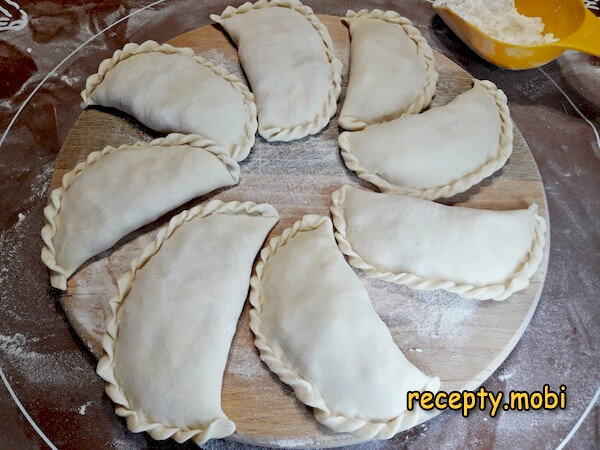
I place the shaped pieces on a flour-dusted board – the flour keeps the raw dough from sticking to the board and lets it be transferred into the oil easily, without losing its shape.
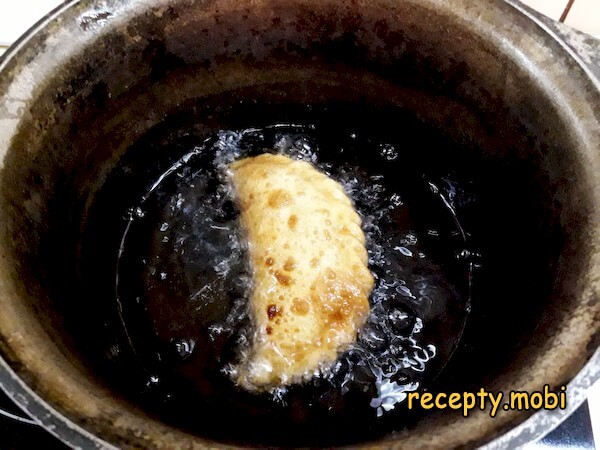
In a small pot I heat the oil until a light white smoke rises. I lower a khushuur into it and fry both sides until deep golden brown over above-medium heat – properly heated oil instantly forms a crust that holds the filling's juices inside.
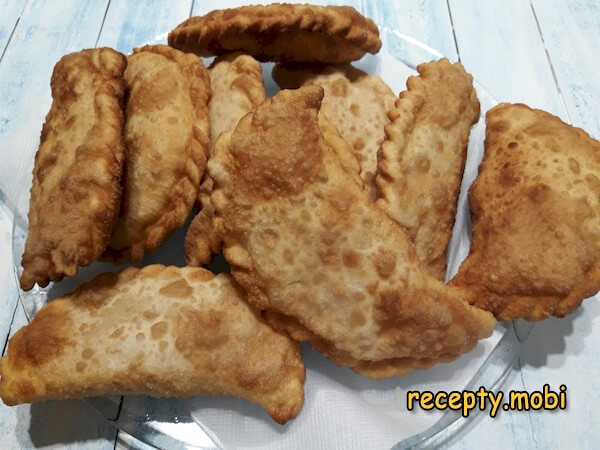
I transfer the finished pieces onto a paper towel – it absorbs the surface fat so the khushuur are not greasy when served.I always serve khushuur hot – straight from the pan. This is very filling and tasty food, but you need to be careful when biting in, because there is hot meat juice inside. A little cold sour cream or another fermented dairy product is very fitting here, as are fresh herbs and vegetables.


Tips
- 1
MEAT BY KNIFE, NOT BY GRINDER – the "secret" of authentic texture. Meat ground in a grinder turns into a dense paste that has nothing in common with real khushuur. Meat chopped by knife keeps the recognisable structure of its pieces, gives that characteristic chewy effect while eating, and delivers a signature richness of meat flavour. Slightly frozen meat is easy to cut – the knife does not slip.
- 2
WATER IN THE FILLING – the "secret" of hot juice. Without the 50 ml of water in the filling, the khushuur will turn out dry – the meat will release its juice into the outer oil bath while frying, and the filling itself will become stringy. Water absorbed into the meat turns into hot, fragrant meat juice when fried – it is for this "broth inside" that real khushuur is loved. A similar technique is used in meat belyashi in a skillet.
- 3
HOT OIL – the "secret" against soaking up grease. If you lower a khushuur into oil that is not hot enough, the dough will absorb the fat and become heavy and wet. The oil is ready when a light white smoke rises from it – that temperature instantly forms a crust and holds all the juices inside. The same principle is used in homemade chebureks on custard dough.
- 4
A BRAID ALONG THE EDGE – the "secret" against leaking. A simple pinch along the edge sometimes does not withstand the pressure of the hot juice inside – the seam bursts and the filling leaks into the oil. A braid from the tucked-in edge is double protection: both pretty and reliable. It takes a little more time to shape, but it guarantees the khushuur stays intact from start to finish.
FAQ
What is khushuur and where is it eaten? +
Khushuur (or khushur) is a national dish of Buryat and Mongolian cuisine – deep-fried pockets of unleavened dough with a meat filling. It is a street food and festive food, prepared and served at family celebrations, during the Mongolian New Year Tsagaan Sar, and at religious holidays. It is widespread in Mongolia, Buryatia, Tuva, the Irkutsk region, partly in the Altai, and in northern China. In shape and method of preparation it resembles a cheburek, but it differs in the obligatory chopped texture of the meat and the large amount of juice inside.
Which meat is best for khushuur? +
The classic choice is beef or lamb with tail fat, the traditional meats of Mongolia. Pork is a popular modern option for Buryats and Russian home cooks, giving a fattier and juicier filling. Horsemeat is the authentic Mongolian variant, harder to find in Russia. The ideal proportion is 70% lean meat (beef) plus 30% fatty (pork fat or tail fat) – it gives the optimal balance of meat flavour and juiciness. Chicken mince is not suitable – it is too dry and loses the dish's recognisable character.
Can khushuur be baked in the oven? +
You can, but it will be a completely different dish – not authentic khushuur, but something like "lean meat pies". In the oven without oil the dough becomes dry and dense, losing the characteristic crisp crust. If you want a less greasy option, you can fry the khushuur in a small amount of oil in a pan on both sides for 4–5 minutes. The most authentic method is deep-frying in a large amount of oil over above-medium heat, with a light white smoke rising from the overheated oil.
What to serve khushuur with? +
In Mongolia and Buryatia khushuur is served as a standalone dish, hot. For sauces: sour cream with herbs and garlic, fermented milk drinks – ayran, tarak, matsoni. Fresh vegetables and herbs: a bunch of dill, parsley, coriander, fresh cucumbers and tomatoes. A light cabbage-and-carrot salad will offset the richness of the dish. For drinks: Mongolian milk tea (salted), ayran, kumis. For a festive table it is served as a "tower" of khushuur on a large platter, with herbs around the edges and a small bowl of sour cream in the centre.
- Comment
or post as a guest
Be the first to comment.


