avg —
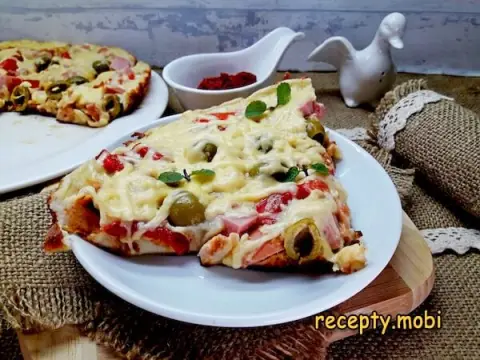
Pizza with Chicken and Pineapple (Hawaiian Pizza)

Instructions
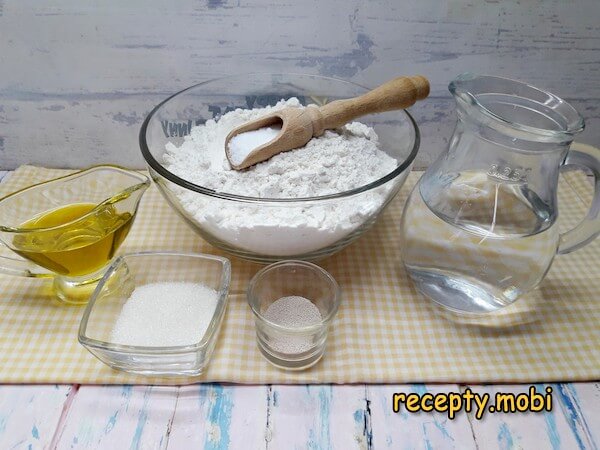
I prepare the dough ingredients. The water should be warm, about 38 degrees. Be sure to use olive oil, to keep the character of this pizza with chicken and pineapple. If needed, the dry yeast can be replaced with 15 g of fresh yeast.
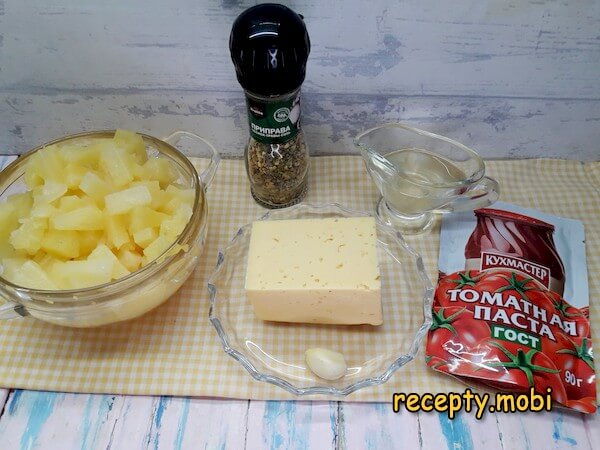
Gather all the components for the filling. Drain the juice from the can of pineapple (you can drink it). If the fruit comes in rings, chop them into smaller segments.
Get the ingredients ready for marinating the poultry. Trim any fat and membranes from the meat.
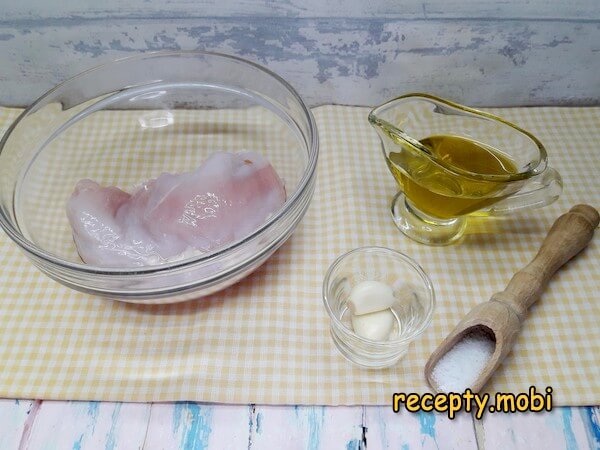
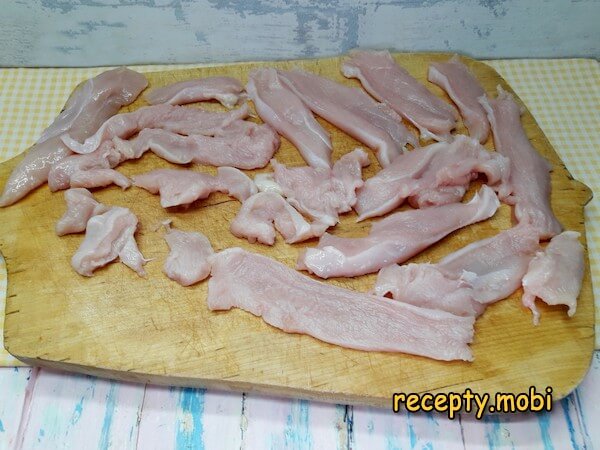
In the authentic version of Hawaiian pizza the chicken is not boiled or fried beforehand. It is marinated. For this, cut the fillet into small, very thin slices.
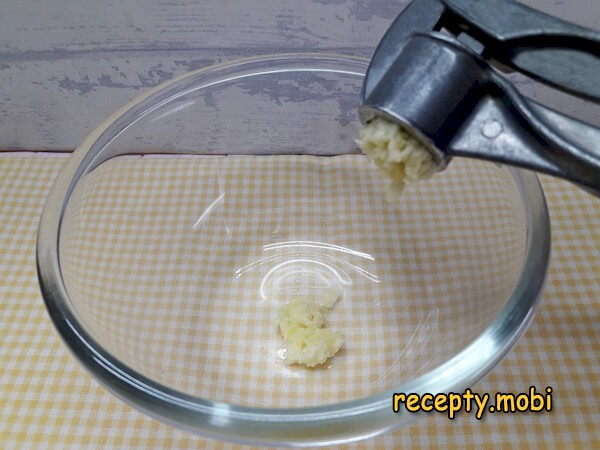
For the marinade, press the garlic through a press into a bowl.
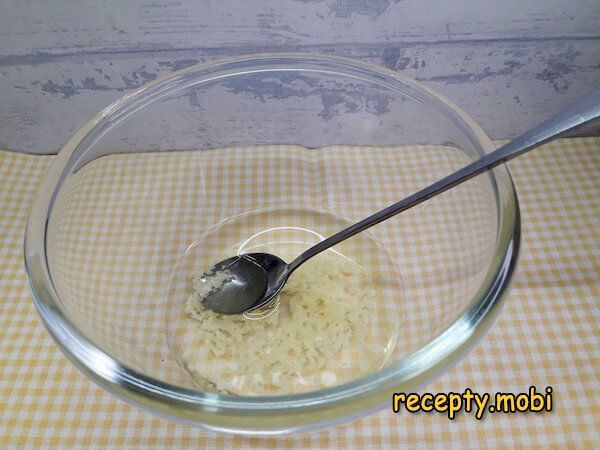
Add salt and pour in the oil. Rub it together well with a spoon.
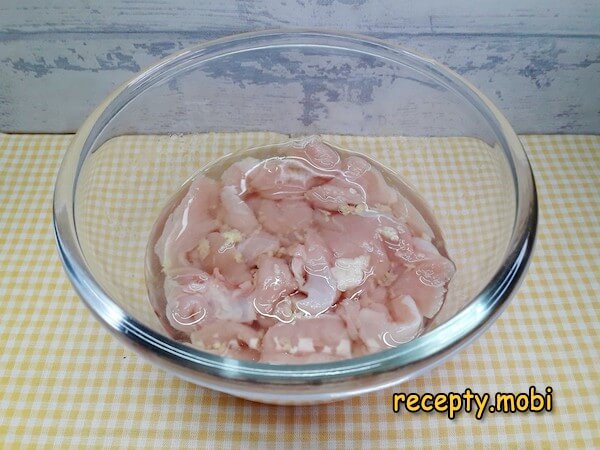
Drop the slices of meat in here. Move them about so each piece soaks up the marinade. If the oil does not cover this amount, pour in a little more. While the dough is being made, leave the bowl with the marinated fillet standing on the worktop.
To make the dough quicker, I start with a ferment first. For this, tip all the sugar and the yeast into the container of warm water. Stir and wait until the liquid froths.

Sift the flour into a deep bowl. Pour in the ferment and add salt.
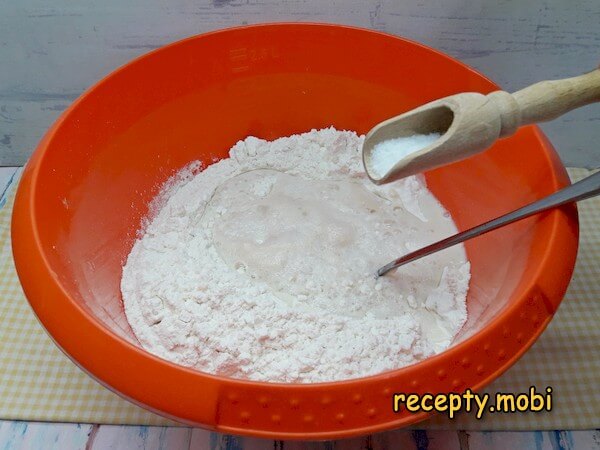
Start kneading the dough right in the bowl, adding the oil in several stages.
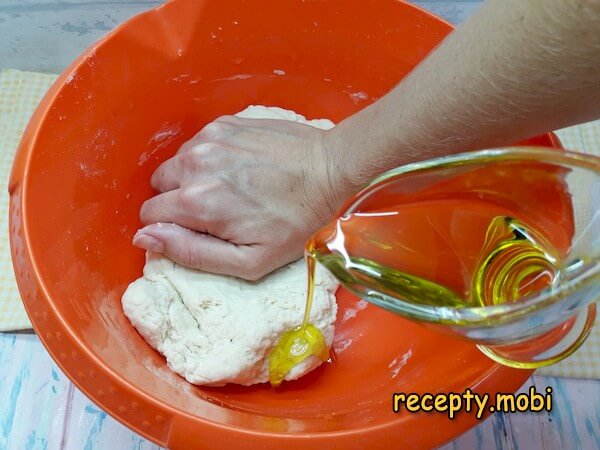
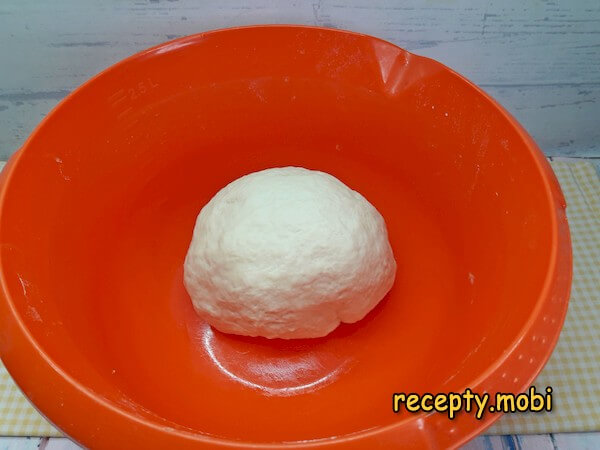
Gather the dough into a ball. Leave it in an oiled bowl to rise, covered with a towel.
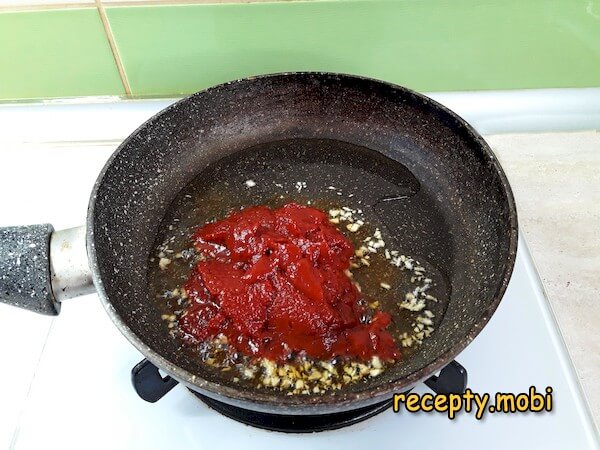
Meanwhile, prepare the tomato spread. For this, add the finely chopped garlic to the heated oil.
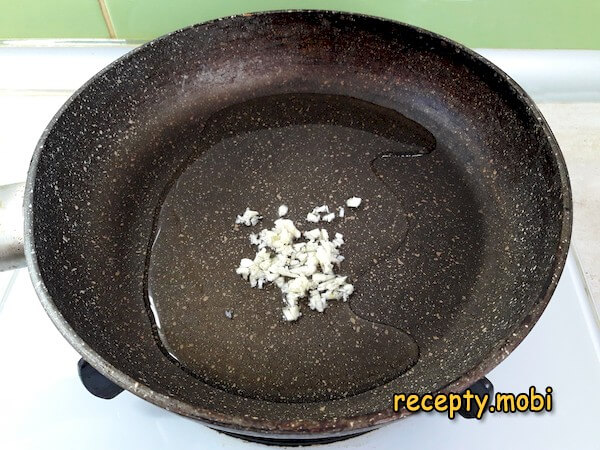
As soon as a warm garlic aroma appears (this happens after about 0.5–1 minute), add the tomato paste to the pan.
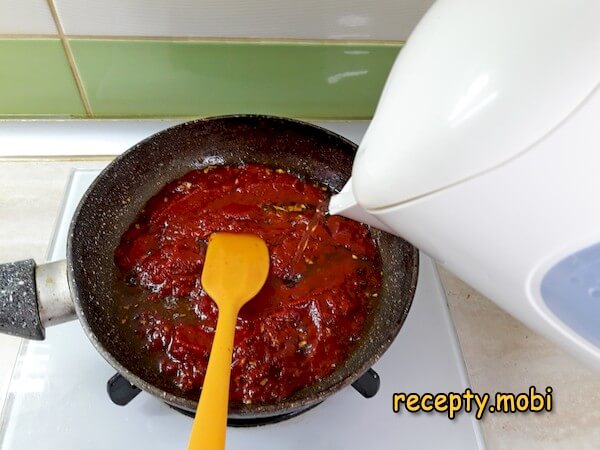
Straight away dilute it with water, add salt, Italian herbs and a little hot pepper if you like. Simmer the mixture for 3–4 minutes over low heat.
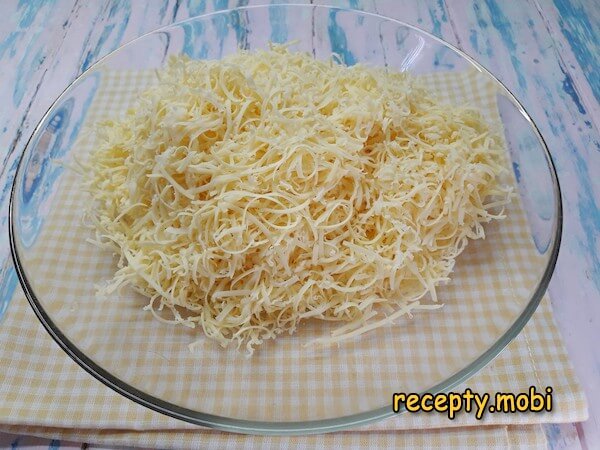
Grate the cheese finely.
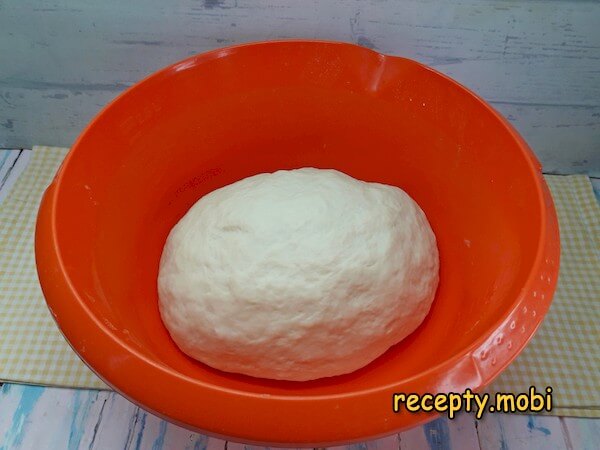
After about 40 minutes the dough has swelled considerably – which means you can carry on working with it.
Set the oven to 190 degrees with top and bottom heat. First knock back the dough and divide it into 2 parts. Roll out a thin circle 2–3 millimetres thick for the first pizza.
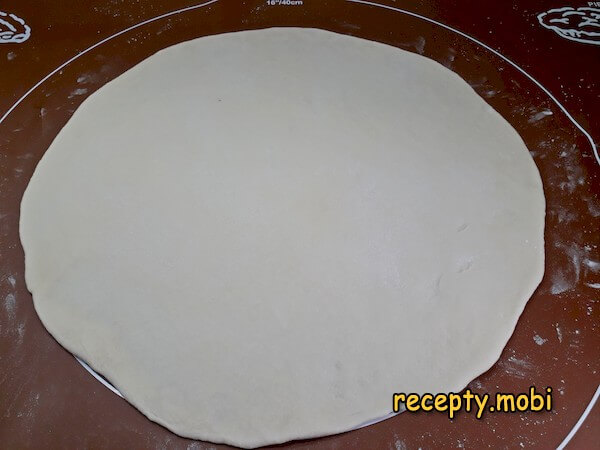
Move the circle onto a baking sheet lined with parchment. Fold the edges in, braiding them in a plait toward the inside of the circle.
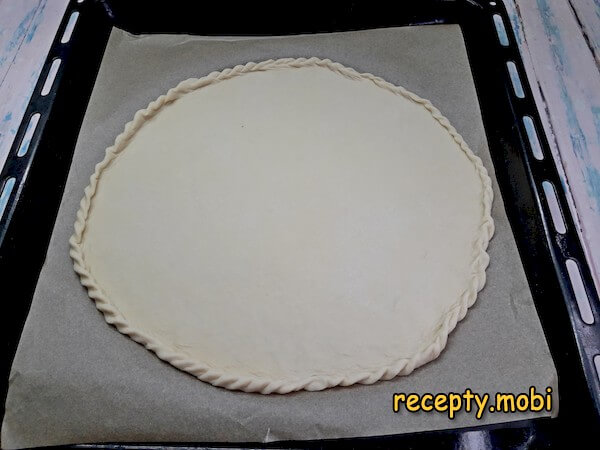
Apply a thin layer of the tomato spread, taking care not to touch the patterned folded edge.
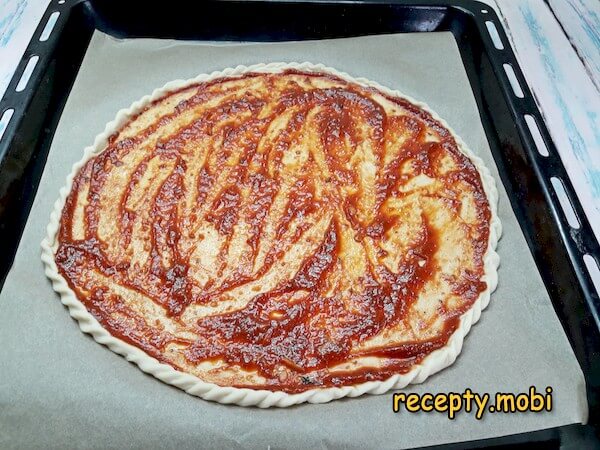
Lightly sprinkle the surface with cheese and distribute half of the marinated meat.

Scatter over part of the pineapple pieces.
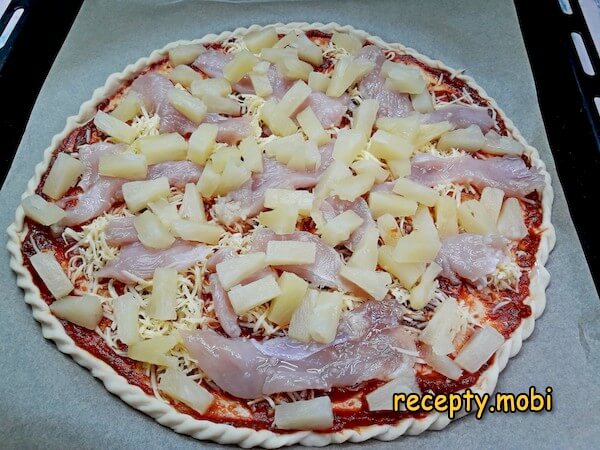
Cover everything with half of the grated cheese and put the first base on the middle rack of the oven.
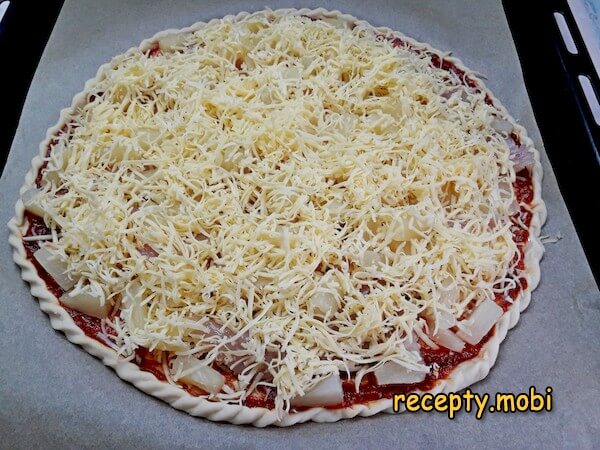
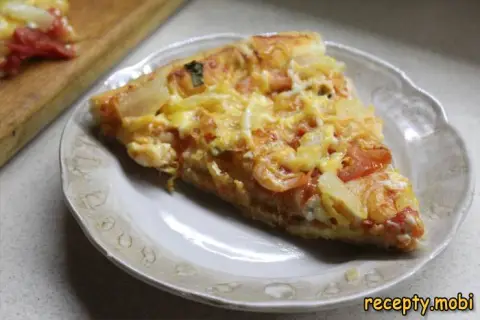
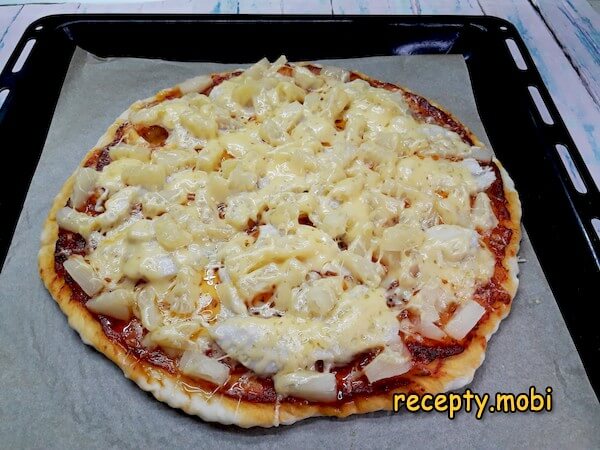
After about 15–17 minutes the pizza is ready. You can garnish it with fresh mint and basil leaves. Prepare and bake the second pizza in exactly the same way.


Tips
- 1
Marinating the chicken raw is the secret of Hawaiian pizza. Fried chicken comes out dry. Thin slices of marinated fillet bake through in the oven in 15 minutes and stay juicy.
- 2
Thin slices are the secret of even cooking. Thick pieces will not bake through in 17 minutes. Thin 2–3 mm slices are done together with the dough.
- 3
Cheese in two layers is the secret of the texture. First a layer between the spread and the topping, so the sauce does not soak the dough. Then one on top, for a golden crust.
- 4
190 °C from both sides is the secret of a crisp base. The bottom heat bakes the base, while the top heat melts the cheese and browns it. The same principle works for other kinds of home-made pizza.
FAQ
Which pineapple to choose? +
Ideally, canned in rings or pieces without sugar syrup (300 g is the optimum for 2 pizzas). Alternatives: fresh pineapple (300 g of flesh, the premium option, with a brighter flavour), canned in cubes (300 g, convenient), pineapple in its own juice (300 g, the "diet" option), soaked dried pineapple (150 g dried equals 300 g, the "budget" option), or canned pears (300 g, an interesting variation). A fresh ripe pineapple is the premium choice. Do not use: pineapple in thick sugar syrup (too cloying) or pickled pineapple. For the "classic Hawaiian" you must use pineapple canned in its own juice.
What can replace the chicken fillet? +
Alternatives: boneless chicken thigh (175 g, juicier), turkey fillet (175 g, the "diet" option), ready smoked chicken (175 g, the "budget" option, no marinating needed), boiled ham (175 g, the "classic Hawaiian", as in "Hawaiian" pizza), thin slices of bacon (175 g, the premium option), or dry-cured chicken (175 g, a "premium delicacy"). Fresh chilled breast is the premium choice. Do not use: fatty mince (it will spread out) or a salty processed product (it will over-salt). For the "classic Hawaiian" you must use chicken or ham.
How long does the pizza keep? +
In the fridge, wrapped in foil or in a container, 2 days. Any longer and the dough turns rubbery and the topping comes away. Before serving, reheat in the oven for 5–7 minutes at 180 °C on parchment, to bring back the crispness of the base. The microwave is not suitable, as the dough becomes rubbery. In the freezer (cut into pieces), up to 1 month; thaw for 2 hours at room temperature, then heat in the oven. Fresh pizza is the "star" straight from the oven (the hot cheese stretches). On the second day the flavour holds up, but the texture is worse. Do not leave it at room temperature for longer than 4 hours.
What to serve Hawaiian pizza with? +
The Canadian classic: with a glass of cold beer (a light lager). With tomato sauce or ketchup for dipping. With garlic butter for the crusts. Alongside a fresh Caesar salad. With a leaf salad and a balsamic dressing. With a glass of lemonade or fizzy drink (the family-style way). With a glass of dry white wine (Sauvignon Blanc). With a jug of sangria (a Spanish touch). With pickled olives. With a packet of crisps for a quick option. With a cup of cappuccino or espresso after dinner. With fresh fruit (for a Hawaiian mood). For a "family celebration" it is a versatile thing to serve. A young, lively hot dish for boisterous gatherings.
- Comment
or post as a guest
Be the first to comment.