
avg —
Chicken roll at home without harmful additives and preservatives
Instructions
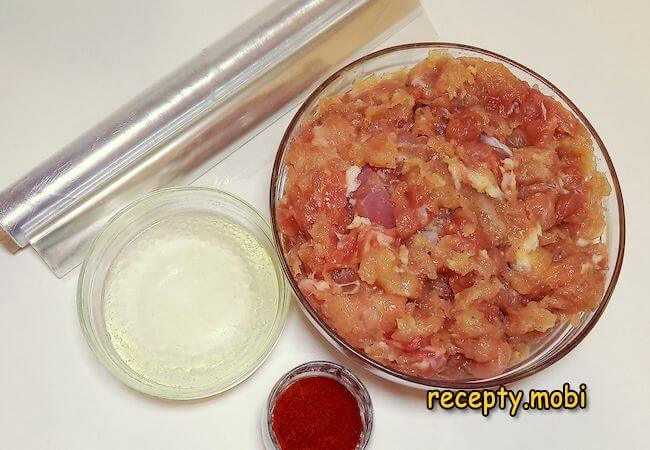
Start the cooking process. Carefully remove the skin from the chicken breast and the thighs in single intact pieces; the skin will wrap around the meat later for that perfect ham-like exterior. Separate the meat from the bones using a sharp knife and reserve the bones for the broth in the next step.
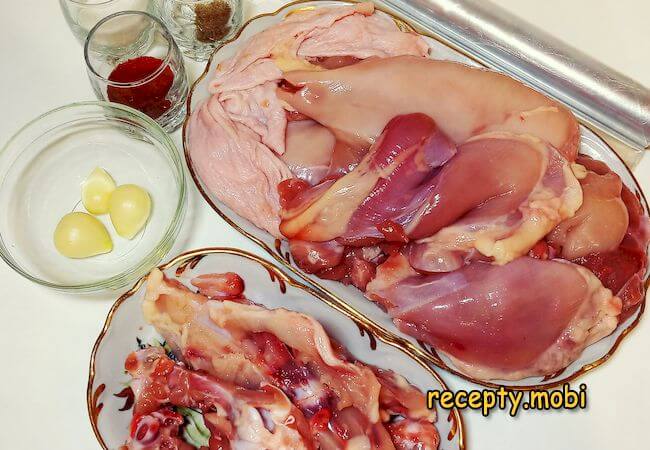
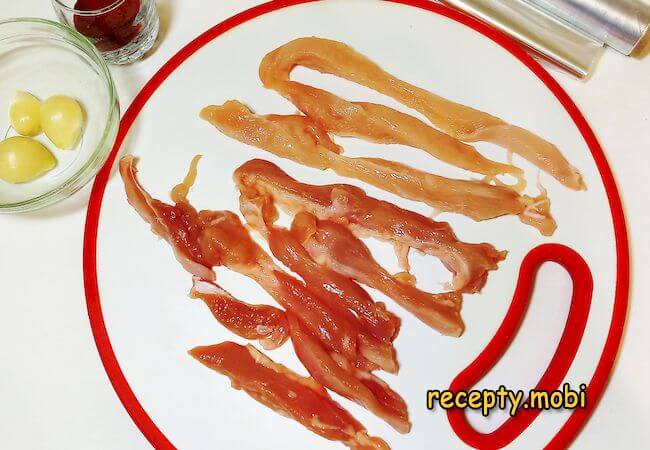
Boil a strong broth from the reserved chicken bones using minimal water (just enough to cover the bones). Simmer for forty-five minutes for the most concentrated flavor. While the broth simmers, cut the boneless chicken meat into thin strips about one centimetre wide and five centimetres long.
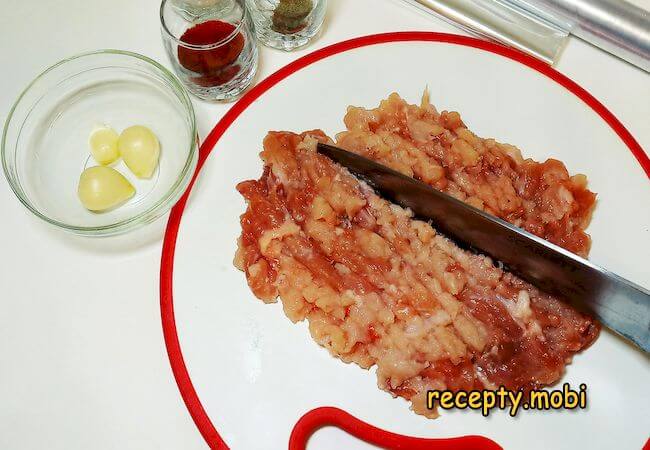
Lightly beat the prepared meat strips with the side of a wide knife (do not cut, just crush the meat against the cutting board). The gentle bruising destroys some of the protein fibers and helps the meat pieces bond together more thoroughly during the maturation step that follows in the next paragraph.
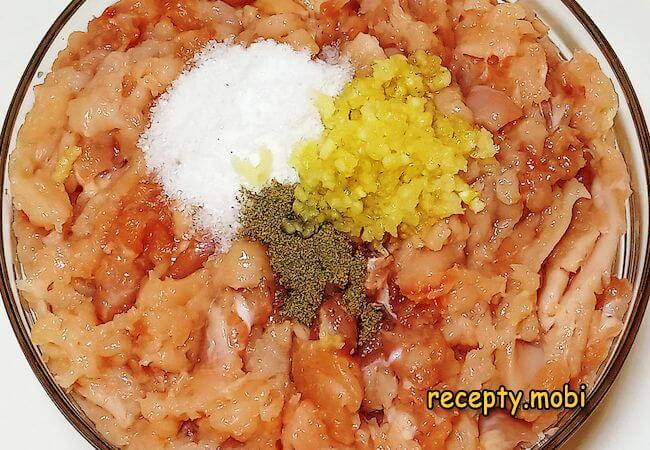
Add the salt, the black pepper, and the crushed garlic to the prepared chicken minced meat in a wide mixing bowl. The salt quantity matters: fifteen to twenty grams per kilogram of meat-and-skin produces the right balance for both flavor and proper protein binding.
Put on disposable gloves and massage the seasoned meat mixture for ten full minutes. The extended kneading is crucial for the proteins to bind into the cohesive structure that defines a proper ham-like roll. Add the chicken skin pieces to the massaged meat, seal the bowl tightly with cling film, and refrigerate for at least two hours (overnight is much better). Measure seventy millilitres of the cooled broth for the next step. After marinating, remove the chicken skin and set aside, then pour the cold broth into the meat. Glove up again and mix everything until the meat absorbs all the liquid completely.
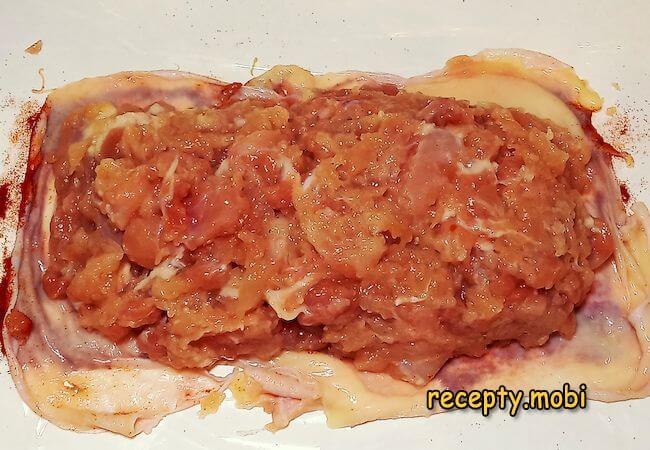
Divide the matured meat mixture into two equal portions for forming the two rolls. Cut the one-metre baking sleeve in half lengthwise, then slit each half along the side seam to unfold into rectangular sheets. Lay the first sheet on the work surface, sprinkle the edge with one teaspoon of paprika, lay the chicken breast skin on top of the paprika, and place half of the meat mixture on the skin.
Roll up the entire stack into a tight cylinder, working from one long edge toward the other. The rolling motion compresses the meat and forms the roll shape that resembles industrial ham; pull the baking sleeve as tight as possible during rolling without tearing the plastic.
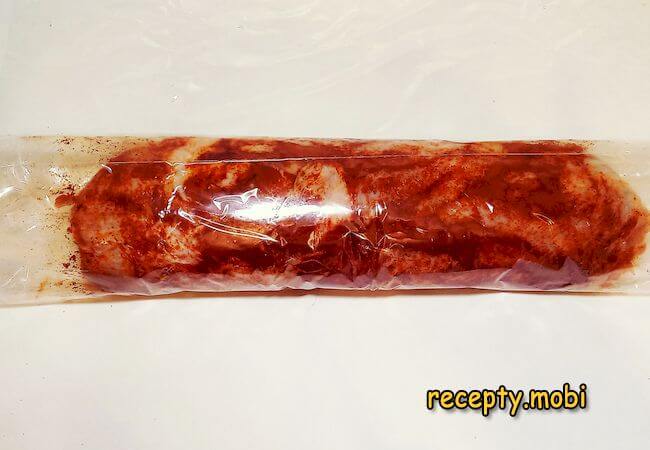
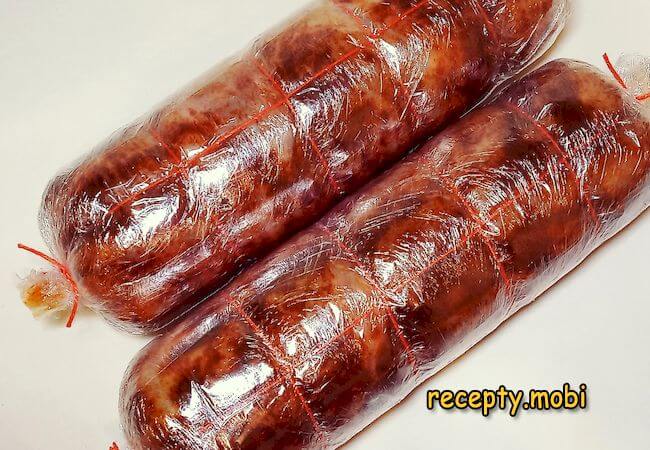
Tie one end of the rolled sleeve tightly with cooking thread. Stand the roll upright on its tied end and tap the work surface gently several times to release trapped air pockets. Tie the second end of the sleeve to seal completely. Compress the formed roll further with several additional loops of cooking thread spaced evenly along the length. Repeat the entire forming process with the second portion of meat for the second roll.
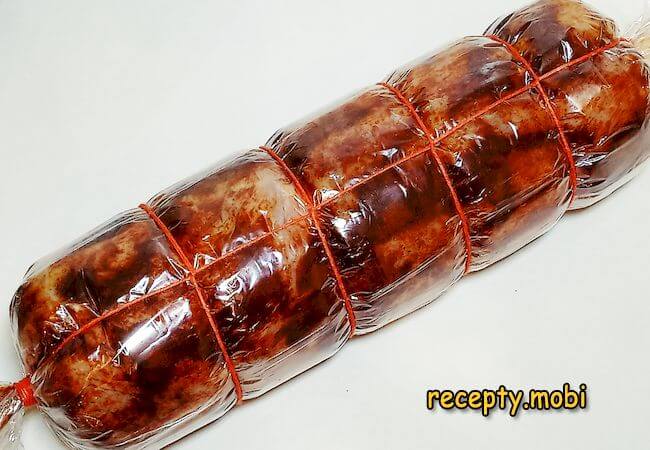
Wrap each formed roll with several layers of food wrap to increase the tightness of the seal. The wrap layer prevents any cooking water from penetrating the roll during the gentle simmer that follows and helps maintain the dense uniform texture that distinguishes professional-quality cold cuts.
Place the formed wrapped rolls into a wide pot, fill with regular cool water to fully submerge the rolls, and place the pot on medium heat. The slow gentle heating prevents the meat juices from escaping the rolls and keeps the meat tender and juicy throughout the cooking.
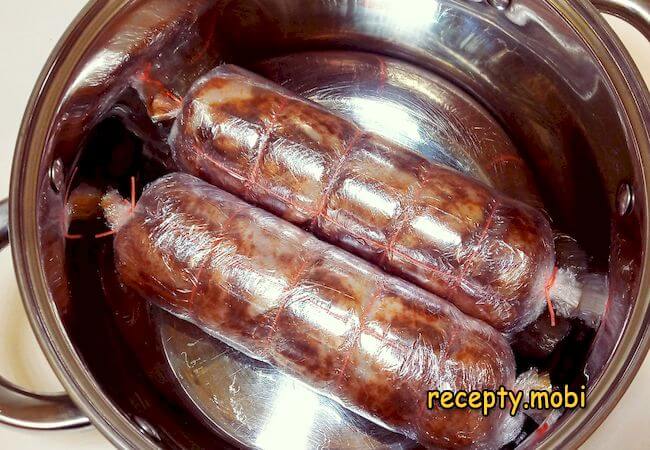
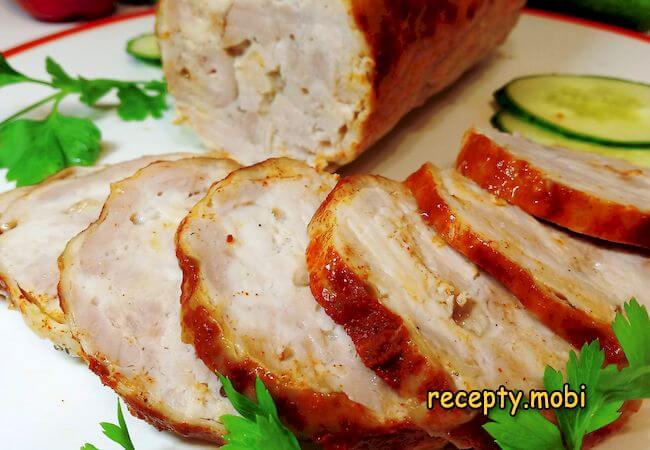
Heat the rolls very slowly, keeping the maximum water temperature at eighty degrees Celsius throughout the cooking. Without a kitchen thermometer, watch for very active steaming with only single bubbles rising from the bottom; the water must never reach a rolling boil because aggressive heating drives moisture out of the meat and ruins the texture. Cook for one and a half hours from the moment the water reaches that gentle steaming stage. After cooking, immediately plunge the finished rolls into ice water; once cooled, refrigerate for a full day so the protein structure matures fully and develops the dense satisfying texture and the expressive savory flavor that define proper homemade ham. Serve the chicken roll as appetizing cold cuts for festive tables or use it daily in place of commercial sausage products.


Tips
- 1
Use a kitchen thermometer if you have one to monitor the water temperature precisely. The eighty-degree maximum is the single most important rule for proper sous-vide-style chicken roll cooking; even brief temperature spikes drive moisture out of the meat and ruin the dense ham-like texture. Without a thermometer, the visual cue of active steaming with only occasional small bubbles is your guide; pull back the heat the moment larger bubbles start to break the surface.
- 2
Massage the seasoned meat for the full ten minutes without shortcuts. The extended kneading is what activates the natural proteins to bind into the cohesive structure that distinguishes proper ham from a loose meat roll. Skipping this step or shortening it produces a roll that crumbles when sliced rather than holding together in clean smooth pieces. Pair the finished roll alongside pork knuckle in soy sauce for a meat-themed cold-cut platter.
- 3
Refrigerate the cooked roll for the full twenty-four hours before slicing. The long maturation period is essential for the protein structure to firm up properly and the salt to distribute evenly throughout the meat. Slicing too early produces a soft crumbly result rather than the firm sliceable texture that defines proper cold cuts. The patient overnight rest in the refrigerator pays off generously in the finished slices on the breakfast plate.
- 4
Save the cooking water from the gentle simmer; it makes an excellent base for soup. The gently flavored water has absorbed some of the chicken essence and works beautifully as the foundation for chicken noodle soup or any vegetable soup that needs a savory liquid base. The zero-waste approach makes this lengthy recipe even more cost-effective and rewarding. Pair the sliced cold cuts with the comforting chicken soup with noodles and potatoes for a complete chicken-themed lunch spread.
FAQ
Can I make this roll with turkey instead of chicken? +
Yes, turkey works beautifully in this versatile recipe and produces a slightly leaner, more refined cold cut. Use turkey breast plus turkey thigh meat in the same proportions as the chicken in the original recipe. Adjust the cooking time slightly because turkey takes longer to reach safe internal temperature; aim for one hour forty-five minutes at the eighty-degree water temperature. The finished turkey roll is particularly popular at holiday tables and pairs beautifully with cranberry sauce. Other game birds like pheasant or duck breast also work for adventurous cooks willing to experiment with the technique.
How long does the chicken roll keep in the refrigerator? +
The cooked refrigerated roll keeps well for up to seven days in the original baking sleeve in the refrigerator. The dense protein structure and the salt content together act as natural preservatives. Always slice with a clean knife and rewrap any unused portion tightly with cling film to prevent the cut surface from drying out. The roll also freezes successfully for up to two months wrapped in foil and placed inside a freezer bag; thaw overnight in the refrigerator before slicing. The texture stays nearly identical to fresh after thawing.
What seasonings can I add to vary the flavor? +
Several seasonings transform the basic recipe into different flavor profiles. Smoked paprika in place of regular paprika gives a deeper smoky character that mimics commercial smoked ham. Caraway seeds added with the salt produce an Eastern European-style flavor profile suitable for rye bread sandwiches. Italian herbs (oregano, basil, thyme) create a Mediterranean version. A small amount of chopped fresh rosemary brings a distinctive aromatic note. Whatever seasonings you choose, keep the salt level the same because the salt provides essential preservation and protein binding properties.
What can I serve alongside the chicken roll? +
The roll works beautifully in countless serving contexts. Classic sandwiches with cheese, lettuce, and mustard turn the roll into a substantial lunch. A festive cold-cut platter with pickled vegetables, crusty bread, and various cheeses creates an impressive appetizer course. Slice thin and serve with crackers and grainy mustard for a sophisticated cocktail party. Diced into salads, the roll adds protein and savory flavor. For breakfast, slice and serve with scrambled eggs, sliced tomatoes, and warm bread for a satisfying weekend morning meal that beats any commercial deli option.
- Comment
or post as a guest
Be the first to comment.


