
avg —
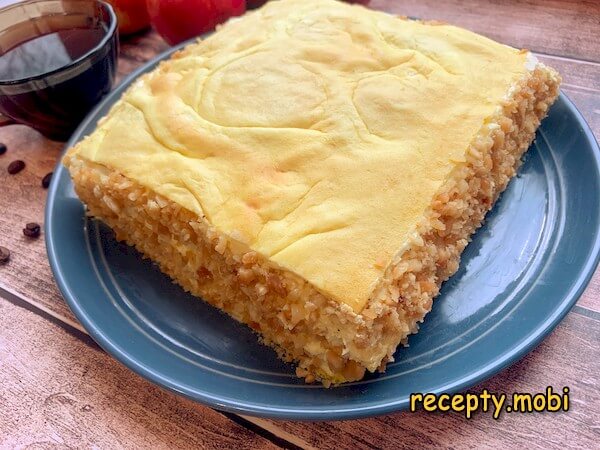
Custard dough cake with custard "Plombir"
Instructions
Begin with the custard cream because it needs time to cool. Take a heavy-bottomed saucepan or a non-stick frying pan and break the eggs into it. Add the regular sugar, the vanilla sugar, and the corn starch. Whisk the cream base steadily until every lump dissolves and the mixture turns smooth. Corn starch can be replaced with regular potato starch or plain flour with no loss of quality.
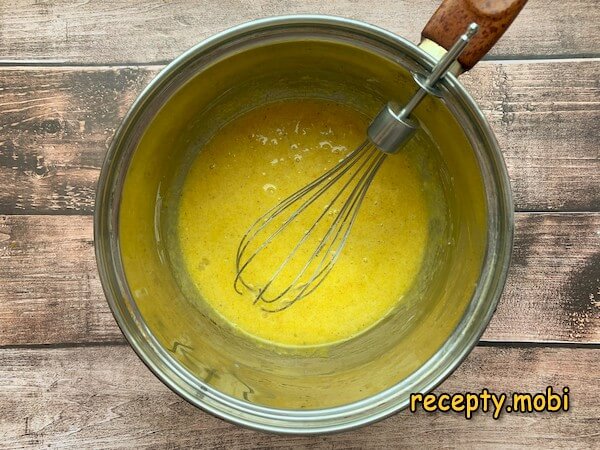
Pour the cold milk into the saucepan and continue stirring without pausing. Place the cream over medium heat and start to thicken it, stirring constantly with a spatula. The moment you feel the resistance increase, drop the heat to minimum and keep stirring vigorously. As soon as the first bubbles break the surface, remove the cream from the heat immediately.
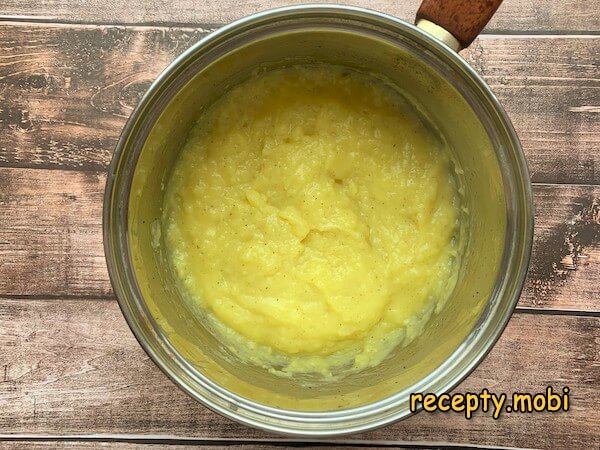
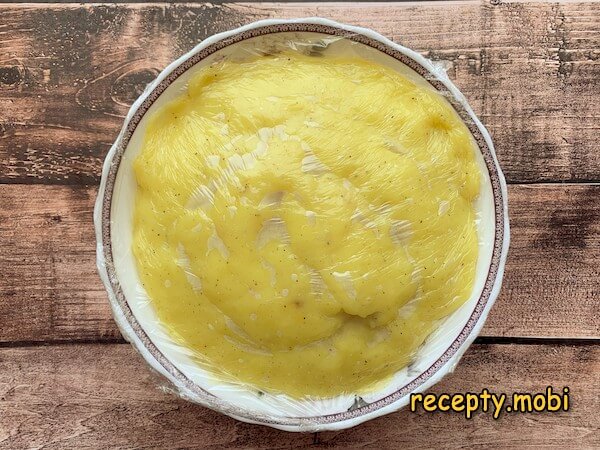
Transfer the hot custard to a wide bowl, then press cling film directly against the surface of the cream so it cannot form a tough skin while cooling. Leave the bowl on the counter to cool to room temperature; do not refrigerate it because cold custard is harder to combine with butter later.
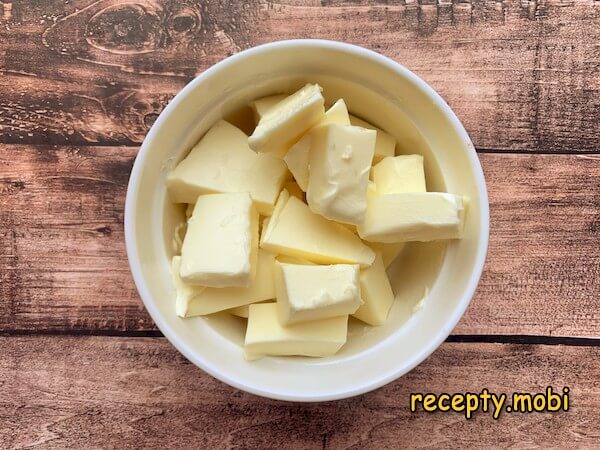
While the custard cools, cut the one hundred and sixty grams of butter into a separate bowl in small cubes. Set it on the counter to soften to room temperature; soft butter beats more easily and incorporates the custard without leaving any unsightly lumps in the finished cream.
Now start the choux pastry layers. Pour the milk and water into a heavy-bottomed saucepan, add the salt and the butter measured for the layers, and place the saucepan over medium heat. Wait patiently until the butter has fully melted into the liquid before moving on to the next step.
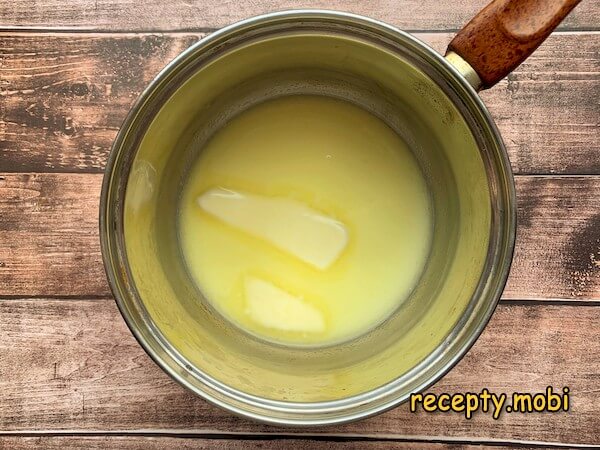
The moment the butter has fully melted, sprinkle in all the flour and, without removing the saucepan from the heat, mix the contents thoroughly with a spatula until perfectly uniform. Continue stirring on the heat for another minute or two to drive off excess moisture. This whole process is called "cooking the dough", and the resulting silky paste is the choux pastry that defines this cake.
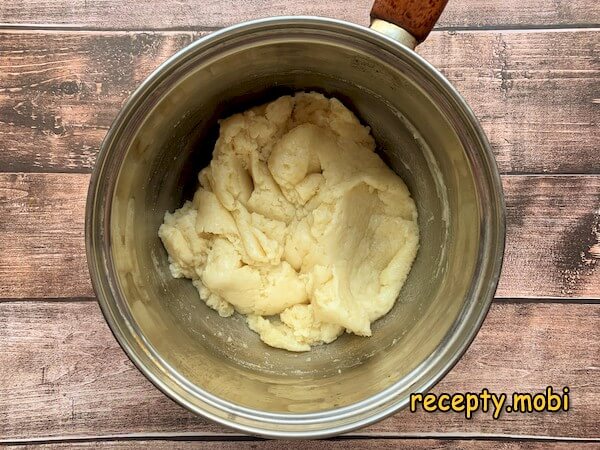
Move the choux pastry to a wide bowl and let it cool for three to four minutes. Stirring with the spatula speeds the cooling considerably. The pastry should be warm but never hot when the eggs go in. Add the eggs one at a time, mixing thoroughly between each addition; at first it seems the eggs refuse to incorporate, but after a minute the dough comes together into a smooth glossy paste that drops easily from the spatula.

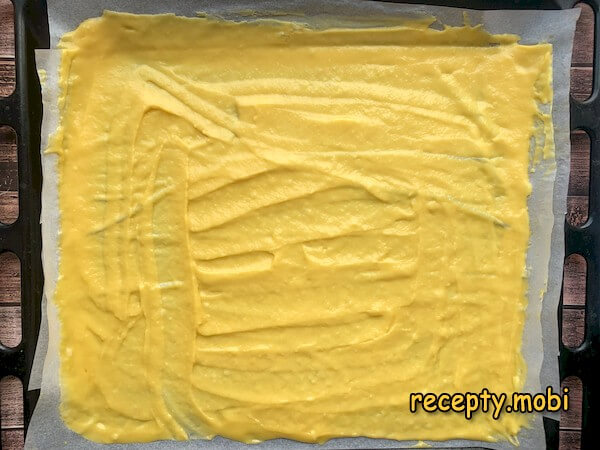
Divide the dough into two equal parts directly in the bowl. Cut a sheet of parchment to thirty by forty centimeters, the standard baking tray size. For convenience, set the baking tray on a kitchen towel and place the parchment on the tray; this arrangement makes spreading the dough much easier. Spread half the dough across the parchment with a spatula, working toward an even thickness across the entire sheet.
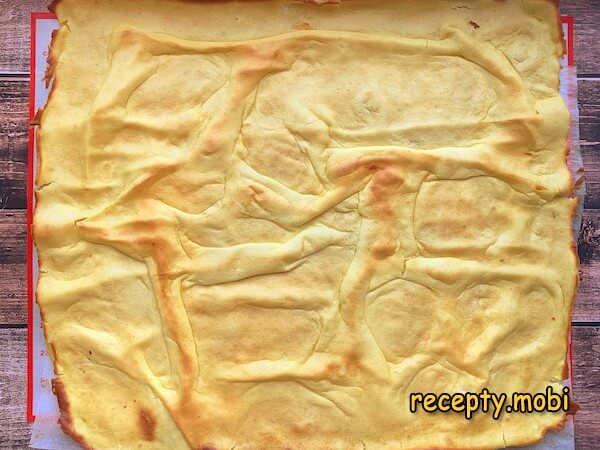
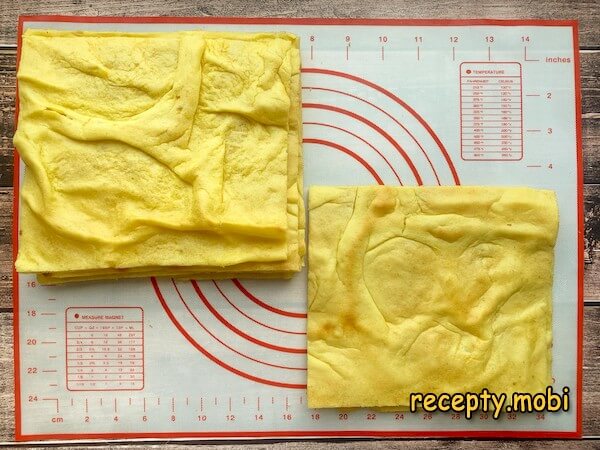
Slide the tray into a preheated oven at two hundred degrees Celsius and bake for ten to fifteen minutes, depending on your oven's strength. The moment the layer comes out hot, lift it from the baking tray and press it flat with your hands to even the surface. Bake the second layer in the same way and press it flat too while still warm and pliable.
Trim the edges of both baked sheets to neaten them, then divide each sheet into four equal pieces. The result is eight small layers in total. They will be soft and uneven in texture; this is exactly what gives the finished cake its characteristic rustic appearance and helps the custard cream soak in evenly during the long rest.
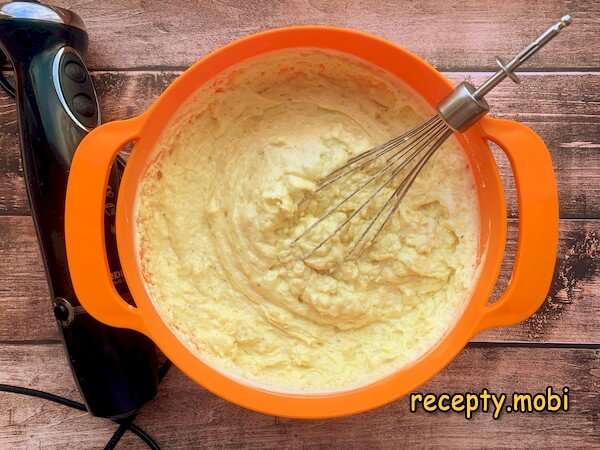
Whip the softened butter with a mixer for three to four minutes until it lightens noticeably in color and texture. Then add the cooled custard a tablespoon at a time, continuing to whip after each addition. Combining butter and custard at the same temperature is the key to a smooth lump-free cream; cold custard would seize the warm butter into ugly clumps.
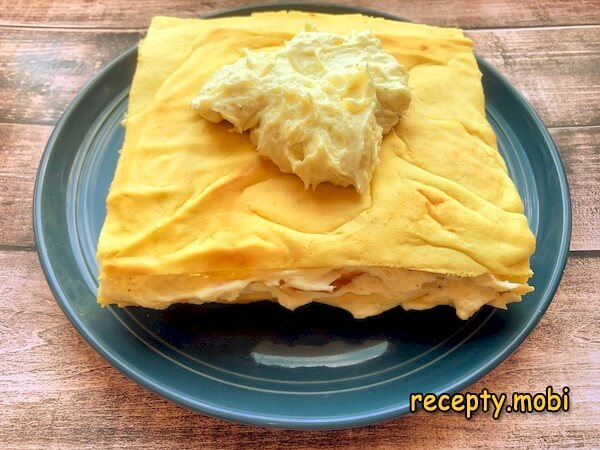
Move on to the cake assembly. Place the first choux layer on a serving plate and spread two heaping tablespoons of cream evenly across its surface. Repeat with the remaining seven layers, building the cake one layer at a time. Press each new layer down very gently to keep the structure level without squeezing out the cream from the sides.
Coat the sides of the assembled cake with the remaining cream; the top stays bare to display the rustic surface. If you like, decorate the edges with toasted nut crumbs by lightly toasting nuts in a dry pan and pressing them gently into the side cream. Coconut flakes or grated dark chocolate work equally well as alternatives. Refrigerate the cake for six full hours to soak and stabilize, covering the surface with cling film to block out other refrigerator odors.
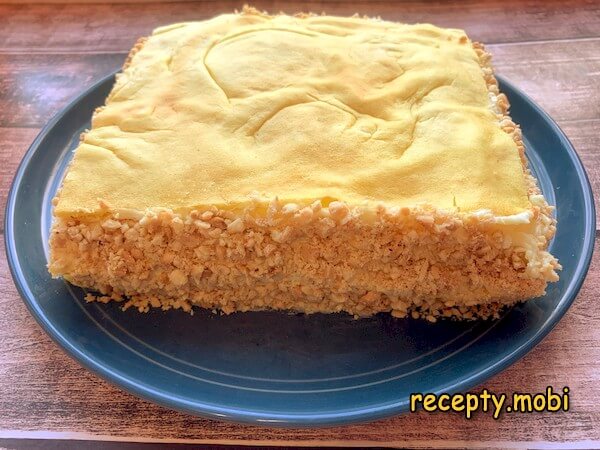
The custard dough cake with custard "Plombir" is ready to take pride of place at any family gathering. The approximate weight of the finished cake is one and a fifth kilograms, easily enough for six generous servings or eight smaller ones. Slice with a sharp knife dipped in hot water for the cleanest cut through the layers and cream.


Tips
- 1
Cool the custard cream completely before adding it to the whipped butter, but never refrigerate it. Cream straight from the refrigerator turns the butter into hard tiny beads instead of merging into a smooth emulsion. Room temperature is the magic zone where both components meet at the same softness and combine into the silky frosting that holds the cake together. Plan ahead and time the cream to be ready about an hour before you need to whip the cake together.
- 2
Press each baked choux layer flat the moment it comes out of the oven while it remains hot and pliable. Cooled layers crack when forced flat and lose the smooth surface needed for clean stacking. Use the back of a clean kitchen towel or your gloved palms to push the surface gently downward across the entire sheet until level. The flattened layers stack beautifully and absorb the cream evenly during the long rest. Pair this dessert with another classic like the famous Napoleon cake.
- 3
Use room-temperature eggs in both the choux pastry and the custard. Cold eggs from the refrigerator slow the absorption of the eggs into the warm choux paste, leading to lumps and a longer mixing time that risks overworking the dough. Pull the eggs out of the refrigerator an hour before you start the recipe; this small habit makes a noticeable difference in the smoothness of both the layers and the cream that bind them.
- 4
Refrigerate the assembled cake for the full six hours, ideally overnight. The long soak transforms the texture from a stack of dry layers and stiff cream into a unified soft cake where every bite delivers the same harmonious flavor. Skipping this rest leaves the cake feeling unfinished and the layers separating under the knife at the table. Use top-quality butter for the cream because its flavor will dominate the finished dessert.
FAQ
Can I freeze the custard cake for later use? +
Yes, the assembled cake freezes well for up to two months without losing its texture or flavor. Wrap the chilled cake tightly in two layers of plastic film, then in a layer of foil to prevent freezer burn. Thaw overnight in the refrigerator before serving; do not attempt to thaw at room temperature because the warm air softens the cream too quickly and risks separating the butter. The texture after thawing is virtually identical to fresh; even guests cannot tell the difference if the wrapping was done carefully.
What can I do if my custard cream curdles during preparation? +
Curdling usually happens when the milk goes in too quickly or the heat is too high. If the cream looks grainy and broken, remove the saucepan from the heat immediately and whisk vigorously while adding a tablespoon of cold milk. The sudden temperature drop and the extra liquid often bring the cream back together into a smooth emulsion. If that fails, push the broken cream through a fine sieve to remove the lumps. The strained cream tastes the same and bonds with the butter just as well as a perfect batch.
How can I tell when the choux layers are done baking? +
Properly baked choux layers display a deep golden brown color across the top with darker patches at the edges where the dough is thinnest. The surface looks dry rather than glossy, and the layer feels firm enough to lift from the parchment without bending in the middle. If you are unsure, leave it in for another minute and check again; an underbaked layer turns soggy after sitting in the cream, while an overbaked one simply softens slightly during the long rest. Always trust the color over the timer.
Can I substitute the corn starch with another thickener? +
Yes, several alternatives work well in this custard recipe. Potato starch behaves almost identically and is the most common substitute in Eastern European baking; use the same fifty grams without any adjustment. Plain wheat flour also thickens the cream beautifully but produces a slightly heavier texture and needs a minute longer of cooking to lose the raw flour taste. Tapioca starch gives a glossier finish but slightly stretchier texture. Avoid arrowroot for this recipe because it loses thickening power when reheated alongside butter.
- Comment
or post as a guest
Be the first to comment.


