
avg —
Garlic Paste for Winter (2 Storage Options)
Instructions
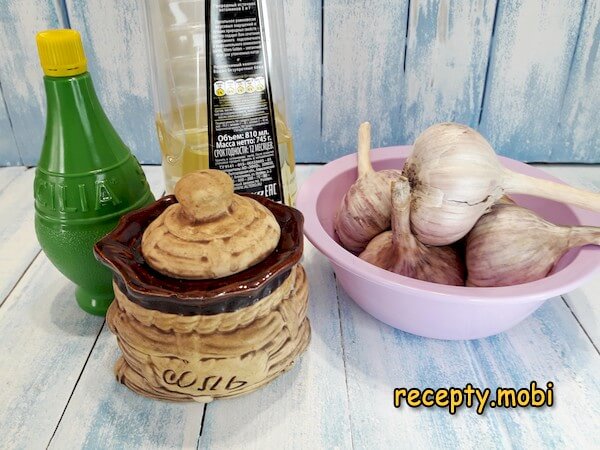
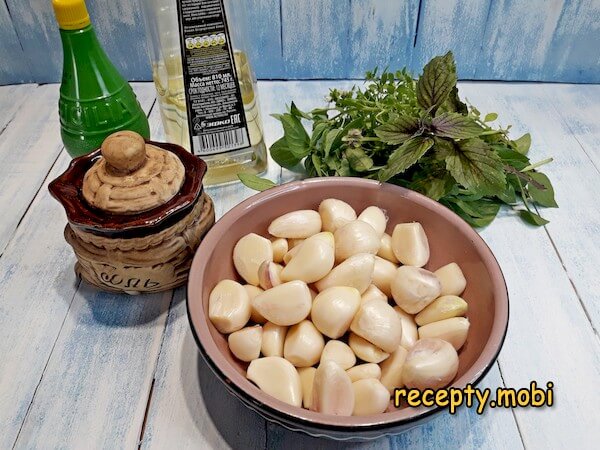
I prepare the ingredients for the first method. Garlic peels first; cleaned weight should be 250 g. Small jars (250 g or smaller) are best for practical use. Sterilise jars and lids in advance.
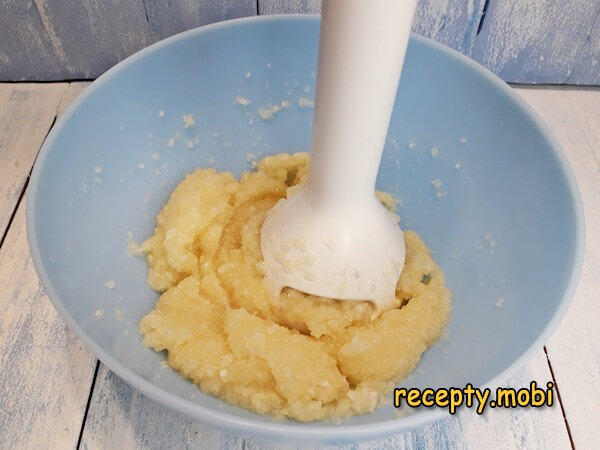
The cloves blend in a blender to a smooth paste. Meat grinder works (twice for proper texture) but produces a coarser grainy consistency. Garlic press alone works for very small batches but is labour-intensive for 250 g.
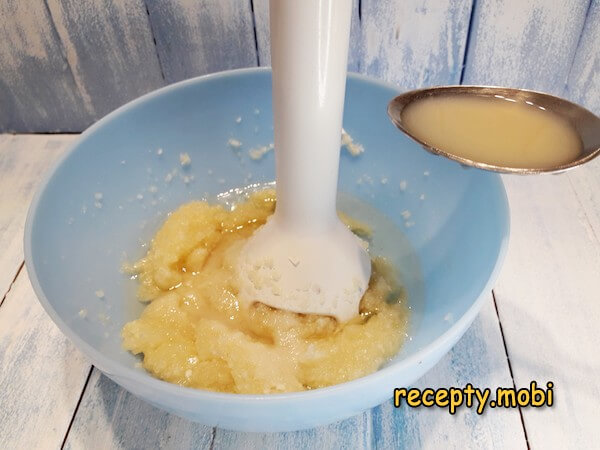
Salt, lemon juice, and vegetable oil add to the garlic. Blend together again to integrate.
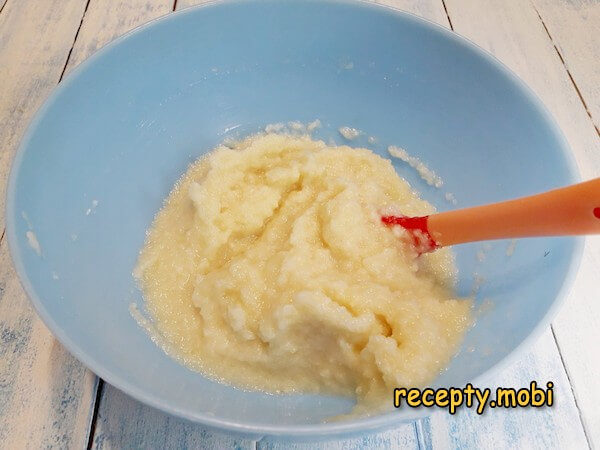
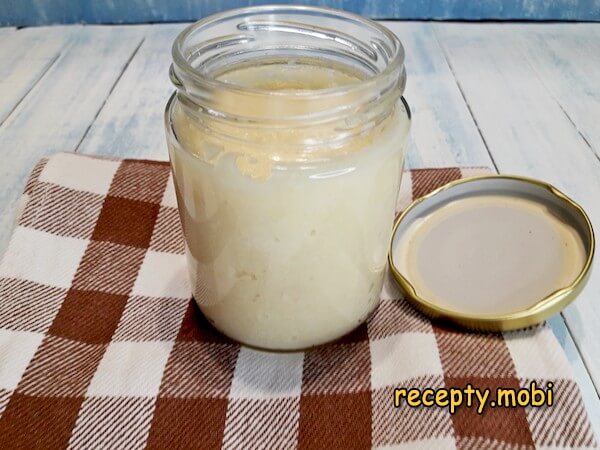
The result is uniform moist paste with garlic-cream consistency.
Paste transfers to the jar, leaving 5-10 mm space at the top.
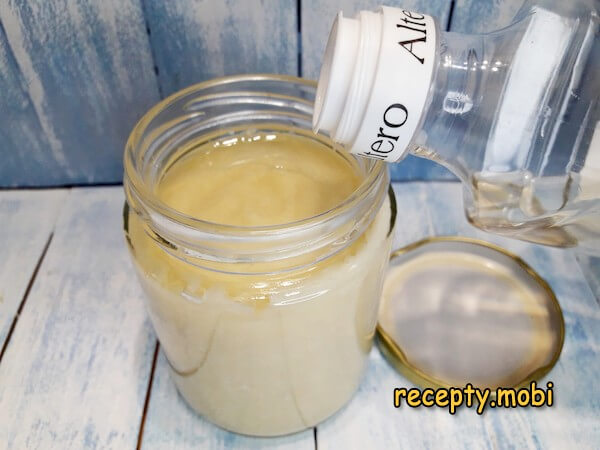
The 15 ml extra vegetable oil pours on top to create an oxygen-barrier oil layer. Lid screws on tight; jar refrigerates.
For the second method (freezer storage), basil substitutes with any fresh herb (dill, cilantro, parsley). This version stores in a zipper bag rather than a jar.
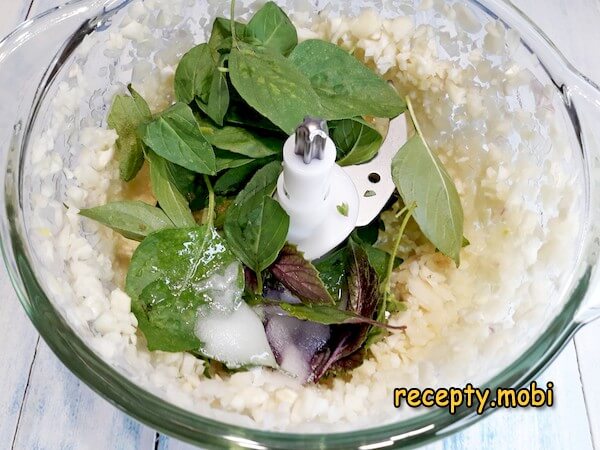
Garlic chops in a chopper or meat grinder.

Basil leaves add in.
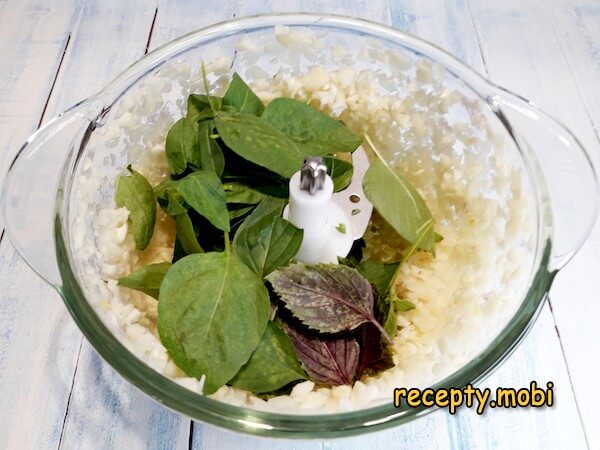
Salt and vegetable oil follow. Blend everything together.
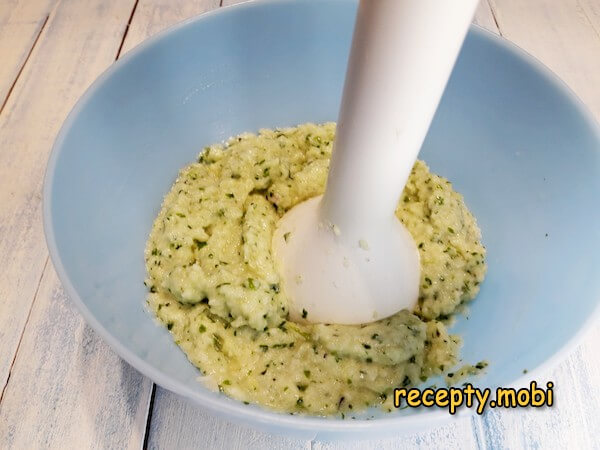
For paste-smooth consistency, finish with an immersion blender — produces uniform texture better than chopper alone.
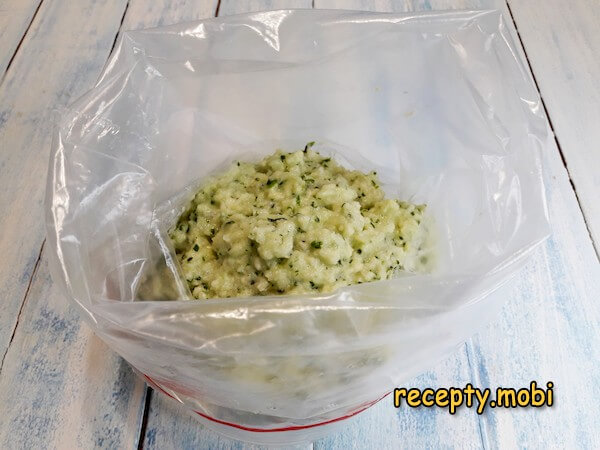
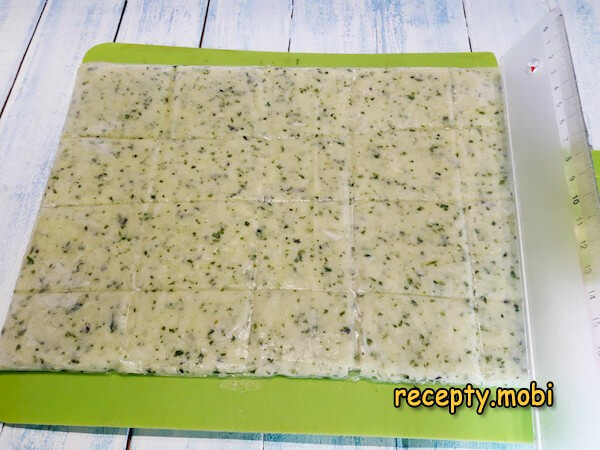
Paste transfers into the zipper bag.
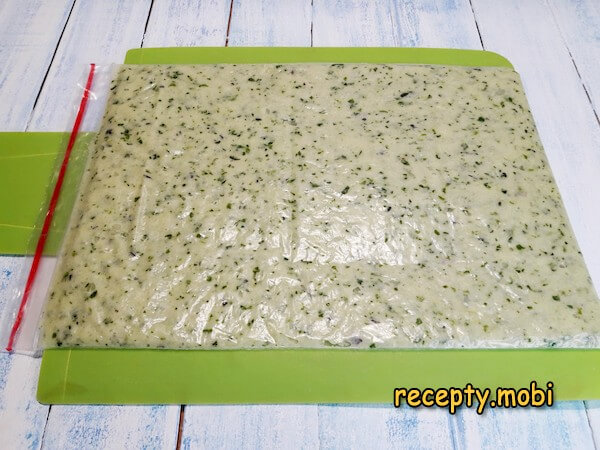
Flatten the bag's contents to about 2 mm thick layer, press out air, seal the zipper. Working on a flat board makes transfer to freezer easier.
After about 1 hour partial freezing (paste firm but not solid), I use a ruler or knife back to score grooves dividing the paste into squares. The pre-divided squares break off cleanly when needed. Return to freezer for full storage.Both garlic-paste methods are kitchen-saving conveniences. Quickly add a spoonful or square to salads, smear on meat or poultry before baking, stir into soups or stews — all without the peel-and-chop labour. The garlic stays usable until next year's harvest.


Tips
- 1
THE OIL SEAL ON FRIDGE VERSION IS NON-NEGOTIABLE. Step 6's 15 ml oil topping isn't decorative — fresh garlic paste exposed to air develops surface mould within days. The oil layer creates oxygen barrier that extends fridge storage from 1 week to 2-3 months. Use neutral-tasting oil (sunflower, light olive) — strong oils overwhelm the garlic. Pour gently to avoid disturbing the paste below.
- 2
THE PRE-DIVIDED SQUARES IN FREEZER VERSION ARE GENIUS. Step 14's groove-marking trick is what makes the freezer version genuinely practical. Without pre-divided squares, you have to thaw the entire bag to use any portion. With squares, you snap off exactly what you need (one square = roughly 1 garlic clove equivalent), leave the rest frozen. The 1-hour partial-freeze timing is precise — too early and the paste flows back together; too late and the paste is too hard to score. For another tomato-garlic preserve worth comparing, see Adjika Made from Tomatoes and Garlic for the Winter.
- 3
HERB VARIATIONS FOR THE FREEZER VERSION. The basil version is one option; herbs are interchangeable based on intended use. Dill (Russian classic, pairs with everything Slavic), cilantro (Caucasian/Mexican leaning), parsley (universal European), thyme + rosemary (Mediterranean), or just plain (no herb — most universal). Some cooks make multiple bags with different herbs labelled. Don't add wet vegetables (tomato, onion) — they release water and ruin the freezing structure.
- 4
WHICH OPTION TO MAKE? Choose by use case. Fridge version: best for daily-use households where garlic is needed multiple times per week (the open jar accelerates use). Freezer version: best for occasional-use cooks who want garlic-on-demand without commitment to fast consumption. Many Russian-Eastern European households make BOTH — fridge jar for everyday, freezer bag for emergency back-up. The basil version specifically works for Italian-cuisine cooks who use a lot of basil-garlic combinations. For another tomato-garlic winter sauce variation worth trying, try Tomato and Garlic Sauce for Winter.
FAQ
How long do the two options actually keep? +
Fridge option (oil-sealed): 2-3 months at peak quality. After 3 months, the garlic flavour stays but the consistency may darken slightly (oxidation through the oil seal — slow but real). Freezer option (zipper bag): 6-12 months easily. The frozen paste retains nearly all original character. Both options are dramatic improvements over storing whole garlic bulbs (which start spoiling by February-March in most home conditions).
Can I use the fridge option without oil seal? +
Strongly not recommended. Without oil seal, the paste lasts 5-7 days in the fridge before mould forms. The oil seal is the technical innovation that makes 3-month storage possible. If you need a no-oil version, store in a tightly-sealed container, shake the paste daily to redistribute, and consume within 1 week. Or skip option 1 entirely and use option 2 (freezer) — much longer storage with no oil-seal complication.
Why does my garlic paste turn blue/green? +
Occasional blue-green tinting in garlic paste is harmless but visually unappealing — it's caused by sulfur compounds in garlic reacting with trace metals (especially if the garlic was stored in metal containers, or grown in copper-rich soil). To minimise: use stainless steel or glass for processing (never aluminum), use very fresh garlic, add the lemon juice early (the acid stabilises the colour). The tinted paste is completely safe to eat; the colour change doesn't affect flavour. Some cooks find it attractive; others prefer to use the paste before tinting develops.
Can I use this in cooked dishes? +
Yes — both options work in cooking applications. Add 1 tsp paste = approximately 1 garlic clove. The fridge version (with lemon) gives slightly brighter result; freezer version (with herb) gives more complex flavour. Best uses: stir into soups/stews at the end of cooking, smear on meat before roasting, mix into burger patties, fold into hummus or other dips, mix into compound butter for steaks, add to garlic bread butter, or simply spread on toast. The pastes work hot or cold, raw or cooked.
- Comment
or post as a guest
Be the first to comment.


