
avg —
Homemade Rolls
Instructions
I prepare the ingredients. Sushi rice is the right choice; quality short-grain or pilaf rice substitutes acceptably. Trout fillet works in place of lightly salted salmon.

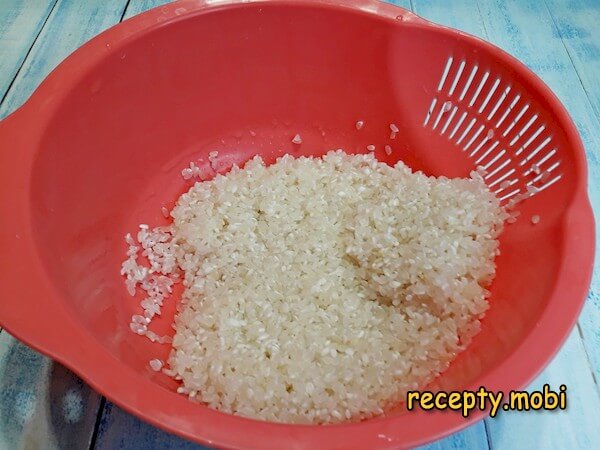
I rinse the rice under cold running water several times until the runoff is clear — surface starch is the enemy of sushi rice texture.
The water-to-rice ratio is precisely 120 ml per 100 g for sushi rice. I transfer the rinsed rice to a heavy-bottomed pot, add the 360 ml of room-temperature water, cover, and cook on low heat for exactly 15 minutes from the moment it boils.
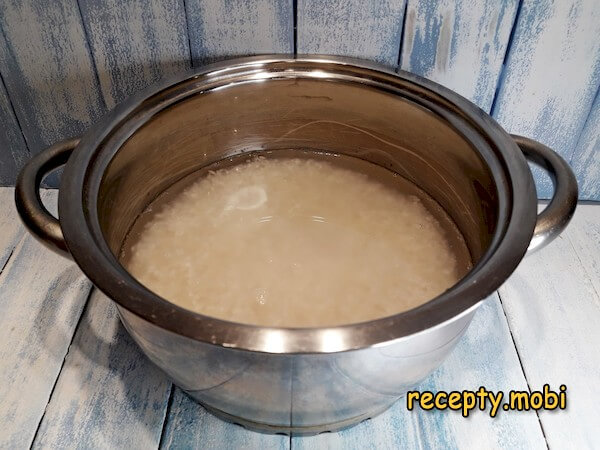
After the 15 minutes, all the water has either evaporated or been absorbed into the grains.

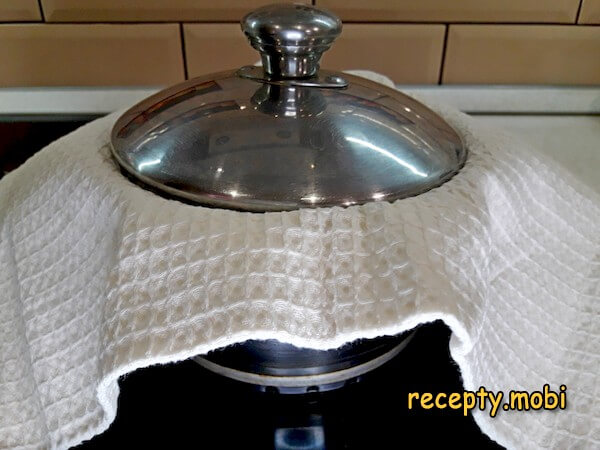
I remove the lid, drape a clean cotton cloth over the pot to absorb condensation, replace the lid on top of the cloth, and let the rice rest 15 more minutes. The cloth keeps the steam from dripping back onto the rice.
While the rice rests, I prepare the dressing: combine vinegar, salt, and sugar in a small bowl.

I stir until the dressing is clear — no sugar or salt granules visible. Warming briefly in the microwave (10 seconds) speeds full dissolution.

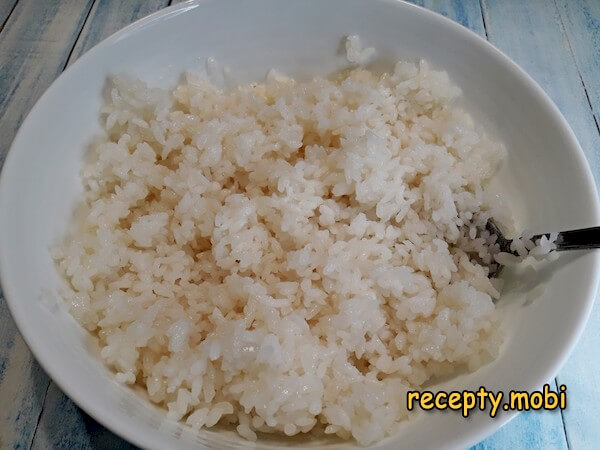
After the rice rest, I pour the dressing over the rice and gently fold to combine. Folding (not stirring) preserves the grain structure.

To cool the rice quickly to room temperature, I transfer it to a wide flat plate. Spreading thin = faster cooling.
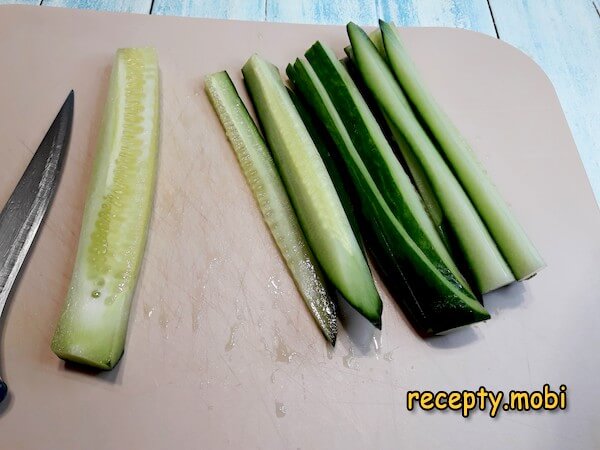
I cut the cucumber crosswise into 6-7 cm sections, then trim each section into strips of skin + outer flesh, stopping at the watery seeded core (which I discard).

I cut the cucumber pieces into thin matchstick strips (3-4 mm wide).
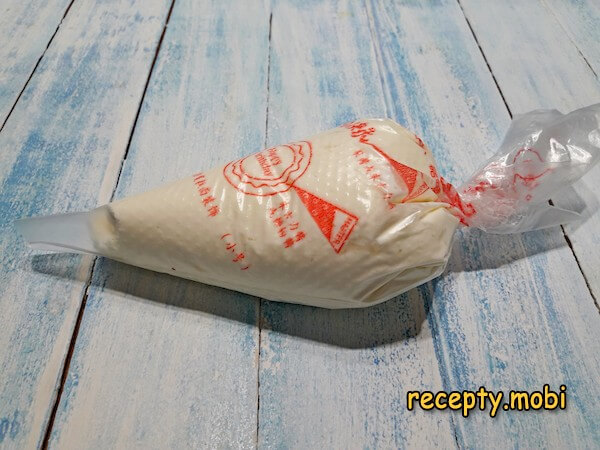
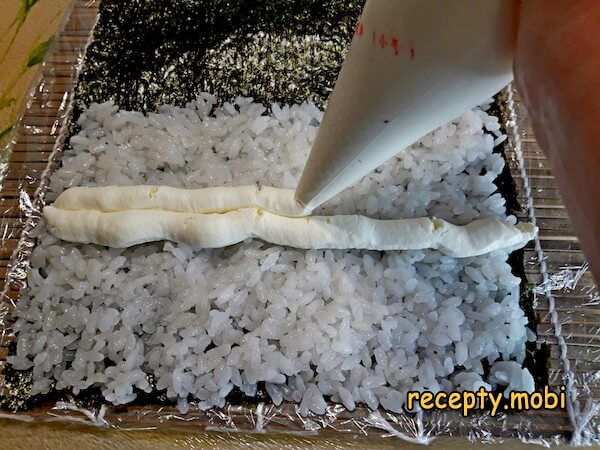
I transfer the cream cheese to a piping bag with the tip cut off — this gives controlled cheese strips for the rolls.
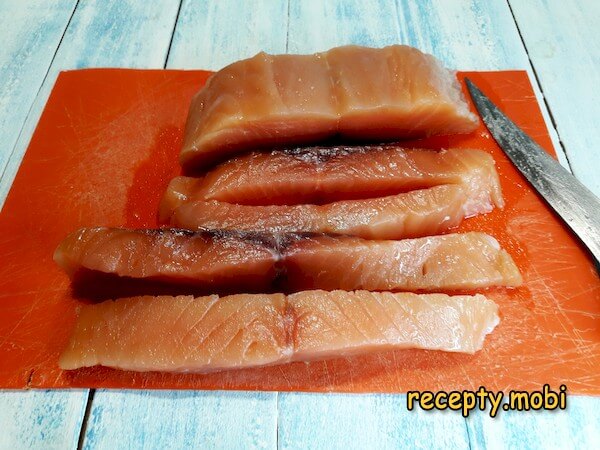
I cut the salmon into long strips with square cross-section (1 cm × 1 cm).
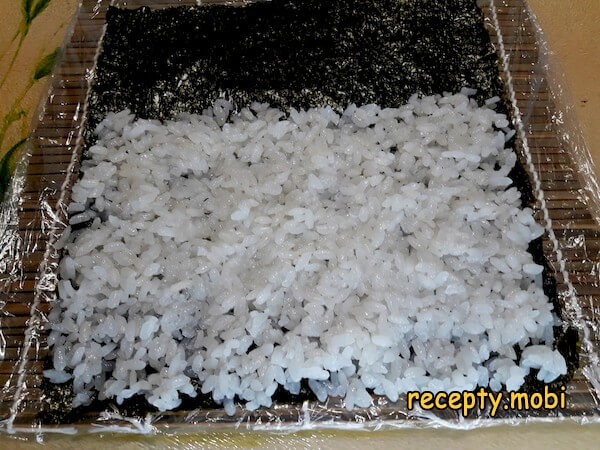
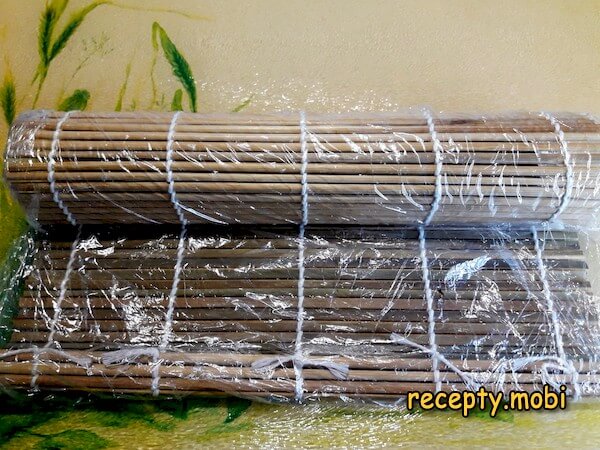
I wrap the bamboo mat in plastic wrap, secure with tape. Place a Nori sheet glossy side down (rough side up) on the mat.

About 100 g of cooled rice per Nori sheet. With wet hands, I spread the rice across the Nori, leaving 1.5 cm of bare Nori on the far edge (this becomes the seal at rolling).
In the centre of the rice, I pipe 2 strips of cream cheese running the length of the roll.
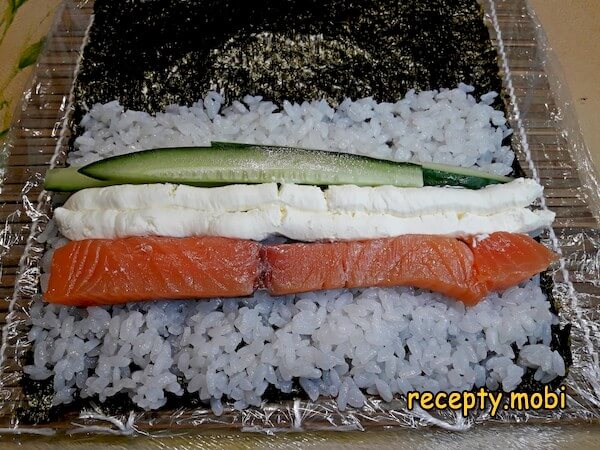
Salmon strips go on one side of the cheese; cucumber strips on the other. The arrangement creates a colourful cross-section when sliced.
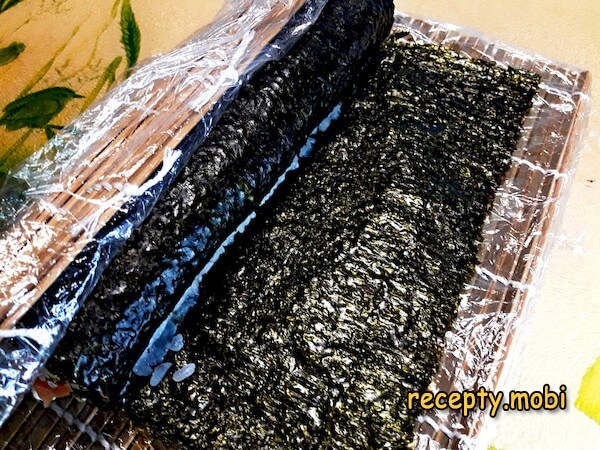
Now the critical rolling moment: I lift the mat from the near edge and start rolling toward the far edge, using the mat to apply even pressure as I go. The rice edges meet and grip each other.
I moisten the bare Nori strip with a wet finger, then complete the roll — the moistened Nori glues to the rice on the other side.
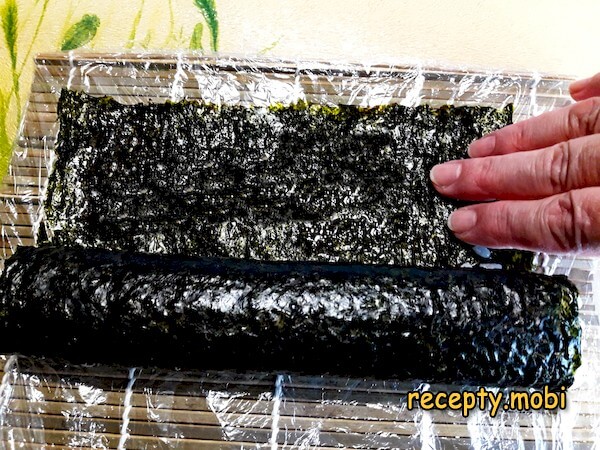
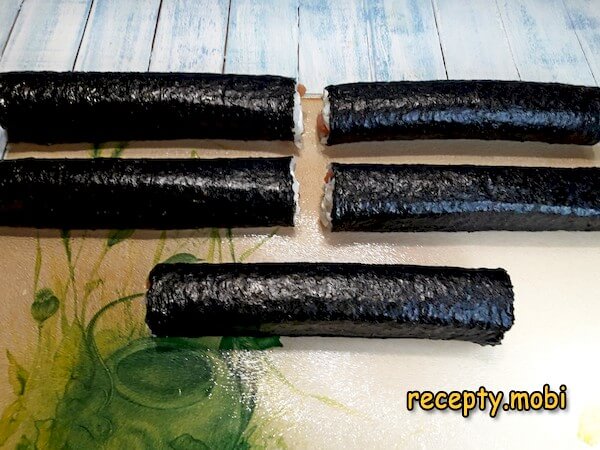
With the mat over the finished roll, I press firmly and roll back and forth to compact and shape into a smooth round (or square if pressing on flat sides).
I repeat steps 14-20 for all 5 Nori sheets. By the third roll, the technique feels intuitive.
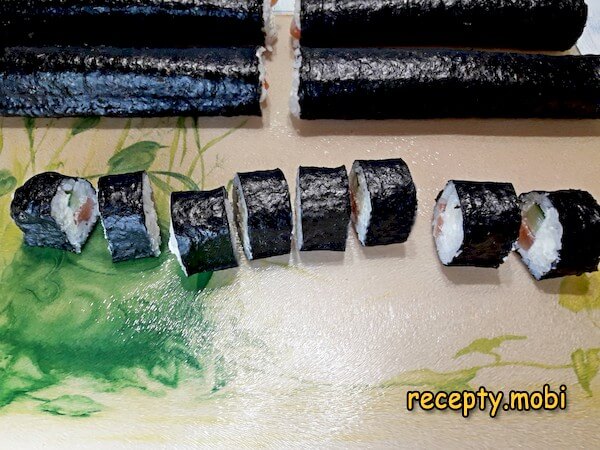
I cut each roll in half with a moistened sharp knife, wiping the blade between cuts for clean slices.

Each half cuts in half again to give 4 quarters, then each quarter in half = 8 pieces per roll. Total: 40 sushi pieces from 5 rolls.I arrange the homemade rolls on a serving dish. Alongside: soy sauce diluted with water 1:1 (this dilution is the Japanese-style — full-strength soy is too salty for delicate rolls), pickled ginger, and wasabi paste. The flavour matches restaurant sushi closely; the satisfaction of homemade is unique.


Tips
- 1
THE 1:1.2 RICE-TO-WATER RATIO IS PRECISE. 100 g of rice needs exactly 120 ml of water for proper sushi texture. Less water = undercooked, hard rice. More water = mushy, sticky rice. Measure both ingredients precisely on a kitchen scale; eyeballing volumes leads to inconsistent results. The 360 ml for 300 g specified here is exact.
- 2
THE 15-MINUTE COVERED REST IS THE SECRET STEP. After the active 15-minute cook, the second 15-minute rest with cloth-and-lid finishes the rice. Skipping this step gives slightly undercooked rice — fine for porridge, wrong for sushi. The cloth absorbs the condensation that would otherwise drip back on the rice and create wet spots. For another inside-out roll variation worth comparing, see Philadelphia Rolls at Home.
- 3
WET HANDS = HAPPY HANDS. Sushi rice is intensely sticky. Keep a small bowl of water by the mat; re-wet hands frequently while spreading rice. Same for the cutting knife — moisten between every cut. Dry hands and dry knife are sushi's two biggest practical enemies.
- 4
EXPERIMENT WITH FILLINGS ONCE TECHNIQUE IS DOWN. The cucumber-salmon-cream-cheese trio is the foundational classic. Once you've made 5-10 rolls and the technique is comfortable, branch out: smoked salmon + avocado; cooked shrimp + cucumber + roe; raw tuna + spring onion; vegetarian (avocado + carrot + cucumber + sesame). The base technique stays identical. For another preparation involving cured fish, try How to salt mackerel at home.
FAQ
Can I make rolls without a bamboo mat? +
The bamboo mat is essentially required for properly compacted sushi rolls. Improvisation: clean kitchen towel + cling film wrapped tightly. Doesn't compact as well as bamboo but works in emergencies. Bamboo mats cost a few dollars and are sold widely (international supermarkets, kitchen stores, online); buying one is the practical move if you'll make sushi more than once. Store flat or rolled; clean by hand-washing and air-drying (not dishwasher).
What's the difference between hosomaki and uramaki? +
Hosomaki (this recipe) is the standard format: Nori on the outside, rice and filling inside. Easier to make, classic Japanese style. Uramaki ("inside-out") puts the rice on the outside with Nori inside the roll — the format used by Philadelphia, California, and other Western-style rolls. Uramaki requires the additional flip-and-press technique that hosomaki skips. Both delicious; hosomaki is the better starting point for home sushi-making.
Can I prep components ahead of time? +
Yes, with timing planning. The rice can be cooked up to 2 hours ahead and held at room temperature (covered). Cucumber and salmon strips can be cut up to 4 hours ahead and refrigerated. Cream cheese can sit ready in the piping bag at room temperature for 30 minutes. Assembly should happen within 2 hours of rice cooking — older rice loses its proper sushi texture. Cut rolls last only 2 hours before texture degrades; assemble close to serving time.
How do I prevent the rice from sticking to my hands? +
Wet hands. The single most important sushi technique: keep a small bowl of water beside the mat; re-wet hands frequently. Some sushi chefs use a 50/50 water-and-rice-vinegar mixture (called "tezu") for hand-wetting — this adds slight flavour and improves grip. Either water alone or tezu works. Dry hands cause every problem in sushi-making; constant re-wetting solves them.
- Comment
or post as a guest
Be the first to comment.


