
avg —
Lenten yeast dough for pies and pasties
Instructions
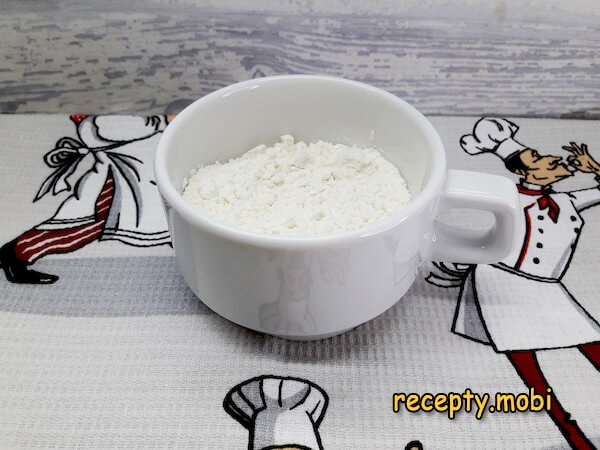
I prepare the ingredients for lean yeast dough. Flour (even highest grade) MUST be sifted before use — saturates with oxygen, essential for yeast dough rise. Dry yeast substitution: fresh pressed yeast 3x quantity = 9 g.

Start the SPONGE (pre-fermentation): pour 50 ml warm water into glass; add ALL yeast + half of sugar (1/2 tsp). Stir; cover with lid; rest in warm place 5-10 minutes (yeast wakes up + begins fermenting).

Set aside 50 g of total flour for dusting working surface + kneading. The remaining 250 g goes into main mix.
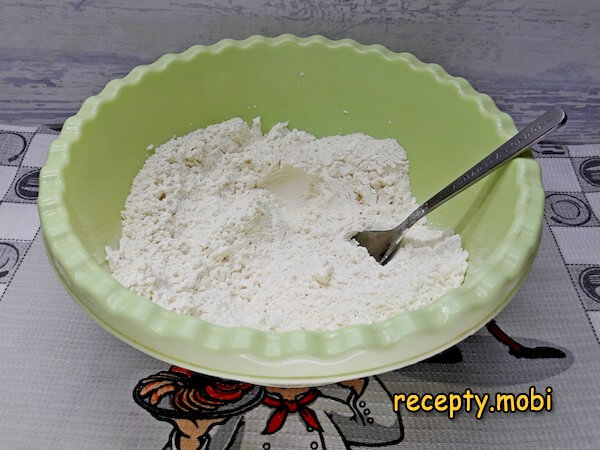
Mix 250 g flour with remaining sugar (1/2 tsp) + salt (0.5 tsp) in mixing bowl.
After 5-10 min, the sponge shows fermentation signs (foaming, bubbling) — ready to use.

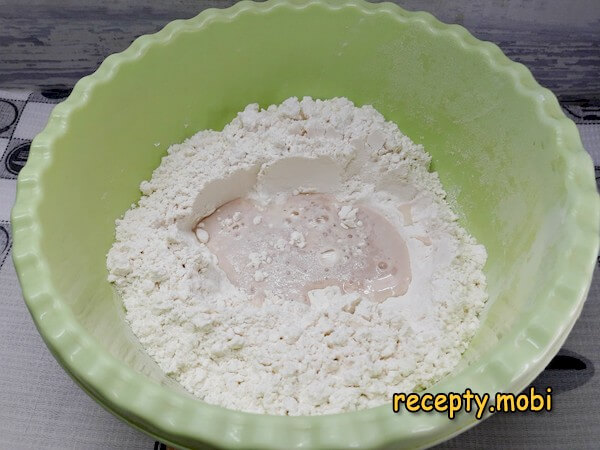
Make a WELL in the flour mixture; pour in the fermented yeast sponge.
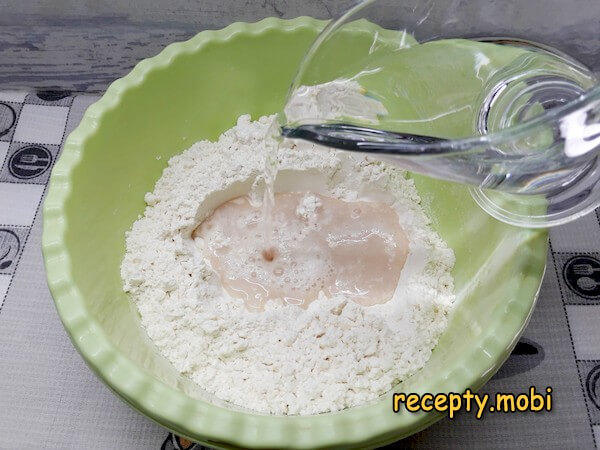
Add remaining 100 ml water (check temperature — slightly reheat if cooled below 34-38 °C).
Mix liquid + dry ingredients directly in bowl with spoon (until rough cohesive mass forms).

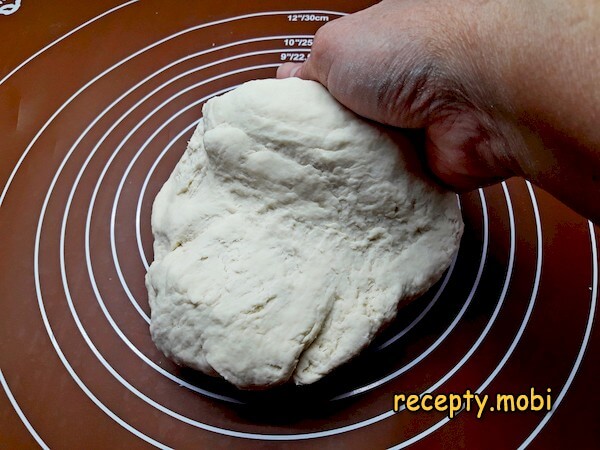
Turn mixture out onto WORKING SURFACE; knead by HAND — punch + stretch motion. As needed, gradually add reserved 50 g flour. Final consistency: FIRM yet ELASTIC + PLIABLE, slightly sticky to hands. Knead for 10 minutes total.
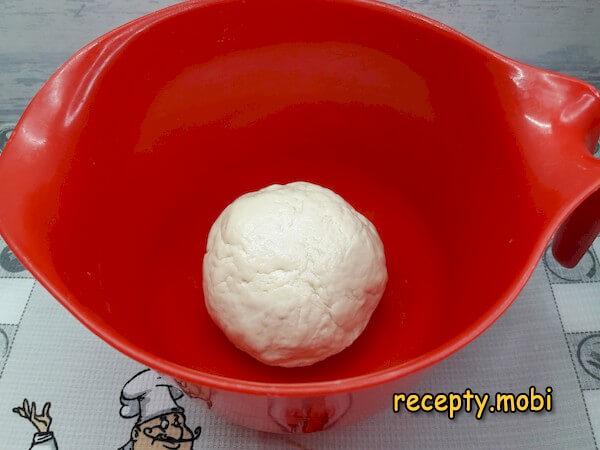
Shape kneaded dough into BALL; coat with vegetable oil all around; place in clean container with lid for rising. Avoid drafts: place in TURNED-OFF OVEN for 2 hours (warm contained environment).
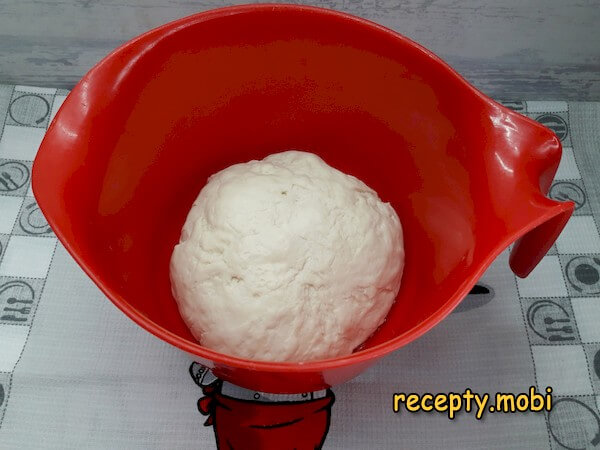
After 2 hours, dough has risen to 2.5x original size. PUNCH DOWN gently; ready for shaping flour products (baked or fried pastries).
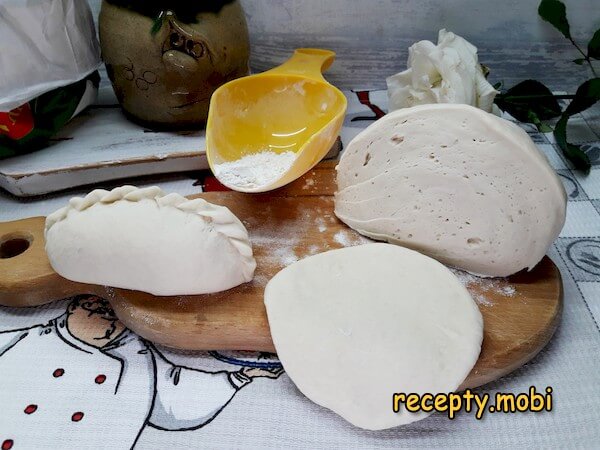
The soft pliable lean yeast dough for pies and pasties is ready. The fine-pored structure indicates quality. Easy to work with; products turn out tender + fluffy. Use immediately for shaping pastries.


Tips
- 1
THE FLOUR-SIFTING IS NON-NEGOTIABLE. Step 1's "must be sifted" instruction is genuinely critical — common skipped step that ruins dough. Without sifting: flour clumps remain, water-distribution uneven, yeast doesn't reach all flour, dough rises unevenly. With sifting: oxygen incorporated (yeast loves oxygen), uniform texture, no lumps, clean uniform rise. The OXYGEN benefit specifically: yeast cells need oxygen for early-phase fermentation. Same principle applies to all yeast doughs. Sift twice for extra-fluffy result. Same technique for: cake batters, biscuit dough, all flour-based baking.
- 2
THE 34-38°C WATER PRECISION. Step 1's water temperature specification is yeast-survival science. Too COOL (below 25 °C): yeast slow to wake, longer rise time. Too HOT (above 45 °C): yeast cells DIE — dough won't rise at all. 34-38 °C: optimal yeast activity, fast vigorous fermentation. Test by hand: comfortably warm on inner wrist (similar to baby-bottle test). NOT noticeably hot. NOT cool. The narrow window matters — temperature is the most common reason "dough won't rise". For another classic yeast preparation worth comparing, see Wheat Bread Classic Yeast.
- 3
THE TURNED-OFF OVEN AS PROOFING BOX. Step 10's "turned-off oven for 2 hours" is professional bakery technique adapted for home. Why it works: oven creates contained environment without drafts, slight residual warmth (especially after recent oven use), no temperature fluctuations from kitchen activity. Alternative: cover bowl with damp towel + plastic wrap + place on warm spot (top of refrigerator, sunny windowsill, near heating vent). For COLD KITCHENS: place dough bowl over second bowl of hot water (heats from below). For HOT SUMMER KITCHENS: room temperature is fine, may rise faster than 2 hours.
- 4
THE LEAN-DOUGH VERSATILITY. The Lenten focus (no eggs, no dairy, no butter) means this dough is ALSO vegan-friendly + allergy-friendly. APPLICATIONS: pirozhki (small filled pies, baked or fried), large family pies (cabbage, fish, fruit), buns (sweet or savory), pizza-style flat breads, fried dumplings, calzone-style folded dishes. Each application uses same dough; filling defines identity. STORAGE: dough can rest in refrigerator OVERNIGHT after first rise (slows fermentation, develops complex flavor). Bring to room temperature 30 min before shaping. The recipe is genuinely foundational for any Russian/Eastern European baker. For another versatile dough preparation worth trying, try Sweet Yeast Dough Classic.
FAQ
Can I make this dough sweeter for dessert pastries? +
Yes — increase sugar to make sweet-friendly version. INCREASE: 1 tsp sugar to 30 g (3 tbsp). Add 1/2 tsp vanilla extract for flavor (during step 8). The increased sugar may slow yeast slightly (sugar inhibits yeast at high concentrations) — extend rise time to 2.5 hours. The sweet version pairs beautifully with: jam fillings, fruit fillings, sweet cottage cheese, chocolate-hazelnut spreads. Still classified as Lent-friendly (no eggs, dairy, butter). For very-sweet pastries (cinnamon rolls): increase sugar to 60 g + add 2 tbsp vegetable oil to dough for richer texture.
What can I fill these with? +
Endless options. SAVORY (Lent-acceptable): mashed potato + onion, sautéed cabbage, mushroom + onion, fish (salmon, tuna), sauerkraut, lentils + vegetables. SWEET (Lent-acceptable): apple-cinnamon, jam (any flavor), fruit compote, sweet rice + raisins, poppy seed paste. NOT Lent-acceptable but works otherwise: meat fillings, cheese fillings, egg-based fillings. The dough is filling-agnostic — fills with whatever's appropriate to the meal context. For pirozhki: small portion fillings (1-2 tbsp each). For large pies: more substantial fillings.
How do I bake vs fry the pastries? +
Both methods produce delicious but different results. BAKED pirozhki: 200 °C oven, 20-25 min, brush tops with milk-water mixture for golden color. Result: lighter, fluffier, healthier. FRIED pirozhki: deep-fry in hot vegetable oil 2-3 min per side. Result: crispy golden exterior, doughier interior, more decadent. Lent-traditional: more often FRIED (denser fuel for fasting workers historically). Modern preference: baked (lighter, healthier). The dough handles both methods perfectly. Same dough recipe, different cooking technique = two distinct dishes.
Can I freeze the dough? +
Yes — works for batch-prep convenience. AFTER FIRST RISE: punch down, divide into portions (200-300 g each), wrap in plastic, freeze. Use within 1 month. To use: thaw overnight in refrigerator; bring to room temperature 30 min; punch down briefly; shape pastries; brief 30-min second rise; bake/fry as usual. The freeze-thaw process slightly reduces yeast vigor; thawed dough rises ~10% less than fresh. For best results: use within 2 weeks of freezing. Don't freeze TWICE (severely impacts quality). Freezing well-formed UNBAKED pastries: also works adequately for ready-to-bake convenience.
- Comment
or post as a guest
Be the first to comment.


