
avg —
Yeast-free pizza dough (quick recipe)
Instructions
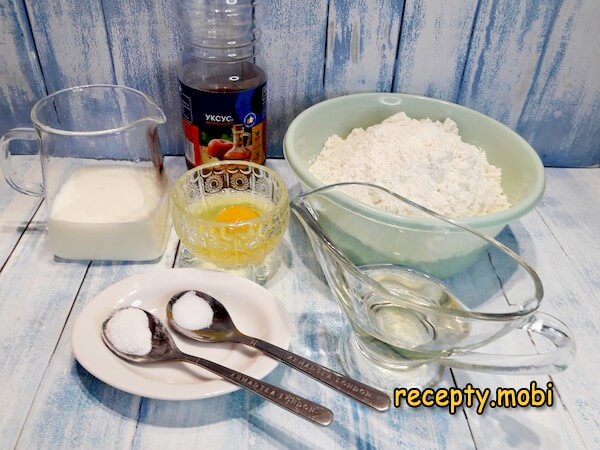
I prepare the ingredients. Milk should be room temperature — not cold (slows mixing), not too warm (could scramble the egg). Take the milk out of the fridge 30 minutes before mixing.
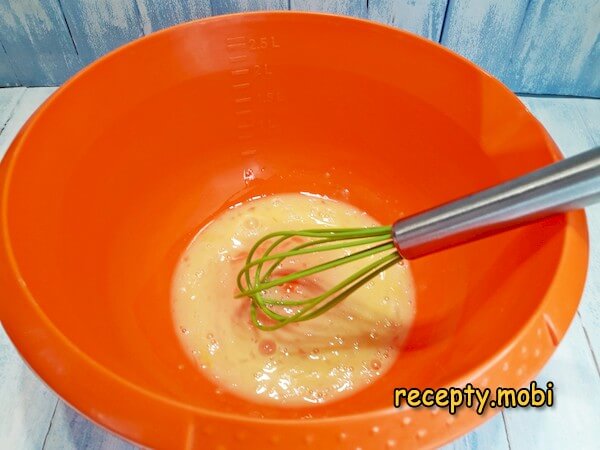
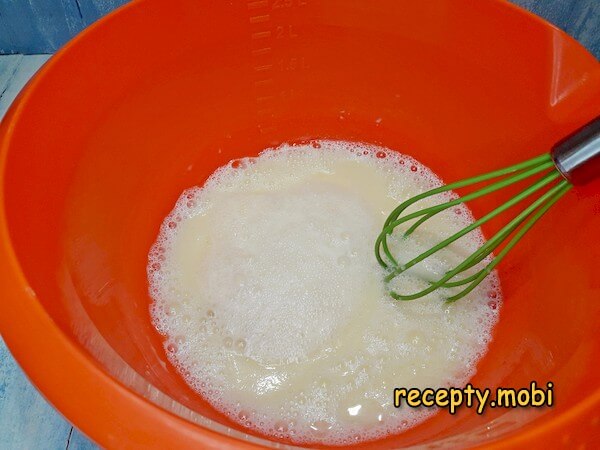
In a mixing bowl, the egg whisks briefly — no full beating needed.
Milk, oil, and salt add to the egg.
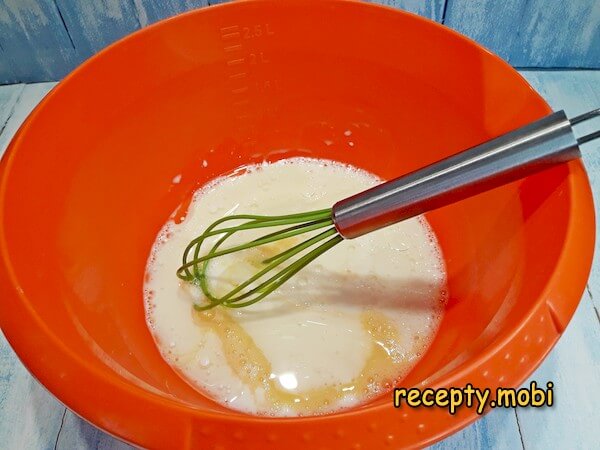
Mix briefly, then pour the baking soda directly onto the wet mixture (in one spot, concentrated).
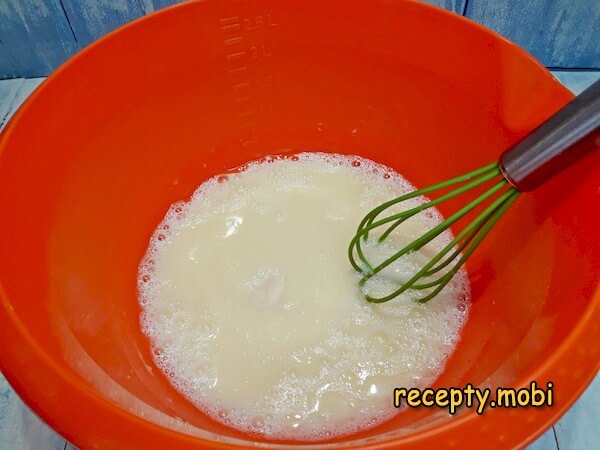
Vinegar pours directly onto the soda — the reaction (visible fizzing) happens right in the bowl. This is the chemical leavening that replaces yeast.
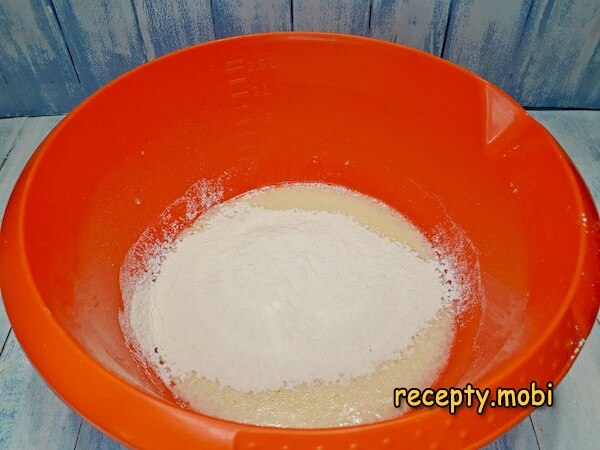
After the fizz settles, I sift in the flour gradually in 3-4 portions, incorporating each before adding the next.
I work with a spoon initially, combining wet and dry ingredients.
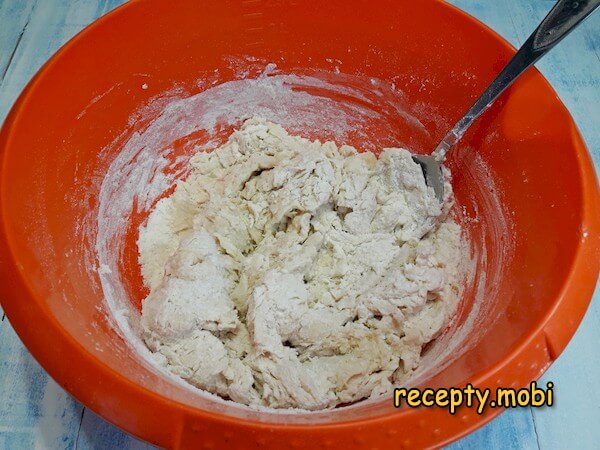
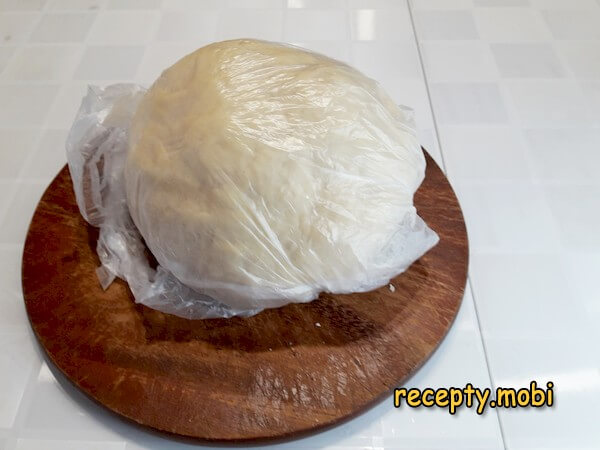
When the spoon becomes hard to move, the dough transfers to the work surface for hand-kneading. DON'T over-knead — small lumps are fine, they dissolve during the bag-rest. Shape into a ball.
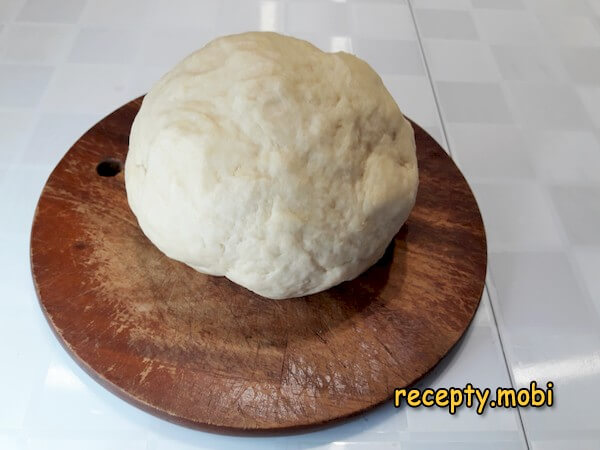
Wrap the ball tightly in a plastic bag, leave on the counter to rest. The rest period equals the filling-prep time. For meal prep: refrigerate the bagged dough — keeps 7 days easily.
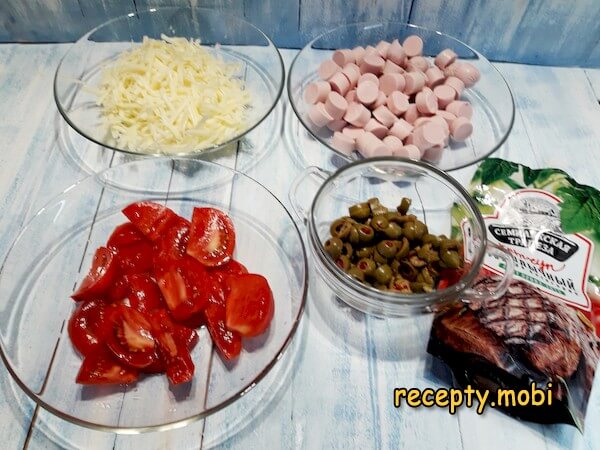
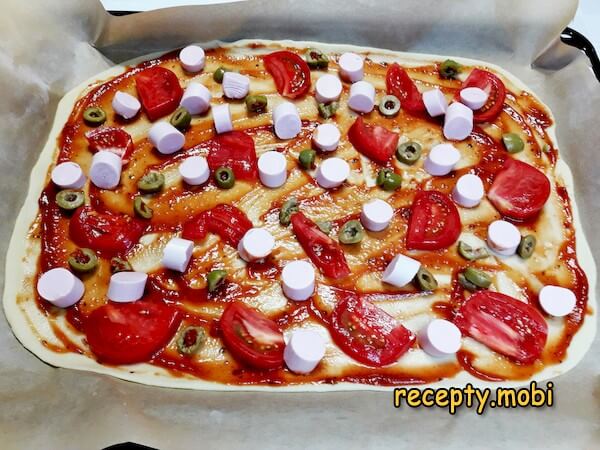
Pizza filling can be anything — sausages, tomatoes, olives, cheese, mushrooms, peppers, onions. Chop while the dough rests.
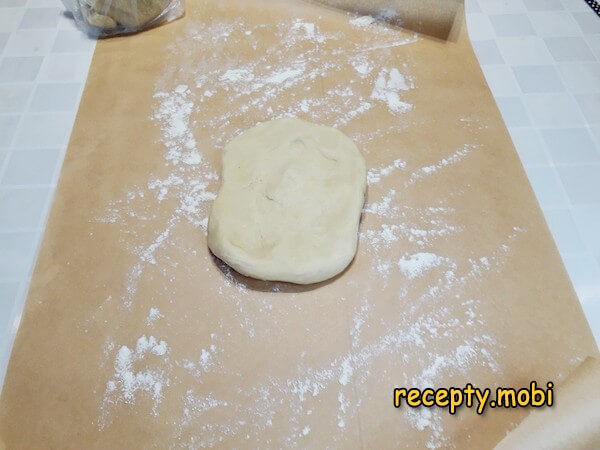
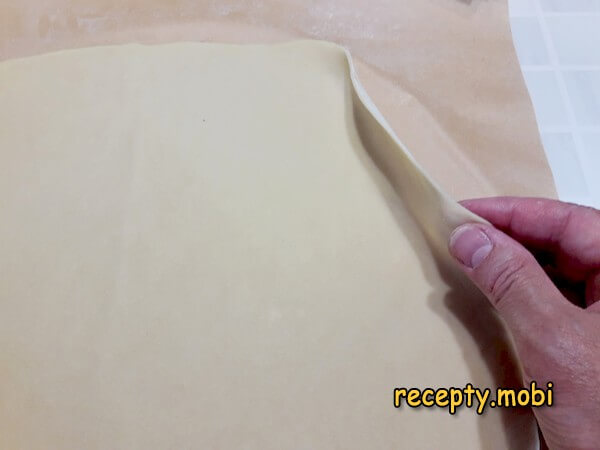
Oven preheats to 200 °C. Dough divides in 2 (or stays whole for one large pizza). I roll directly on lightly-floured parchment paper, first flattening with hands to set rolling direction.
Rolling pin completes the shape to desired diameter.
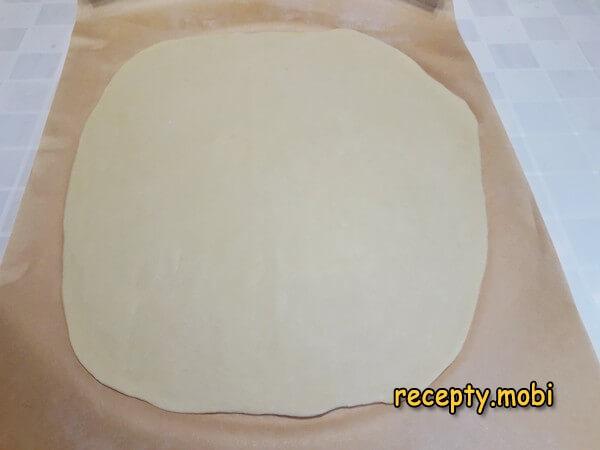
Target thickness: 1-2 mm. Some thin spots showing light through are fine — the dough is elastic and won't tear despite being dense.
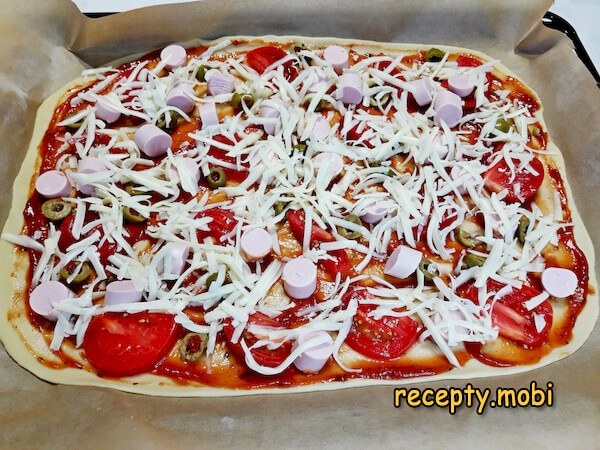
Rolled dough transfers along with parchment onto the baking sheet. Filling distributes on top.
Cheese sprinkles on as the final layer.
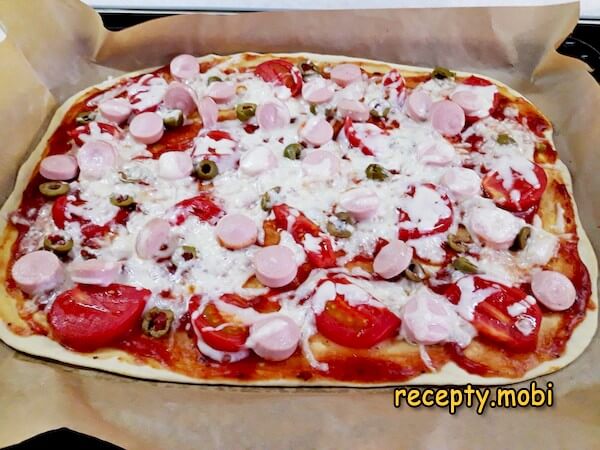
Pizza bakes on middle rack 10 minutes. Doneness: as soon as the flour-edge starts browning slightly, pull out — pizza done.The finished yeast-free pizza dough has soft fine-pored structure with tender (not hard or burnt) edges. This is one of those recipes home cooks reach for repeatedly — fast, reliable, gives consistent results, and the dough stores beautifully in the fridge for spontaneous pizza nights.


Tips
- 1
THE SODA-VINEGAR REACTION IN THE BOWL IS THE LEAVENING. Steps 4-5's specific technique — concentrate soda in one spot, then pour vinegar directly onto it — produces an immediate visible fizz reaction. This in-bowl reaction is what generates the carbon dioxide that leavens the dough. Adding soda mixed-into-flour (typical for cake recipes) doesn't work as well here — concentrated reaction in the wet phase before flour incorporation gives better lift.
- 2
DON'T OVER-KNEAD. Step 8's "lumps are fine" instruction matters. Over-kneading develops gluten, which produces tough dense pizza dough. Yeast-free dough should be just-combined — small lumps dissolve during the bag-rest naturally. Pizza dough generally benefits from minimal handling. The 5-7 minute total mix-and-knead time is the sweet spot. For another yeast pizza dough variation worth comparing, see Pizza Dough with Dry Yeast.
- 3
7-DAY FRIDGE STORAGE IS THE PRACTICAL FEATURE. Step 9's refrigeration option is the "always have pizza dough ready" feature that makes this recipe a weekly fixture. Make a double batch (800 g flour version) on Sunday, store in 2 bags. Through the week, pull a bag out 30 minutes before dinner, roll, top, bake — homemade pizza on Tuesday and Friday. The dough actually improves slightly during the first 48 hours fridge rest as flavours develop.
- 4
THIN DOUGH GIVES CRISPER PIZZA. Step 13's 1-2 mm target thickness is calibrated for proper bake-through and crispy edge in 10 minutes at 200 °C. Thicker dough (3-4 mm) needs longer bake (15+ minutes), risking burnt toppings before bottom is done. The thin-dough approach is also more authentic to Italian pizza tradition; American-style thicker pizzas use different (yeasted, longer-rested) dough recipes. For another yeast-kefir variation worth trying, try Yeast-Kefir Pizza Dough.
FAQ
Why no yeast? +
Three practical advantages. First, speed: yeast dough requires 1-2 hours of rising; yeast-free is ready immediately. Second, predictability: yeast can be temperamental (kitchen temperature, age, batch quality affect rise); soda-vinegar reaction is reliable every time. Third, storage: yeast dough deteriorates in the fridge after 24 hours; yeast-free keeps 7 days. The trade-off: yeast-risen pizza has slightly more complex flavour and more open-pored crumb. For weeknight pizza, yeast-free wins on practicality; for weekend pizza projects, yeast-risen wins on flavour.
Can I freeze the dough? +
Yes — yeast-free dough freezes well for up to 2 months in zip bags. Thaw overnight in the fridge before use. The texture stays nearly identical to fresh. Make a triple batch and freeze portions for emergency pizza supply. Don't freeze rolled-out dough; freeze the ball form, roll fresh after thaw. Pre-rolled frozen dough loses elasticity and tears during topping placement.
What's the best filling combination? +
Italian classic: tomato sauce + mozzarella + fresh basil (Margherita). Russian-Slavic favorite: pizza sauce + sliced sausage + cheese + olives + onion. Modern adventures: BBQ sauce + chicken + red onion + cilantro. Vegetarian: pesto + roasted vegetables + goat cheese. The dough is neutral enough to pair with anything. Avoid: very wet toppings (raw tomato slices, fresh greens) — they make the bottom soggy. Pre-cook wet vegetables or drain them well before topping.
Can I use this for non-pizza purposes? +
Yes — the dough is versatile beyond pizza. Roll thin and bake plain for crackers (sprinkle with salt and herbs). Roll, fill with savoury filling, fold and bake for hand pies. Roll into rectangles, top with cinnamon-sugar, roll into spiral and slice for quick "cinnamon rolls" (though these need yeast-risen versions for proper texture). Use as a base for stromboli or calzone (fold dough over filling). The neutral flavour and quick prep make it useful for many bread-substitute applications.
- Comment
or post as a guest
Be the first to comment.

")

