
avg —
Boiled Sugar in Milk
Instructions
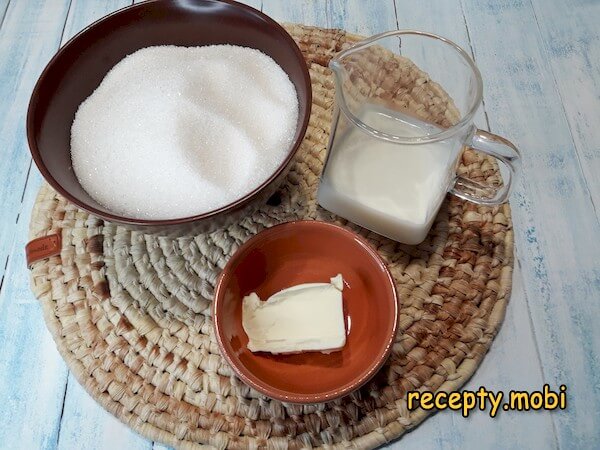
I prepare the ingredients for boiled sugar in milk. I use standard (beet) sugar, as cane sugar is not suitable for this dessert. The milk can be of any fat content, but higher-fat milk is preferable – it gives a richer caramel flavour.
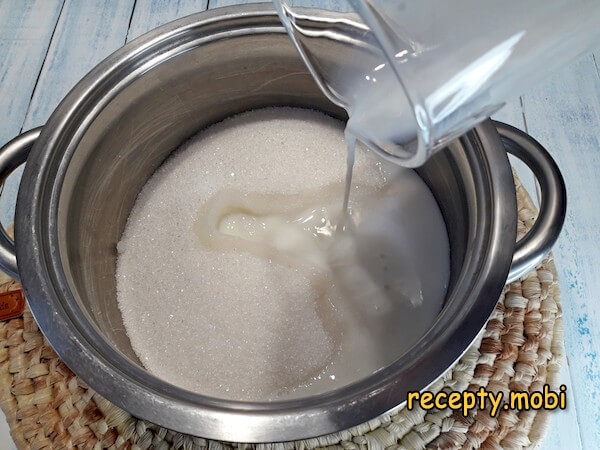
I take a thick-bottomed pot or cauldron that is several times larger than the volume of sugar I am using, because the mixture rises a lot as it boils. I tip in all the sugar and pour in the milk.
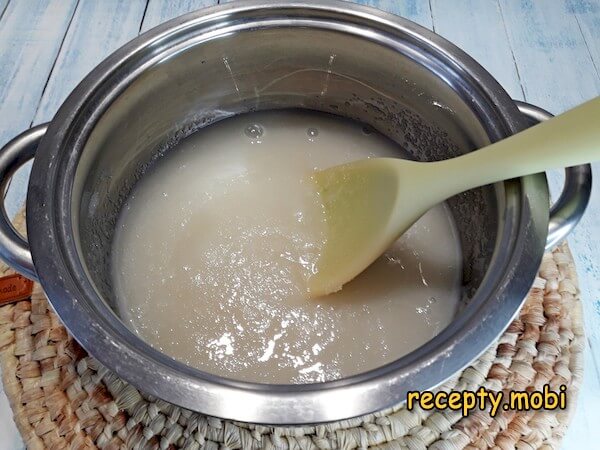
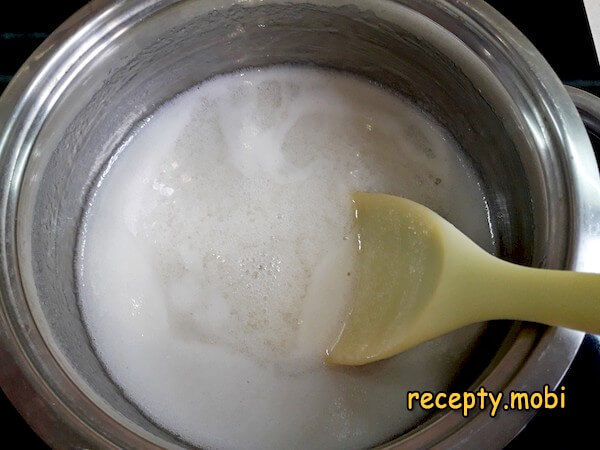
I stir the mixture until smooth – the sugar should combine fully with the milk into a thick, liquid mass.
I first put the pot on high heat – to bring it to the boil quickly and start the sugar crystallising.
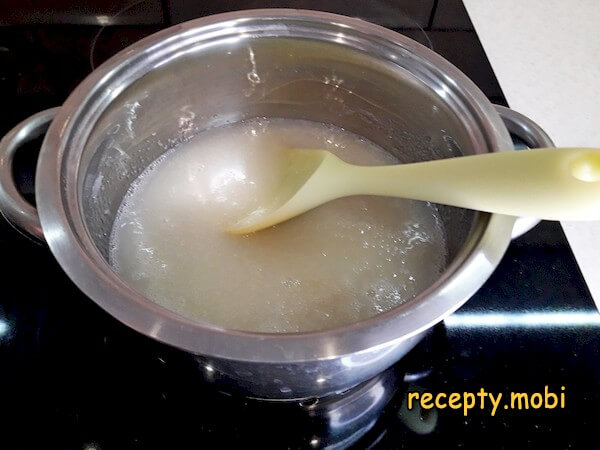
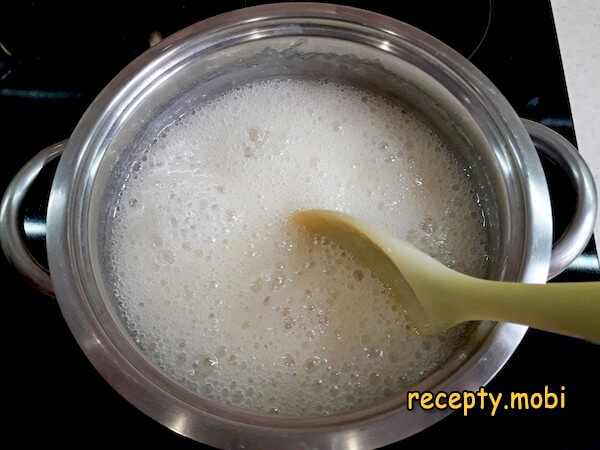
As soon as it starts to boil, I reduce the heat to medium and cook the mixture while stirring constantly – that is the "secret" against burning.
During cooking the mixture foams up intensely and rises toward the rim of the pot, so it is important not to get distracted from the process. I recommend using a long-handled wooden or silicone spoon to keep the bubbles off your skin and avoid possible burns.
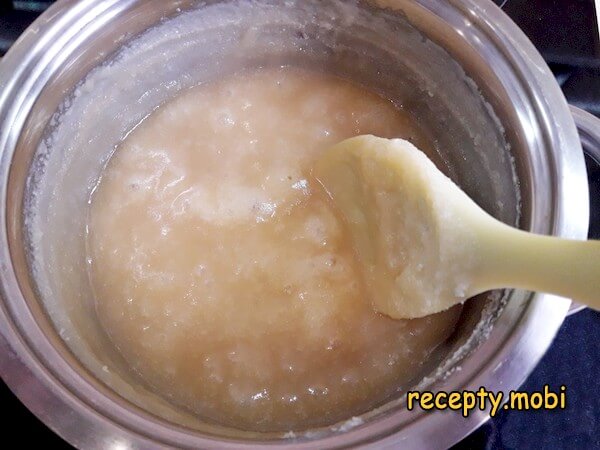
After about 35–40 minutes the mass changes colour slightly and starts to crystallise on the sides of the pot. At this point I turn the heat down to minimum and carry on – it is the slow simmering at the finish that gives the right caramel.
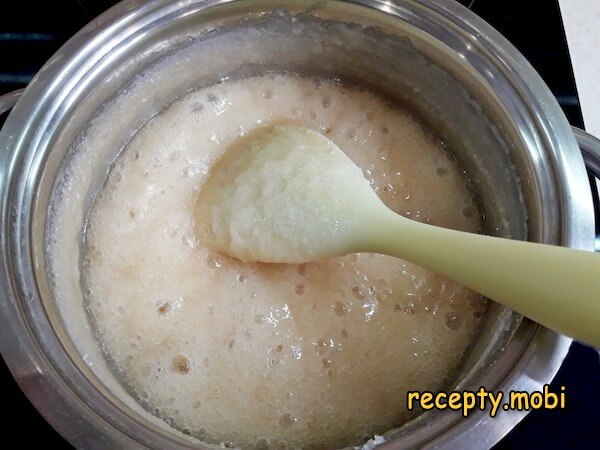
About 5 minutes later the mixture takes on a lovely caramel shade – that is the "indicator" that the first stage is ready.
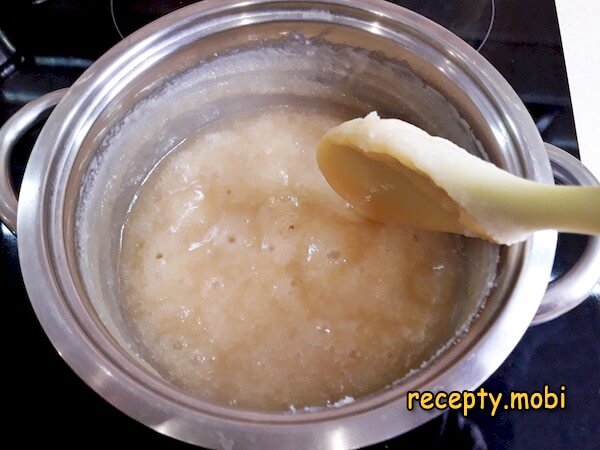
The mass becomes thicker and stringier – this is exactly the consistency you need to wait for so the sugar sets properly as it cools.
I add the butter and cook for just a couple more minutes – the butter gives a delicate "milky" aroma and a smoother texture to the finished dessert.
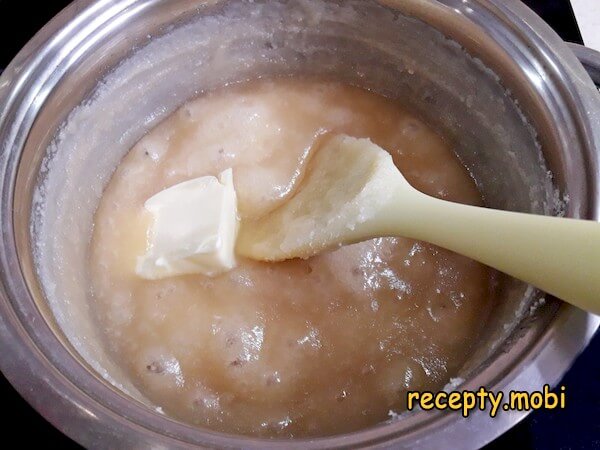
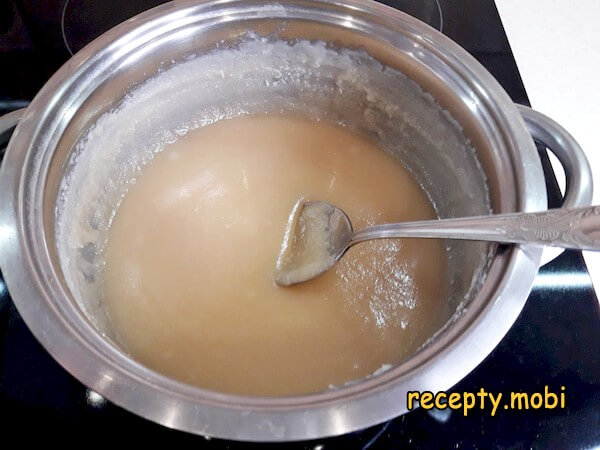
Then I turn off the heat and stir the mixture until smooth – the butter should fully emulsify into the caramel mass.
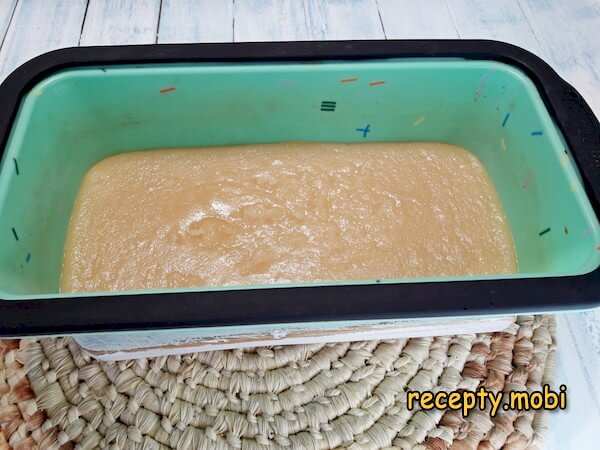
I pour it into a silicone mould. If you do not have one, you can fill an ordinary plate with the hot mass, greasing it first with butter or vegetable oil – so the finished dessert comes out easily.
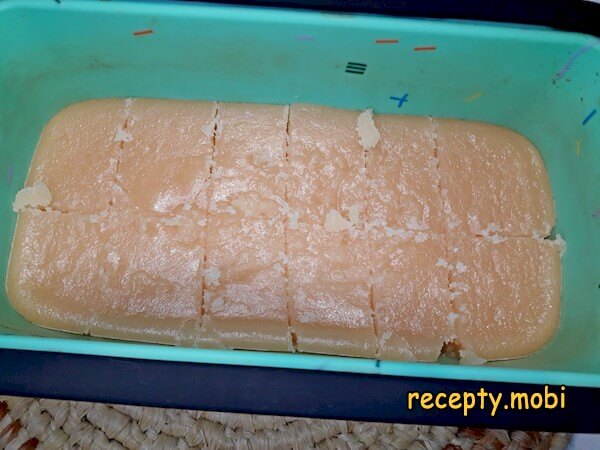
When the boiled sugar has set a little (but not fully), I mark breaking lines for the pieces with a sharp knife, sinking the blade about 3–4 millimetres into the mass. After it has cooled completely, the large slab breaks easily along these lines – that is the "secret" to neat pieces.
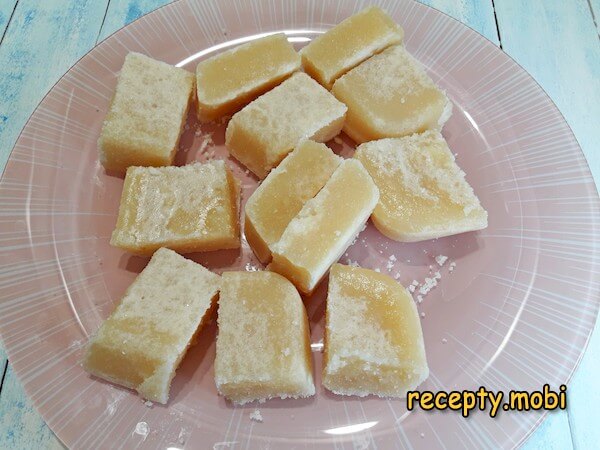
After at least half an hour the mass cools and hardens. I turn it out of the mould and break it into pieces by hand – they "snap off" along the prepared scores just like a bar of chocolate.I arrange the boiled sugar in milk in a small dish or sweet bowl and serve it with tea. The sweet pieces with their baked-milk aroma crumble pleasantly in the mouth into large grains, giving the tea-drinking a special character. This dessert keeps for quite a long time at room temperature – several months, if it is not eaten much sooner.


Tips
- 1
A thick bottom is the "secret" against burning. A thin, lightweight pot is a guarantee of scorching, because sugar with milk reacts very temperamentally to uneven heat. A cast-iron cauldron or an enamelled pot with a thick steel base heats evenly and prevents burning – the result is a lovely caramel colour with no black "burnt" specks.
- 2
A pot three times bigger is the "secret" against boiling over. Sugar with milk rises up to three times in volume as it boils – if the pot is the same size as the volume of the mixture, it will "run away" onto the stove, make a mess of everything around it and ruin the result. The right pot is at least three times the volume of the ingredients.
- 3
Scoring while half-set is the "secret" to neat pieces. Cutting hardened sugar with a knife once the mass is cold is no easy task, and the pieces come out "ragged". Scores of 3–4 mm in the half-set mass prepare the breaking lines: after it has cooled completely, the slab breaks evenly along them, like a factory-made caramel bar.
- 4
Nostalgic variations – the "secret" of Soviet sweets. Boiled sugar in milk is one of those "forgotten" grandmother's treats. A similar place in Soviet nostalgia is held by chocolate sausage made of cookies – also a "cheap" sweet from an era of shortages. Similar in principle are homemade strawberry jelly candies – likewise "homemade", with a minimum of shop-bought components.
FAQ
Why does the sugar not thicken and stay liquid? +
The main causes are: too little cooking time – in less than 40 minutes the mass does not have time to evaporate and crystallise enough; too much milk – the proportion is off, and the water from the milk does not have time to boil away; low heat – a "weak" flame does not give the sugar the right caramelisation. If the sugar stays liquid after cooling, return the mass to the heat and cook it for another 10–15 minutes – that is usually enough for the final crystallisation. While still hot, the finished mass should trail off the spoon in a thick thread.
Can I replace the milk with cream? +
Yes, with cream you get a richer, more "buttery" dessert. Proportions: 100 ml of 20% cream (instead of 125 ml of milk), and the butter can be halved (15 g). The result is a "denser" caramel with a rich creamy flavour, closer to toffee. With skimmed milk (0.5%) the sugar comes out "drier" and less aromatic – I do not recommend it. Vegan alternatives: 30% coconut milk or plant-based cream – these give an unusual tropical note.
How long does boiled sugar in milk keep? +
In a dry place at room temperature, in an airtight jar or a sweet bowl with a lid – up to 3–4 months without loss of flavour. Over time the sugar may crystallise a little more strongly – this is normal and does not mean it has spoiled. I do not recommend keeping it in the fridge – condensation can dissolve the surface sugar and make the pieces stick together. Freezing is not needed and not recommended. If the pieces become too hard, you can warm them slightly in the oven at 50 °C for 1–2 minutes – their pliability will return.
What do you serve boiled sugar in milk with? +
The classic nostalgic way is with tea, with lemon or herbal tea. With coffee: with an americano or espresso, for the contrast of bitter and very sweet. With milky drinks: with hot milk and cinnamon, or with cocoa and marshmallows. For children: instead of shop-bought sweets, with stewed fruit or fruit drink. For a festive table: in a pretty glass dish as an "original" surprise dessert for guests of all generations. You can also use it as an edible decoration: scatter the pieces over a cake or ice cream for a crunchy "caramel" accent.
- Comment
or post as a guest
Be the first to comment.


