
avg —
Trifles in Cups
Instructions
Prepare the sponge ingredients. They should all be at the same temperature and not cold.
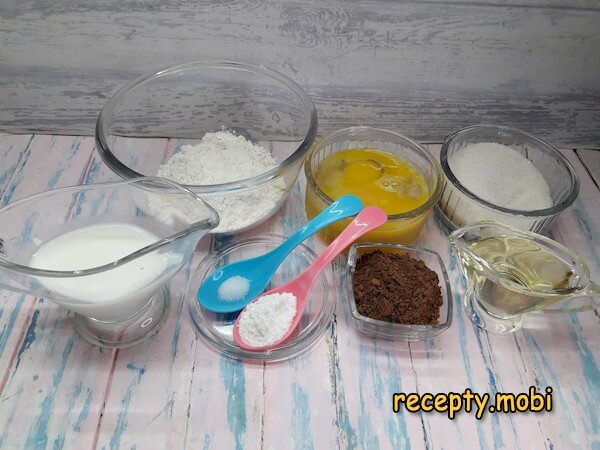
For the cream, chill the cream thoroughly and grind the powdered sugar in a mill, so that no undissolved granules remain when you whip it.
Prepare the ingredients for the fruit filling. Strawberries pair best with whipped cream, but you can replace them with other berries, fresh or frozen.
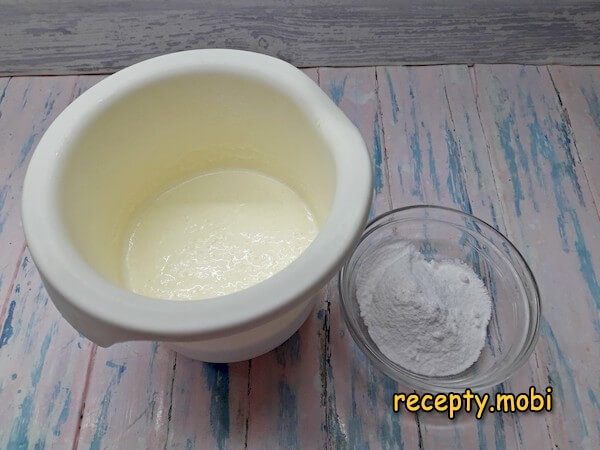
Switch the oven on to 180 °C straight away so it heats up. Beat the eggs, sugar, flavour stabiliser, and salt to a very fluffy, dense state — the trace of the whisk should not spread out across the surface straight away. This stable fluffiness is what guarantees the sponge rises well and turns out very tender.
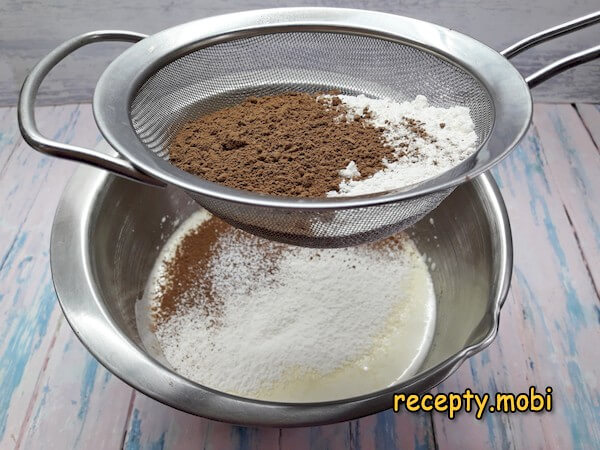
Put all the dry ingredients straight into a sieve and pass them through it directly into the egg mixture.
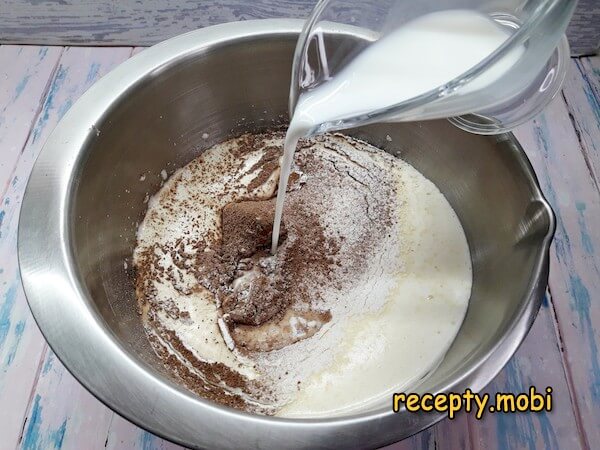
Pour in the milk. On low mixer speed, working briefly, simply combine all the ingredients.
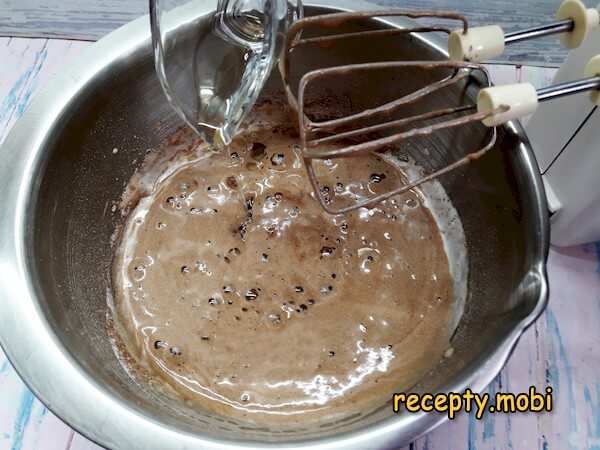
Add the oil right away and mix everything again.
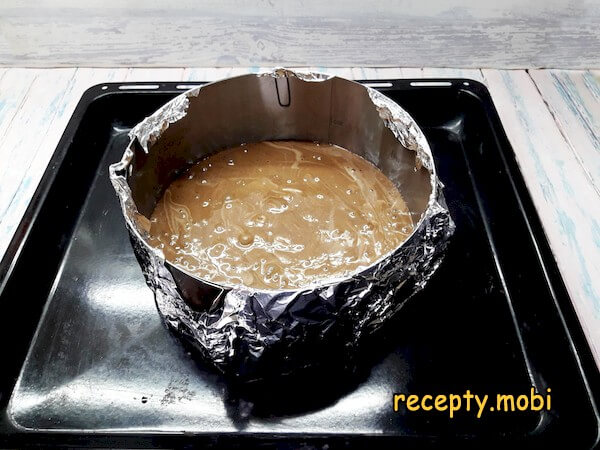
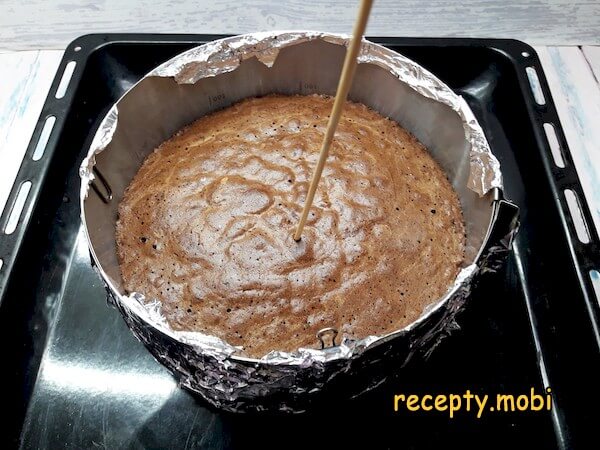
If the pan is thin metal, it is best to wrap it in foil as well so the batter bakes evenly. Pour the batter into a prepared pan 18–20 cm in diameter.
Bake the sponge for 35 minutes. You can tell it is ready with a skewer pushed into the highest point of the cake — it should come out clean and dry.
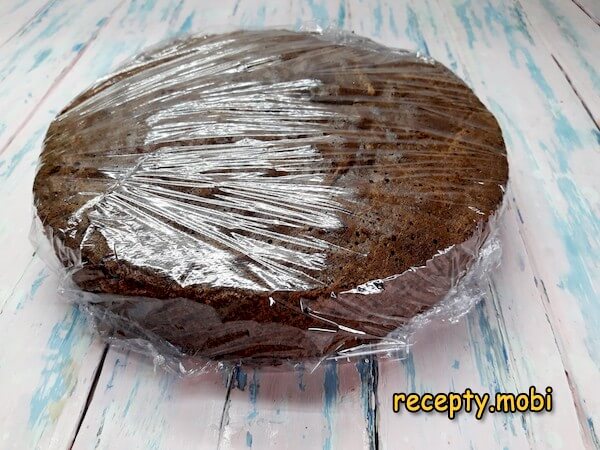
Do not touch the sponge while it is hot, or the middle will sink. Once it has cooled, remove the cake from the mould, and when it is completely cold, wrap it in cling film and leave it in the refrigerator for at least 2 hours. After this the sponge will be moist in just the right way.
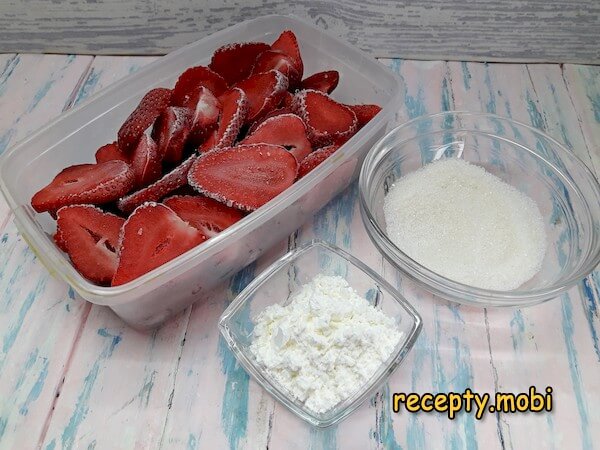
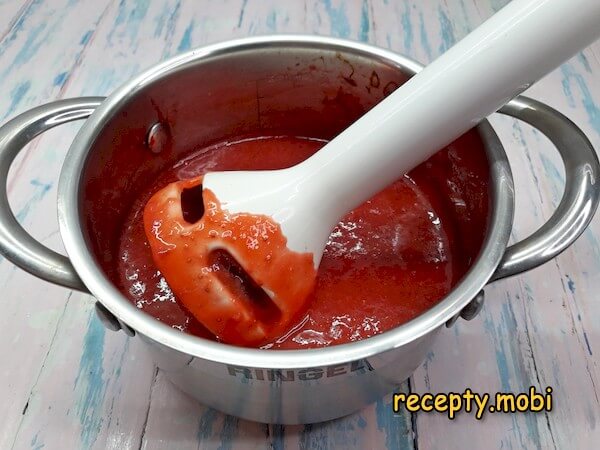
Use the spare time for the berry component. Blend the strawberries — you can leave some pieces not fully crushed, which makes the flavour richer.
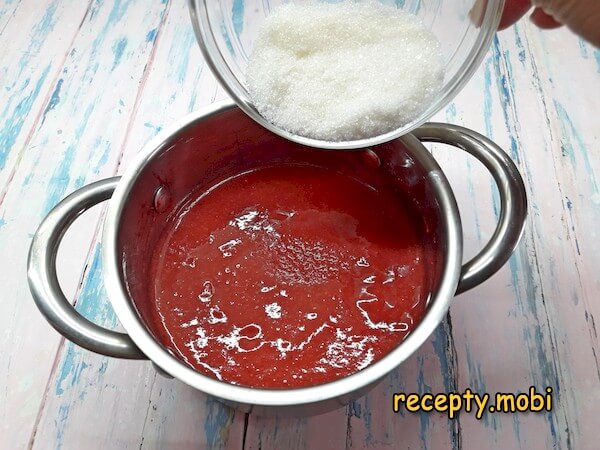
Add the sugar to the strawberry puree.
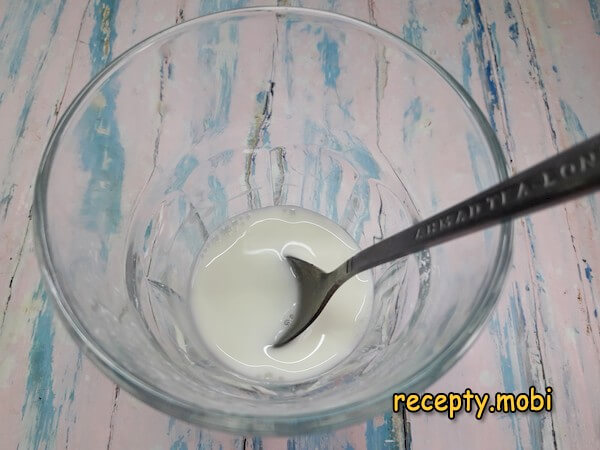
In a separate cup, dissolve the starch in 30 ml of ice-cold water.
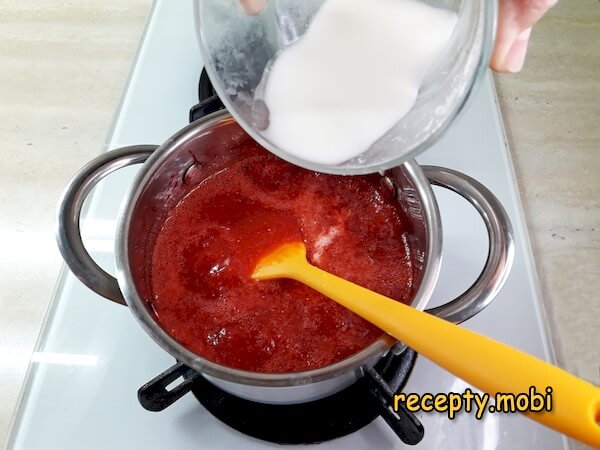
Over low heat, bring the puree to a boil. Pour in the starch in a thin stream, stirring the strawberries continuously, and as soon as the first bubbles appear, take the pot off the heat.
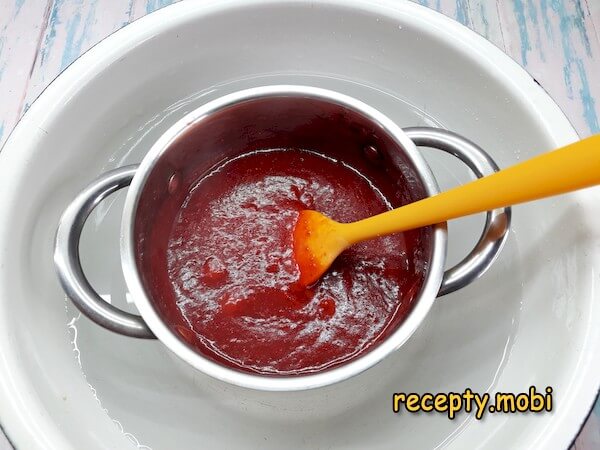
To cool it faster, you can set the pot in a bowl of ice water.
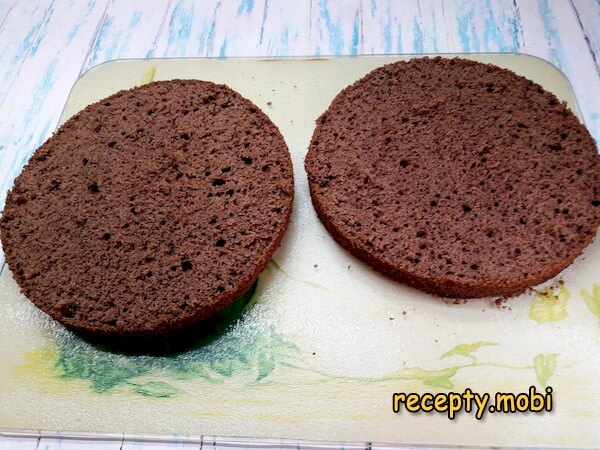
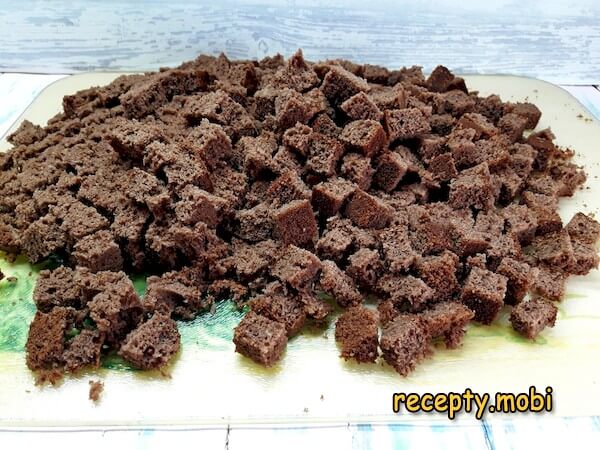
Free the sponge from the film and divide it into 2 layers.
Then cut them into small cubes.
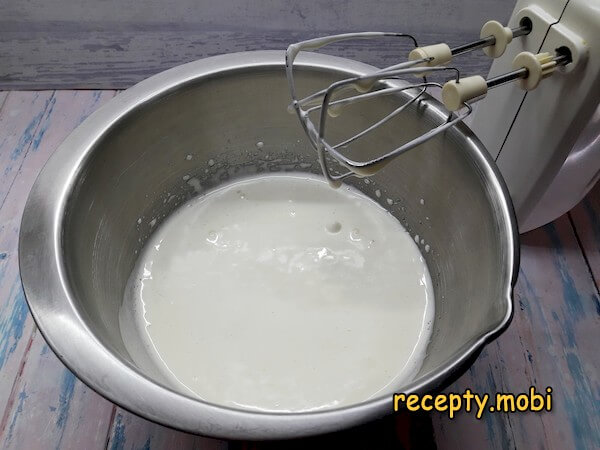
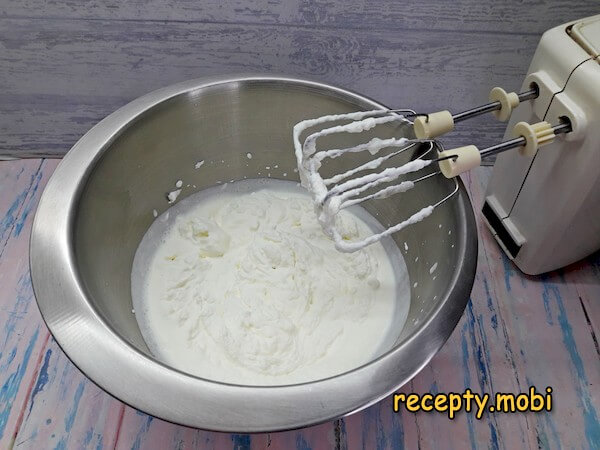
Make the cream. First start whipping the cream on low speed. Gradually increase the speed. Do not overdo this process — you want only soft peaks.
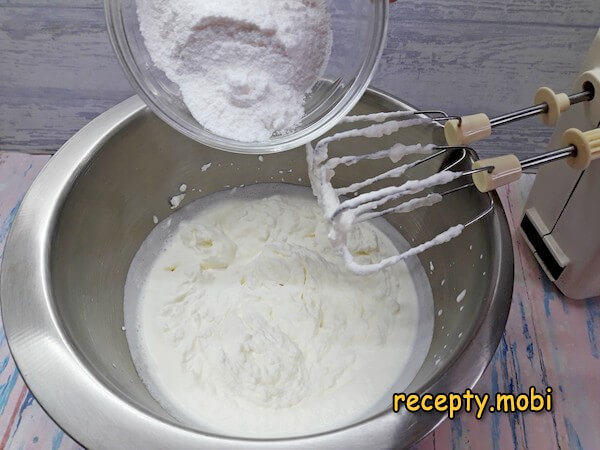
Next add the powdered sugar to the whipped cream.
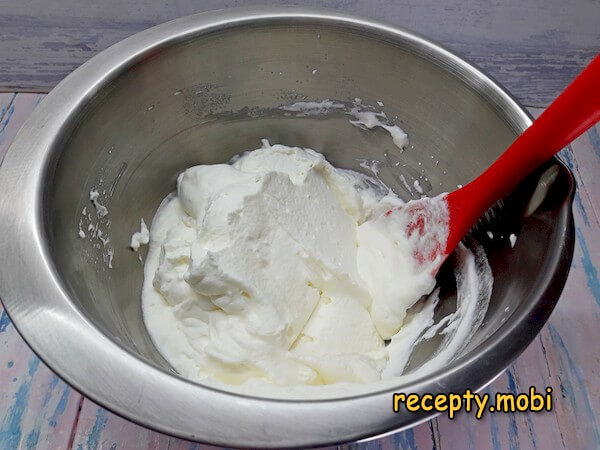
After that, whip the cream to a confidently firm state, but here too you need to know when to stop (the butterfat may start to separate).
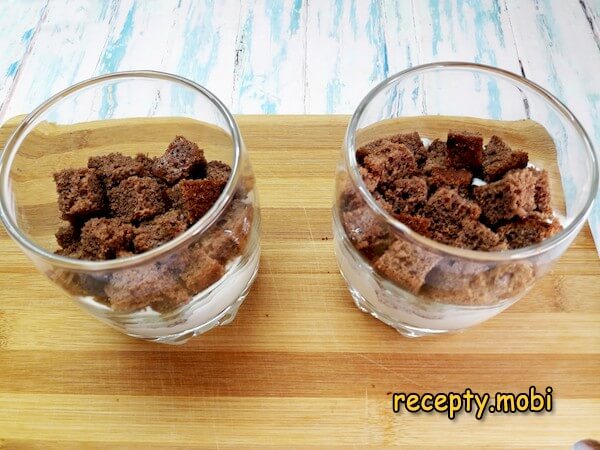
Now comes the most interesting moment — assembling the dessert. For convenience, you can put the cream in a piping bag and cover the bottom of the cups with cream.

Then add a layer of sponge cubes.
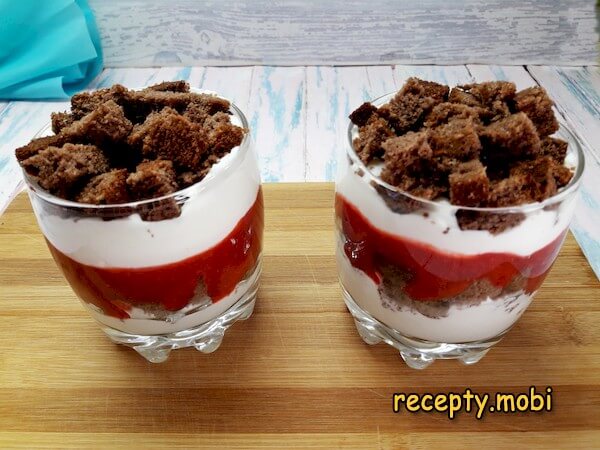
On top of them — strawberry jelly.

And cream again.

After that — a final layer of sponge.
Fill all the cups the same way and put them in the refrigerator for a couple of hours to stabilise.
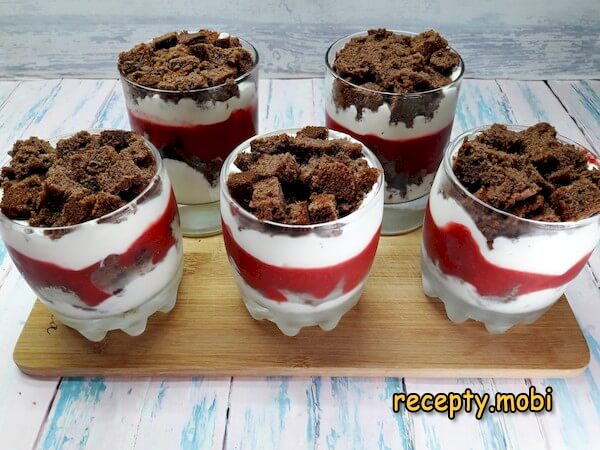
The trifles in cups are ready. You can decorate the dessert with chocolate lattices, pieces of white or dark chocolate, the berries themselves, and mint leaves — there is no limit to your imagination here. But do this just before serving the dessert, so the decoration looks fresh and colourful.


Tips
- 1
Transparent cups are the secret of the presentation. Because the layers show through the glass, you get a striking portioned serving.
- 2
Two hours in the cold are the secret of the sponge. Without this rest the cake is dry; after time wrapped in film it becomes moist and tender.
- 3
Soft peaks before the powder are the secret of the cream. Over-whipped cream will separate, so beat it only to soft peaks first, then add the powdered sugar.
- 4
Decorating just before serving is the secret of freshness. Add the chocolate and mint at the very last moment. The same principle works with other kinds of British desserts served in cups.
FAQ
Which cream should I choose? +
Ideally, use cream of 33–35% fat for reliable whipping. Alternatives include 30% cream (it whips less well and needs stabilising) and 30% sour cream for a tangier version. Fresh cream chilled to 4 °C is the best choice. Do not use 10–20% cream, which will not whip, or ultra-pasteurised cream sweetened with sugar, which changes the flavour. For the classic result you really do need rich 33–35% cream. Before whipping, keep the cream and the bowl in the refrigerator for 30 minutes.
What can I use instead of strawberries? +
You can use raspberries (300 g — brighter in flavour), pitted cherries (300 g), blueberries (300 g — an unusual colour), blackcurrants (300 g — more tart), or a 50/50 berry mix (300 g). Fresh berries are best; frozen ones work too — thaw them in the refrigerator for 2 hours first. Do not use berries in syrup, which will change the sweetness, or dried berries.
How long do the trifles keep? +
In the refrigerator, in the cups and covered with film, they keep for 2 days. Any longer and the sponge goes soggy and the cream loses its fluffiness. I do not recommend freezing them, as the cream will separate. Take them out 5–10 minutes before serving (when too cold they mute the flavours). Trifles are at their best 2–3 hours after stabilising in the cold. On the second day the flavour is deeper, but the texture is poorer. Do not leave them at room temperature for more than 2 hours, as cream spoils quickly. Ideally, make them 4 hours before serving.
What should I serve the trifles with? +
In the classic British way, serve them with a cup of English tea (Earl Grey, Darjeeling), or with coffee with milk, hot cocoa, or a cappuccino. They go well with a glass of champagne or prosecco, a sweet dessert wine (Sauternes, Muscat), or a glass of liqueur (Baileys, Amaretto, Cointreau). They also suit a fruit mix, a berry sorbet, or a berry sauce. With hot milk they make a child-friendly option. It is a versatile portioned dessert for special evenings.
- Comment
or post as a guest
Be the first to comment.


