
avg —
Millet Porridge with Milk in a Pot – 100% Without Bitterness
Instructions
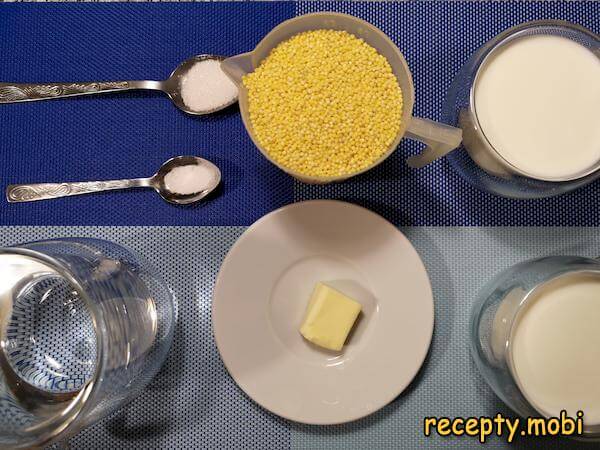
I prepare the necessary ingredients. Having everything to hand at once is convenient, as the process is spread out over time and it helps when it is all ready.
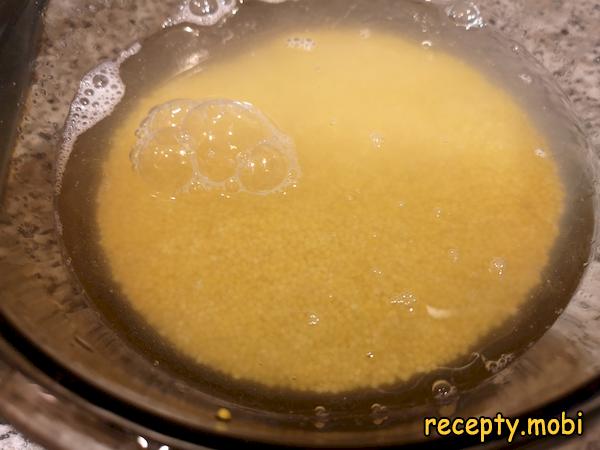
I pour the millet into a bowl and cover it with cold water. This is the first stage of removing the bitterness – the dust and some of the "bitter" substances are washed off the surface of the grains.

I stir the grain with a spoon or by hand so that the dust particles come off better, and drain the water. I rinse it about 5–7 times, until the water becomes completely clear. This is the "secret" of porridge without bitterness – the more thorough the rinsing, the better the result.
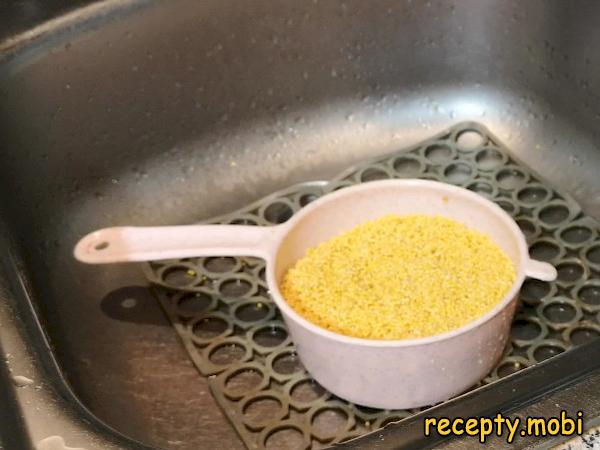
I take a colander, pour the millet into it and douse it with boiling water. The boiling water finally "knocks" the bitterness off the grains – without this stage even rinsed porridge can leave a slightly bitter aftertaste.
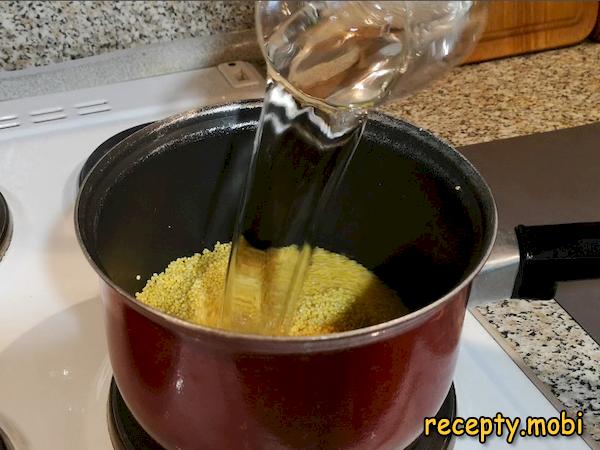
I transfer the millet into a pot. I pour in 400 ml of water – this is the first phase of cooking in water, after which there will be a second one in milk.
I bring the water to a boil. I skim off the foam that forms and reduce the heat to medium. The foam is part of the remaining "bitter" substances, so I always remove it.
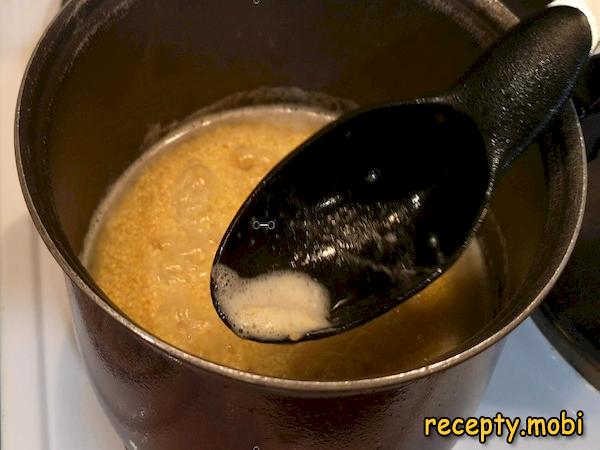
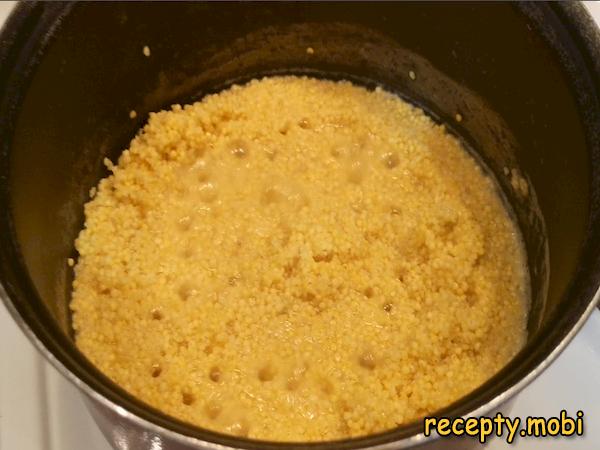
I cook until all the water has evaporated. By this point the millet is half-cooked and has absorbed the water.
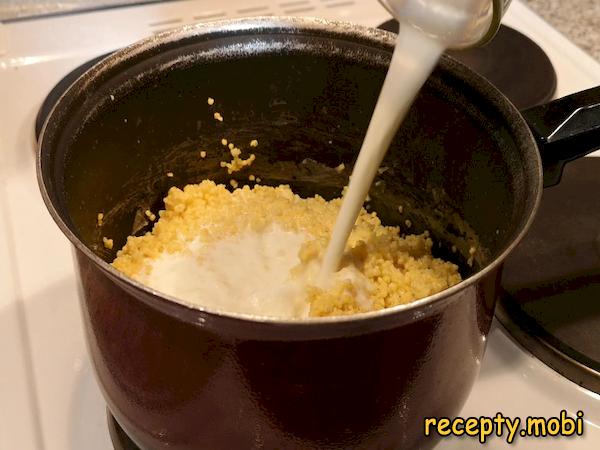
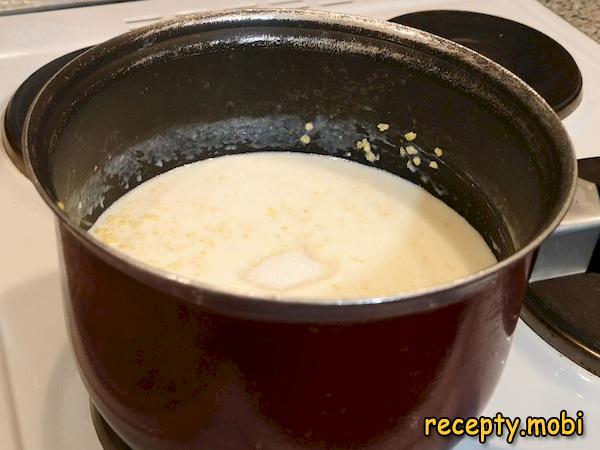
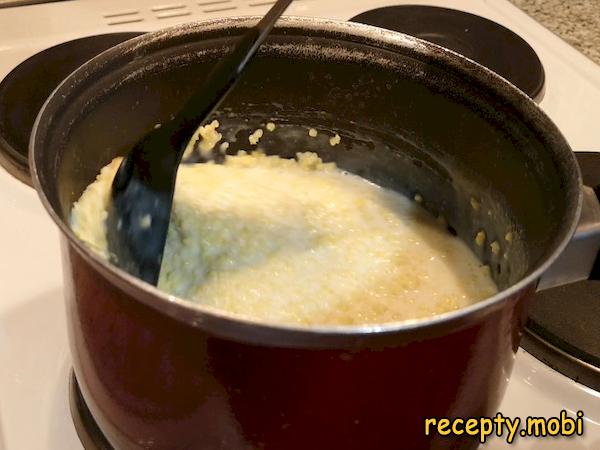
I pour 400 ml of HOT milk into the millet porridge. I stir thoroughly and reduce the heat to the very lowest setting. The milk must be hot – cold milk would "stop" the cooking process and the porridge would not be ready in time.
I add sugar and salt to taste. I do not forget to stir everything. The salt is essential – it "balances" the sweetness of the milk and sugar.
I cook for about 20 minutes over the lowest heat, stirring gently. Stirring is important – the porridge can "settle" on the bottom and burn.
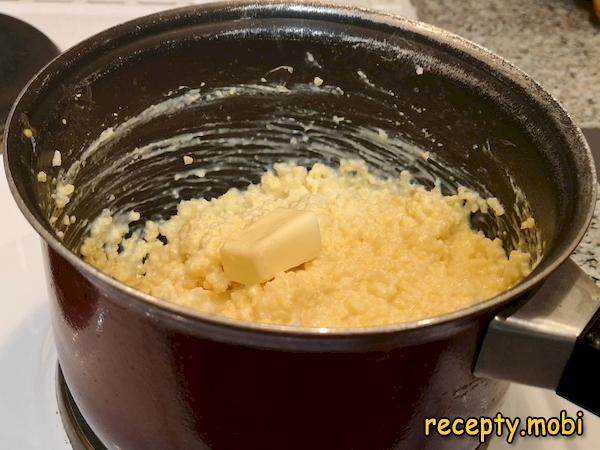
I remove the finished porridge from the stove. I add the butter and stir everything. The butter gives a characteristic creamy aroma and a silky texture.
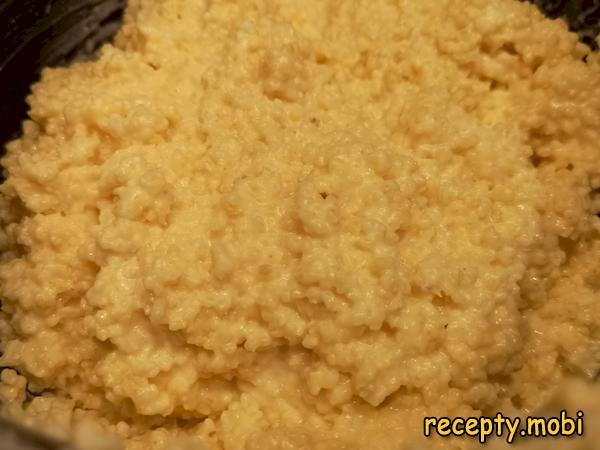
I cover the porridge with a lid and leave it to "rest" for another 10 minutes. This is the final stage – the grains will absorb the rest of the milk and the texture will become perfect. The millet porridge with milk is ready. I transfer it to a plate and serve.


Tips
- 1
Rinse the millet 5–7 TIMES until the water runs clear – this is the main "secret" against bitterness. A single rinse does not give the result you need.
- 2
ALWAYS douse the grain with boiling water in the colander – this "knocks out" the remaining bitterness. Without this step even rinsed millet can taste bitter.
- 3
Add the milk HOT – cold milk will "stop" the cooking process and the porridge will take considerably longer to cook.
- 4
Let the porridge "rest" for 10 minutes under a lid after cooking – the grains will absorb the rest of the milk and the texture will become perfect. Without this stage the porridge can be a little "runny".
Video
FAQ
Why does millet porridge taste bitter and how do you avoid it? +
Millet contains natural "bitter" substances on the surface of the grains – especially if the grain has been stored for a long time (more than 6 months). Fresh millet is less bitter. The main ways to remove the bitterness are: (1) thorough rinsing 5–7 times until the water runs clear; (2) dousing it with boiling water in a colander after rinsing; (3) the first cooking in water with the foam removed – the main bitterness goes off precisely with the foam. Apply all three methods and the porridge will turn out without the slightest hint of bitterness. Buy fresh millet from shops with high turnover.
Can you cook millet porridge in milk only? +
You can, but it will be a "too milky" porridge – an acquired taste. The two-stage technique (water + milk) gives a more "universal" flavour and good absorption of the milk by the grains. For a fully milky version try: 800 ml of milk + 200 g of millet, with no water. Be sure to stir constantly, otherwise it will burn. The taste will be richer, but the texture will be "slimy" (the milk proteins make the grains stick together). The two-stage method is better in every respect.
How long does the finished porridge keep? +
In the refrigerator – 2 days in a closed container. On the second day the porridge thickens considerably (the millet "absorbs" the milk as it stands). Before serving, reheat it on the stove with 50–100 ml of milk added to restore the consistency. It heats unevenly in the microwave. There is no point in freezing it – the millet becomes "cottony". It is better to cook a smaller portion and eat it fresh. Morning porridge is a "classic" breakfast.
How can you vary millet porridge? +
Classic additions: pumpkin (millet + pumpkin is an authentic Russian porridge), raisins (1 tablespoon per serving), chopped dried apricots, honey (instead of sugar), any jam (1 teaspoon on top), nuts (walnuts, almonds), fresh berries in summer. With pumpkin it is especially tasty: add 200 g of pumpkin flesh while cooking in water. The finished "pumpkin millet" is a famous dish of Russian cuisine. For a savoury version – with fried onion and cracklings (without sugar) – it becomes a "side-dish" porridge.
- Comment
or post as a guest
Be the first to comment.


