
avg —
Philadelphia Rolls at Home
Instructions
I prepare the ingredients for making Philadelphia rolls at home. You can buy special rice made for rolls, but good-quality ordinary short-grain rice or pilaf rice is an excellent substitute. Instead of salmon fillet you can use trout fillet.
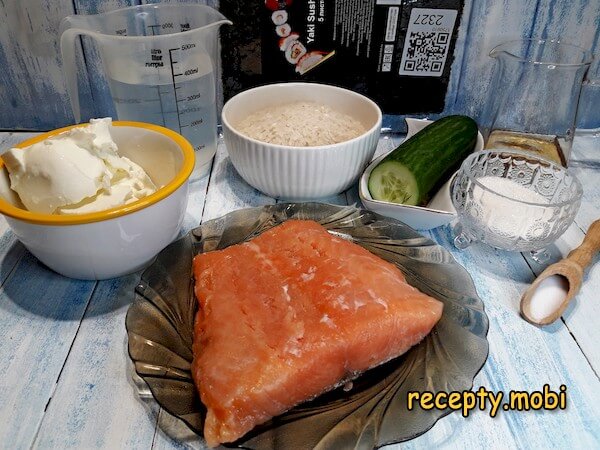
For these rolls it is very important to cut the fish fillet into thin slices, so it is best to keep it in the freezer beforehand (for 2-3 hours) to make the slicing neater. Running a sharp knife parallel to the skin, I prepare the fish slices and put them in the fridge, since all the ingredients for the rolls should be chilled.

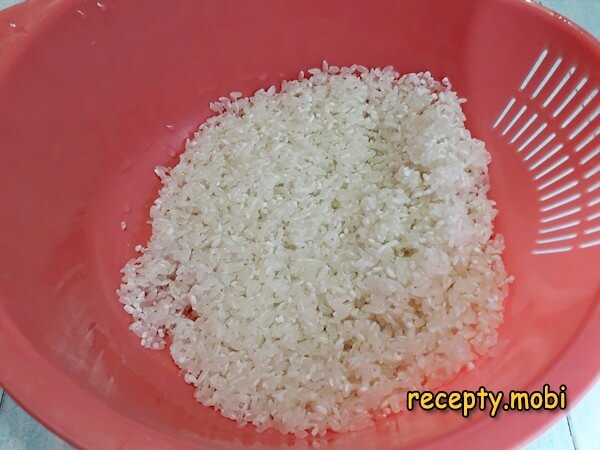
I rinse the rice well several times in cold water to remove most of the starch – without this the rice turns out too sticky and "wrong" for sushi.
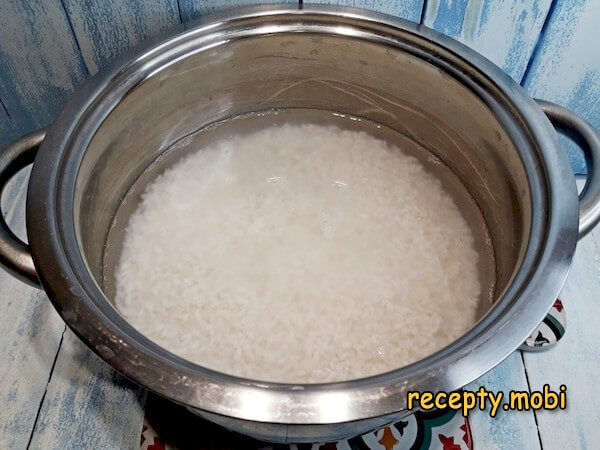
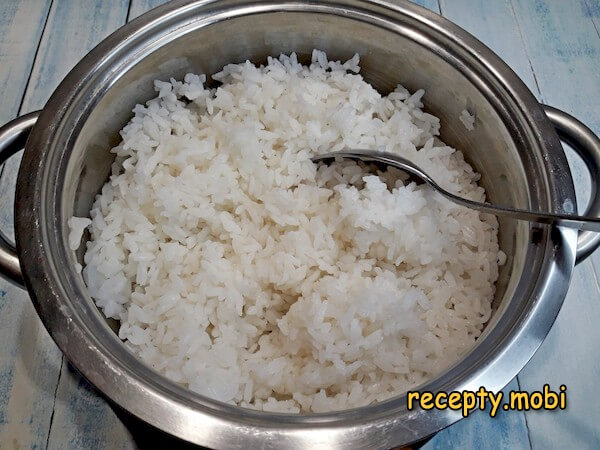
I put the rice into a heavy-bottomed pot, pour in the water, and place it on the heat, which should be reduced to minimum once it starts boiling. I cook the rice for 10 minutes.
Then I turn off the stove, cover the pot with a towel, and leave the rice to steam for another 7-10 minutes. This is the "secret" to the correct sushi-rice texture.
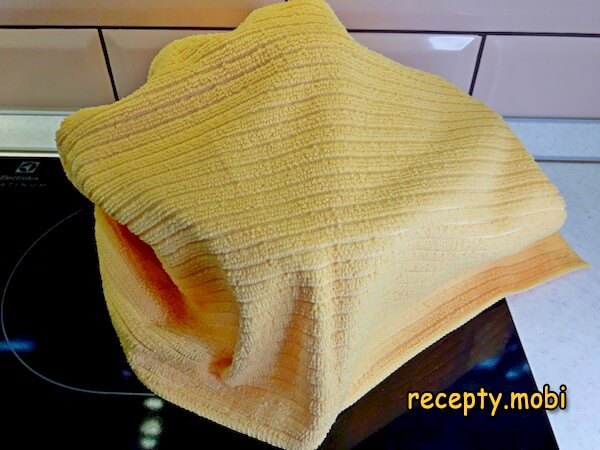
After the stated time the grains will have softened nicely, turning fluffy yet keeping a certain stickiness, which is very important when making rolls.
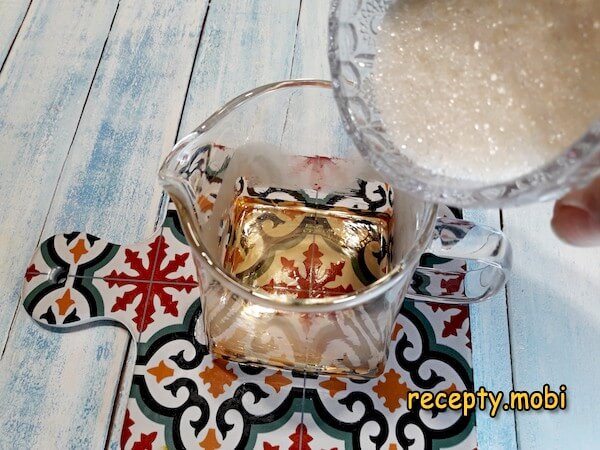
I prepare the dressing for the rice. I warm the apple vinegar slightly, to about 35-40 degrees, in the microwave so the dry ingredients dissolve more easily. I pour in all the sugar.
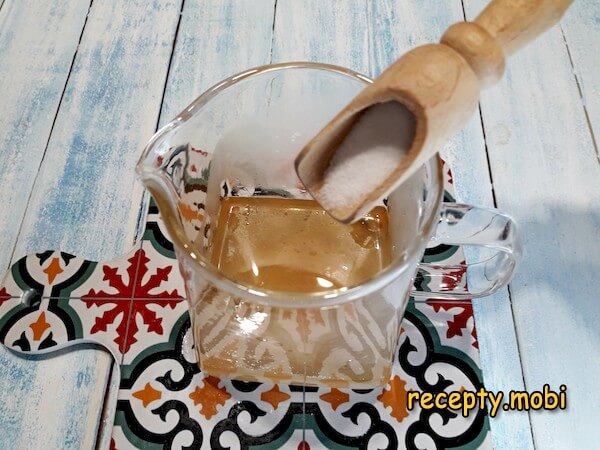
I add the salt and stir well until the hard crystals have completely disappeared and the cloudy solution turns into a clear liquid – the classic "sushi-zu" (sushi vinegar).
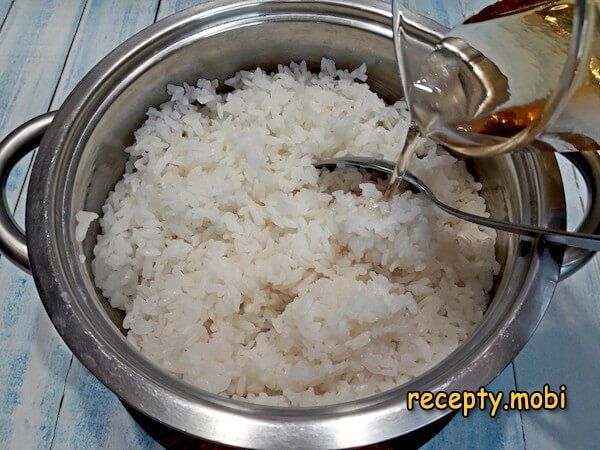
I pour the dressing into the hot rice and gently mix it in. Now I need to cool the contents of the pot in any convenient way (over an ice bath, in cold air, or naturally).
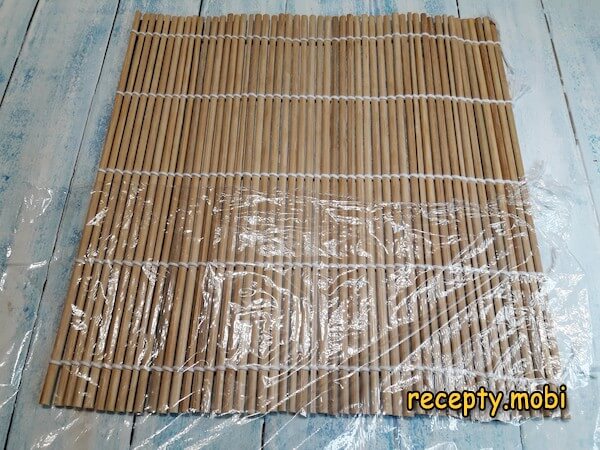
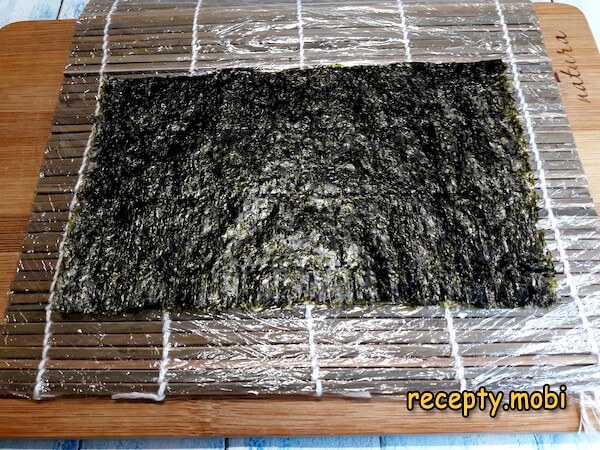
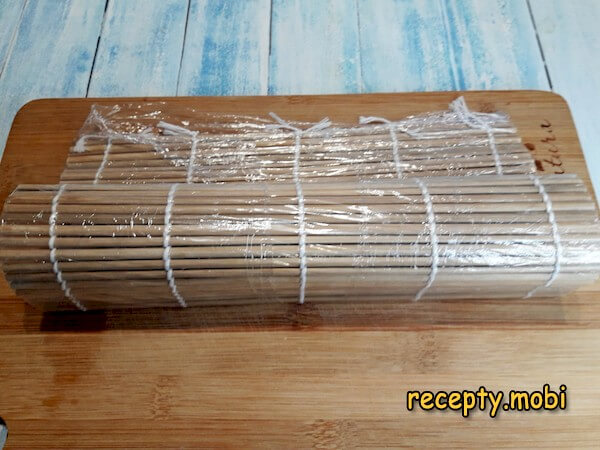
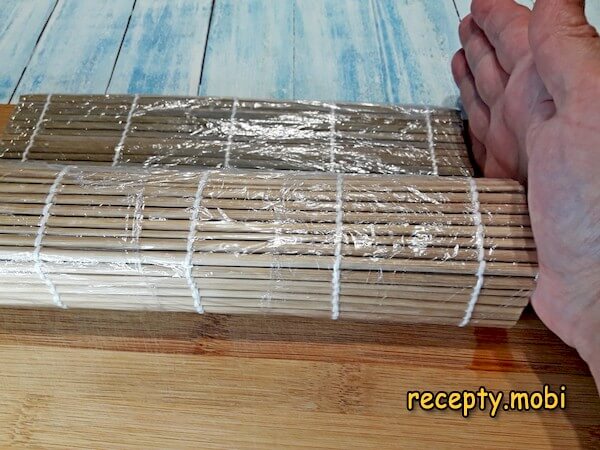
I prepare the bamboo mat. To do this I wrap it several times, winding layers of cling film across the sticks – the film is needed for hygiene and ease of work.
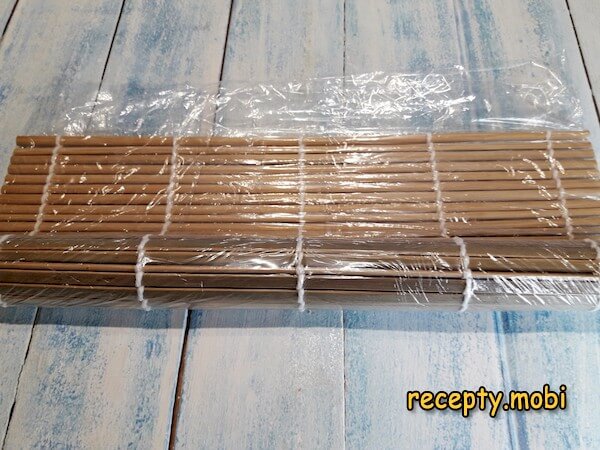
Next I need to expel the air by rolling the mat up tightly and rolling it back and forth a few times – so the film sits snugly against the mat.
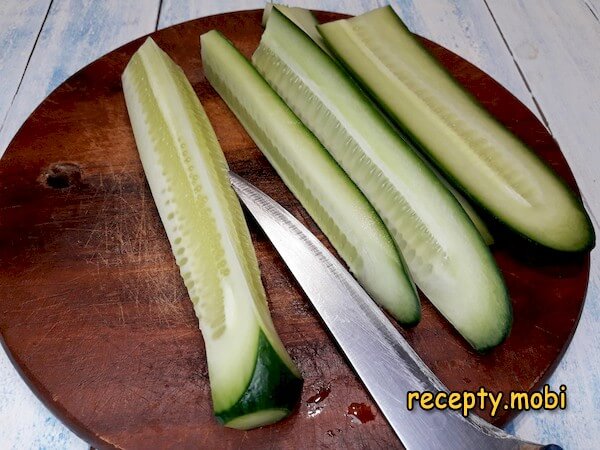
I cut off the sides of the cucumber along with the skin. I leave the middle with the seeds – it will not be needed, because it would give off excess moisture in the finished roll.
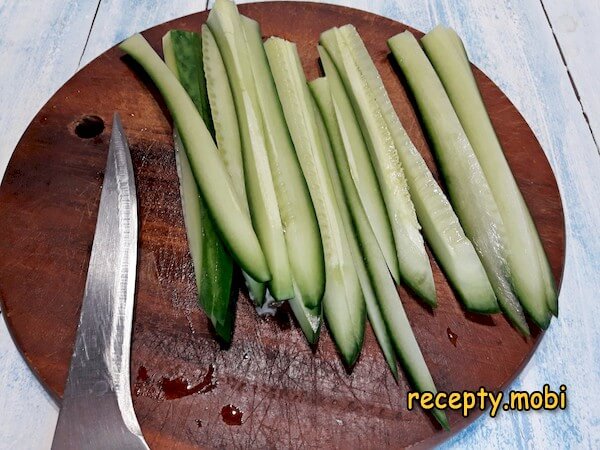
Then I cut the pieces into thinner strips – it is precisely the thin strips that lie neatly in the roll and look attractive in the sliced sushi.
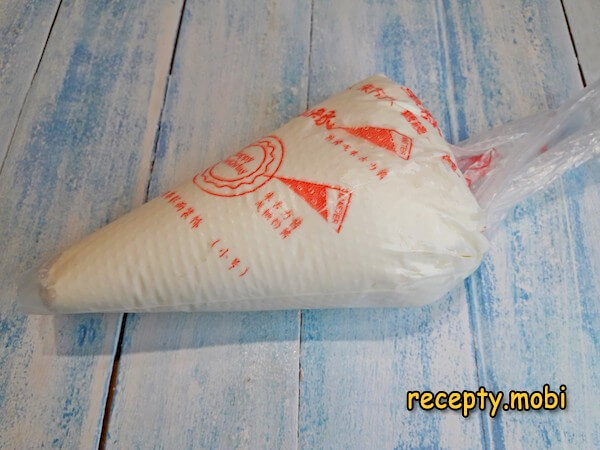
For convenience I transfer the Philadelphia cheese into a piping bag with the tip cut off – this makes it easier to distribute the cheese evenly.
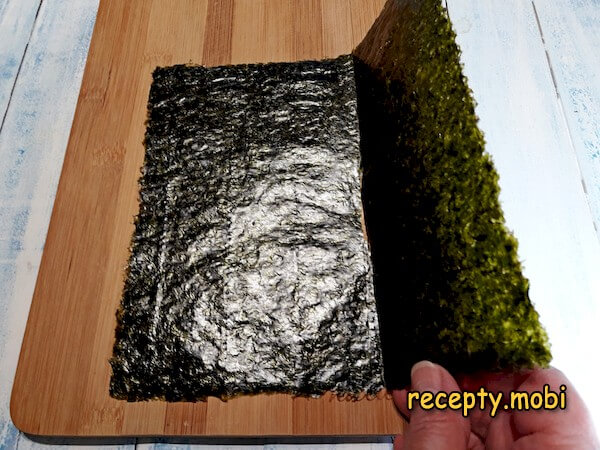
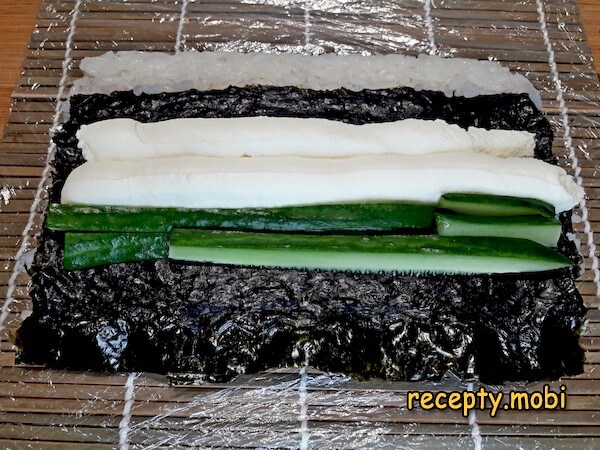
For rolls where the nori sits under the rice, a whole sheet of seaweed is not needed – a piece slightly larger than half a sheet is enough. So I break off or cut with scissors the required part along the marked lines.
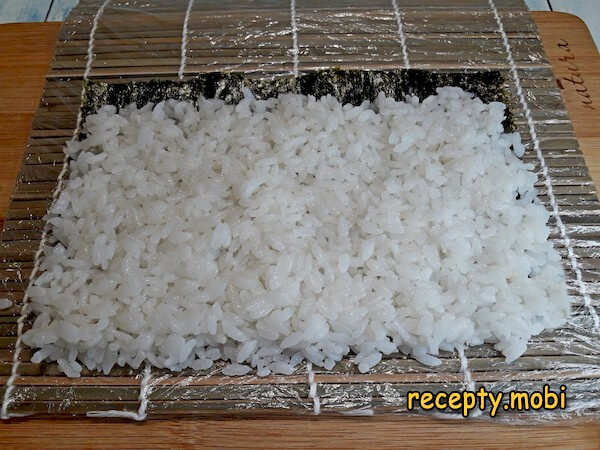
I lay the pressed seaweed on the prepared mat, rough side up – the rough side grips the rice better.
I measure out about 100 grams of rice and place it on the nori.
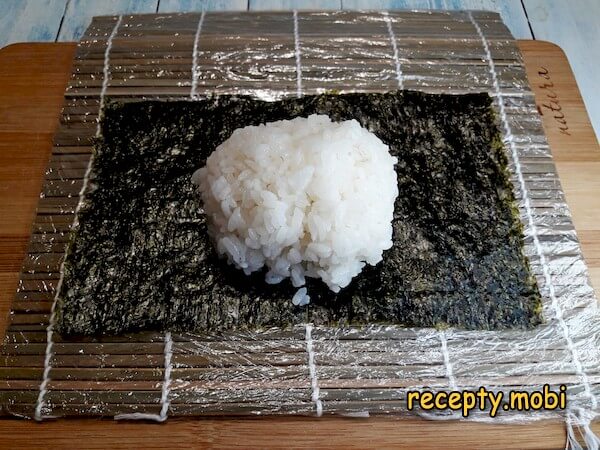
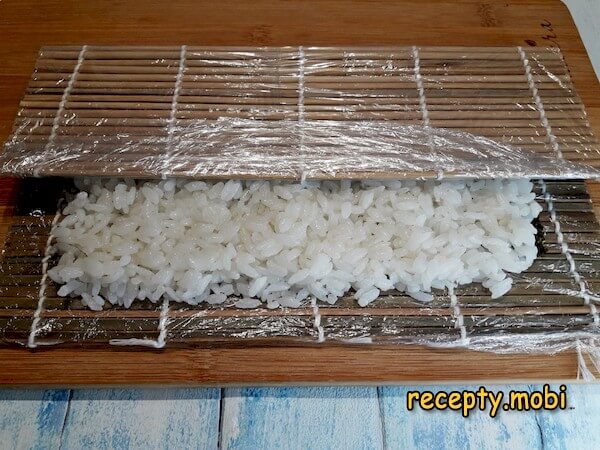
With wet hands I spread the ball of rice across the whole surface of the sheet, leaving 1 centimetre of seaweed unfilled on one side and, on the opposite side, going 1 centimetre beyond it. This is the "secret" to correctly forming the inside-out roll.
With the mat I press the rice lightly (do not press hard) – so it sticks more firmly to the nori.
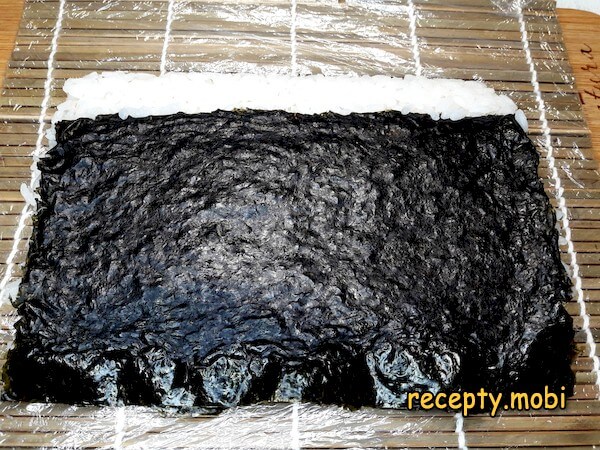
Lifting the nori with my palm, I turn the piece over to the other side – now the rice is underneath and the nori is on top. This is exactly the "inside-out" Philadelphia technique.
I lay 1-2 strips of Philadelphia cheese down the middle – right in the centre, so that when sliced the cheese ends up in the middle of each piece of sushi.
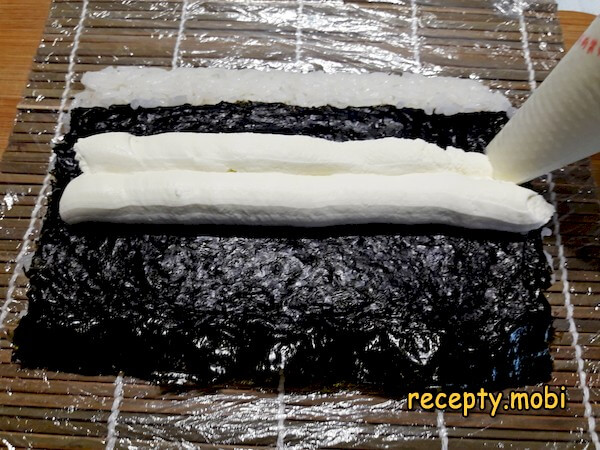
Alongside I press the cucumber strips – to create the characteristic "two-component" centre.
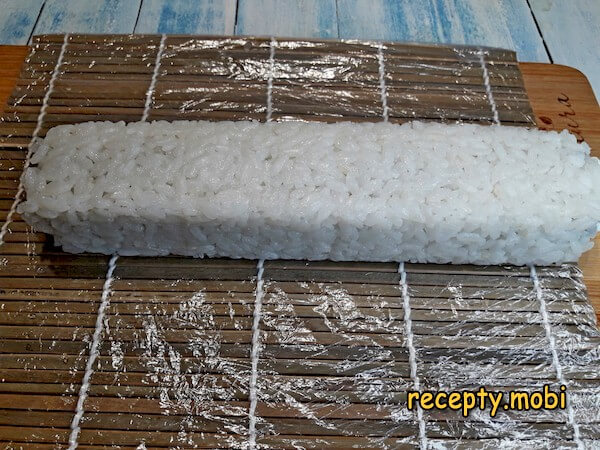
Now with the mat I begin to roll the roll so that the nori sheet goes inside the green part, and a strip of 1 centimetre that is free of rice remains – it will serve as an excellent seal for the dried seaweed.
Next I make sure the free rice edge joins the edge of the rice on top of the nori. I press the roll well.
If you like, you can give the roll a square or round cross-section. In essence, this is already a finished base, all that is left is to wrap it in the lightly salted fish.
But the ends still need tidying up. To do this I draw them one at a time to the edge of the mat, fold it over, and press the cut end with a wet palm.
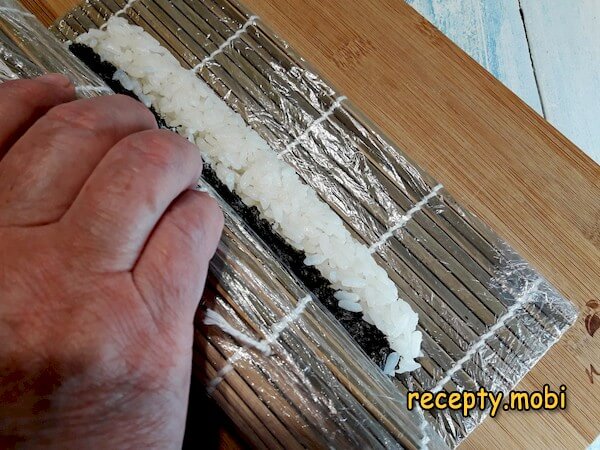
Next I move the roll almost to the edge of the mat. Alongside I lay out the slices of lightly salted salmon – right on the mat, so as to then wrap the salmon around it like "packaging".
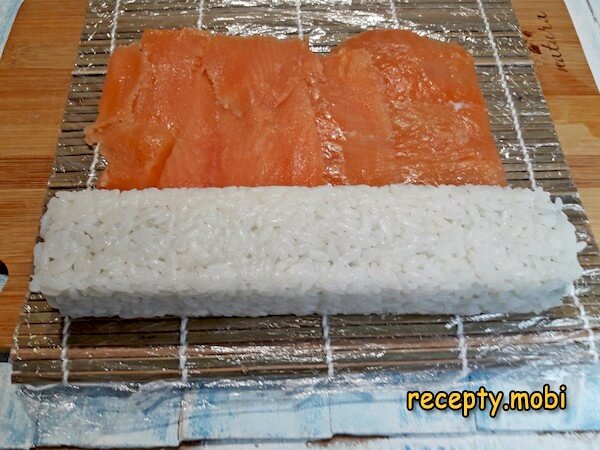
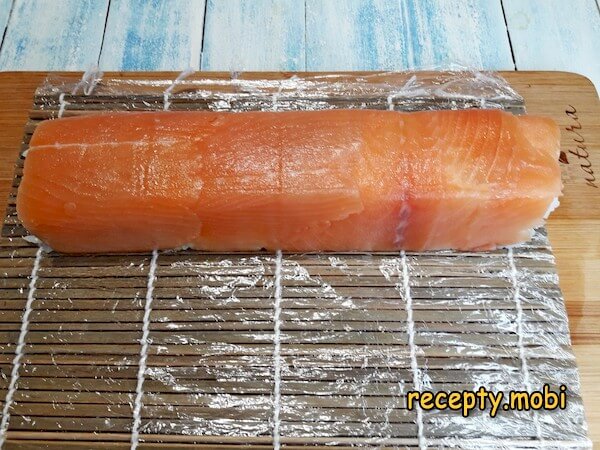
I begin to roll up the piece, pressing and giving it the right shape with the mat – the salmon tightly "hugs" the roll on the outside.
I moisten a sharp knife blade with water and cut the roll first in half, then in half again, each time wiping the knife and moistening it with water – this is the "secret" to a neat cut.
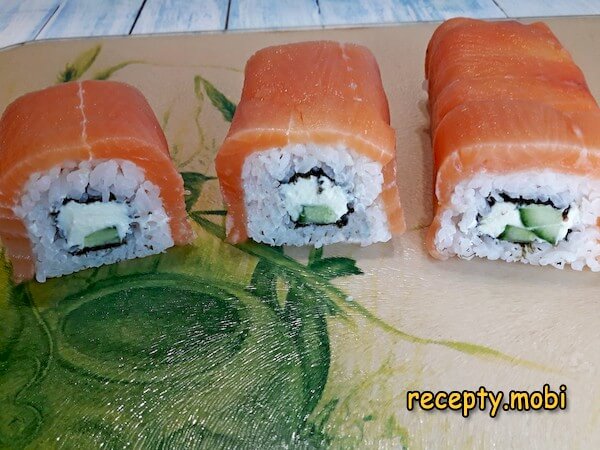
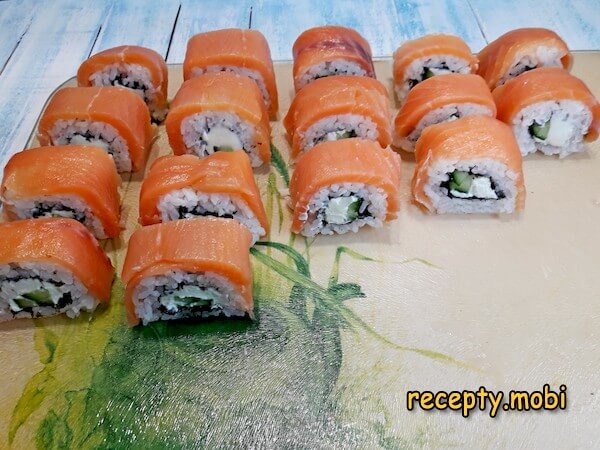
I divide the roll into 8 equal pieces – the standard number of sushi from one roll.

I do the same with the rest of the rolls.Homemade Philadelphia rolls can be made for any celebration or dinner party. Even if you do not manage to give them a perfect shape, it will not affect the taste, and every piece will be infused with the aroma of freshness and the combination of tender cheese, lightly salted fish, and fragrant rice. Serve them with soy sauce, wasabi, and pickled ginger, creating a real feast of flavour right on your table.


Tips
- 1
CHILLED SALMON is the "secret" to thin slicing. Fresh fillet slices poorly into thin sheets – it "sticks together" under the knife. A 2-3 hour partial freeze in the freezer makes the flesh firm and easy to cut into perfect translucent slices 1-2 mm thick – exactly what is needed for covering a Philadelphia roll. This is a "secret" from sushi chefs.
- 2
INSIDE-OUT ASSEMBLY is the "secret" of Philadelphia. The main difference between Philadelphia and ordinary rolls is rice on the outside, nori inside. This requires double work with the mat: first rice on the nori, then the flip, then the filling down the centre, then rolling up. Master ordinary rolls at home first, then move on to Philadelphia – it is easier to "get the knack" that way.
- 3
WET HANDS are the "secret" to working with rice. Dry hands instantly get coated in sticky sushi rice – forming the roll turns into a nightmare. Wet hands (just water from the tap before each roll) stop the rice from sticking – the work goes quickly and neatly. This is a "secret" from Japanese cooks.
- 4
VARIATIONS WITH SALMON are the "secret" of the premium version. For a "premium" Philadelphia I choose the highest-quality salmon. You can also prepare an extra "hot" sauce for serving, in the style of salmon in a creamy dill sauce, as a restaurant-like "fusion" option.
FAQ
How is Philadelphia different from ordinary rolls? +
The main difference is the "inside-out" assembly technique. In ordinary rolls the nori is on the outside and the rice inside. In Philadelphia it is the other way round: rice on the outside, nori inside, and a salmon covering on top as well. This requires a more complex technique with flipping the roll on the mat. In flavour, Philadelphia is richer thanks to the triple composition of "salmon outside + Philadelphia cheese inside + a layer of rice" – it is exactly the combination of these three ingredients that gave the roll its name.
Can the Philadelphia cheese be replaced? +
Yes, there are several good alternatives. The best analogue is mascarpone (a tender Italian cheese, similar in consistency to Philadelphia). Affordable substitutes are Almette by Hochland, Violetta, President soft cheese, Cremette, and mascarpone. Not suitable: ordinary curd cheese (too grainy), sour cream (too runny), or processed cheese (a different flavour). For a budget option, a mixture of 5% curd cheese (200 g) + 30% sour cream (50 g) + a pinch of salt, whipped in a blender to a smooth cream, gives a similar texture and taste.
How long do Philadelphia rolls keep? +
Philadelphia is best eaten freshly made within 4-6 hours. In the fridge under cling film – a maximum of 12-24 hours; after that the rice "toughens" and the salmon turns soft. Freezing sushi and rolls is absolutely out of the question – after thawing the whole structure breaks down. If a lot is left over, it is better to cut it into portions and pack it airtight. Before serving, let it stand for 10-15 minutes at room temperature – straight from the fridge the rolls are "dull" in flavour. The ideal option is to make them "right before the guests arrive".
What to serve with Philadelphia rolls? +
The authentic Japanese presentation is on a flat wooden board with the obligatory trio: soy sauce, wasabi, and pickled ginger ("gari"). For drinks: green tea (the classic), cold sake, Japanese beer (Asahi, Kirin, Sapporo), or dry white wine. For a large table: an assortment of 3-4 kinds of rolls of varying difficulty (for example, Philadelphia, ordinary ones with salmon, California with crab). For dessert afterwards: mochi (Japanese rice cakes) and fruit. For a "fusion" presentation: Philadelphia with a slice of lemon and a pinch of sesame on top.
- Comment
or post as a guest
Be the first to comment.


