
avg —
Dumplings with Cherry in Milk
Instructions
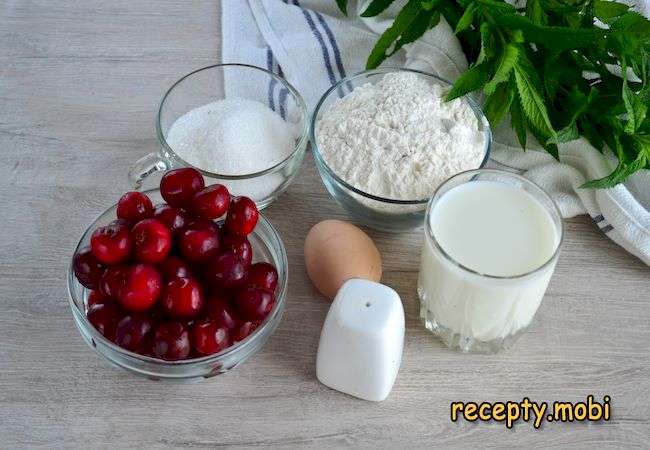
I prepare all the necessary ingredients. I use milk at room temperature – in cold milk the dough rises poorly.
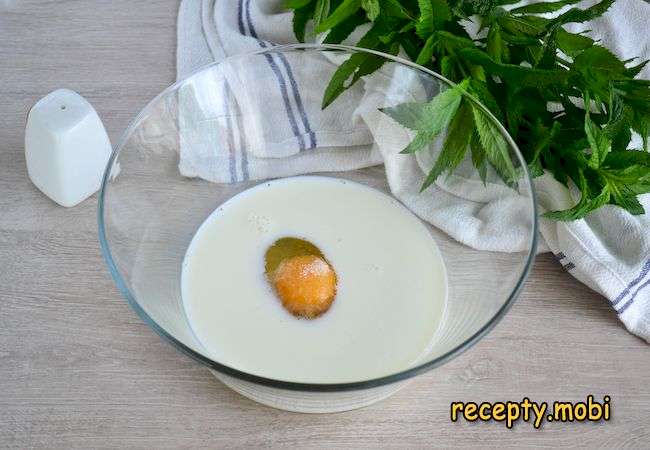
I crack 1 egg into the milk, add a very small pinch of salt and about 2 tbsp of sugar. With this option the dough will be slightly sweet. You can leave out the sugar – if you want only the berries inside to be sweet – or you can add more.
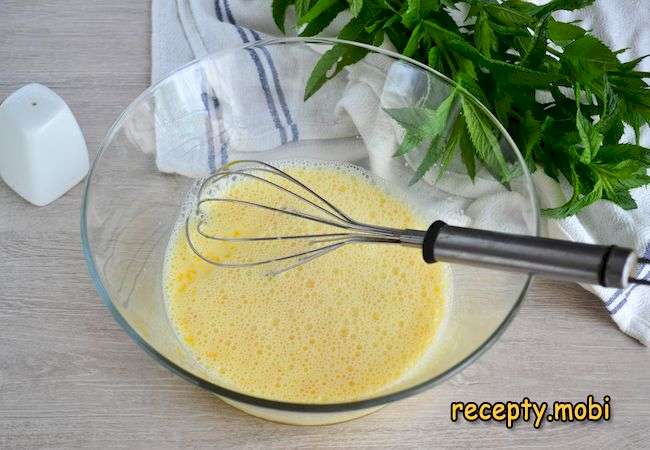
I stir the mixture so the egg is fully combined. I add 1 tbsp of vegetable oil – it makes the dough more elastic.
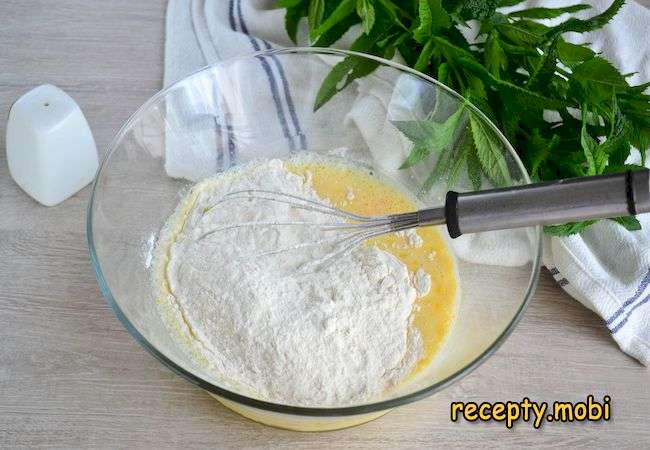
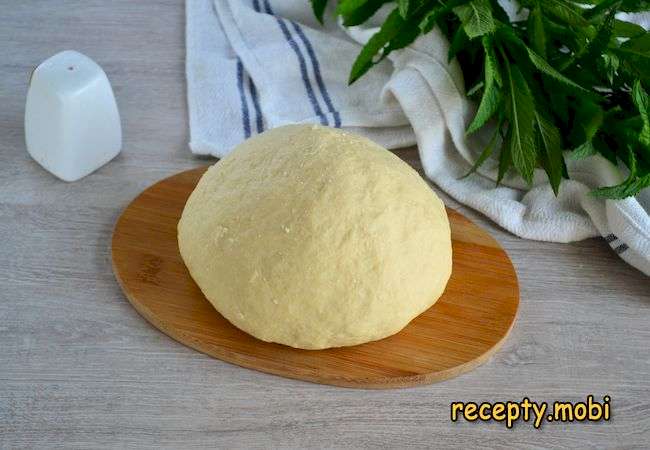
I start sifting in the flour and kneading the dough. Sifting saturates the flour with air – the dough will turn out more tender.
You may need more or less flour – the main thing is that the dough turns out firm enough and does not stick to your hands. If the dough is soft, the dumplings may burst during boiling, and they are also harder to shape. I leave the finished dough to "rest" for 10–15 minutes while I deal with the filling.
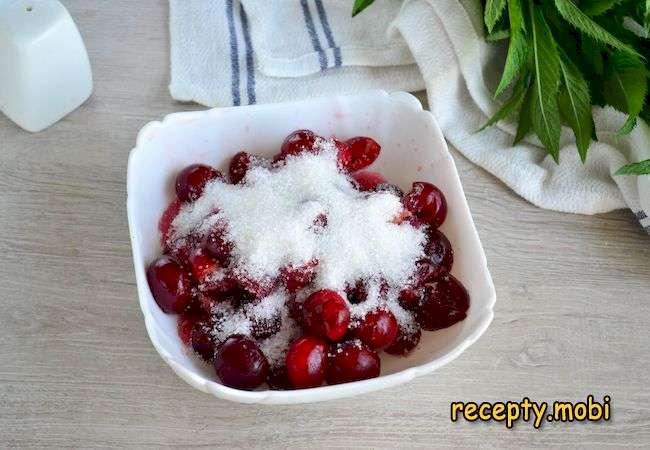
I wash the cherries well and remove any damaged berries. I take out the pits – it is most convenient with a special pitter or an ordinary pin.

I add sugar. The amount depends on the cherries themselves – if they are sour, do not be stingy, otherwise the dumplings will also be sour. I mix the cherries with the sugar. If a lot of juice is released – I add a little starch or flour.
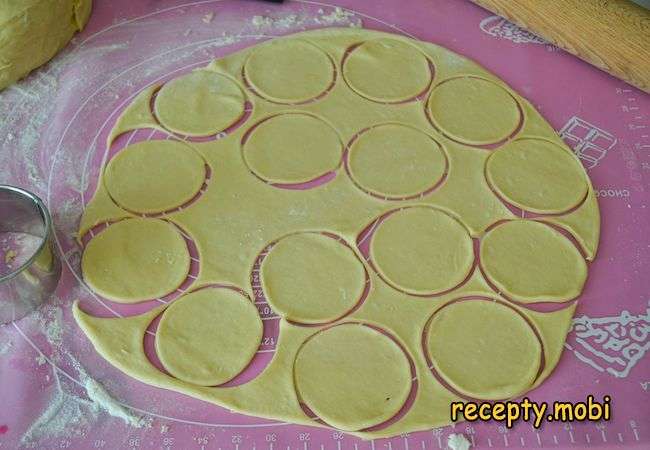
I roll out about one-third of the dough to a thickness of 4–5 mm. I like the dough thin, so I roll it out as thin as possible. Using a cutter or an ordinary glass, I cut out circles 8–10 cm in diameter (depending on the desired size of the dumplings).
I place two cherries on each circle.
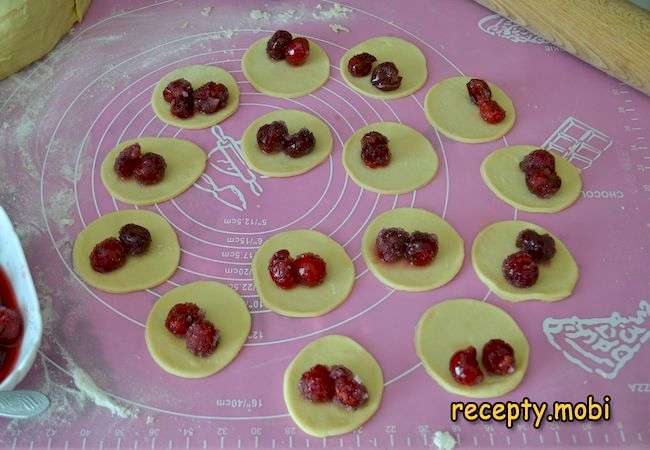
I join the edges of the dough and shape the dumplings – pinching them tightly so the juice does not leak out during boiling.
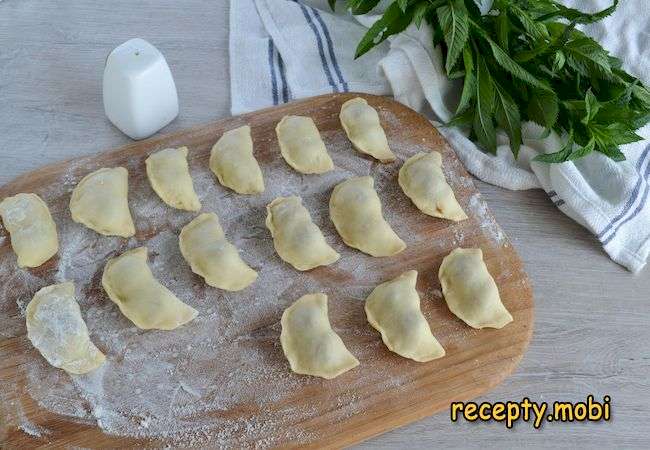
As soon as I start shaping, I immediately put a pot of water on the heat to bring it to a boil. Once the first batch is ready, I send it into the water and move on to the next one. Otherwise the cherries in the dough release juice and the dough falls apart.
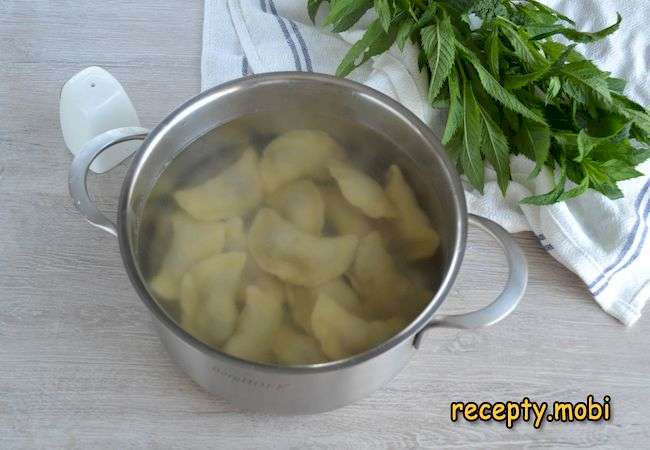
I stir the dumplings in the pot from time to time. Once they float up – another 1–2 minutes and they can be taken out.
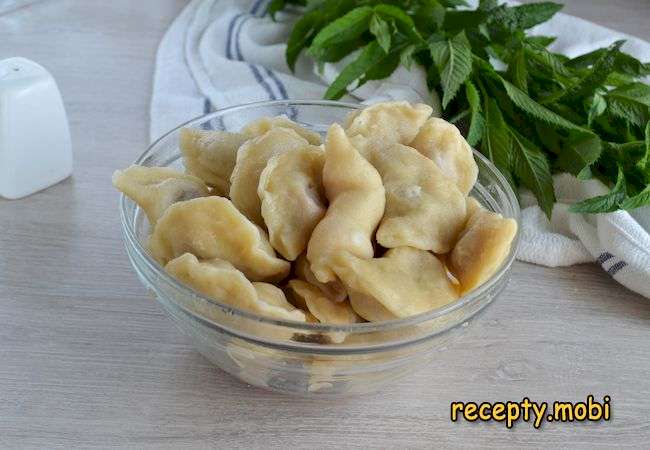
I serve the dumplings with sour cream – it will be very tasty.Bon appetit!


Tips
- 1
The DOUGH should be firm and not stick to your hands – soft dough will burst during boiling. If it is too soft, add flour; if it is dry, add a couple of spoonfuls of milk.
- 2
SHAPE AND COOK IN BATCHES – cherries release juice quickly, and the dough "falls apart". Once you have shaped 10–15 pieces – straight into the pot.
- 3
If the cherries are very juicy, add 1 tsp of STARCH or flour to the filling – the starch binds the excess juice and stops the dumplings from "leaking".
- 4
Leave the dough to "REST" for at least 10–15 minutes under cling film or a towel – the gluten relaxes and the dough becomes more elastic. A similar trick works for other kinds of dough.
FAQ
Can I use frozen cherries? +
Yes, out of season this is an excellent option. Important points: do NOT thaw them completely – the berries should only be slightly softened (15 minutes at room temperature). Drain off the released juice and use the berries for the filling. Shape quickly – frozen berries release even more juice than fresh ones. Starch in the filling (1–2 tsp) is essential – it will bind the juice. Ready-made dumplings can also be frozen and cooked straight from the freezer (add 2–3 minutes to the cooking time). They keep in the freezer for up to 3 months.
How do I pinch the edges properly? +
Carefully – otherwise the juice will leak out and the dumplings will fall apart. Methods: the simple one (fold the circle in half and press the edges firmly with your fingers), the "braid" (fold the edge over in a braid pattern – pretty and reliable), the "fork" (press the edges with a fork to leave a pattern). The edges must be dry (free of juice) – if the cherries have "stained" the dough, blot it with a napkin before pinching. An edge that is too thin may split during boiling – leave 0.5–1 cm of the edge unpinched.
What should I do if the dough tears while shaping? +
Three causes: the dough is too soft (not enough flour), too dry (over-dried – it cracks), or it did not "rest" well after kneading (too little gluten). The fix: if it is soft – add 1–2 tbsp of flour and knead again; if it is dry – add 1 tbsp of milk; if it has not rested – put it under cling film for 15 minutes. If the dough is old (more than 2 hours after kneading) – it is better to make a new batch, as the quality drops after this time. For beginners: roll out all the dough at once, cut out the circles, and cover them with cling film so they do not dry out.
How long do I cook the dumplings? +
Fresh dumplings (just shaped) – 3–4 minutes after they float to the surface. Frozen ones – 5–7 minutes after floating. For a large quantity – cook in batches of 10–15 pieces, otherwise they will stick together. The water should be boiling actively, but not at a rolling boil (so as not to tear the dough). Add a pinch of salt and 1 tbsp of oil to the water – this will prevent sticking. Take the cooked dumplings out with a slotted spoon and immediately brush them with a piece of butter for aroma.
- Comment
or post as a guest
Be the first to comment.


