avg —
Chimichanga

Instructions
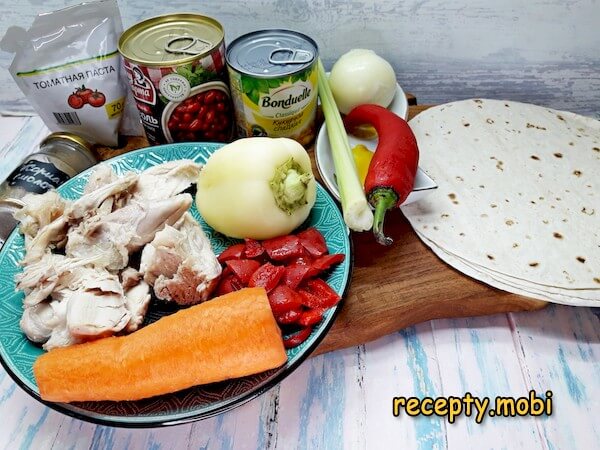
I prepare the ingredients from the list above for the chimichanga.
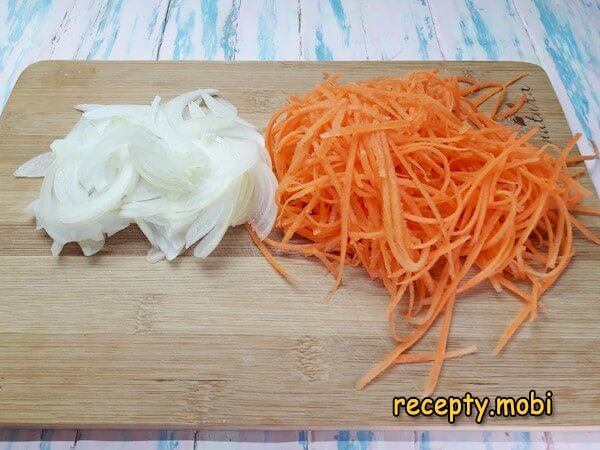
The whole varied filling that will be wrapped in the tortillas is fried in a pan, but first it needs to be prepared. Grate the carrot into long strips using a Korean grater. Slice the onion into thin, translucent feathers.
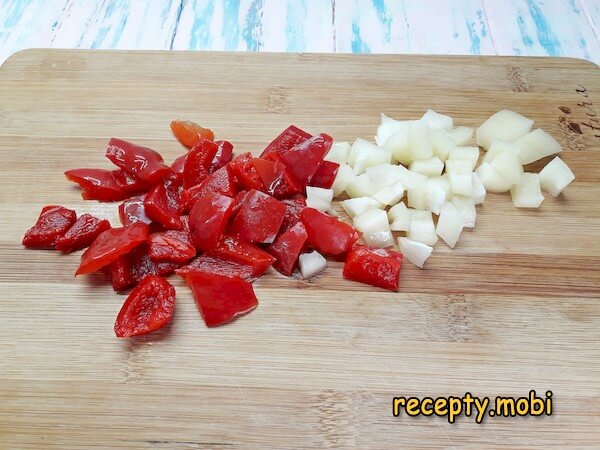
Cut the bell pepper into cubes.
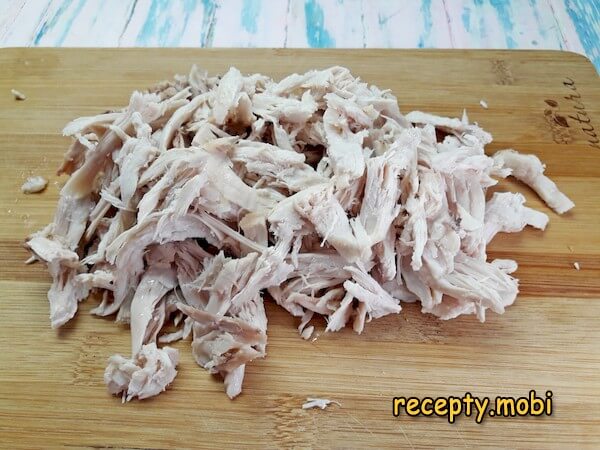
As for the meat, it is better not to chop it with a knife but to pull it apart into fibres by hand.
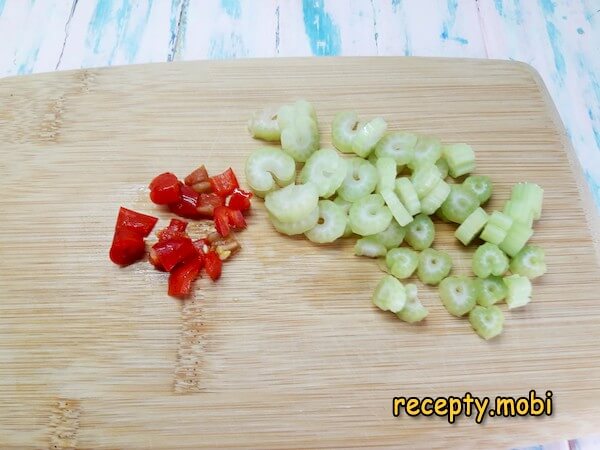
Cut the celery into rings. Finely chop the chili pepper (any amount you like) with a knife.
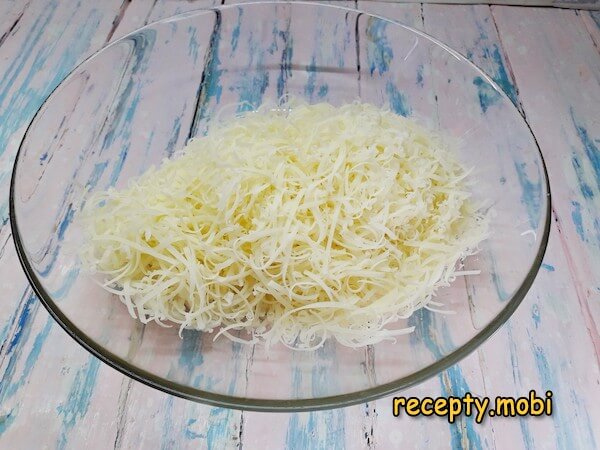
Grate the cheese into small shavings.
Drop the onion and carrot into the heated oil at the same time.
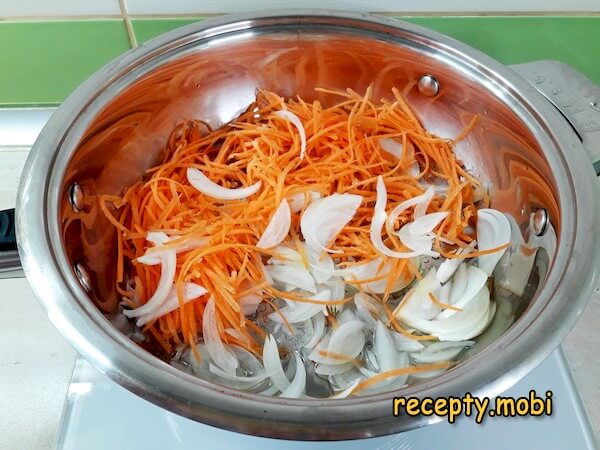
After 2 minutes they turn soft, thanks to the thin slicing.
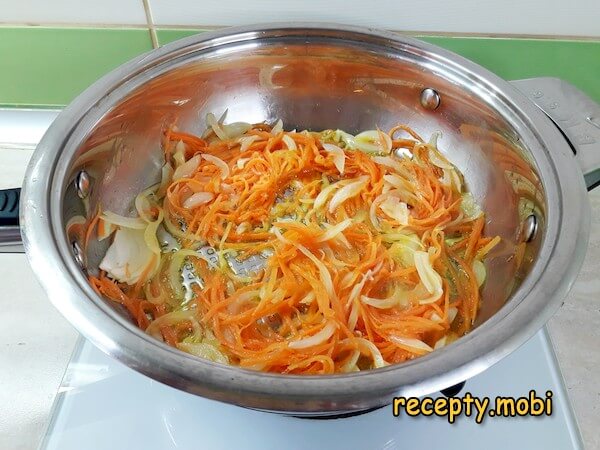
At this point, add the colourful pepper cubes.
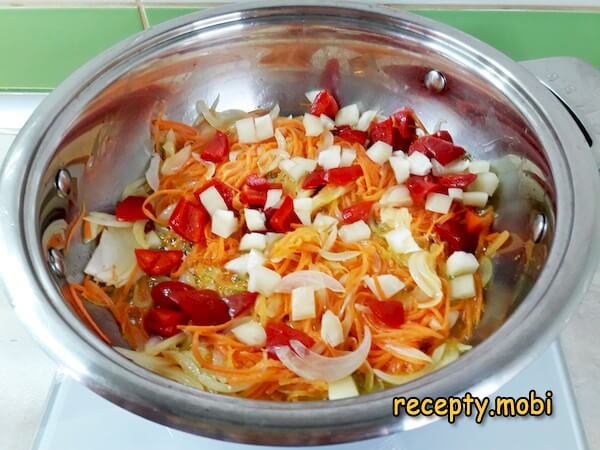
Fry everything for 1 more minute, then add the meat to the pan.
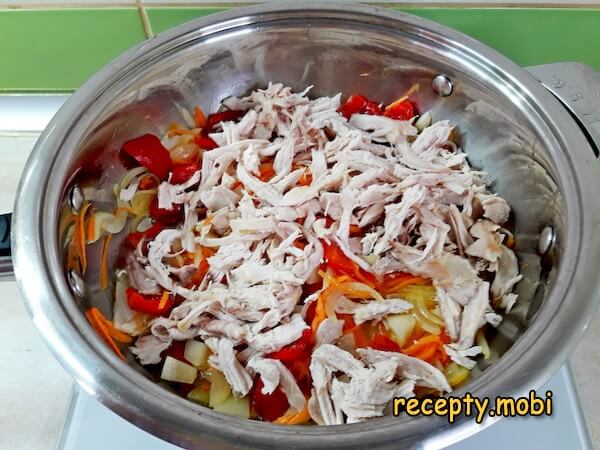
Next add the celery, chili pepper and dried coriander. Fry the mixture for 2–3 minutes over medium heat.
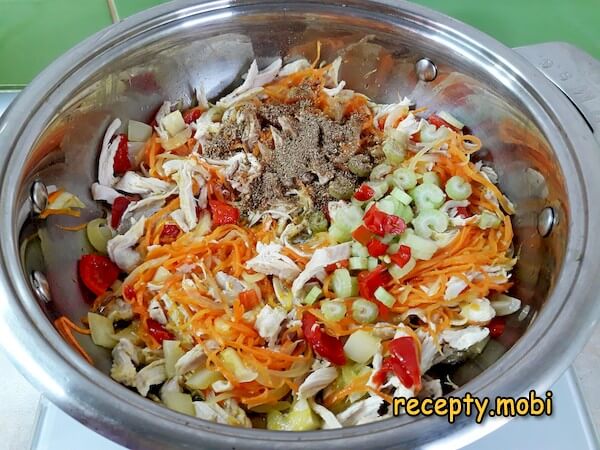
Last of all, add the red beans together with the tomato paste and sweet corn to the filling.
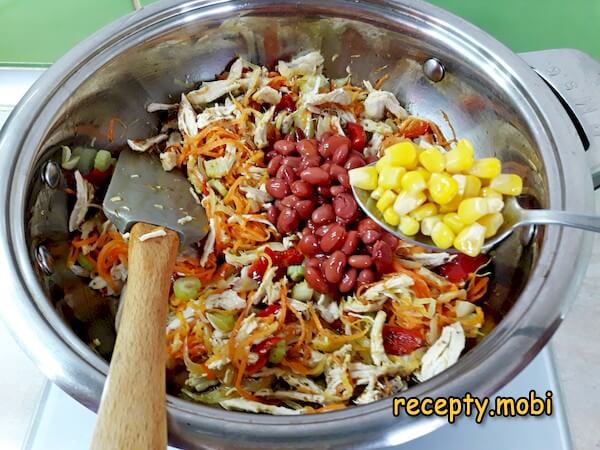
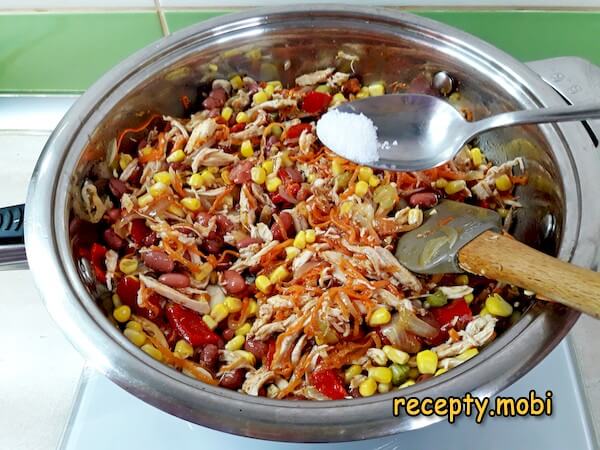
Taste the mixture for salt and add more if needed. Fry the whole mixture for another 3–4 minutes, then take it off the heat.
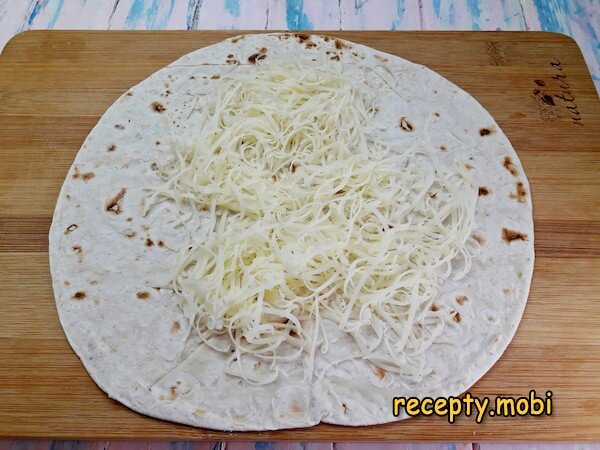
There is no need to wait for the filling to cool; you can start shaping the chimichangas right away. On a tortilla, sprinkle one-fifth of the grated cheese, covering the whole circle.
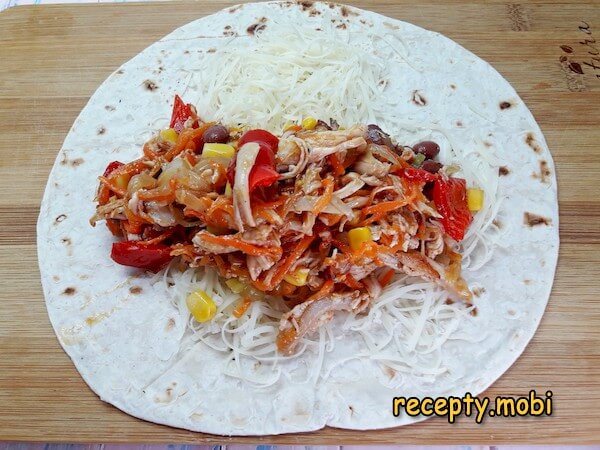
Closer to one of the edges, place the filling (about 3 large spoonfuls).
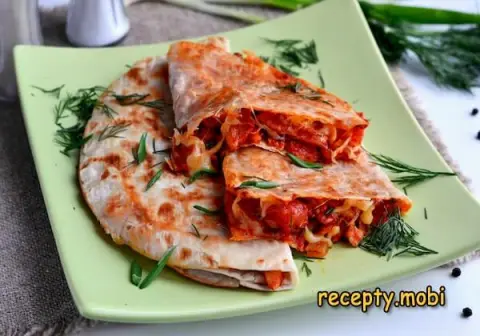
Fold the flatbread into an envelope, like an ordinary pancake.
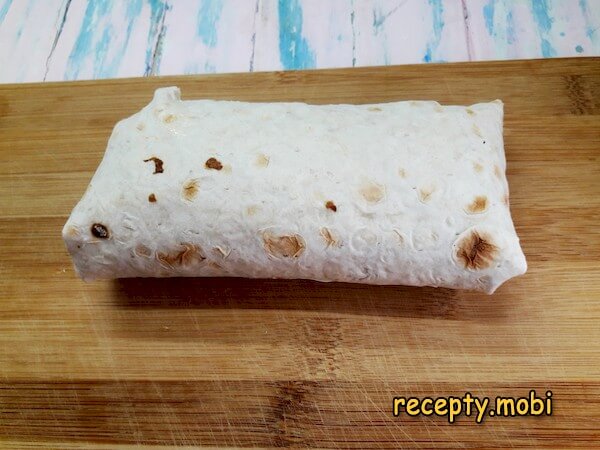
Do the same with all the tortillas.
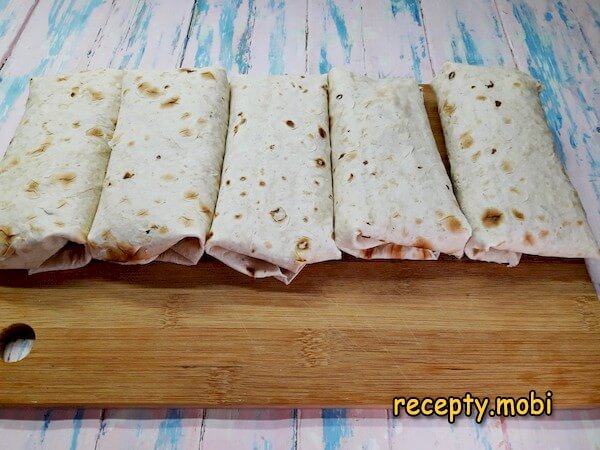
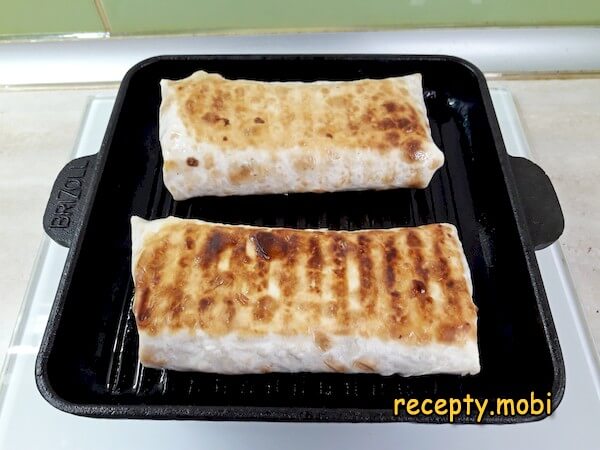
In a grill pan, or a regular pan filled with oil, brown the wraps on both sides.
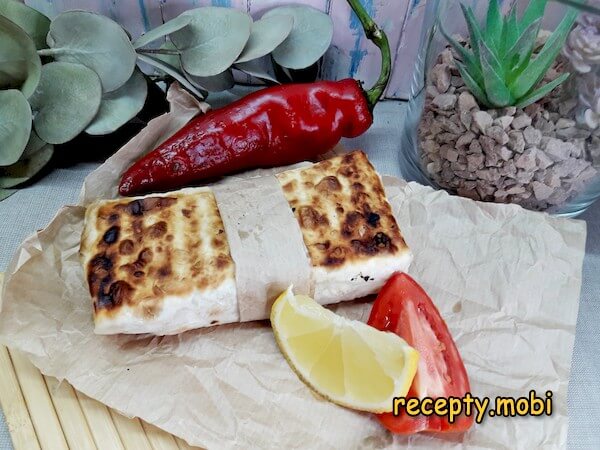
The chimichanga is ready. When you fancy varying your sandwich snacks, this dish comes to the rescue. The remarkable combination of filling ingredients has a rich flavour, and together with the crisp, toasted tortilla shell and the fact that you can take this food on the road, the value of this Mexican dish only grows – do give it a try.


Tips
- 1
Meat in fibres – the texture secret. Pulled chicken stays juicy, while knife-cut meat gets "lost" in the filling.
- 2
Cheese inside the flatbread – the flavour secret. Grating cheese onto the tortilla before the filling creates a thin cheese layer that binds all the ingredients together.
- 3
Fry on both sides – the crispness secret. A grill pan or a regular pan with oil turns the tortilla golden and crisp.
- 4
Take it on the road – convenient. A wrapped chimichanga does not fall apart, making it perfect for a picnic or the office. The same principle works for other kinds of stuffed Mexican flatbreads.
FAQ
Which tortillas should I choose? +
Ideally, wheat tortillas (soft and easy to roll). Alternatives: corn tortillas (5 pcs – authentic, but they crumble), thin Armenian lavash (5 pcs – the budget option), or wheat "Mission" or "Old El Paso" tortillas (5 pcs – the premium option). Fresh ones in a pack (shelf life 1–2 weeks) are the premium choice. Do not use hard, dry flatbreads (they will tear when you roll them) or pita (a different structure). A size of 20–25 cm is best. For the premium version, bake the tortillas at home (flour + water + salt).
What can replace the red beans? +
Alternatives: canned black beans (150 g – a Mexican classic), white beans in tomato (150 g – the Russian-style option), canned chickpeas (150 g – a Lebanese accent), mung beans (150 g – an Asian touch), or boiled dried beans (60 g dried = 150 g cooked). Freshly boiled red beans are the premium choice. Do not use beans with vinegar or spices (it will upset the balance). For a Mexican classic, black beans are a must. For the budget version, plain white beans in tomato. As for salted or unsalted – choose unsalted and add salt to taste.
How long does the chimichanga keep? +
In the refrigerator, wrapped in cling film – 1–2 days. Longer than that and the tortilla goes soggy and the filling loses its crispness. Before serving, fry it in a pan for 2–3 minutes on each side (this restores the crisp shell), or warm it in the oven for 7 minutes at 180 °C. In the freezer, cooked ones keep for up to 1 month, and raw, rolled wraps for up to 2 months. Defrost them straight in the pan. A fresh chimichanga is at its best in the first 30 minutes after frying. By the next day, the tortilla loses its crispness. Do not leave it at room temperature for longer than 4 hours – the meat and cheese spoil.
What to serve the chimichanga with? +
The Mexican classics: with guacamole (avocado, onion, tomato, lime), with salsa (tomato sauce with chili and onion), or with thick sour cream – the Russian-style way. It goes with chili made of meat and beans, with sliced avocado, with Mexican beer (Corona, Sol), with tequila or a margarita, and with Merlot red wine – the premium option. Serve it with fresh vegetables and herbs. For an office snack, it is handy on the go. For a picnic, wrap it in cling film. With a bowl of tomato soup, it makes a lunch. With spicy adjika or tkemali, it is unusual. It is a versatile Mexican snack for get-togethers with friends.
- Comment
or post as a guest
Be the first to comment.