
avg —
Salo in brine in a jar
Instructions
I prepare the ingredients.

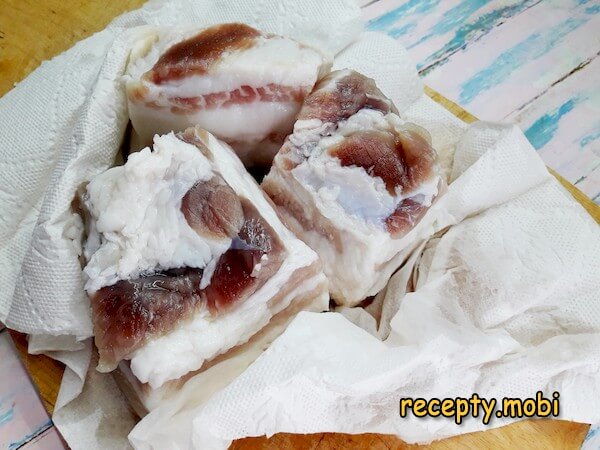
Go over the lard with a knife, scraping off the surface dirt and scrubbing the skin especially well. Then rinse it.
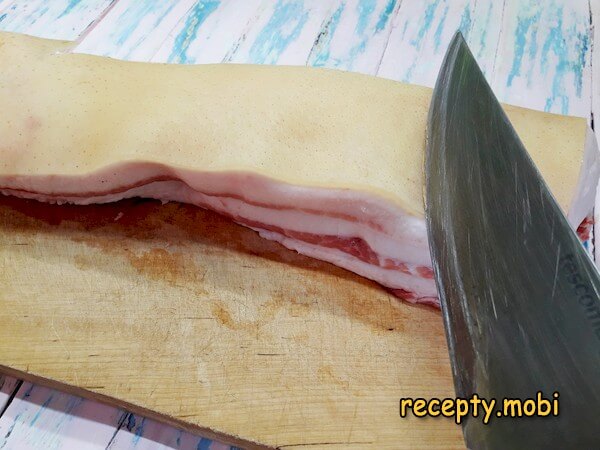
Since the lard will then be salted and stored in a jar, I cut the whole piece into small parts that will pass easily through the neck of the glass container.

The salting happens in two stages, with a change of brine. The first time, no spices go into the brine. There the lard releases the remaining capillary blood into the liquid, which takes on a murky colour. At this stage a flat tray or pot is more convenient than a jar, so I lay the lard in a single layer in a suitable container.

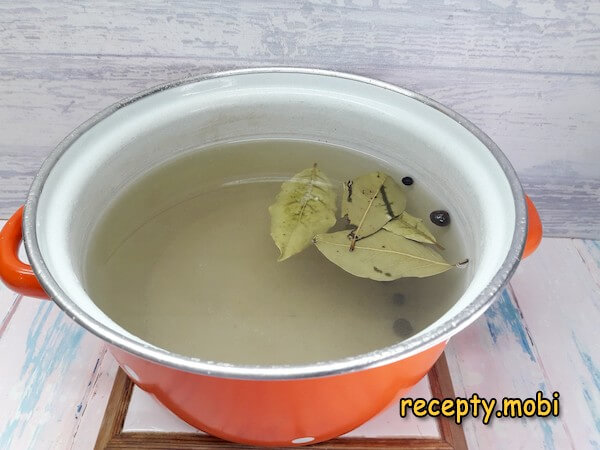
I make the first brine: in warm water (salt dissolves faster in it) I dissolve the salt and stir well.

I check the saturation of the brine with an egg. To do this I lower a raw egg into the pot; it should float freely so that the top of it, about the size of a 5-rouble coin, stays above the water. You may need to add a little more salt. Once the solution is sufficiently saturated with salt, I bring it to a boil.

I pour the cooled brine over the lard.

To keep it from floating up, I weigh it down with a light load. I leave the batch at room temperature for 2 days.

Next the second stage of salting begins. For this I make a new brine by the same method as the first time, only this time I add all the seasonings. I boil the brine.
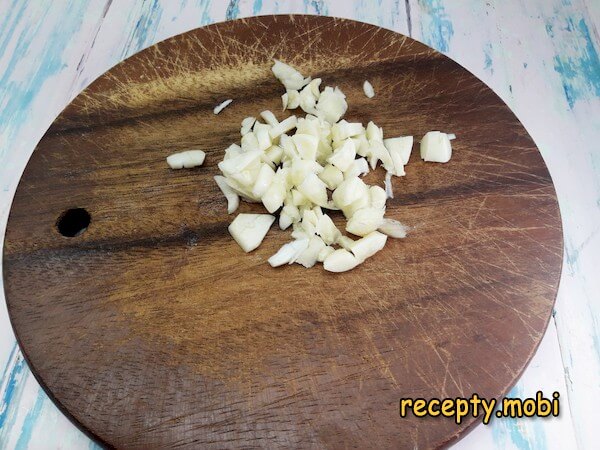
I chop the garlic into pieces.
I transfer the lard into the jars, layering the pieces with garlic and bay leaves taken from the brine.

I fill the jars loosely, leaving room for the liquid to move freely.
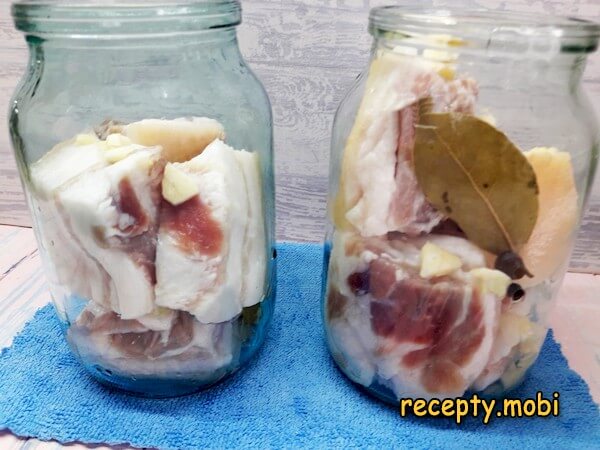
I pour the brine over the lard. I seal it with plastic lids and put it in the fridge for another 2 days.

After this time the product is completely ready and can be eaten. Having taken the amount of lard you need from the jar, close the rest again with the lid. Kept this way, it will store for up to 8 months. For longer storage you can pat a few pieces dry with a napkin and freeze them, wrapped in a paper or plastic bag.
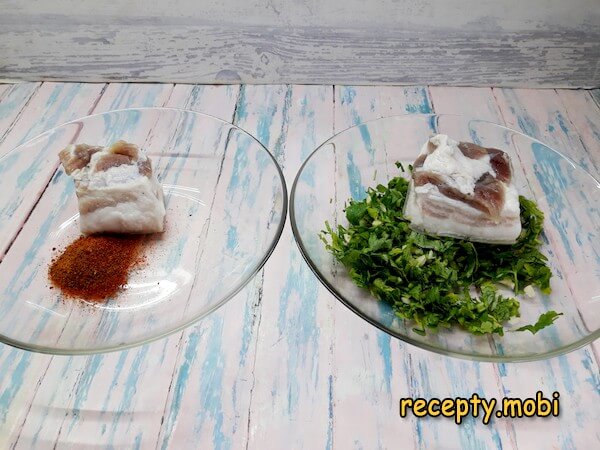
To give it a special touch, before freezing I dust the pieces with paprika and red pepper, or with fresh herbs and garlic.
This salo in brine in a jar, completely ready to eat, will not take up excess salt no matter how long it stands and will always stay fresh, with a pleasant hint of garlic. Do give it a try!


Tips
- 1
THE EGG SATURATION TEST is the secret of a proper brine. When a raw egg floats with the top of it, about the size of a 5-rouble coin, showing above the water, there is enough salt.
- 2
THE DOUBLE SALTING is the secret of purity. The first brine draws out the capillary blood; the second, already with the spices, makes the lard aromatic.
- 3
IT REGULATES ITS OWN SALT is the secret of the brine. Lard in brine takes up exactly as much salt as it needs. It will not become over-salted.
- 4
STORAGE FOR UP TO 8 MONTHS is safe, in a glass jar with a plastic lid in the fridge. The same principle works in other ways of salting lard.
FAQ
Which lard should I choose? +
Ideally, fresh lard with a streak (strips of meat) 4–6 cm wide. Alternatives: pure white lard with no meat (1 kg, the classic), streaky brisket (1 kg, the premium choice), Ukrainian "proshrok" with more meat (1 kg), or a farm-raised back cut (1 kg, the firmest). Fresh lard is white or pink, with no yellow tint (which means it is old). The skin is thin and pale pink. Do not use lard that is yellow (old), bluish (not fresh), or shot through with a lot of meat (better salted separately). Thickness of 4–5 cm is best for salting.
How can I substitute the spices? +
Alternatives: cloves (3–4, for a festive version), coriander seeds (1 tsp, for a Georgian accent), caraway (1 tsp, for a European note), dill seeds (1 tsp, for a rustic version), or ground nutmeg (a pinch, for a premium touch). For the classic, use bay leaf, black pepper and allspice. For a spicy version, add 1/4 tsp of hot ground red pepper. For a premium version, add a sprig of rosemary. Do not use old spices that have lost their aroma, or flavoured blends with added monosodium glutamate.
How long does the lard keep? +
In a glass jar with a plastic lid in the fridge, up to 8 months. In the freezer (with the pieces patted dry beforehand with a clean towel), up to 1 year. After opening the jar, take one piece at a time and leave the rest in the brine. Label the jars with the date they were made. If mould or an off smell appears, do not use it; throw it out. For long storage, freeze it in portions (100–200 g each). Defrost in the fridge for 6–8 hours. Before serving, take it out 5–10 minutes ahead.
What do you serve the lard with? +
The Russian classic: on a slice of dark rye bread with mustard. With a glass of cold vodka, a Russian-style appetiser. With borscht or shchi, a rustic serving. With boiled potatoes (the classic) or fried potatoes. With light or dark beer, a bar-style serving. With dumplings, vinegar and herbs. With a garlic sauce or horseradish. With fresh cucumbers or tomatoes. With dark rye bread and spring onion, a rustic breakfast. With cabbage pirozhki. With fish soup or meat broth, as a side. With mustard and homemade vinegar. A versatile Russian and Ukrainian appetiser for the table.
- Comment
or post as a guest
Be the first to comment.


