
avg —
How to dye eggs with turmeric
Instructions
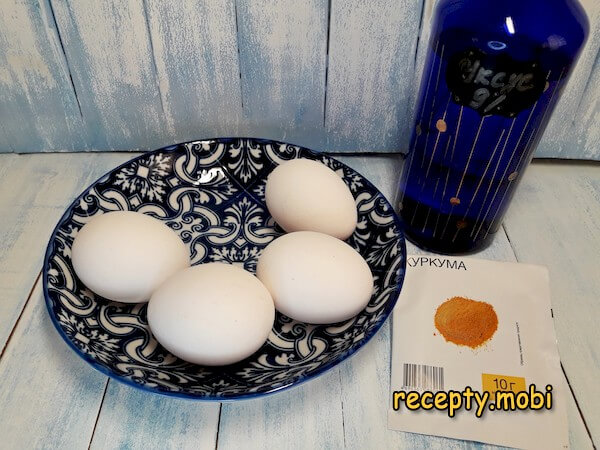
I prepare the ingredients. It is better to take white eggs so that the colour turns out bright yellow. The amount of water depends on the size of the pot the eggs will be cooked in: the narrower the pot, the less liquid you need, and the more saturated the shade will be. Because turmeric stains any surface it touches very firmly, use a pot made of stainless steel, which washes clean completely, or an old one set aside specially for this purpose.
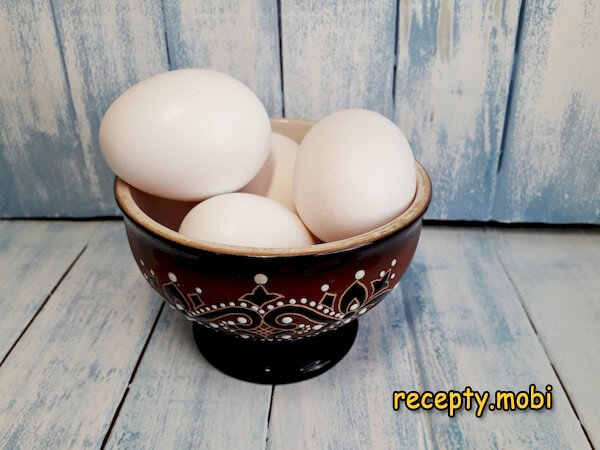
Using baking soda, I wash off the stamps and stuck-on dirt from the eggs – the surface must be absolutely clean.
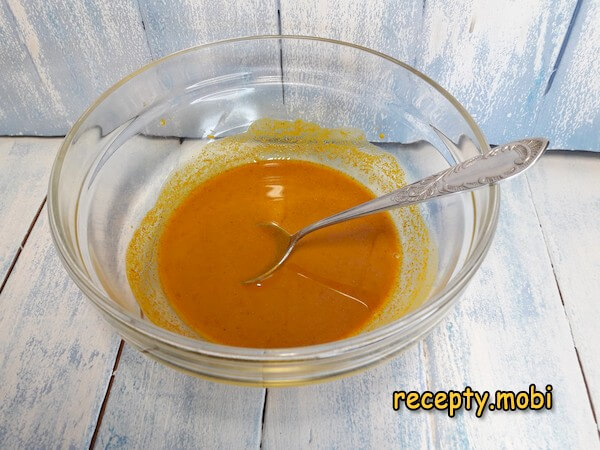
In a separate bowl, I mix the turmeric with a small amount of water to form a thick paste. I grind out all the lumps.
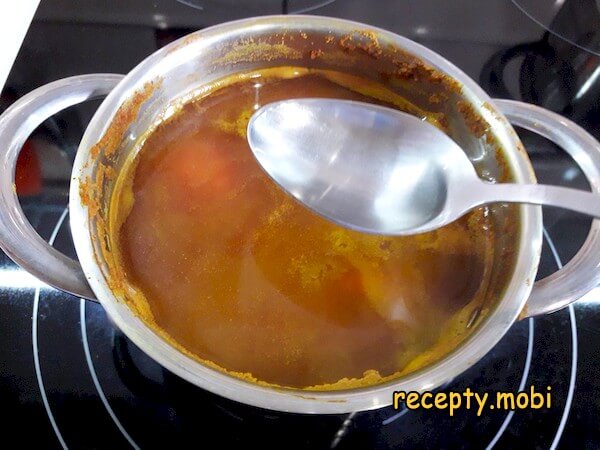
I place the eggs in the pot. I pour in the turmeric paste and top up with water so that it fully covers everything. I set the pot on the heat.
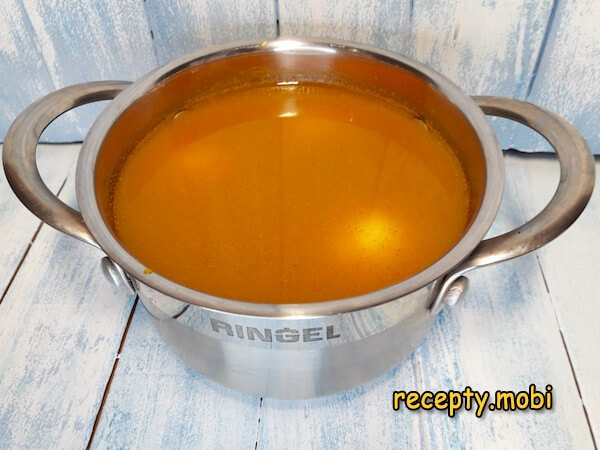
After the eggs have boiled for 10 minutes, I add the vinegar to the solution. I turn off the stove, cover the pot with a lid and leave it like that for another 10 minutes. During this time the shell takes on a firm colour and becomes bright yellow.
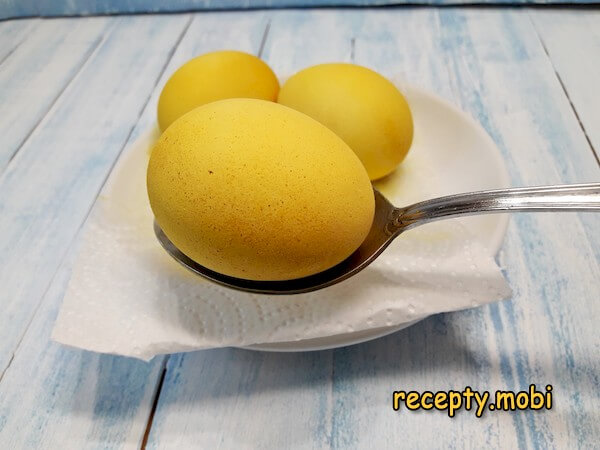
I lift the eggs out with a spoon and transfer them to a paper towel. After they cool naturally, the colour of the shell becomes more pronounced.
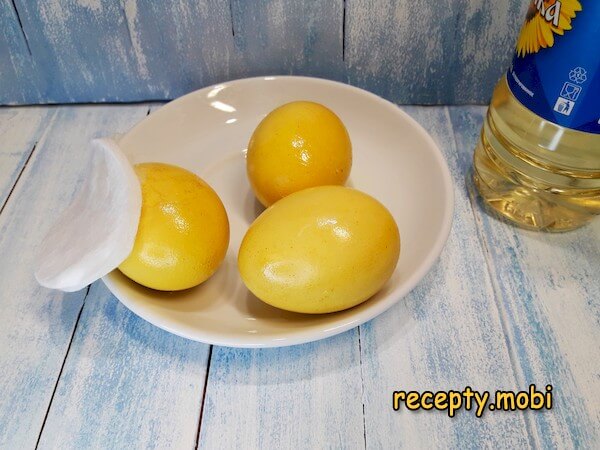
To give the eggs a shine, I wipe them with a piece of cloth soaked in vegetable oil.And so, among the Easter setting, the sunny colour of the eggs really stands out. This way you can learn not only how to dye eggs yellow with turmeric, but also get to know other natural dyes that change the colour of the shell without harming your health, especially that of children.


Tips
- 1
WHITE EGGS are the "secret" of the colour. Brown shells are dark to begin with, so the yellow of the turmeric will not show through. Only white eggs give a clean, sunny shade.
- 2
VINEGAR AT THE END is the "secret" of fixing the colour. The acidic environment locks in the pigment. Without vinegar the colour washes off within a day; with vinegar it holds for a week.
- 3
A TURMERIC PASTE is the "secret" of an even result. Dry powder floats in clumps, while a paste of turmeric and water spreads evenly over all the eggs.
- 4
OIL FOR SHINE is the "secret" of the look. A matte shell looks pale, but a drop of vegetable oil makes the eggs gleam as if lacquered. The same principle works with other ways of dyeing Easter eggs naturally.
Video
FAQ
Which turmeric should I choose? +
Best of all is fresh ground turmeric powder, which gives a bright colour at 10 g. Alternatives are freshly grated turmeric root (about 30 g) or a turmeric-and-saffron mix (roughly 9 g turmeric to 1 g saffron). Avoid a curry blend, as it contains other spices, and avoid out-of-date turmeric, which has lost its brightness. For a classic dye, use pure turmeric.
What can replace 9% vinegar? +
You can use apple cider vinegar (25 ml, milder), white wine vinegar (20 ml), lemon juice (40 ml), lime juice (40 ml), diluted 70% essence (3 ml plus 17 ml of water) or rice vinegar (25 ml). Do not use dark balsamic vinegar, which will change the colour, or salty marinades. For a classic result, plain table vinegar or apple cider vinegar is best.
How long do the yellow eggs keep? +
In the fridge, in open packaging so the eggs can breathe, they keep up to a week. At room temperature, no more than a day. Eggs that were boiled longer (10 minutes or more) keep a little longer. I do not recommend freezing them, as the yolk turns rubbery. On Easter day, do not leave them at room temperature for more than about 4 hours at a time. Ideally, dye the eggs 1–2 days before the holiday.
What do you serve Easter eggs with? +
The Easter classics are Easter kulich and curd paskha. They also go well with a cup of black tea with lemon, a glass of Cahors (church wine), or simply with salt on the plate, following Orthodox tradition. Serve them with fresh herbs (parsley, dill, chives), with mayonnaise or sour cream, with a garlic sauce or cold meats, or with grain bread and butter. Most importantly, eggs are exchanged with loved ones as the main symbol of Easter.
- Comment
or post as a guest
Be the first to comment.


