
avg —
Homemade Teriyaki Sauce
Instructions
I prepare the ingredients for making the homemade teriyaki sauce. Dried garlic can be replaced with fresh, passed through a garlic press – you will need about 6–7 medium cloves. Both corn and potato starch will work.

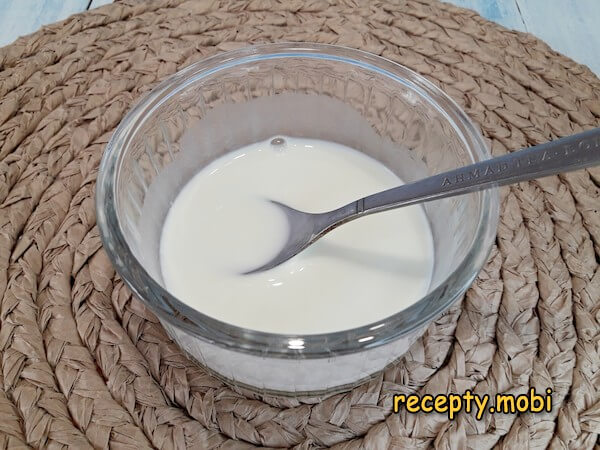
I stir the starch into 35 millilitres of water.
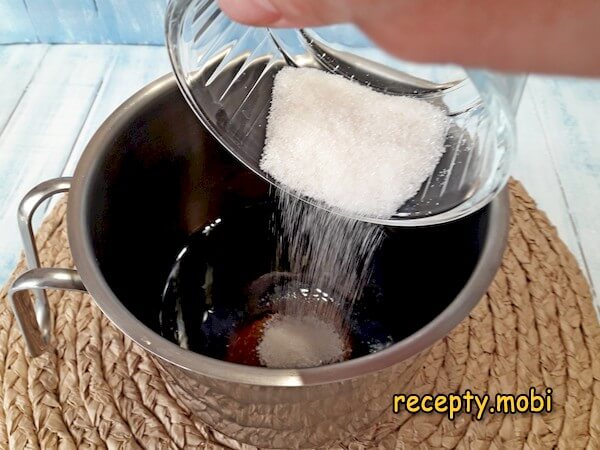
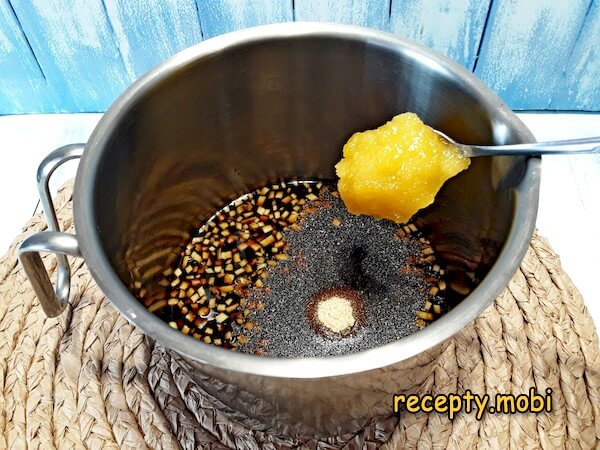
I pour the remaining water together with the soy sauce into a saucepan. I add the sugar to it.
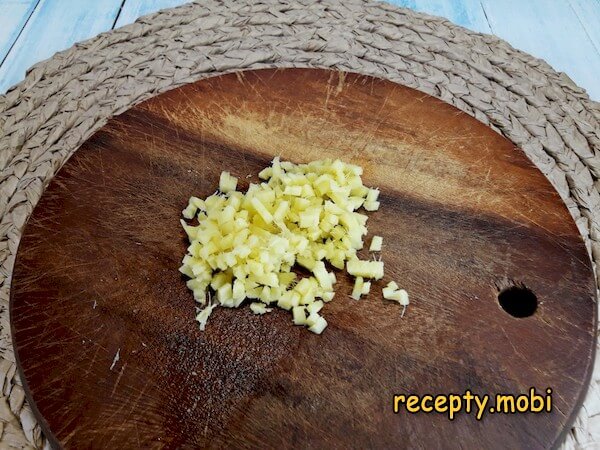
I peel the top skin off the ginger root and chop it very finely.
I transfer it, together with the garlic, into the saucepan.
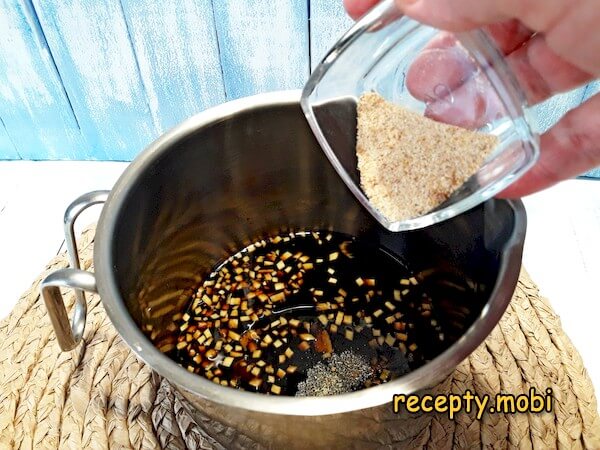
I add the honey there as well.
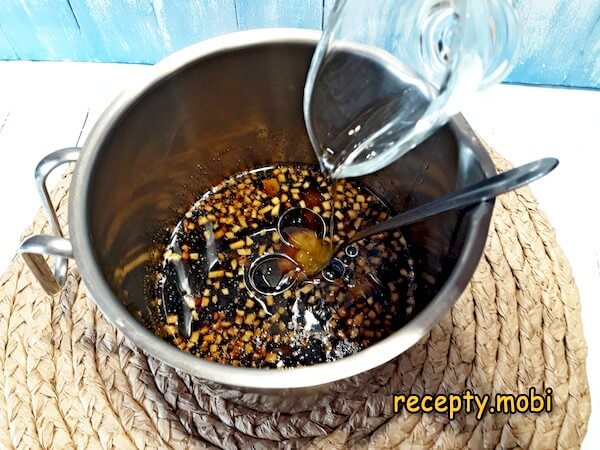
I pour in the vinegar and the vegetable oil. I stir everything and place it over medium heat.
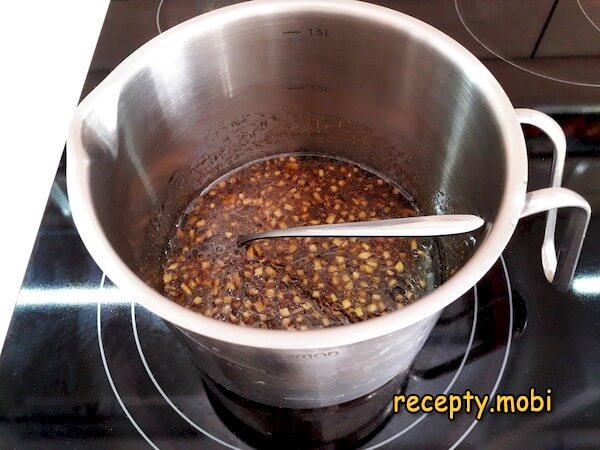
After it comes to the boil, I lower the heat and let the sauce simmer for 2–3 minutes, so that all the components intertwine their aromas and flavours with one another.
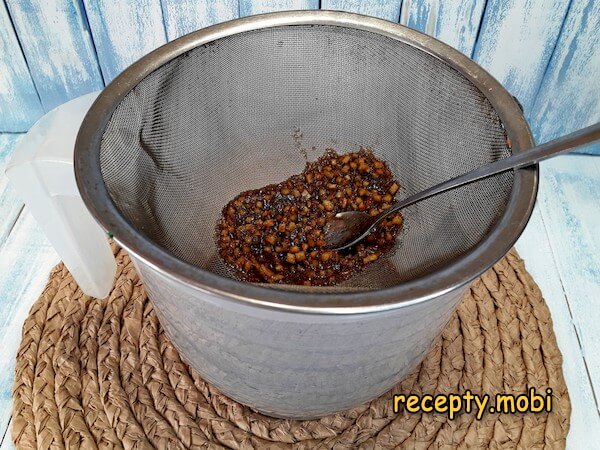
Next, the sauce needs to be strained, pouring it through a metal sieve into another dish. I press out the pulp left on the mesh.
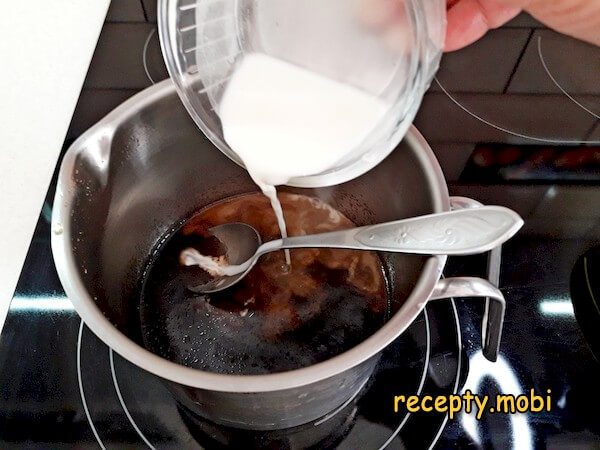
Now the perfectly smooth sauce needs to be thickened a little. To do this, I pour it back into the saucepan and put it on the stove again. After it boils, I pour in the starch dissolved in water in a thin stream.
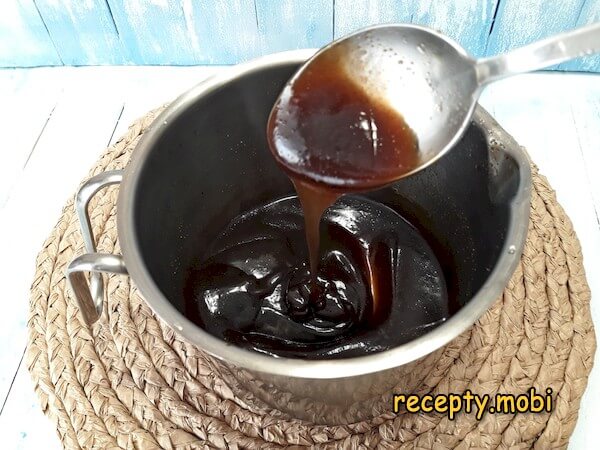
Stirring constantly, I bring the teriyaki to a thicker state. The appearance of the first bubbles indicates that the sauce can be taken off the stove and is ready.Teriyaki sauce made at home is in no way inferior to ready-made sauce from the supermarket. The range of uses for such a piquant seasoning is enormous. I add the sauce not only to finished dishes, but also use it as a base for marinades, as well as to give a glossy sweet-salty crust to fried meat and fish.


Tips
- 1
Straining is the secret to smoothness. Pieces of ginger and garlic in the finished sauce get in the way of a glossy crust on meat. Through a sieve, the sauce becomes uniform and silky.
- 2
Starch in cold water is the secret to thickening without lumps. Starch added straight into the hot sauce gives lumps. Dissolve it in water first, then pour it in in a thin stream, and the sauce turns glossy.
- 3
Honey plus sugar is the secret to a complex flavour. Sugar alone gives a flat sweetness. Honey alone gives a dominating aroma. Their combination gives that characteristic layering of a Japanese sauce.
- 4
Vinegar is the secret to balance. Without vinegar the sauce is sweet-salty and cloying. A drop of 6% fruit vinegar removes the cloying note and gives the right balance. The same principle works in other kinds of Asian sauces.
FAQ
Which soy sauce should I choose? +
A natural soy sauce of natural fermentation is ideal. Trusted brands such as Kikkoman, Sen Soy and Yamasa work well, and a naturally fermented Japanese soy sauce is the best option. You can also use a low-sodium version if you prefer. Avoid artificially coloured sweet soy sauce. For a classic result, use a naturally brewed soy sauce.
What can I use instead of honey? +
Good alternatives are cane sugar (40 g), maple syrup (40 ml), agave syrup (40 ml), brown Demerara sugar (40 g) or Japanese mirin (50 ml). A fresh, liquid floral honey is the best choice. Avoid imitation honey (flavoured syrup) and old crystallised honey, which is hard to dissolve. For a classic result, use a liquid floral honey.
How long does teriyaki sauce keep? +
In the refrigerator, in a tightly closed glass jar, it keeps for 2 weeks. Kept longer, the aroma of ginger and garlic fades and the texture separates. Before serving, stir it (it may thicken in the cold, in which case warm it in a water bath for 2 minutes). In the freezer it keeps for up to 3 months in small portions; thaw it in the refrigerator. By the second day the flavour is deeper, as the ingredients have settled together. Do not leave it at room temperature for longer than 6 hours.
What do you serve teriyaki sauce with? +
The Japanese classics: with grilled chicken (the classic teriyaki chicken), with grilled beef steak, with steamed salmon, with fried tiger prawns, with Japanese rice, with udon or ramen, with baked tofu, with chicken wings, with stir-fried vegetables, with shiitake mushrooms, with broccoli and green beans, and with vegetable tempura. It is a versatile sauce for rolls, Asian dishes and as a marinade.
- Comment
or post as a guest
Be the first to comment.


