avg —
Pork Escalope in a Pan
Instructions
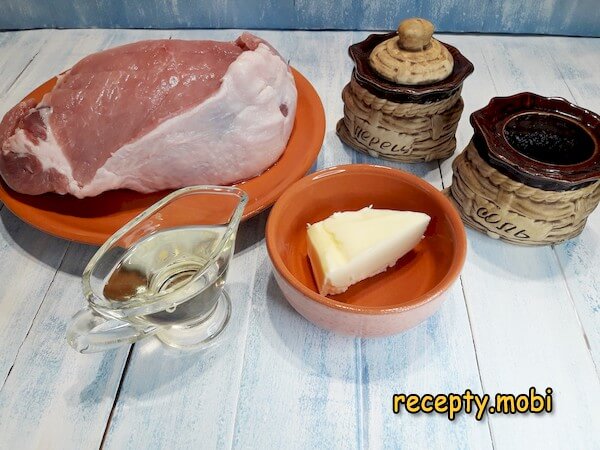
I prepare the ingredients for the pork escalope. Not only pork tenderloin is suitable for the escalope, but also pork loin or karbonad (back-meat cut).
I cut the meat across the grain into slices 1.5 cm thick. The pieces should be dry, with no excess moisture.

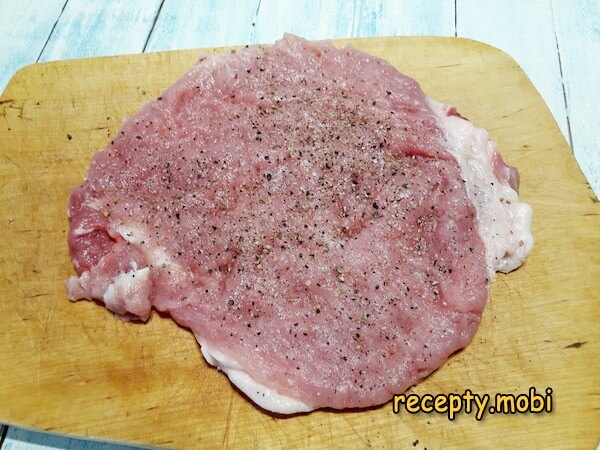
To avoid splattering the whole kitchen, I cover the pieces with cling film and pound them with a kitchen mallet to a thickness of about 0.5 cm.

I salt the meat.

And I pepper it on both sides. I rub the spices into the prepared pieces. So that the salt does not have time to draw moisture out of the meat, I do not marinate it but start frying immediately.
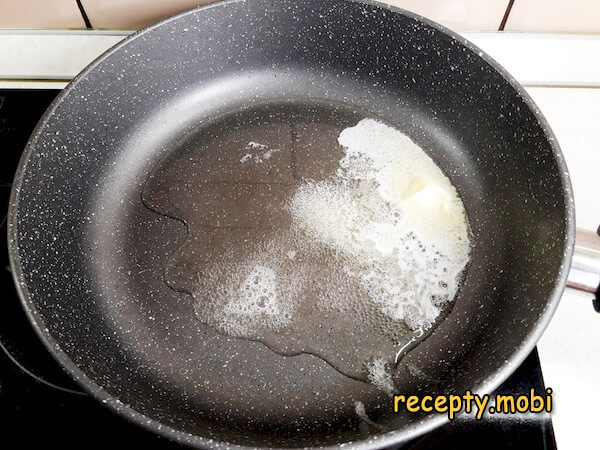
Over heat that is above medium, I melt the butter together with the vegetable oil in a thick-walled skillet.
When the fat is well heated, I add the first piece of meat (it is better not to put several pieces in at once, as they release a lot of juice and the meat will stew in the pan rather than fry).
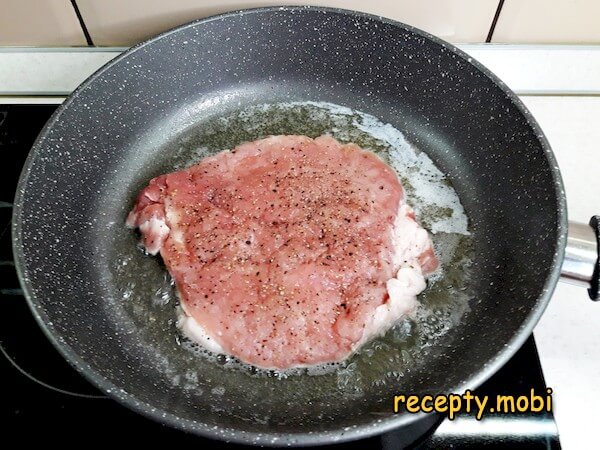
When the underside browns (after about 4–5 minutes), I turn the pork over to the other side and fry it until golden for the same 4–5 minutes.
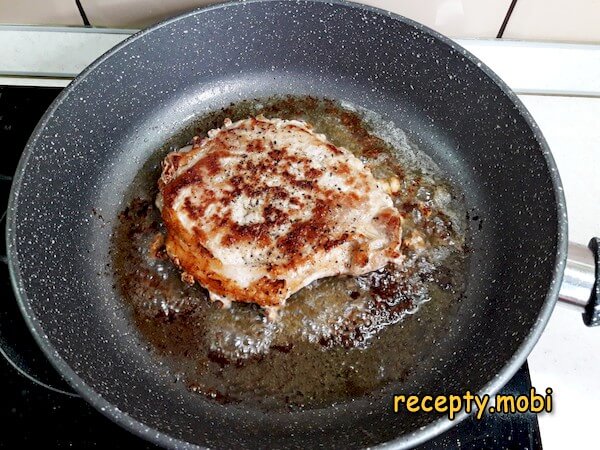
The pork escalope in a pan is ready. It looks very appetising. Even though it was cooked very quickly and with only basic seasonings, salt and black pepper, the flavour of the dish is simply wonderful. Under the golden crust that set quickly on the hot pan, a juicy and tender piece of meat is preserved. As a side dish, escalope is most often served with potato – fried, boiled, or mashed.


Tips
- 1
ACROSS THE GRAIN is the "secret" of tenderness. Cutting along the grain gives a tough, rubbery escalope. Only across the grain does the meat break into short, tender strands when you chew it.
- 2
0.5 CM THICKNESS is the "secret" of balance. Thicker than 1 cm and the middle stays raw after 5 minutes. Thinner than 3 mm and it dries out. Only 0.5 cm gives a crust outside and a juicy middle.
- 3
SALT BEFORE FRYING is the "secret" of the juices. Salting an hour ahead draws out moisture and the meat turns dry. Salting right before the pan keeps the salt on the outside and the juices inside.
- 4
AN OIL MIX is the "secret" of flavour. Butter alone burns over high heat. Vegetable oil alone has no aroma. 35 + 35 g of butter and oil give the perfect sear without burning. The same principle works in other kinds of pork chops and steaks.
FAQ
Which cut of pork should I choose? +
Ideal is pork tenderloin (580 g – "premium, the most tender"). Alternatives: boneless pork loin (580 g – "classic"), karbonad (580 g – "classic, firmer"), ham (580 g – "budget, but firm"), neck (580 g – "premium, juicier"), pork entrecôte (580 g – "premium"), turkey breast (580 g – "diet"), chicken breast (580 g – "diet, but a different flavour"). The brands Miratorg, Damate and Velkom are reliable. Fresh farm pork is the "premium" option. Do not use: fatty brisket with streaks of lard (not for escalope), meat past its date, or meat that has been frozen and re-frozen. For the "classic", fresh loin or tenderloin free of sinew is a must.
Can the butter be replaced? +
Alternatives: ghee clarified butter (35 g – "premium, does not burn"), a mix of butter + 1 tsp olive oil (35 g – "European"), odorless coconut oil (35 g – "a lighter option"), lard (pork fat – 35 g – "classic"), duck fat (35 g – "premium, French"), a mix of butter + 1 tbsp soy sauce (for a Japanese accent), extra virgin olive oil (50 ml – "healthy"). The brands Prostokvashino, Brest-Litovsk and Lurpak are reliable. Country farm butter is the "premium" option. Do not use: spread (it burns) or margarine (it ruins the flavour). For the "classic", 82.5% butter is a must.
How long does the cooked escalope keep? +
In the fridge in a tightly sealed container – 2 days. On the second day the flavour holds, but the texture becomes firmer (the meat "rests"). Before serving, reheat in a pan with 1 tsp butter for 2–3 minutes, or in the oven for 5 minutes at 150 °C under foil. In the microwave – 1–2 minutes covered. In the freezer – up to 1 month, thaw in the fridge. Fresh and hot from the pan it is the "star" right away (maximum juiciness and crunch of the crust). Do not leave it at room temperature for longer than 4 hours. It is ideal to cook "for one sitting" – it is eaten with a side dish in no time.
What to serve with pork escalope? +
A weekday classic: with mashed potato made with milk. With chips. With boiled new potatoes. With fried mushrooms. With sauerkraut. With beans braised in tomato. With green peas. With steamed broccoli. With fried Brussels sprouts. With boiled basmati rice. With buckwheat porridge. With a pickled cucumber. With garlic sauce. With dill and parsley greens. With a shot of cold vodka. With a glass of red wine. For a "home dinner" it is universal. Escalope suits the Sunday family table, a business lunch and a romantic dinner.
- Comment
or post as a guest
Be the first to comment.