
avg —
Candied Orange and Lemon Peels
Instructions
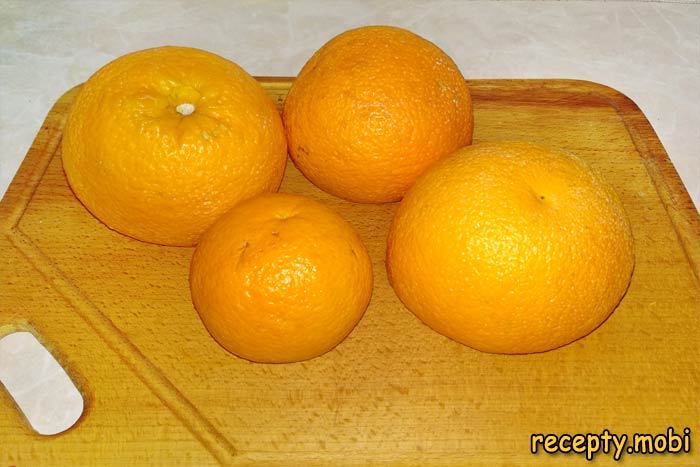
I wash the citrus fruits (oranges, lemons) thoroughly with a brush and baking soda – this removes wax, paraffin and dirt from the surface of the rind. Then I scald them all over with boiling water from the kettle – an extra hygienic treatment before using the rind in food. I dry them thoroughly with paper towels.
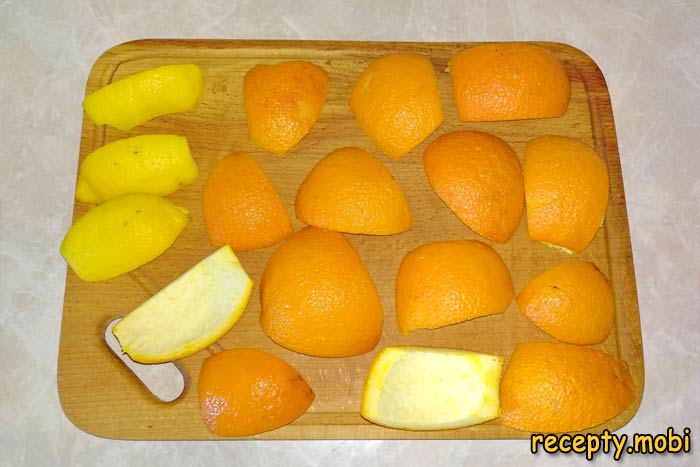
With a sharp thin knife I carefully remove the rind from the citrus, trying to keep even, large sheets – the rind, together with the white pith, should be 5–7 mm thick. Use the fruit pulp separately for juices, salads or jam. I weigh the rind – 350 g. This will be the “reference” amount, and I take the same weight of sugar and water (a 1:1:1 ratio).
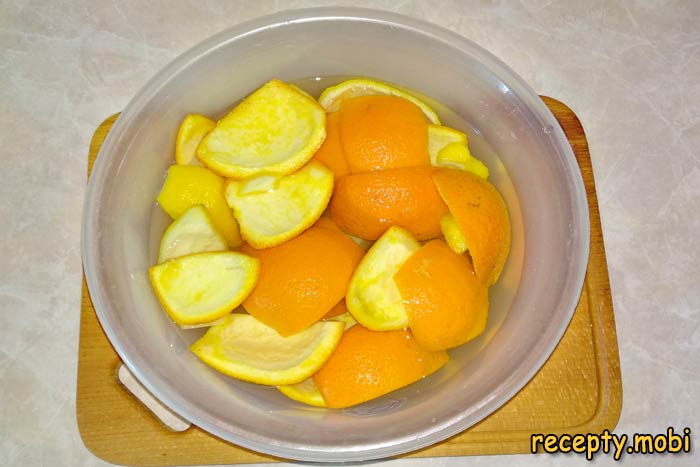
CRITICAL STEP: I cover the peels with clean cold water and leave them for a day in the fridge. I MUST change the water 4 times over the day (every 6 hours) – this draws the bitter essential oils out of the white part of the rind. Without soaking, the candied peels will turn out bitter and unpleasant.
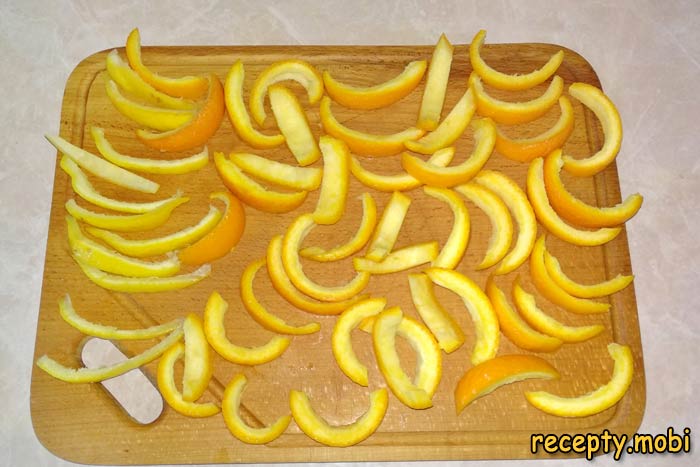
After a day I drain the soaked peels in a colander to let the water run off. With a sharp knife I cut the peels into strips about 1 cm wide and 4–5 cm long – a versatile shape for use in baking. You can also cut them into 1×1 cm cubes for a different shape of candied peel.
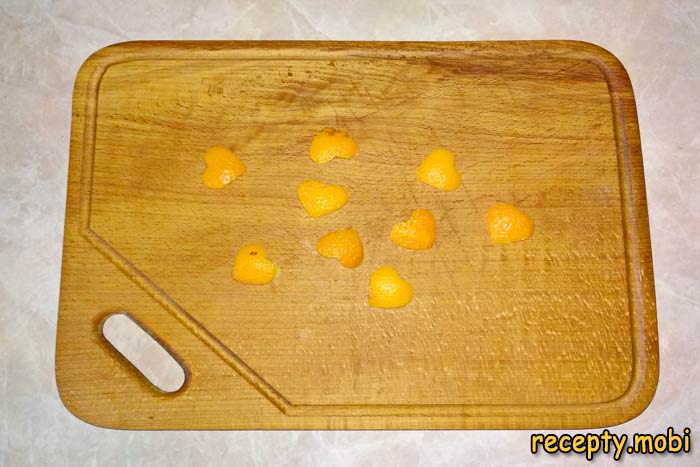
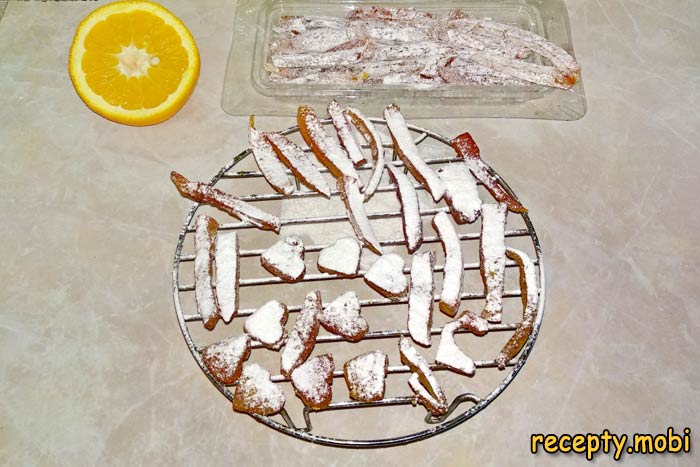
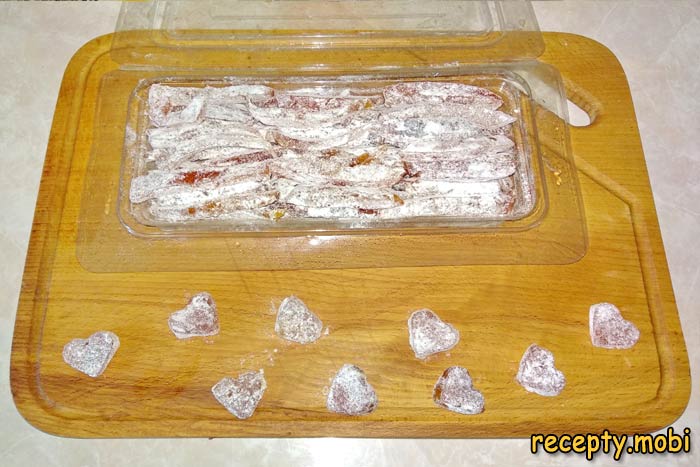
Optionally, I cut out pretty shapes (stars, flowers, hearts) with cookie cutters for striking decoration of Easter breads and cakes. Shaped candied peels are a “premium” version of homemade sweets and handmade gifts.
I pour boiling water over the cut peels for 15 minutes, then drain the water. I repeat the procedure once more – double blanching removes the last of the bitterness and makes the candied peels more “transparent” when cooked in syrup. This step gives the peels an extra “cleaning”.
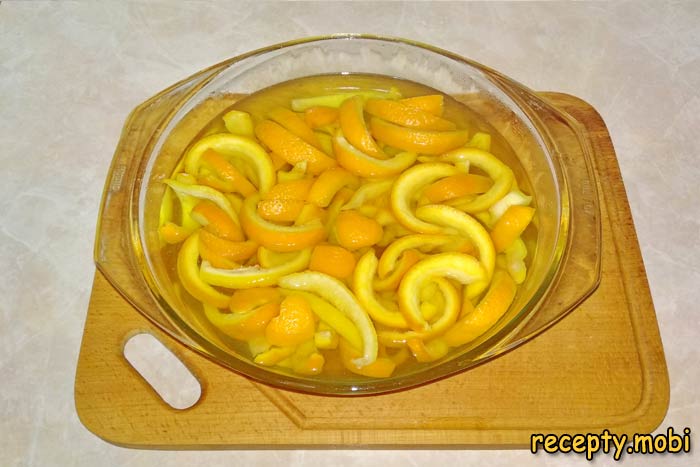
After two blanchings I drain the peels in a colander and let the water run off completely. The peels should be “dry” before cooking in syrup – excess water will dilute the syrup and require longer cooking.

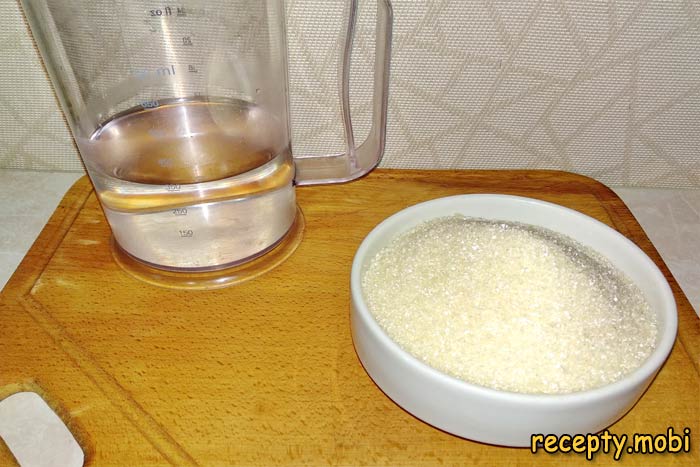
I make the sugar syrup: I pour water (350 ml) into a heavy-bottomed saucepan, add the sugar (350 g) and bring to the boil, stirring until the sugar is completely dissolved. The syrup should become clear, with no grains of sugar on the bottom. A heavy bottom heats evenly – a thin one will burn the sugar.
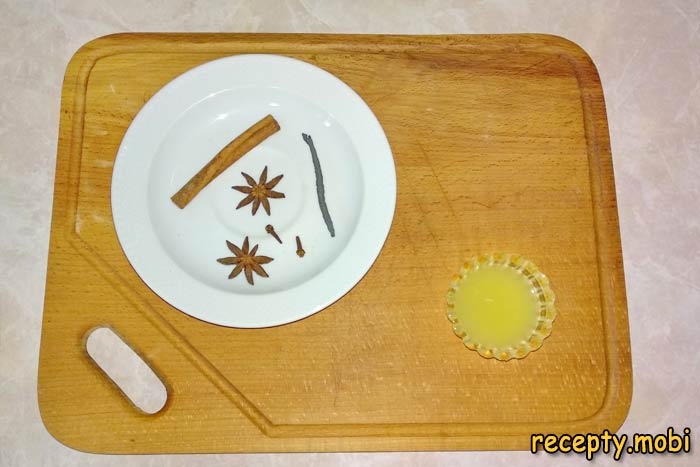
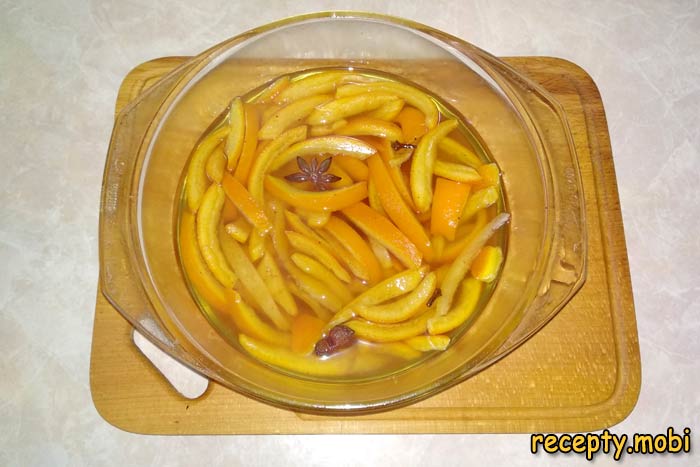
To the boiling syrup I add the whole spices (2 cloves, 3 stars of star anise, a cinnamon stick, a vanilla pod), the lemon juice (1 tbsp) – which keeps the candied peels from “crystallising” – and the prepared peels. After it comes back to the boil, I cook for 1.5–2 hours over low heat, stirring every 15–20 minutes.
After 1 hour of cooking the candied peels become more transparent – the syrup has boiled down by about half. This is normal – the “caramelisation” is proceeding correctly. Don’t rush – long cooking gives tender, “transparent” candied peels with a rich, sweet flavour.
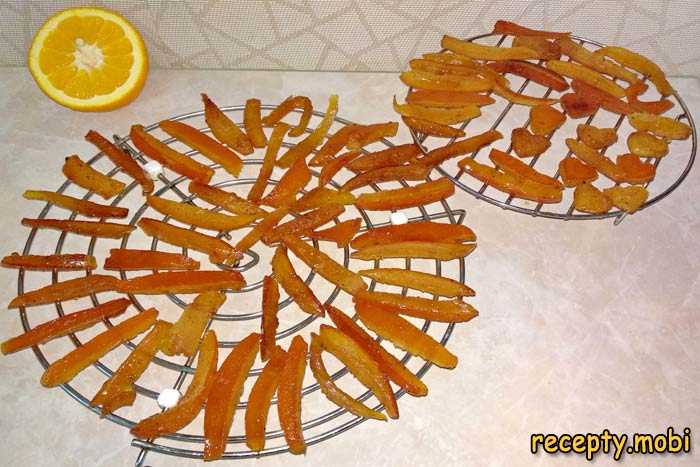
I cook for another 45–60 minutes until the syrup has fully evaporated – the candied peels should become almost transparent, like “boiled sweets”, and stick to one another slightly. With a slotted spoon I spread the finished candied peels on a rack or parchment in a single layer and leave them to dry at room temperature for 20–24 hours, until the sticky layer has dried completely.
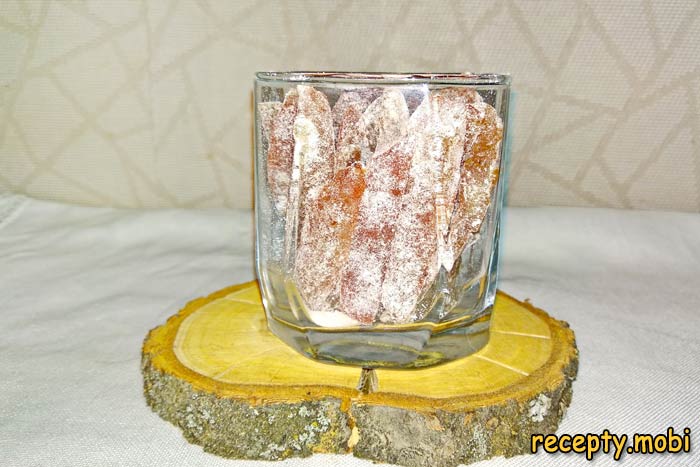
I toss the fully dried candied peels in powdered sugar (100 g) or fine desiccated coconut for the final decoration – the powder “seals” any remaining stickiness and makes the candied peels look more attractive. I mix them gently so as not to crush the peels.
I store the finished candied peels in a tightly closed glass or plastic container in the fridge for up to 6 months, or in a dry, cool place for up to 3 months. The candied orange and lemon peels are ready! Use them in baking, with tea, and to decorate Easter breads and cakes.
Shaped candied peels, cut out with cookie cutters, are perfect for decorating Easter breads, Christmas cakes, gingerbread and homemade desserts. Their natural colours (orange and yellow) and natural sweetness make a “royal” decoration without artificial colourings.

Candied peels are a natural, wholesome treat for tea time instead of shop-bought sweets with preservatives. Serve them with morning tea, coffee, or cocoa with marshmallows. They are ideal for a family breakfast or an afternoon snack for children.


Tips
- 1
Long soaking (a full day with 4 water changes) is essential – it draws the bitter essential oils out of the white part of the rind; without it the candied peels will be bitter.
- 2
Keep to the “golden” 1:1:1 ratio – the same weight of sugar and water as the peels. This is the basic formula for all candied peels.
- 3
The spices (cloves, star anise, cinnamon, vanilla) give the candied peels a “festive” aroma – don’t skip them if you want fragrant candied peels. I use a similar principle to make orange jam.
- 4
Store them in a tightly closed container for up to 6 months in the fridge – “winter stores” made from citrus “scraps” for the whole family.
FAQ
Can I make candied peels without spices? +
Yes, if you prefer a “pure” citrus flavour – the candied peels will simply taste of orange and lemon with the natural aroma of the zest. You can leave out all the spices or keep only the vanilla for a gentle aroma. Without spices, the candied peels suit any baking and don’t “overpower” the flavour of cakes and Easter breads. With spices (cloves, star anise, cinnamon) you get “winter spiced” candied peels, ideal for Christmas and Easter baking. Each spice adds its own character – experiment to taste.
Why dry the candied peels for a full day? +
Long drying (20–24 hours at room temperature) is needed so that the “sticky” layer of syrup on the surface of the candied peels dries completely. Without full drying, the candied peels will “stick together” in storage and spoil quickly (mould, fermentation from excess moisture). Properly dried candied peels are dry to the touch, don’t “stick” to your fingers, and separate easily from one another. Dry them on a rack for better air circulation on all sides. In dry weather 12 hours is enough; in humid weather it can take up to 36 hours.
What can I use instead of powdered sugar for dusting? +
Several alternatives work well: fine desiccated coconut (gives an exotic “caramel” flavour), ground nuts (almonds, hazelnuts – a more “refined” option), cocoa powder (for “chocolate” candied peels) or sesame seeds. You can also use no coating at all – the candied peels will be a little more “glossy” from the residual syrup, but just as tasty. Powdered sugar is the “classic” option, neutral in flavour. A coating isn’t only decoration but also “protection” against sticking.
What can I serve candied peels with? +
They are perfect as a decoration for Easter breads, cakes and Christmas baking – a natural decoration without colourings. As an ingredient in tortes, sponges and biscuits they add aroma and sweetness. With tea, coffee or cocoa with milk they bring sweetness to hot drinks. On a dessert table they go with ice cream, curd Easter dessert (paskha) or brie. As part of a meat and cheese platter they make an unusual combination of sweet and savoury. As a handmade gift – beautifully packed in glass jars with a ribbon – they make an original Easter or New Year present.
- Comment
or post as a guest
Be the first to comment.


