
avg —
Marseille Salad with Prunes
Instructions
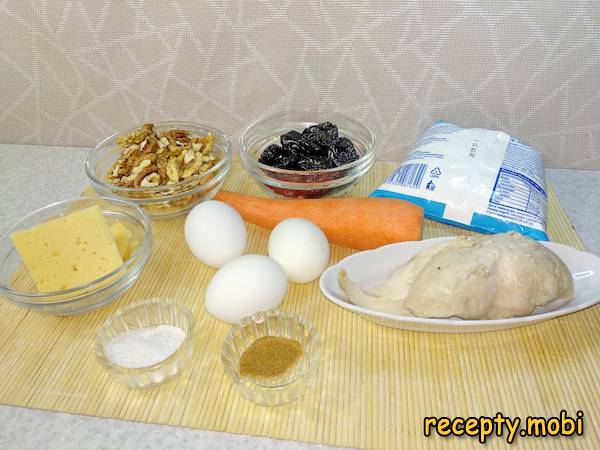
I prepare all the products from the list. Getting the ingredients ready in advance is the "secret" to assembling layered salads quickly.
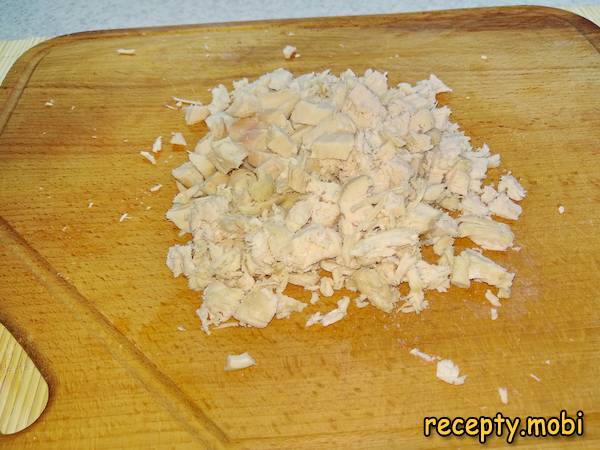
I boil the chicken breast in advance and let it cool. I cut the meat into cubes. Freshly boiled chicken breast is more tender than yesterday's.
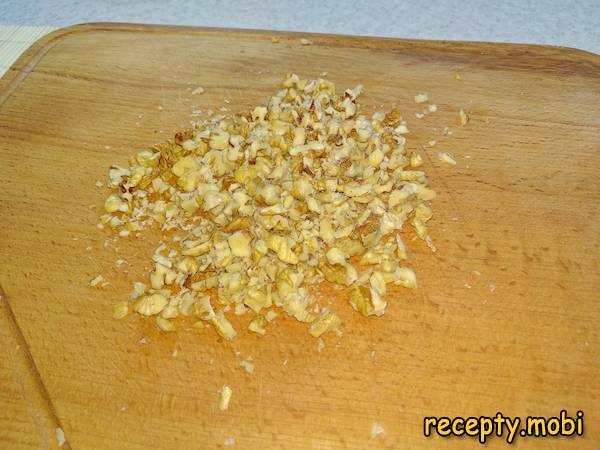
I chop the walnuts in any convenient way – with a blender, a rolling pin or a knife. The size should be about that of a corn kernel.
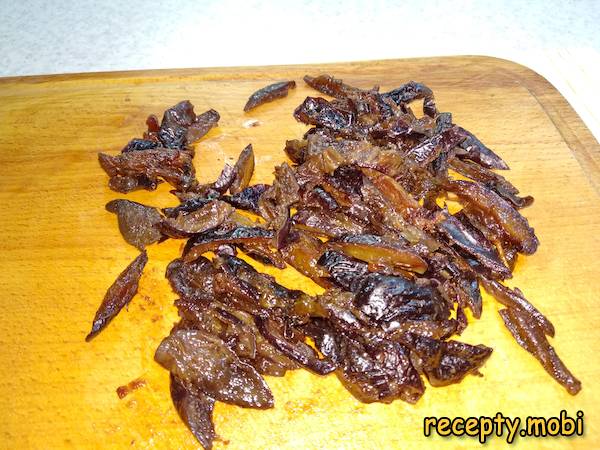
I pour warm boiled water over the prunes and leave them for 10 minutes. I blot the berries with a paper towel – this way they become soft and easy to cut.
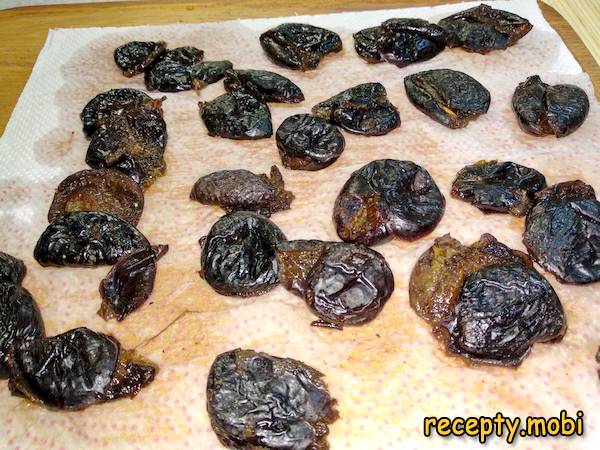
I cut the prunes into thin strips. Strips spread across a layer better than cubes.
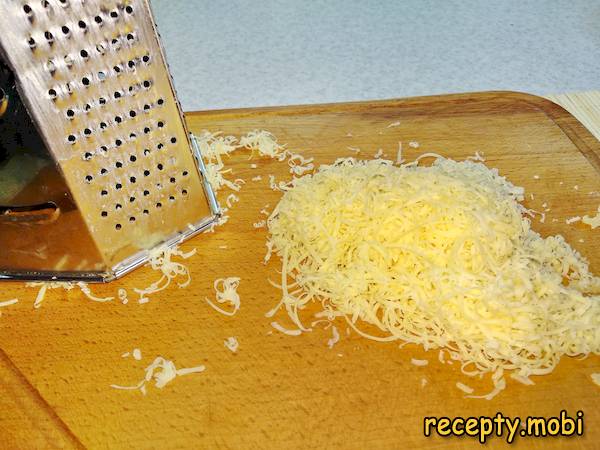
I grate the cheese on a fine grater. A fine grater gives a "light" spread of cheese and does not weigh the layer down.
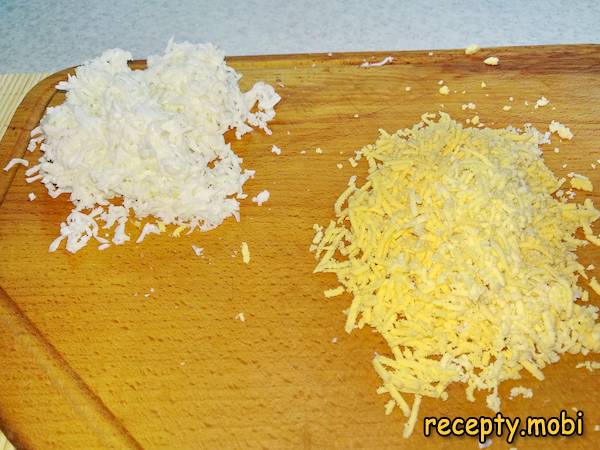
I grate the yolks and whites separately on a fine grater. Keeping them separate gives a beautiful contrast – yellow and white layers in the final composition.
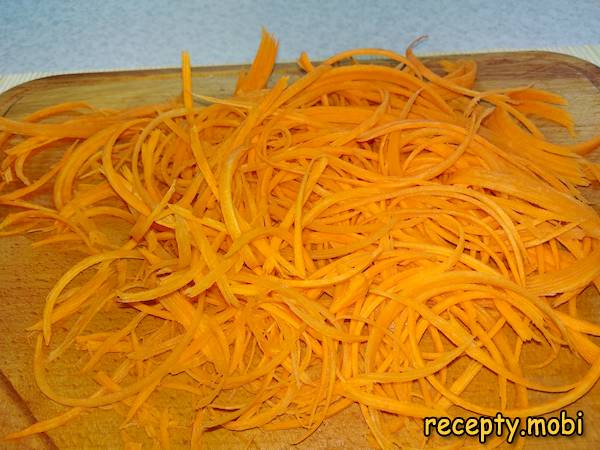
I grate the carrot on a Korean-style grater. The Korean grater gives the characteristic long strips – they look beautiful in the layer.
In a frying pan with sunflower oil, I cook the carrot until soft. I add salt and pepper to taste. Fried carrot gives the characteristic "Russian" flavour we have loved since childhood.

I transfer the carrot to a plate to cool. Hot carrot is not suitable for a layered salad – it would "melt" the mayonnaise.

All the products are prepared – I move on to assembling the salad.

To make the salad look beautiful, I assemble it inside a ring. I grease the walls of the moulding ring with sunflower oil – this way the finished salad comes off easily.

I put a little mayonnaise on the bottom of the plate. I lay down the first layer – the chicken meat. I cover each layer with a net of mayonnaise.

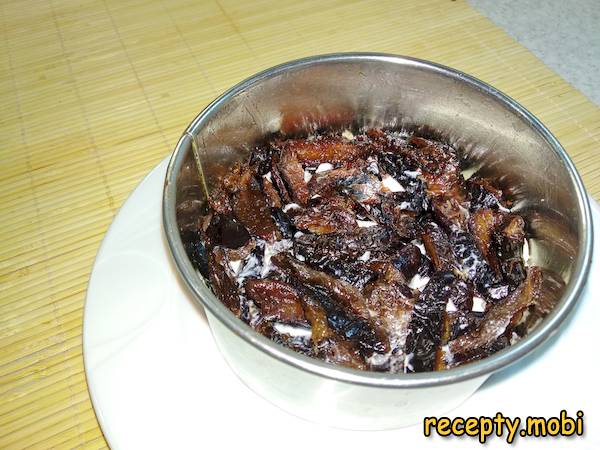
The second layer – prunes plus a net of mayonnaise.
The third layer – carrot plus mayonnaise.

The fourth layer – walnuts plus mayonnaise. The nuts give a pleasant crunch and richness.

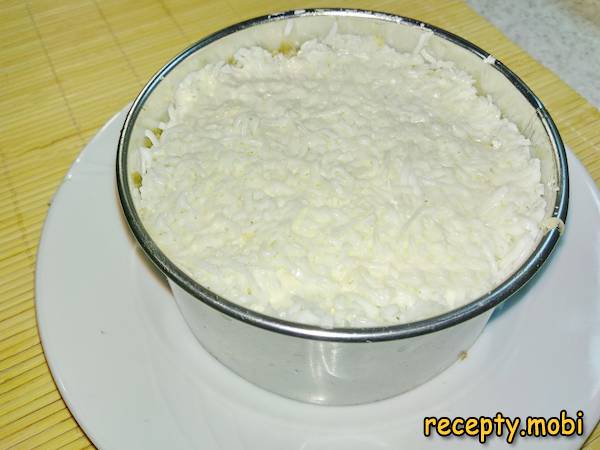
The fifth layer – hard cheese plus mayonnaise.

The sixth layer – egg white plus mayonnaise.
The seventh and last layer – the yolk. The yellow colour is the "crown" of the salad.

I decorate the salad with slices of prune and fresh herbs. The layered Marseille salad with prunes is ready. From this amount of products I got 2 large servings of salad. It will not go unnoticed at a festive table.


Tips
- 1
Always SOAK the prunes in warm water for 10 minutes – dry ones will be too tough for the salad.
- 2
Assemble it in a moulding ring – this is the "secret" to a neat layered shape. Without a ring you get a "heap" with no elegance.
- 3
Grate the yolks and whites SEPARATELY – this gives a beautiful colour contrast in the upper layers. I use a similar principle in other layered salads.
- 4
Apply the mayonnaise in a NET, not a solid layer – this way the layers will not "stick together" into one mass and stay distinct in the cross-section.
Video
FAQ
Can I replace the prunes with another dried fruit? +
Alternatives: dried apricots (give an "orange" note, sweeter), dried cranberries (with a tang), raisins (the classic substitute), dried cherries. Without prunes you get not a "Marseille" but a different salad – prunes give the characteristic "smoky" sweet aroma that makes the recipe unique. If you really dislike prunes, try dried apricots, which come closest in effect. Fresh fruit is not suitable – it gives off too much moisture.
What can replace the mayonnaise in the dressing? +
Alternatives: homemade mayonnaise (healthier), a mix of sour cream and mustard 4:1 (lighter), unsweetened Greek yoghurt (a dietary option), a 1:1 mix of sour cream with mayonnaise (a compromise). For a lean salad – a dressing of vegetable oil plus mustard plus lemon juice. Mayonnaise gives the "classic" flavour of the salad – but homemade mayonnaise is much better than shop-bought in taste and benefit.
How long does the finished salad keep? +
In the refrigerator – 1–2 days in a closed container. On the second day the flavour is even better – the layers soak in the mayonnaise. I do not recommend longer – the nuts will go damp and the cheese will firm up. For longer storage, prepare all the components separately and assemble the salad right before serving. Freezing makes no sense – the texture will be ruined.
Which cheese is best to choose? +
Any hard cheese is suitable: Gouda, Edam, Maasdam, Cheddar. The main thing is that the cheese grates well on a fine grater. A cheese that is too young and soft (such as Adyghe or Suluguni) will not work – it will "stick together". Parmesan is a premium option, but more expensive and more intense in flavour. For a classic "family" taste, a mild everyday hard cheese is optimal – accessible and familiar.
- Comment
or post as a guest
Be the first to comment.


