
avg —
Pitted Cherry Jam for Winter
Instructions
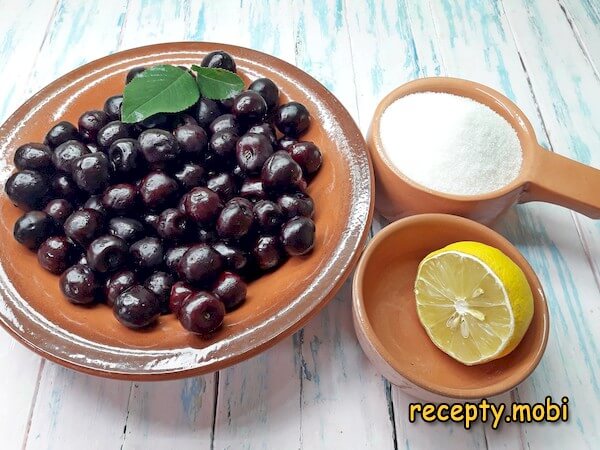
I prepare the necessary ingredients.
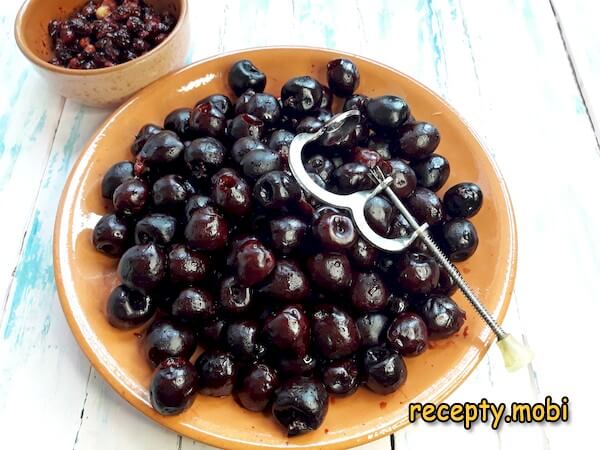
Using a special gadget or an ordinary hairpin, I remove the pits from the berries. The job seems tedious but goes quite quickly (about 10 minutes).
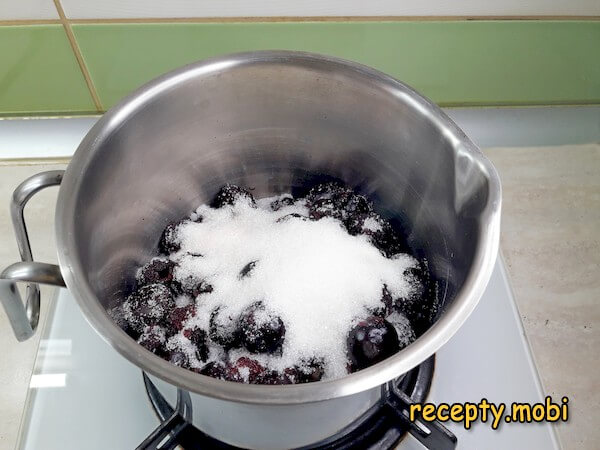
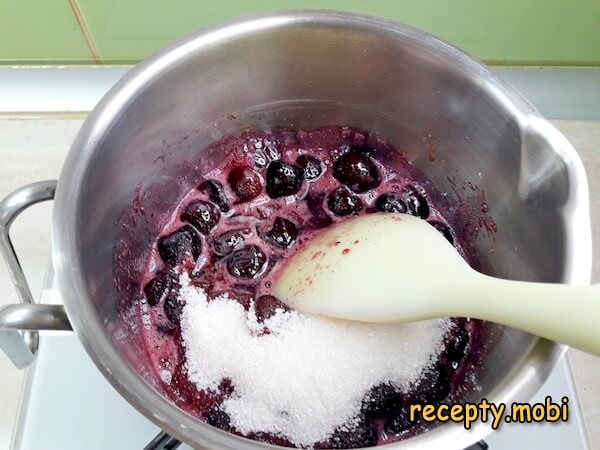
I transfer the cherries to a small saucepan, where they will also be cooked later. First I add half the sugar, so that it dissolves faster and helps the berries release their juice. I wait 10 minutes.
By this time a certain amount of sweet liquid will have formed, enough to keep the berries from burning.
I turn the stove to medium heat. The amount of juice will start to increase, and once the first little bubbles appear, I add the remaining sugar. I cook it all for 5 minutes.
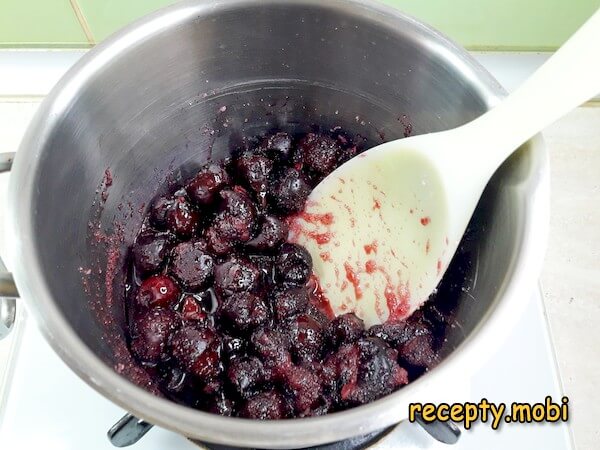
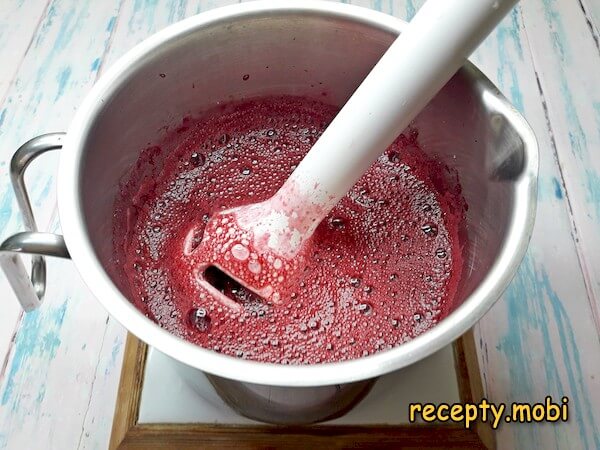
By now the berries have softened. I take the saucepan off the heat first and then blend them into a smooth, homogeneous mash with a blender.
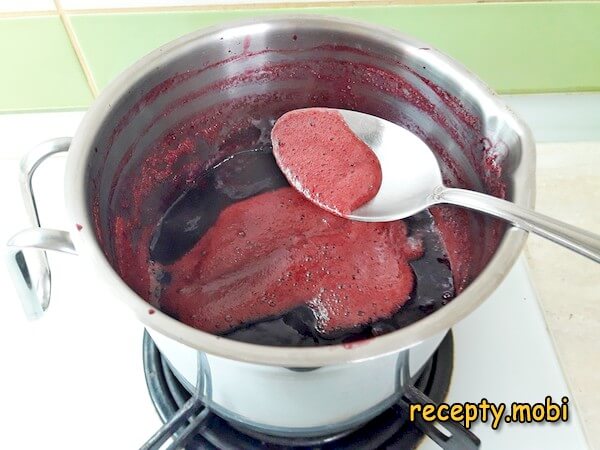
I return the mixture to the stove and cook it over medium heat for another half an hour, stirring the thickening mass from time to time and removing any foam that forms.
During this time I sterilize the jars (over steam, in the oven, or in the microwave) and the metal lids. I finely grate the yellow top layer of the zest and squeeze out the lemon juice.
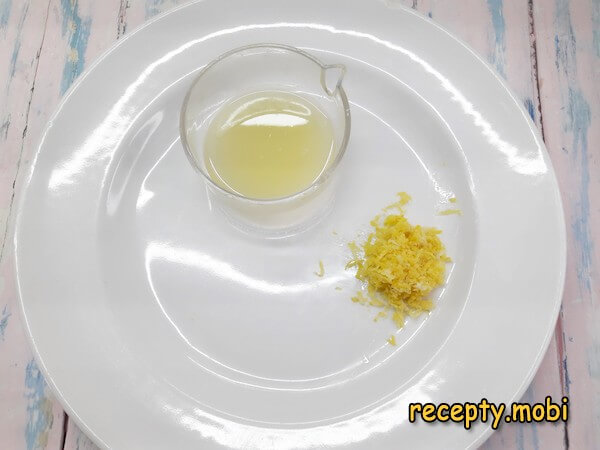
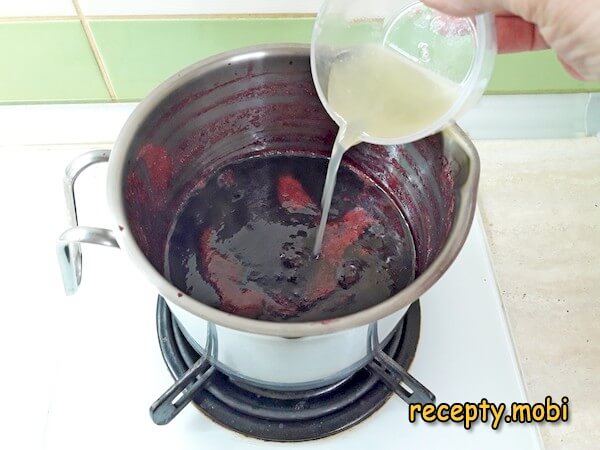
I pour the lemon juice into the almost-ready jam, add the zest, and cook for a couple of minutes.
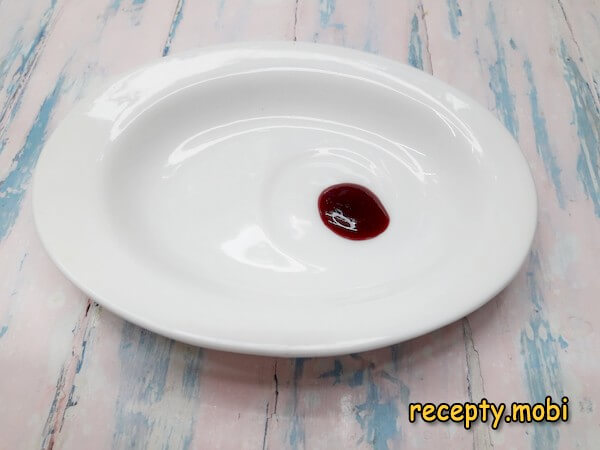
To test it, I drop a little of the hot mass onto a saucer. If it doesn't run or spread, I turn off the heat.
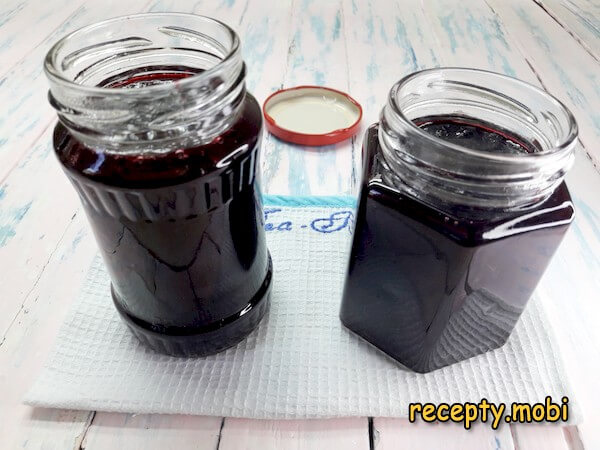
I pour the jam into the jars, laying a cotton cloth underneath them.
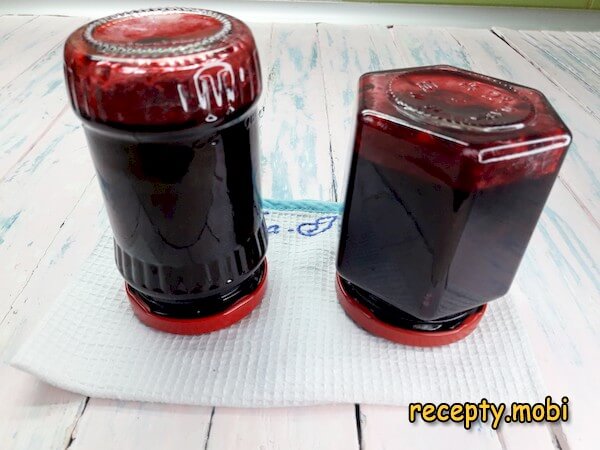
I screw on the lids and turn the jars upside down onto them (this is extra sterilization for the lids and the necks of the jars). After about a couple of hours I return the jars to their normal position, and once they have cooled I move them to wherever the sealed jars are stored (even an ordinary shelf in the flat will do).Once it has cooled, the preserve will reach the thickness and viscosity it needs. The lemon makes the flavour unusually fresh, not cloying, and very pleasant, which is why this jam is especially popular. Even a small spoonful transforms an ordinary piece of crispbread – do give it a try!


Tips
- 1
ADD THE SUGAR IN 2 STAGES – the "secret" to the juice. The first half of the sugar "draws out" the juice at the start; the second half goes in during cooking.
- 2
LEMON AT THE END – the "secret" to freshness. Lemon juice and zest added before jarring give a bright flavour and offset the cloying sweetness.
- 3
THE SAUCER TEST – the "secret" to thickness. If the drop doesn't spread, the jam is ready. If it spreads, cook it for another 5 minutes.
- 4
REMOVE ALL THE PITS – for safety. A hairpin or a special gadget – about 10 minutes of work. The same principle applies to other kinds of berry jams.
FAQ
Which cherries should I choose? +
Ideal are ripe dark cherries (Bull's Heart, Valery Chkalov, Regina) – brighter in colour and more aromatic. Alternatives: yellow cherries (Drogana Yellow, Francis) give a lighter, amber jam, while pink cherries (Napoleon) are a compromise. Seed brands such as Gavrish and Poisk are reliable. Fresh cherries are glossy and firm, with no dents or cracks. A size of 2–3 cm is optimal (meaty flesh). Not suitable: overripe ones (they go mushy) and underripe ones (sour and without aroma). Frozen cherries are the "budget" option – defrost them and drain off the excess liquid. For a "premium" jam, use farm-grown southern cherries. Always remove the pits – a stray one will spoil the impression.
What can I use instead of lemon? +
Alternatives: lime (1/2 pc., a tropical note), citric acid (1/3 tsp – simpler, but without the aroma of zest), orange (1/2 pc., a "sweeter" option), grapefruit (1/4 pc., with a slight bitterness). Freshly squeezed juice and zest are the "premium" option. Bottled lemon juice will do (15–20 ml). Don't use: waxed lemons (the zest turns bitter – rinse them with boiling water) or carton juice with preservatives. Grate only the yellow layer of the zest – the white part is bitter. For a "diet" version, leave out the lemon and increase the cooking time to 40 minutes (it will thicken naturally). For a "premium" version, use the zest and juice of a fresh lemon.
How long does the jam keep? +
In sealed sterile jars at room temperature – up to 2 years. In a cool cellar – up to 3 years. After opening, in the fridge – 2–3 weeks. Label the jars with the date they were put up. If mould appears – don't open the jar, throw it out. Don't store the jars in the sun – the colour will fade. It is best used within the first 12 months. Put the jam up in small 250 g jars – they are easier to open (a large one will crystallize within a couple of weeks). If the jam has crystallized – warm it in a water bath for 5–10 minutes and the crystals will dissolve.
What do I serve the jam with? +
A classic with tea: with croissants, toast, crispbreads, and pancakes. With cottage cheese or a cottage cheese bake. With vanilla ice cream or yogurt. As a filling for shortcrust baskets and tartlets. As a layer in a sponge cake. With cheeses (brie, camembert, goat's cheese) – a "French" serving. With porridge made from oats or semolina. With rice cakes or galettes. With hot fritters and syrniki. On buttered sandwiches – a "children's" option. With warm milk – an "evening" dessert. With a cup of coffee with milk. A universal sweet preserve for breakfasts and desserts.
- Comment
or post as a guest
Be the first to comment.


