Write a comment

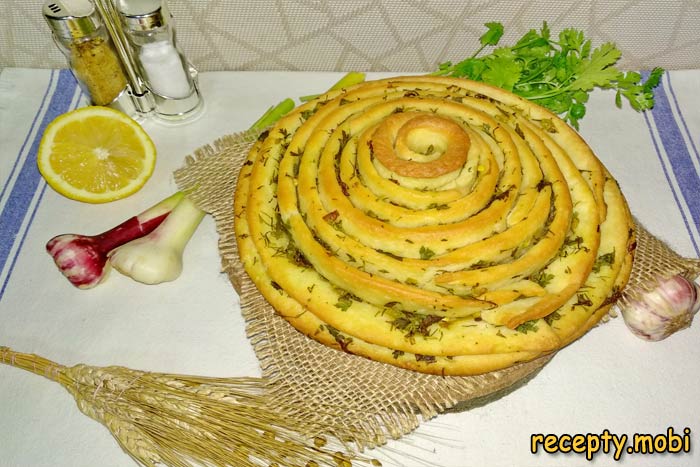
Garlic bread «Snail»

Garlic bread «Snail»

Garlic bread "Snail" is delicious, fragrant and unusual, it is perfect for first courses. In addition, bread will be harmoniously combined with shish kebab, kebab and grilled vegetables during a trip to nature. Such fragrant garlic bread, without much difficulty, can be baked at home from available products. And the result will please both you and your family.

Cooking time: 135 minutes.

Servings: 6.

Calories: 326.

Ingredients

You will need simple products:

  • milk (warm) - 100 ml;
  • water (warm) - 100 ml;
  • flour - about 400 g;
  • salt - 1 tsp;
  • sugar - 1 tsp;
  • yeast (dry) - 1 tsp;
  • vegetable oil - 3 tbsp.

For garlic oil (for spreading):

  • butter - 100-150 g;
  • garlic greens - ½ bunch (or 3 cloves);
  • dill, parsley, cilantro (optional) - a large bunch;
  • salt - a pinch;
  • lemon juice - 1-2 tsp.

Cooking

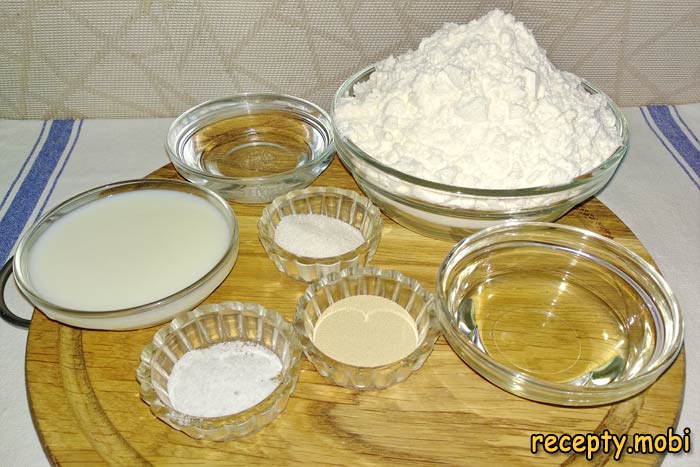
1. Butter for spreading should be soft, take it out of the refrigerator two to three hours before cooking. Let's start preparing the dough. Milk and water should be warm t - 32-37⁰С. The flour is sifted through a sieve.

ingredients for making bread - photo step 1

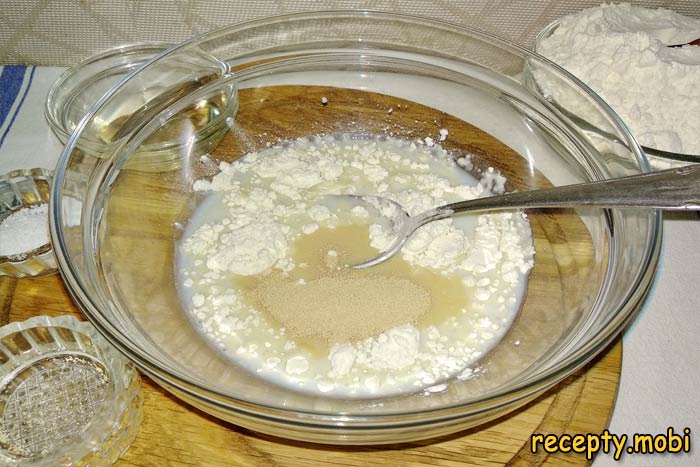
2. Pour water and milk into a bowl, if they are not warm enough, the products should be heated to the desired temperature. We send them sugar, two or three tablespoons of flour (out of the total), yeast. Mix.

making dough for bread - photo step 2

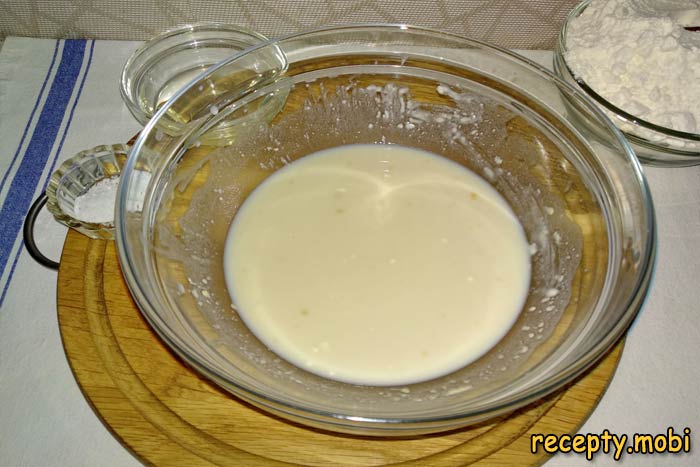
3. For fifteen to twenty minutes, put the bowl in a warm place to activate the yeast.

making dough for bread - photo step 3

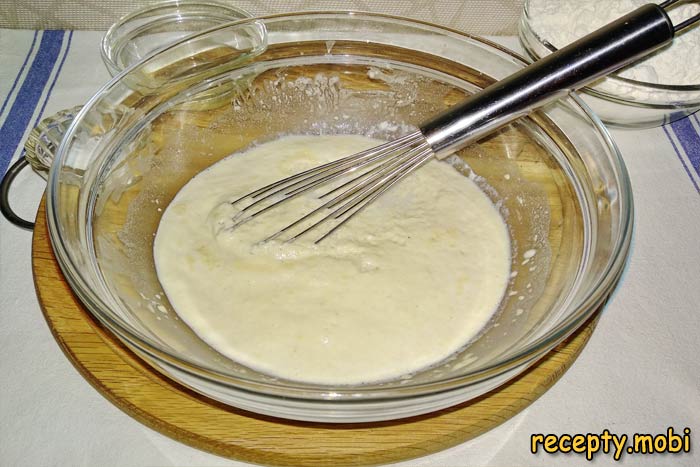
4. After a while, a noticeable foam cap appeared in the bowl, the yeast was activated, you can continue to work with the dough.

making dough for bread - photo step 4

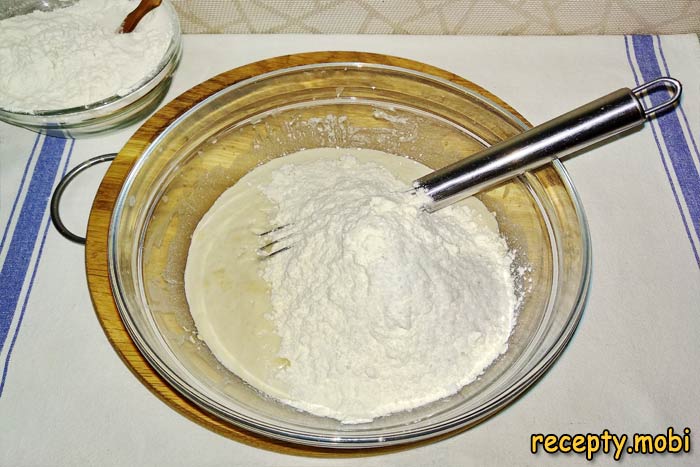
5. In a bowl with yeast we send vegetable oil, a third of the flour and salt. We begin to knead the dough with a whisk.

making dough for bread - photo step 5

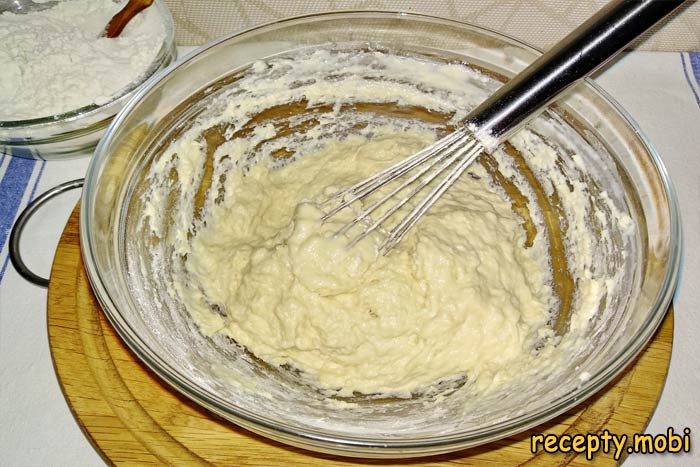
6. Add more flour and knead.

making dough for bread - photo step 6

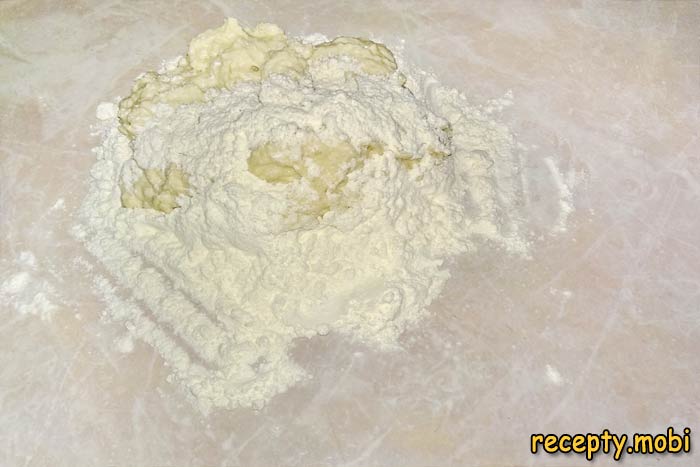
7. When it will be difficult to knead the dough with a whisk, go to the table. Dust the work surface with flour.

making dough for bread - photo step 7

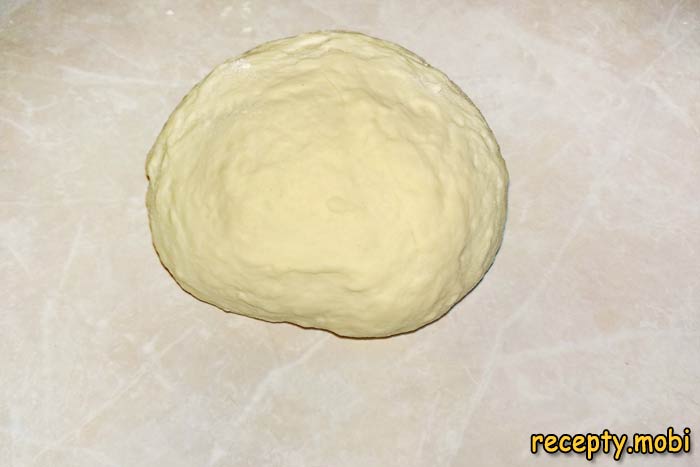
8. Knead the dough for seven to ten minutes. Flour can go a little more or a little less, depending on the quality of the flour. From the dough we form a bun.

dough - photo step 8

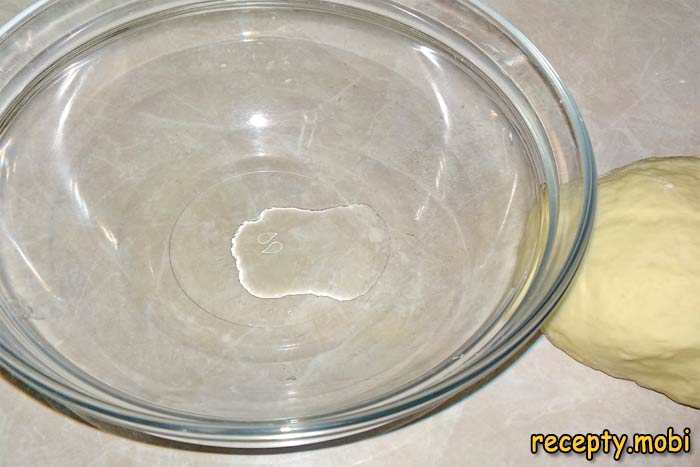
9. Pour a little vegetable oil into a clean bowl. Lightly grease the inside of the bowl and the dough on all sides. Transfer the dough into a bowl.

cooking garlic bread - photo step 9

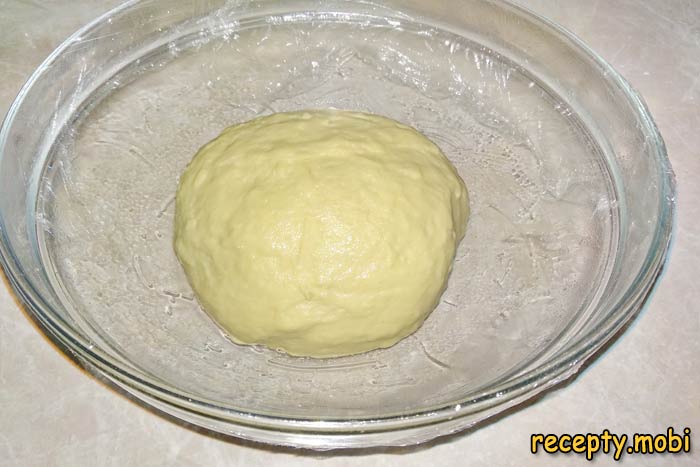
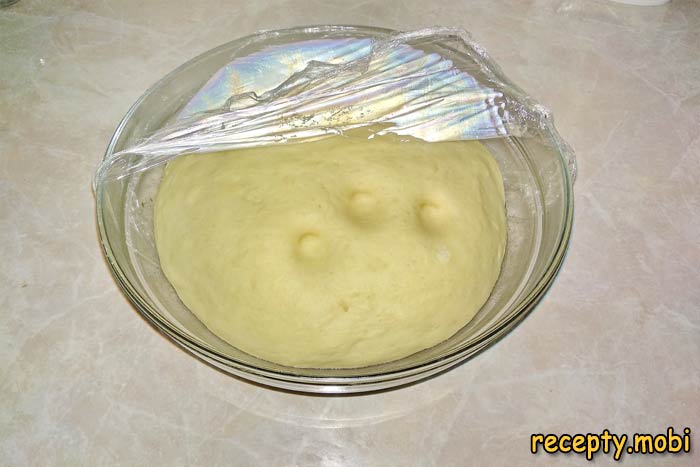
10. We tighten the bowl with a film and send the dough to a warm place to rise. You can use the microwave or oven for this. We heat the oven to t-30⁰ C and turn it off. Then we turn on only the bulb inside, it will maintain the temperature in the oven. Leave the bowl with the dough in the oven for one hour.

dough - photo step 10

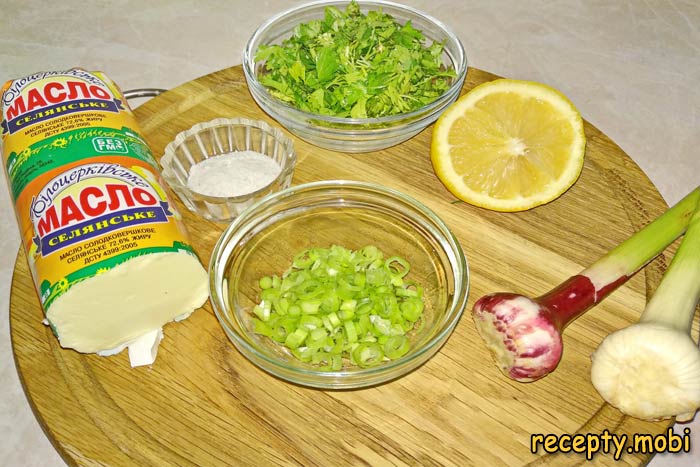
11. After forty-five minutes, you can cook garlic-butter spread. By this time, the oil has already become soft. Finely chop the greens of garlic, dill, parsley and cilantro.

Finely chop the greens of garlic, dill, parsley and cilantro - photo step 11

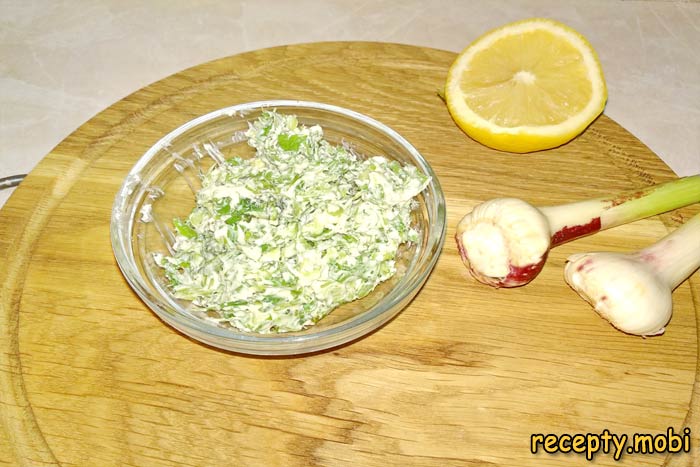
12. Add lemon juice, salt, mix until smooth.

garlic stuffing - photo step 12

13. In a warm oven, the dough came up perfectly, it became soft and airy.

dough - photo step 13

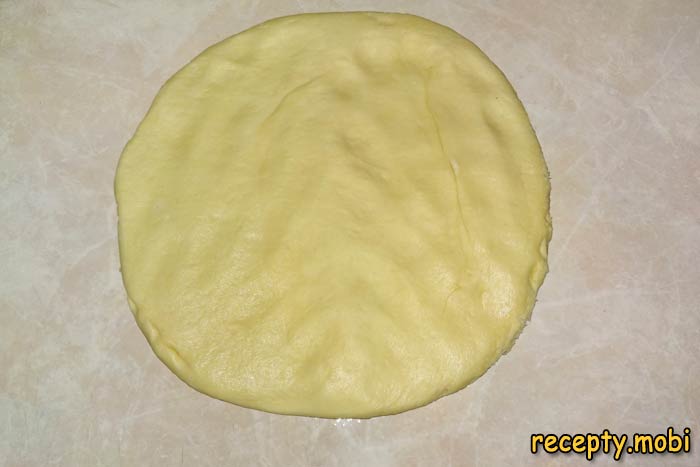
14. In order not to clog the dough with excess flour, grease the working surface with vegetable oil. Remove the dough from the bowl and stretch it into an even layer with just your hands.

roll out the dough - photo step 14

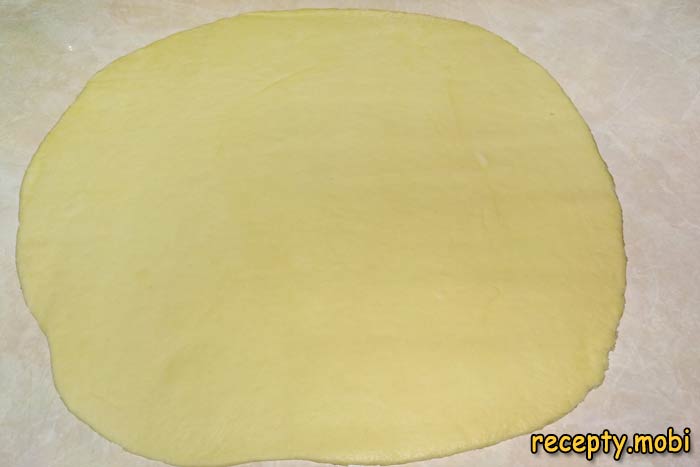
15. Next, roll out the dough into a rectangle using a rolling pin. The thickness of the dough should be five to seven millimeters.

roll out the dough - photo step 15

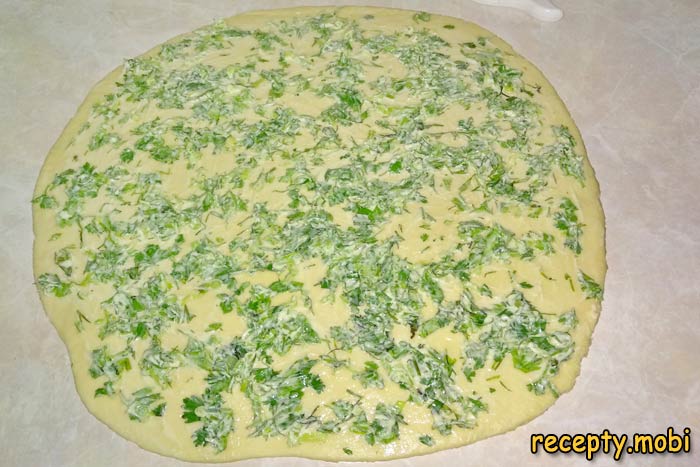
16. Using a silicone spatula or just by hand, distribute the garlic-oil spread over the entire surface of the dough.

cooking garlic bread - photo step 16

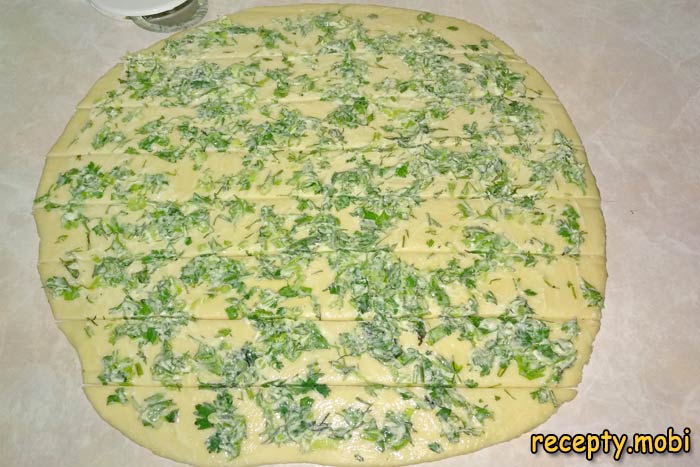
17. Using a pizza cutter, cut the dough into strips, five to seven millimeters wide.

cooking garlic bread - photo step 17

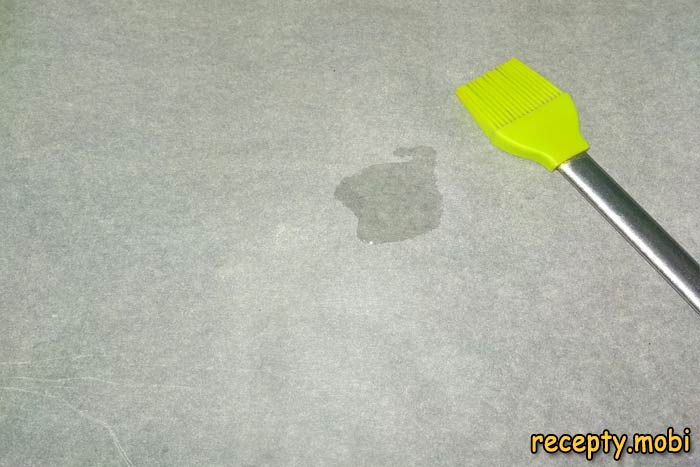
18. We will bake bread on parchment paper and a baking sheet. Lightly cover the paper with vegetable oil. You can also bake bread in a detachable biscuit mold.

We lightly cover the paper with vegetable oil - photo step 18

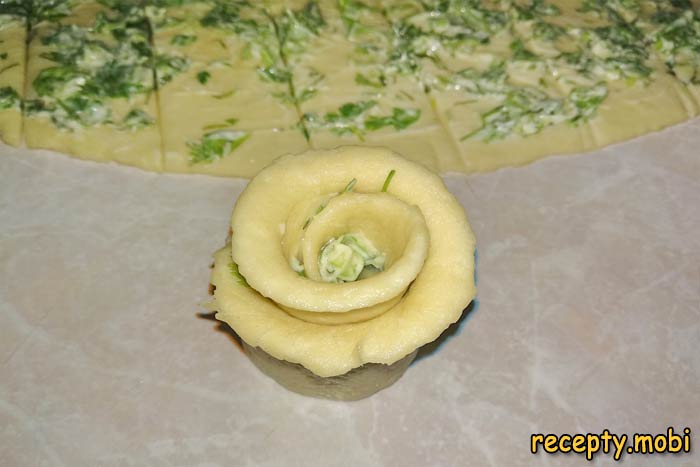
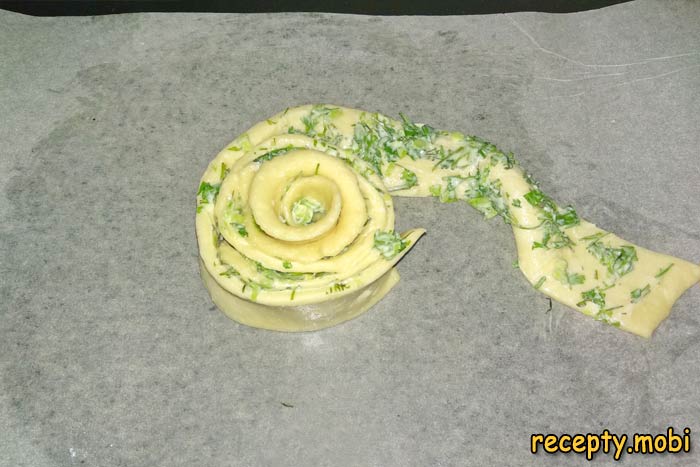
19. Roll up a roll from the first strip of dough (edge), this will be the middle of the bread. Got a rose.

cooking garlic bread - photo step 19

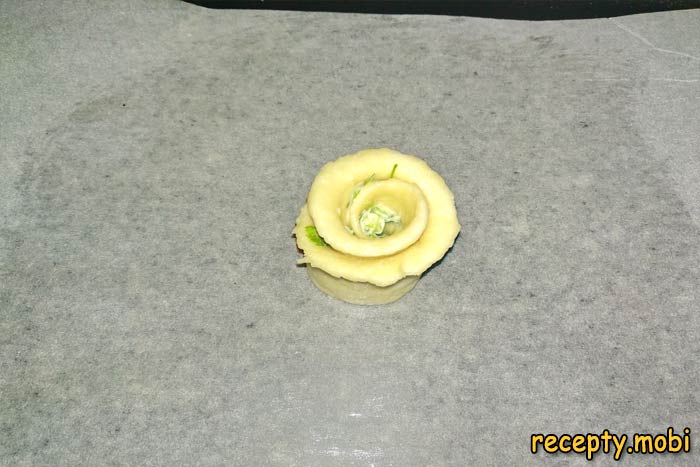
20. We transfer the "rose" to the middle of the parchment. Next, we will form bread from it.

cooking garlic bread - photo step 20

21. Take the next strip of dough and transfer to a baking sheet. We wrap the "rose" with it.

cooking garlic bread - photo step 21

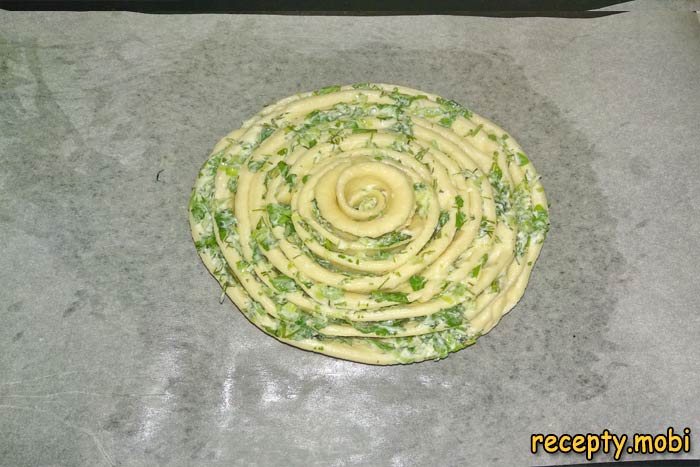
22. So we do with each subsequent strip of dough. We get bread in the form of a snail. It is not necessary to press the strips tightly against each other, as the dough will still fit.

cooking garlic bread - photo step 22

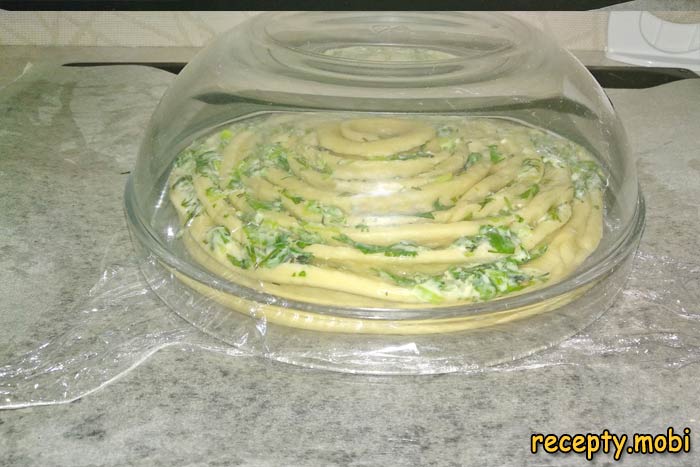
23. For ten minutes, cover the future bread with a bowl and give time to rest. At this time, turn on the oven to warm up to t-180⁰ C.

cooking garlic bread - photo step 23

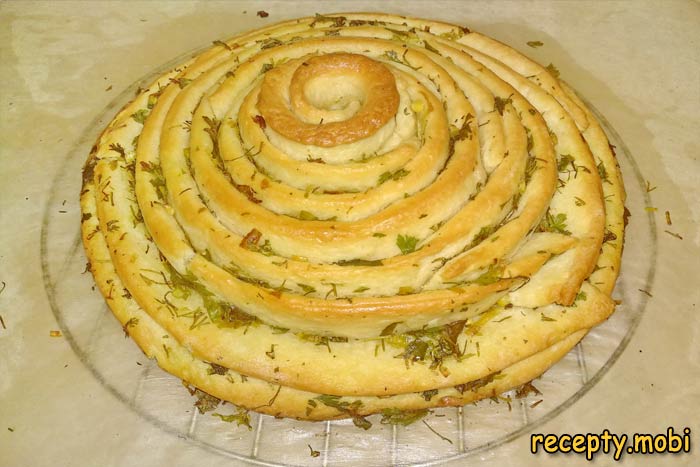
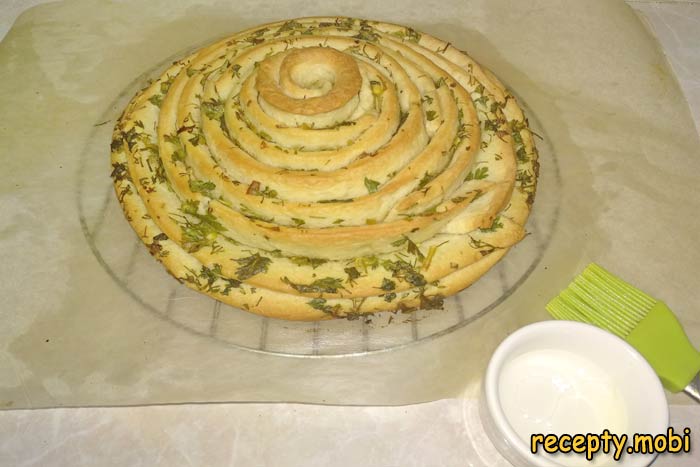
24. We send the bread to the oven, bake for forty - forty-five minutes, until golden brown. Readiness is checked with a skewer.

Garlic bread «Snail»

25. We dilute one teaspoon of vegetable oil, with the same amount of water (1: 1), mix. We cover the surface of the bread with this solution, so it will not stale.

Garlic bread «Snail»

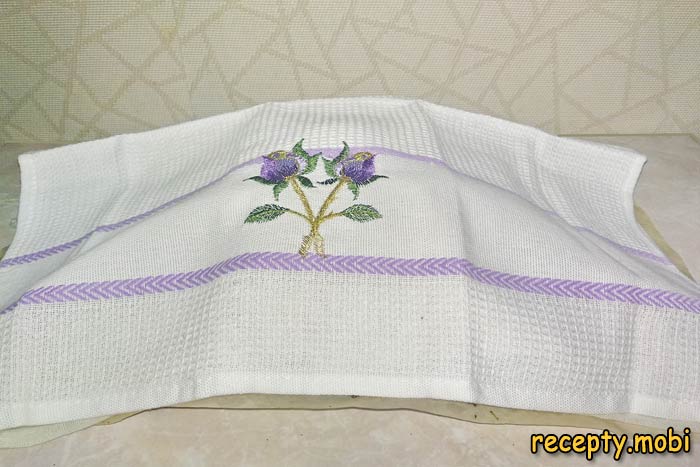
26. We cover the bread with a clean towel, give it time to rest and cool.

cover the bread with a towel - photo step 26

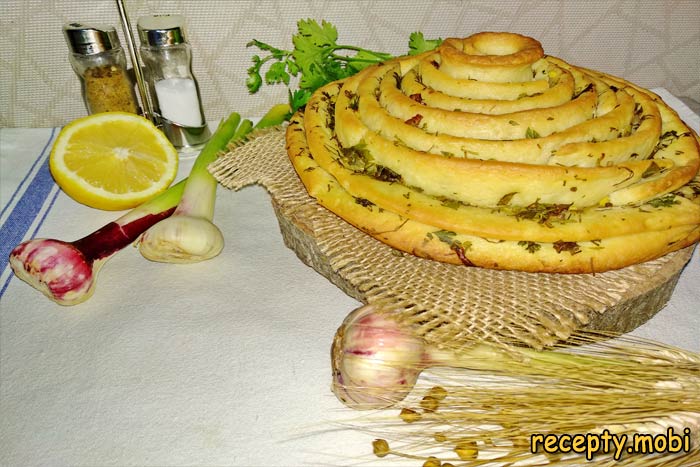
Here is such a beautiful garlic bread "Snail" turned out, it can become a real decoration of any holiday table, besides, the bread is incredibly fragrant. Your guests will surely appreciate your efforts.

Garlic bread «Snail»

Write comments...
symbols left.
or post as a guest
Loading comment... The comment will be refreshed after 00:00.