Write a comment

Brushwood on milk (classic recipe)

Churros with milk (classic recipe)

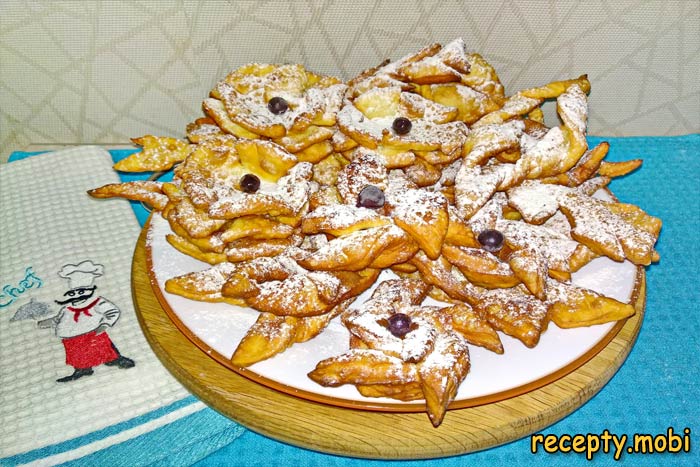
The classic recipe for churros with milk at home is truly homemade baking familiar to us from childhood. These fragrant pastries fill the house with warmth and coziness. There are several recipes for making churros, today we will consider the most popular one - the classic recipe for churros with milk. This churros is prepared quickly and eaten even faster. Children love it very much, and adults won't mind indulging either. From a small number of ingredients, a whole dish of sunny, homemade pastries for tea is obtained.

Preparation time: 70 minutes.

Serves: 6.

Caloric content: 291 kcal per 100 grams of the dish.

Ingredients

  • flour - 400 g;
  • yolks - from 3 eggs;
  • sugar - 1 tbsp;
  • sour cream - 1 tbsp;
  • salt - ¼ tsp;
  • milk - ½ cup (125 ml);
  • powdered sugar - ½ cup (for sprinkling);
  • cognac or vodka - 2 tbsp (or to taste);
  • vegetable oil - for frying.

Preparation

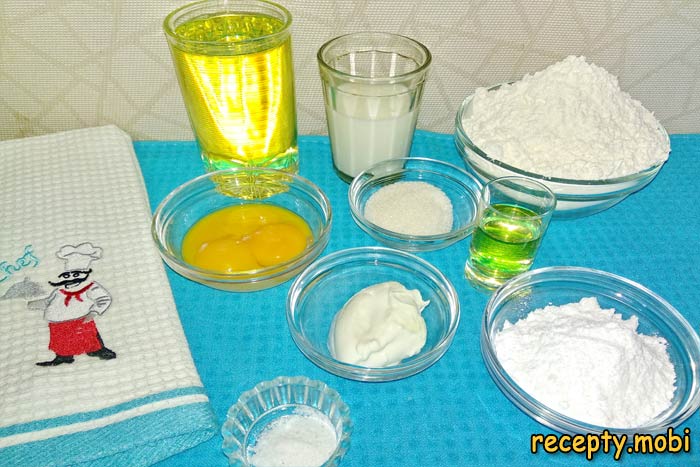
1. Prepare all the ingredients from the list for making the classic churros with milk recipe.

Prepare all products for cooking brushwood - photo Step 1

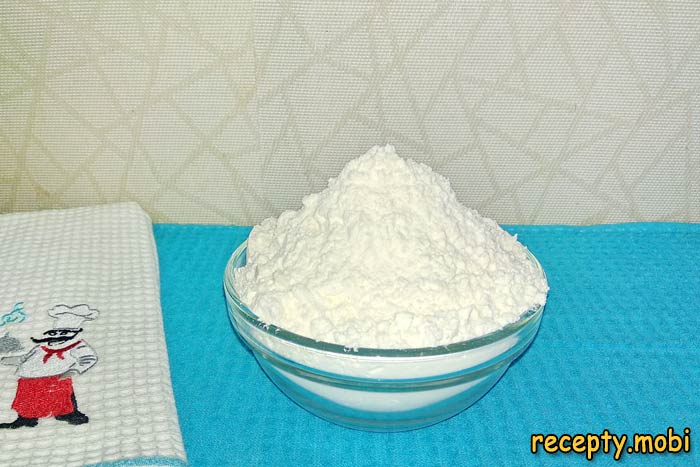
2. Take out the flour in advance so that it warms up, and be sure to sift it. This will aerate the flour and remove any impurities if present.

flour - photo step 2

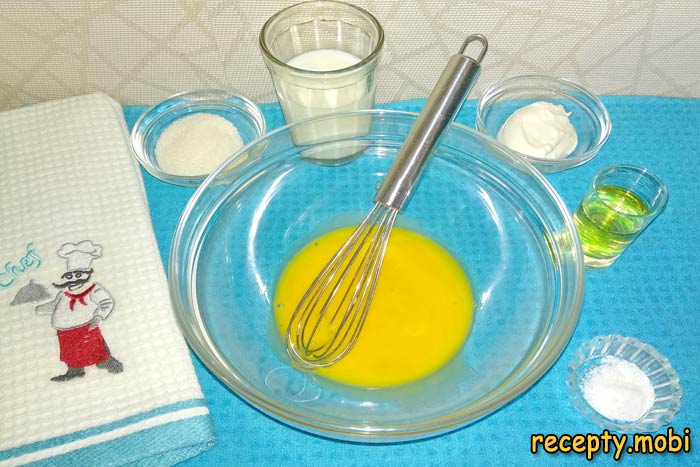
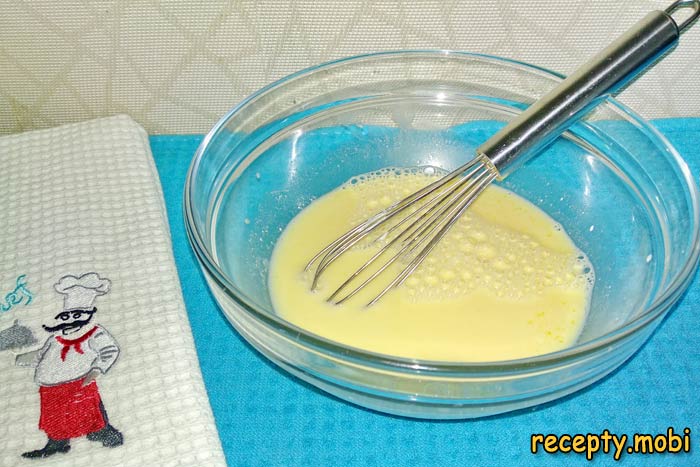
3. Transfer the yolks to a large bowl and mix them with a whisk. There is no need to beat with a mixer or blender.

Preparation of dough for brushwood - photo Step 3

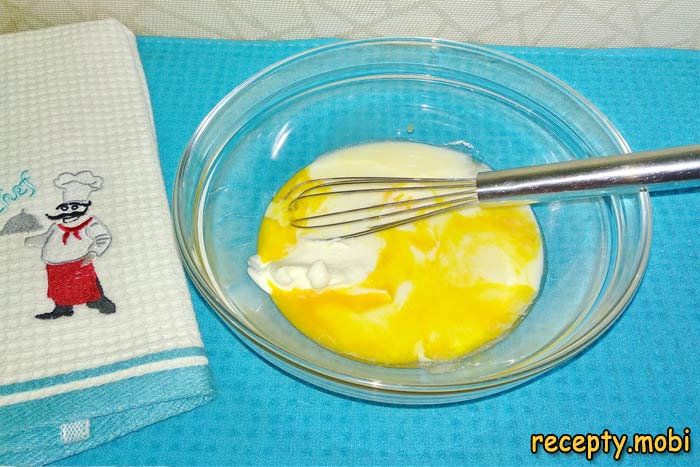
4. Add salt and sugar to the yolks, cognac if desired, and also add sour cream and pour in the milk.

Preparation of dough for brushwood - photo Step 3

5. Mix all the ingredients thoroughly.

Cooking dough for brushwood - photo Step 5

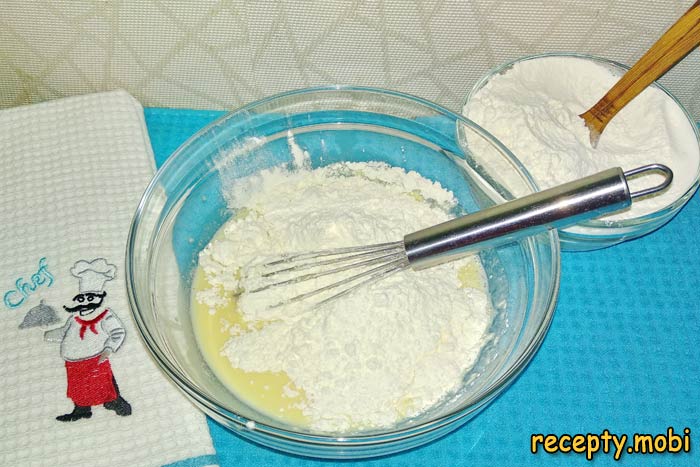
6. Gradually add flour to the resulting mixture. Mix everything with a whisk, trying to break up all the lumps.

Cooking dough for brushwood - photo Step 6

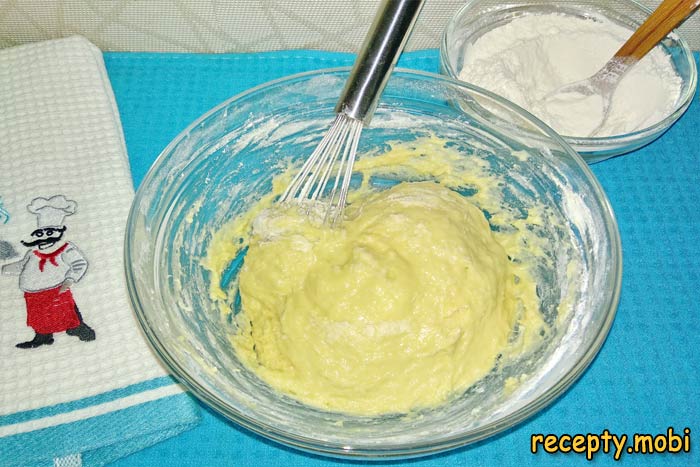
7. Add flour, continue kneading in the bowl as long as it is possible to do so with a whisk.

Cooking dough for brushwood - photo Step 7

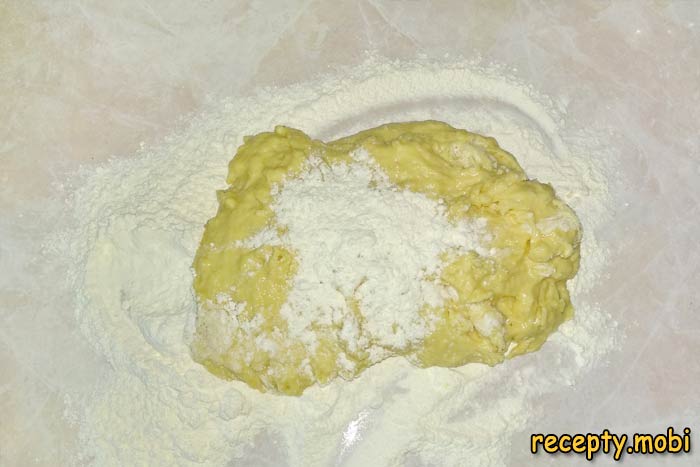
8. When it becomes difficult to knead the dough in the bowl, it is necessary to transfer the kneading to a work surface. Cover the countertop with flour, place the dough on top, and sprinkle flour on top as well. Start kneading the dough with your hands. At first, the dough will be liquid, sticking to your hands and the table, but you should not stop kneading it and adding flour. Do not add more flour than specified.

Cooking brushwood - photo step 8

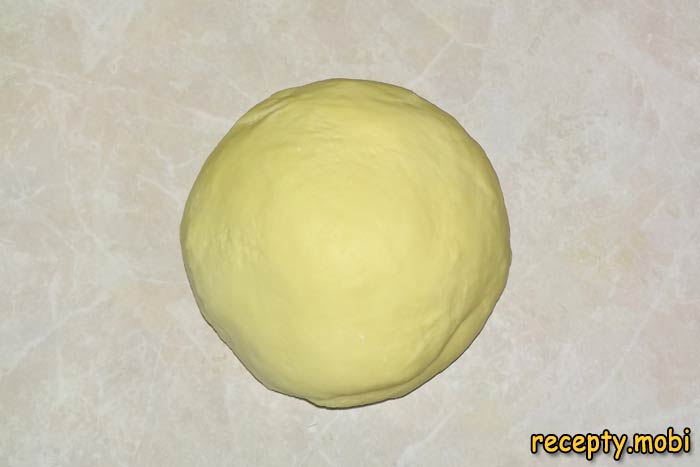
9. Knead the dough with your hands for seven to ten minutes. During this time, we will have a soft, elastic ball that holds its shape well and has practically stopped sticking.

dough - photo step 9

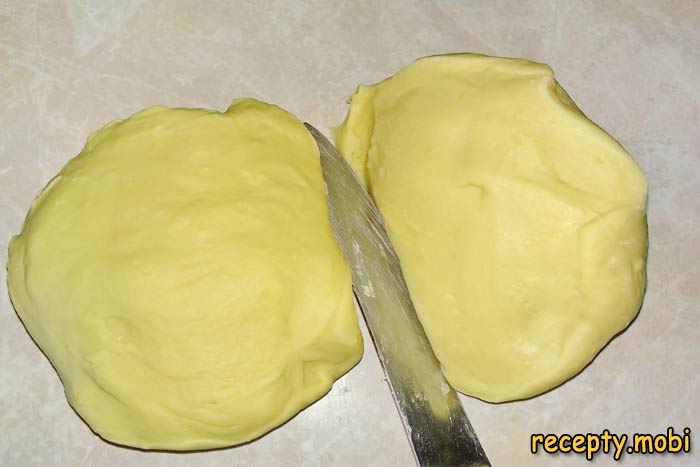
10. One of the good techniques when kneading such dough is to cut the dough into two parts. As a rule, the dough in the middle is always softer, and during rolling it into a thin layer, unpleasant surprises may arise. We cut the dough into two parts, and it is clear that the dough is smooth but soft in the middle. We gather the two parts into one and continue kneading.

dough - photo step 10

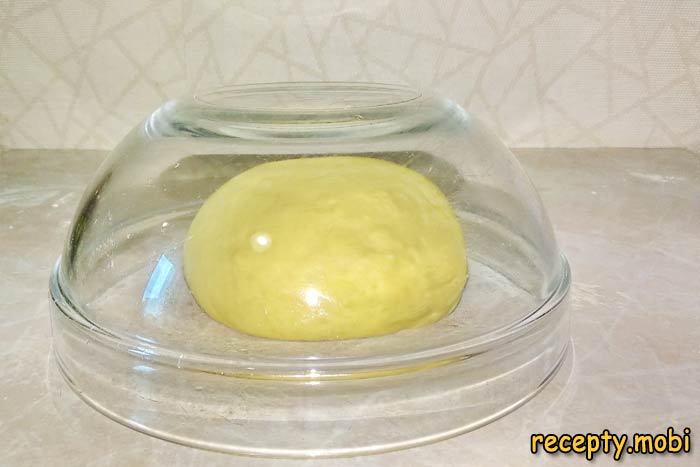
11. We have again obtained a homogeneous ball. The dough needs to rest for about forty minutes. We leave the dough on the table and cover it with a bowl to prevent drafts.

Lipped dough - photo step 11

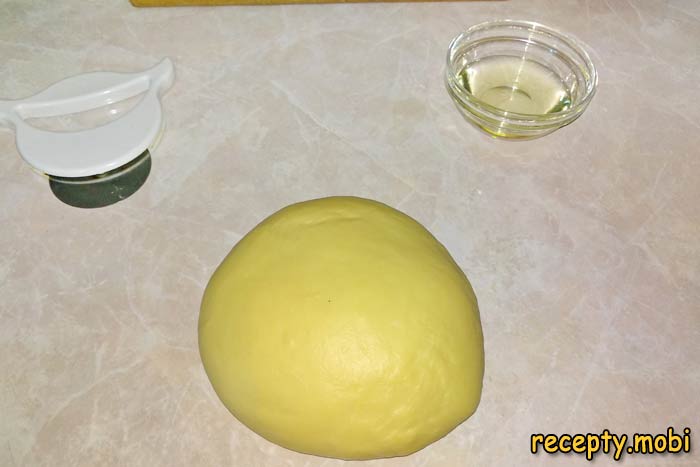
12. After forty minutes, the dough has rested, becoming homogeneous and soft. We proceed to shape the choux pastry. For this, we will need a rolling pin to roll the dough into a thin layer; the thinner you roll it, the crispier the choux will be. We will also prepare a pizza cutter to cut out different shapes. We will cover the countertop with vegetable oil, as we will also fry the choux in oil. If the choux is covered in flour, it will burn during frying, and the fryer will quickly get clogged.

dough - photo step 12

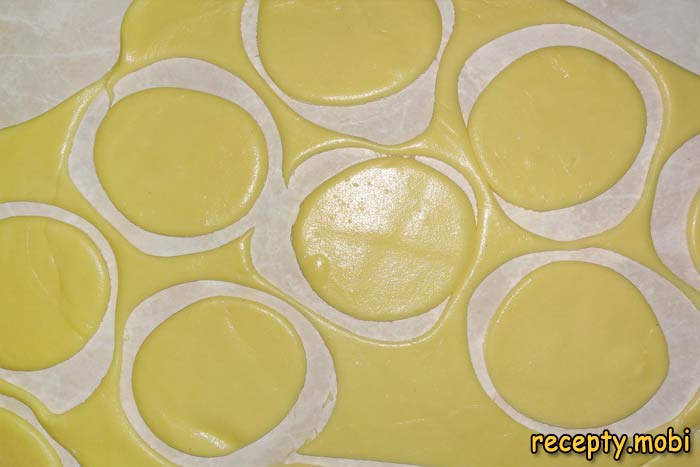
13. The dough has been rolled out thinly, and using a round cutter, we cut out circles. We need to cut them in multiples of three; it will become clear later why.

Cooking brushwood - photo step 13

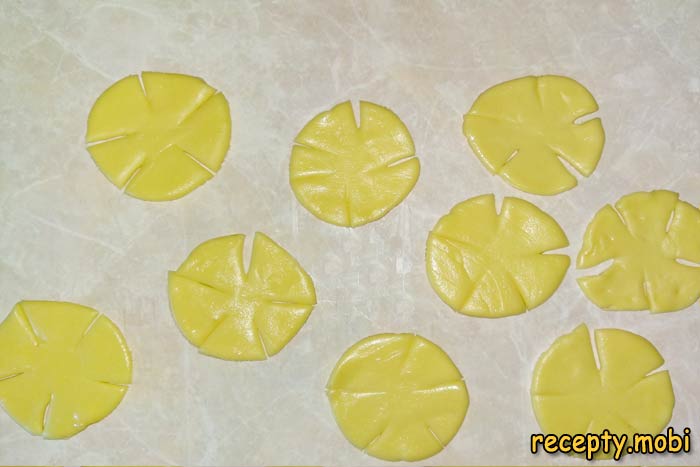
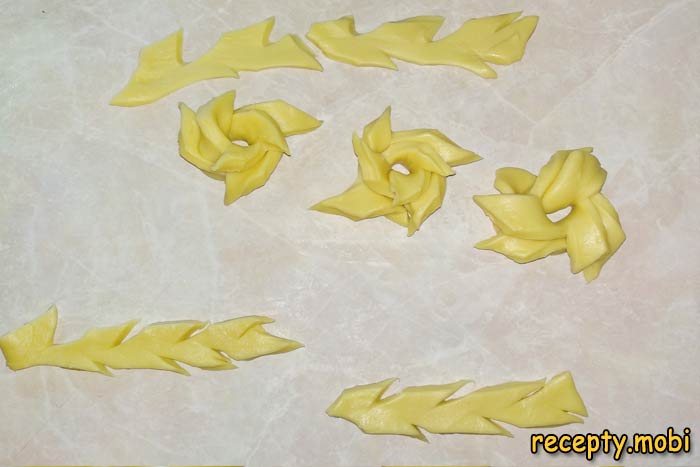
14. From the round blanks, we will form three-layered roses. For this, we cut each circle into five parts. Pay special attention - we do not cut through but only make incisions.

Cooking brushwood - photo step 14

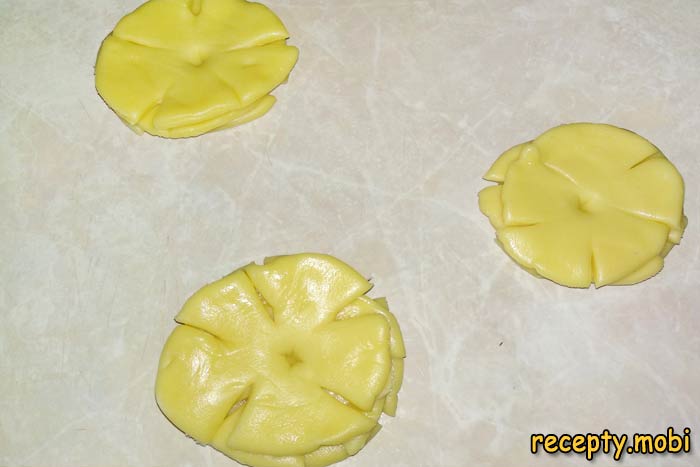
15. Next, we fold the circles in such a way that the cuts do not coincide. In the middle of the circle, we make a dent using a wooden stick, thus fixing three blanks together.

Cooking brushwood - photo step 15

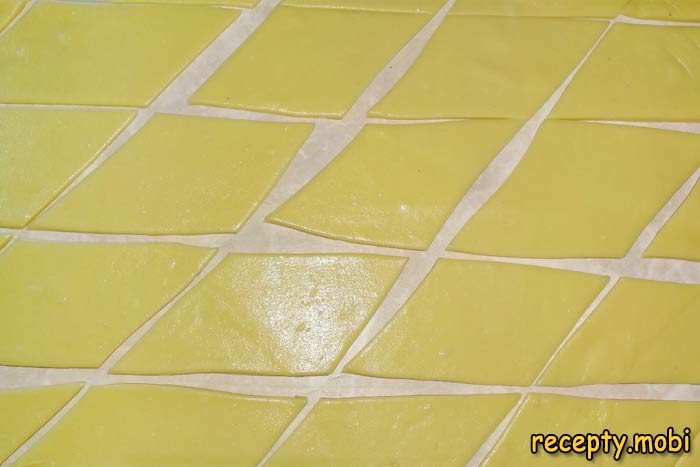
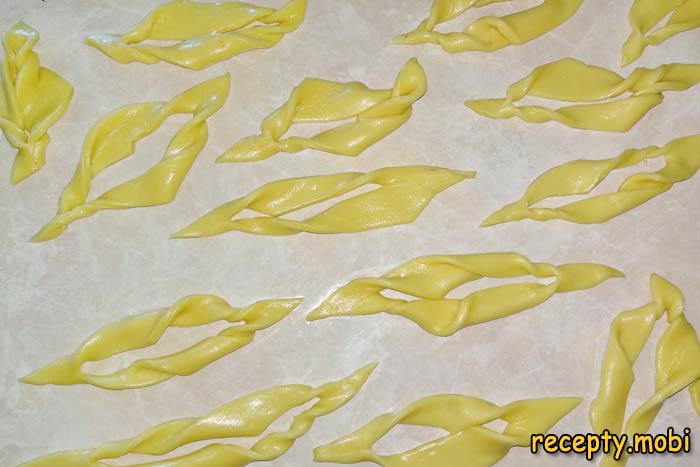
16. The remaining dough is cut into diamonds - this will be the classic shape of choux. In the middle of each diamond, we make a small incision.

Cooking brushwood - photo step 15

17. Through this incision, we twist the dough one or two times and get those pretzel shapes that we know from childhood.

Cooking brushwood - photo step 17

18. From the leftover dough, we roll out a thin layer again and cut strips using a pizza cutter. We make incisions on both sides of the strip, and we get such branches. If we make incisions only on one side of the strip and then twist it a couple of turns (no more, as it will be too thick and the dough will not fry), we will get another version of the rose.

Cooking brushwood - photo step 18

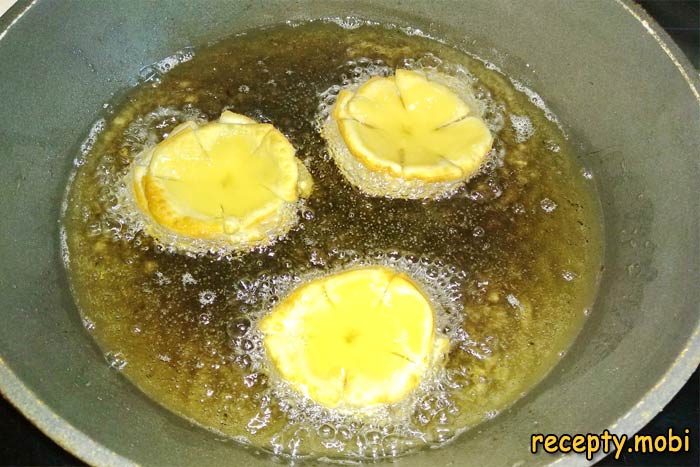
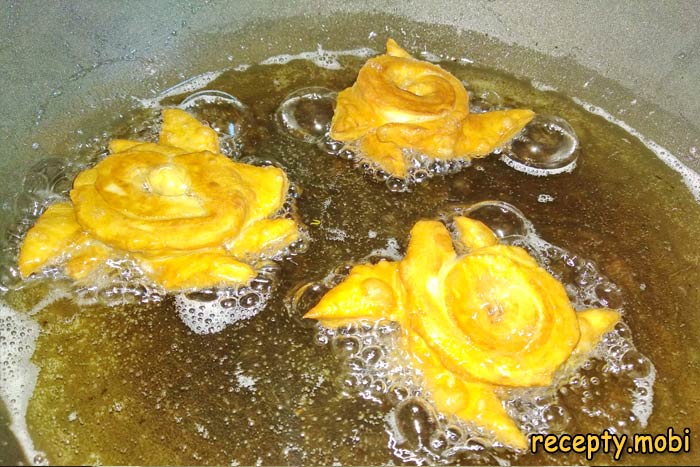
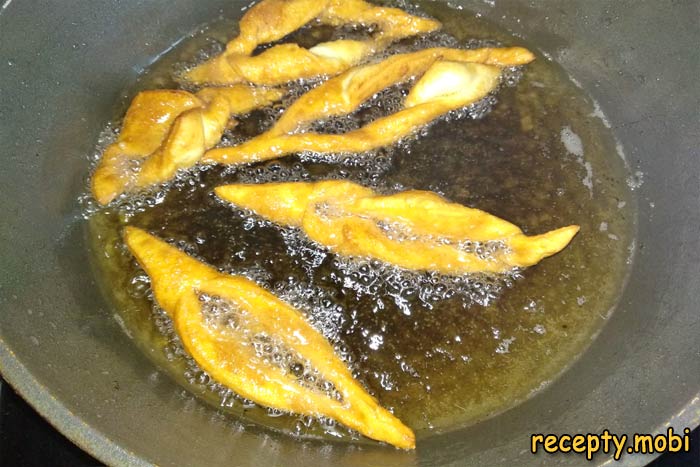
19. The fryer needs to be heated very strongly. We lower the choux pastry in small batches. The oil should be enough so that at first the dough sinks, and only when it is fried does the choux pastry float to the surface. First, we fry the roses.

Preparation of brushwood - photo step 19

20. Next, the other roses. This is how they look from one side.

Preparation of brushwood - photo step 19

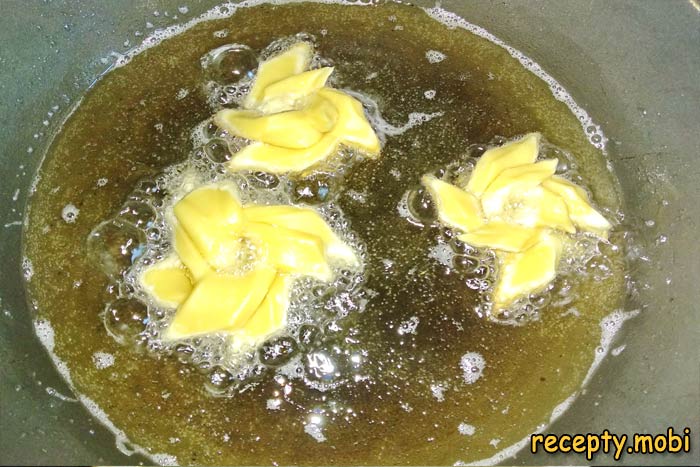
21. And this is how they look when the roses are turned over.

Cooking brushwood - photo step 21

22. Now we fry the remaining choux pastry.

Cooking brushwood - photo step 22

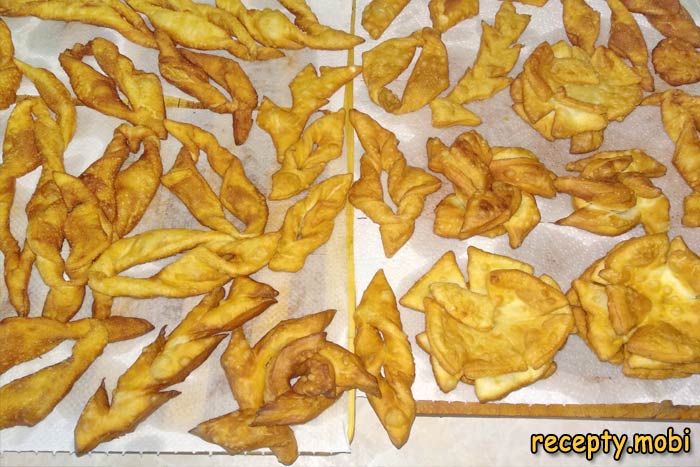
23. To remove excess oil, we place the choux pastry on paper towels. We leave it like this until completely cool.

Cooking brushwood - photo step 23

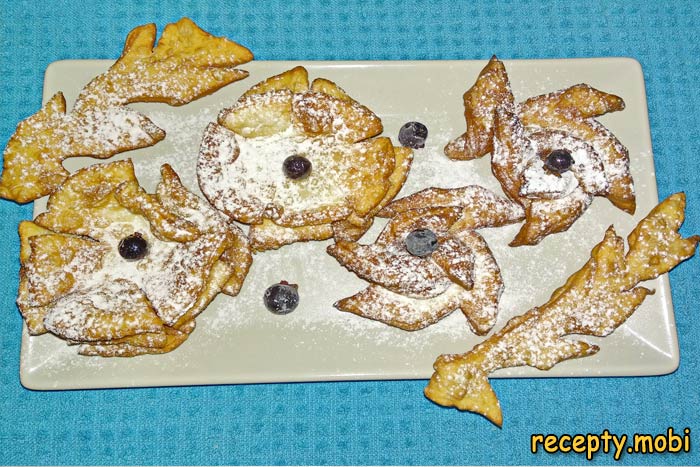
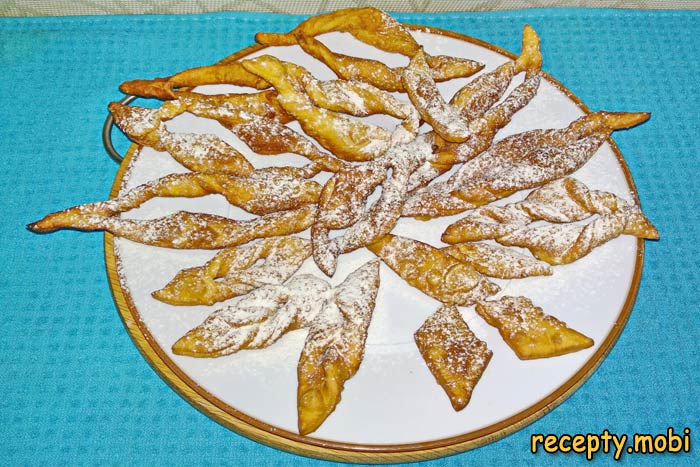
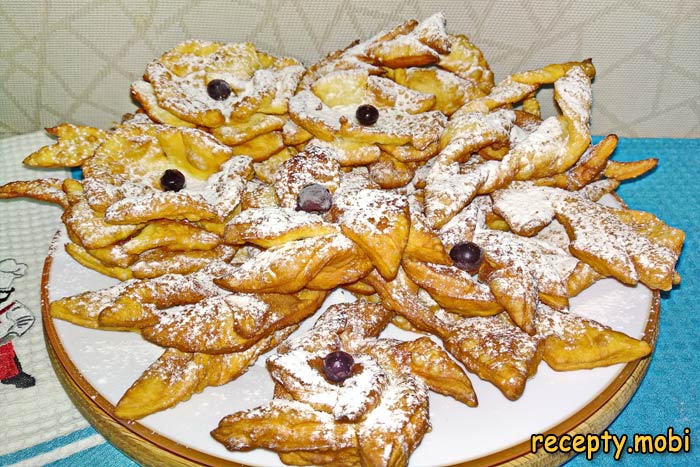
24. We decorate the choux pastry 'roses' with raisins or currants. We sprinkle the 'roses' and 'branches' with powdered sugar and serve them on one plate as a composition. Even for guests at tea time – this will be an interesting presentation.

Brushwood recipe is classic

25. Classic choux pastry will be very interesting if you make it in different sizes. In addition, you can cut small rhombuses out of the dough and not cut them in the middle. Rhombus choux pastry is prepared in many countries for Easter as a symbol of bunny ears.

Brushwood recipe is classic

26. A huge platter of choux pastry in different shapes, sprinkled with powdered sugar, will always delight both children and adults.

Brushwood in milk

I recommend preparing choux pastry according to the classic recipe with milk. Enjoy your meal.

Write comments...
symbols left.
or post as a guest
Loading comment... The comment will be refreshed after 00:00.

Be the first to comment.