Count's Ruins Cake with Sour Cream
Count's Ruins Cake with sour cream is an impressive and appetizing dessert, perfect for any festive table. Plus, following our step-by-step recipe, this cake is easy and relatively quick to make, as there’s no need to spend time on complicated layers or elaborate cream. Despite its simplicity, the classic cake is delicious and moist. The tender sponge cake, soaked in sour cream, melts in your mouth. You can enhance the Count's Ruins Cake with any fruits or berries, either placing them inside the cake or decorating it on the outside.
Cooking time: 180 minutes.
Servings: 7.
Calories: 229 kcal per 100 grams.
Cuisine: Russian.
Ingredients
For the cake:
- eggs - 9 pcs;
- sugar - 9 tbsp;
- flour - 8 tbsp;
- cocoa - 1 tbsp.
For the cream:
- sour cream - 700 g;
- sugar - 120 g;
- thickener for sour cream - 1 tsp;
- vanilla sugar - 1 tsp.
For the glaze:
- water - 50 g;
- butter - 30 g;
- sugar - 50 g;
- cocoa - 2 tbsp.
Cooking
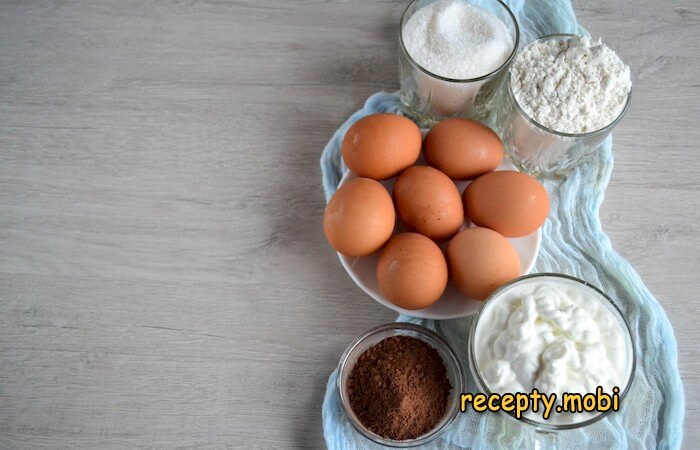
1. Prepare all the necessary ingredients for the Count's Ruins Cake with sour cream.
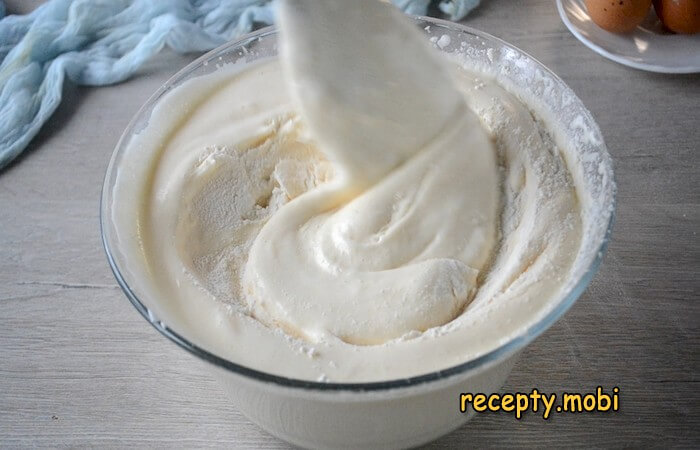
2. First, let's start by preparing the batter for the cake layers. We will make two cakes – one plain and one chocolate. For the first cake, crack 5 eggs (I use cold eggs straight from the fridge), add 5 tablespoons of sugar, and beat on the highest speed of the mixer for at least 10 minutes. This is very important because this long beating time is what makes the sponge cake very fluffy and light without the need for baking powder. Another crucial point: the eggs must be cracked into a clean, dry bowl, or they won’t whip properly.

3. When the eggs are whipped (they should increase in volume significantly), gradually add 5 tablespoons of flour, sifting it several times for better texture. Gently fold the flour into the mixture using a spatula in one direction, lifting the batter carefully.
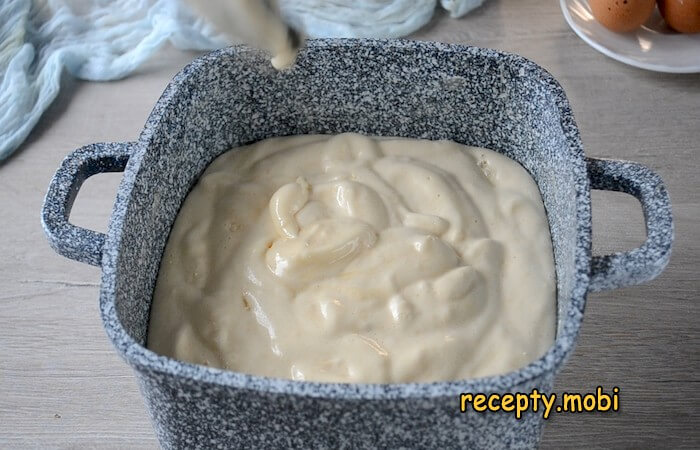
4. Pour the prepared batter into a greased baking pan (grease both the bottom and sides). Place the pan in a preheated oven at 180°C (350°F) and bake for about 25 minutes, depending on your oven's power.
5. Check if the sponge is ready by inserting a wooden skewer—if it comes out dry, the cake is done. The first cake should rise well, and after cooling, it will maintain its height. Set it aside to cool completely, and proceed to make the chocolate cake.
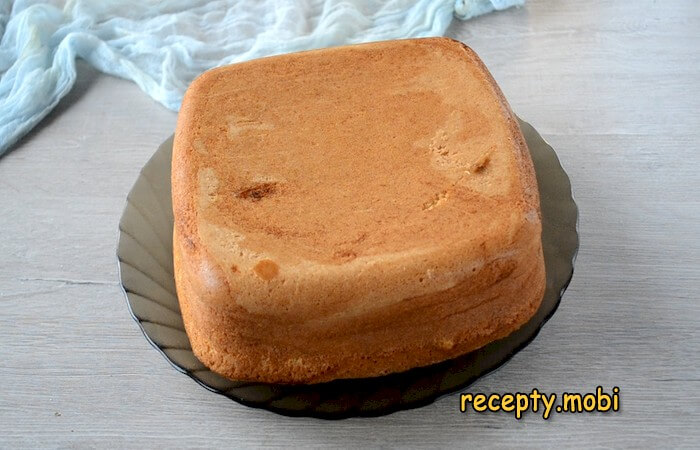
6. For the chocolate cake, beat 4 eggs with 4 tablespoons of sugar in the same way for 10 minutes. Remember that the bowl must be completely dry.

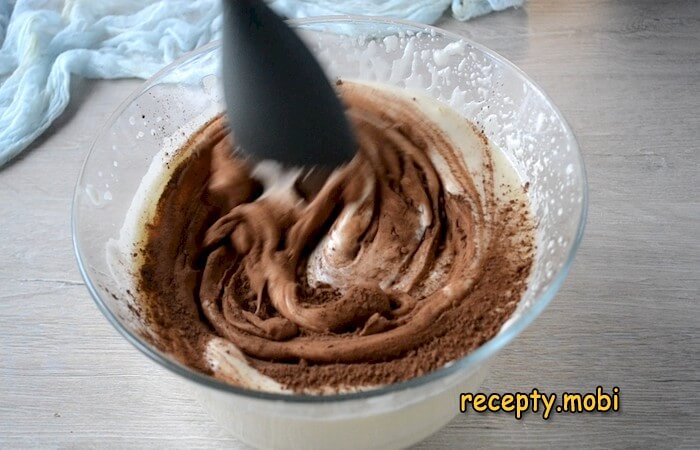
7. Add 1 tablespoon of cocoa powder to the whipped eggs and gently fold it in.
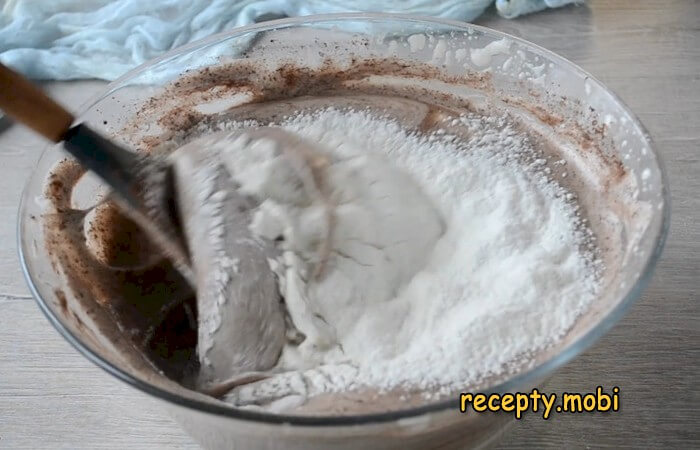
8. Then sift in 3 tablespoons of flour and fold it into the mixture.
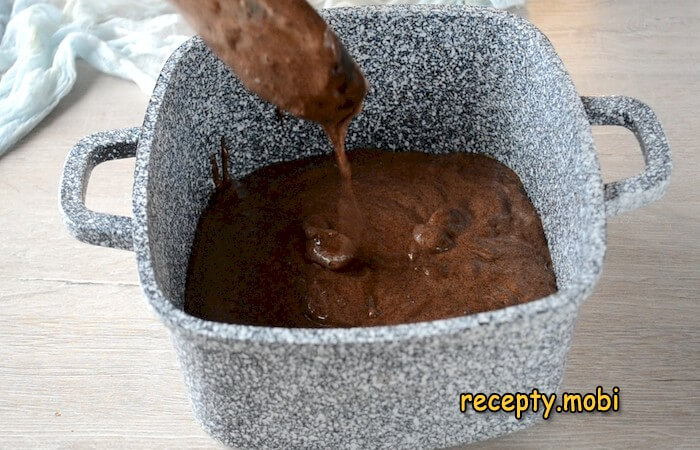
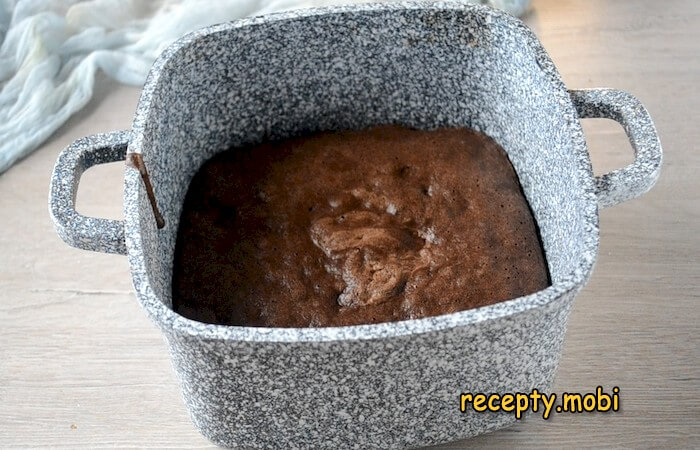
9. Pour the chocolate batter into a greased baking pan and bake in the oven, just like the first cake.
10. Let the chocolate sponge cool completely as well.
11. While the cakes are cooling, prepare the cream. Mix the sour cream with sugar and vanilla sugar, then beat until smooth. If the sour cream is too runny, add 1 teaspoon of thickener. However, the cream shouldn't be too thick as it needs to soak into the cake.

12. Prepare the chocolate glaze. You can use any method you like, or simply melt a bar of dark chocolate. For this version, mix 50 ml of water, 30 g of butter, and 50 g of sugar in a saucepan. Bring the mixture to a boil, then stir in 2 tablespoons of cocoa powder. Simmer on low heat for about 5 minutes. Remove from heat and let it cool. The glaze will thicken as it cools.

13. Once the cakes are cooled, cut each layer horizontally in half. The bottom half of the plain layer will be the base of your cake. If you baked the layers in a square pan, trim the corners to give the cake a rounded shape.
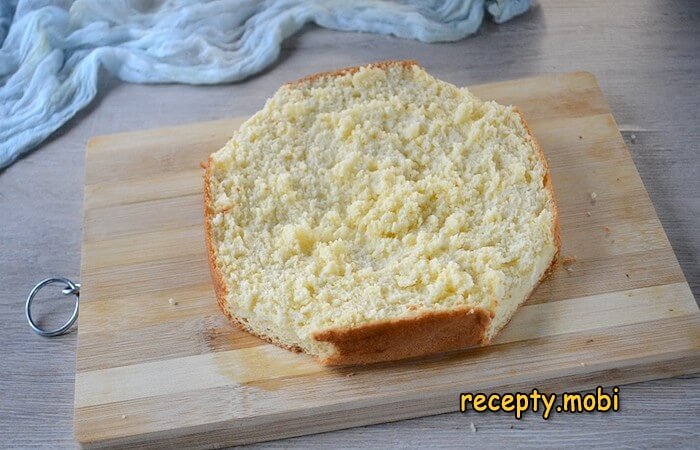
14. Cut one half of the plain cake and two halves of the chocolate cake into large cubes.
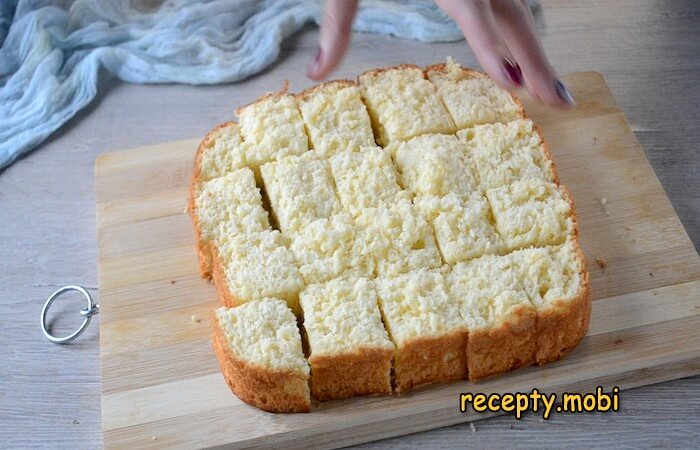
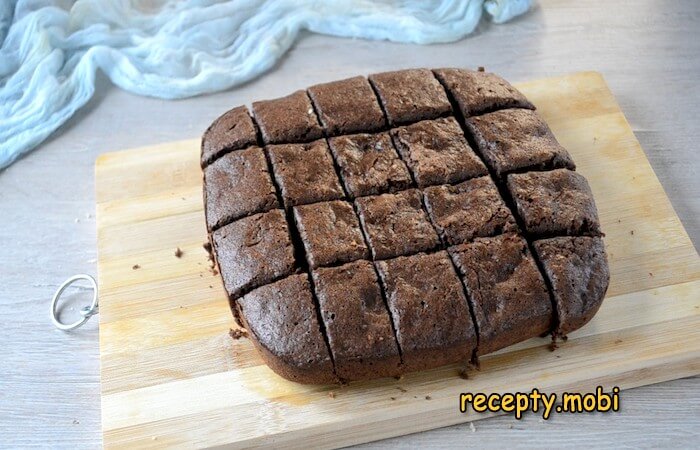
15. Spread the base of the cake with sour cream, then start layering the cubes of white and chocolate sponge, dipping each piece into the cream. Build a mound-like shape.
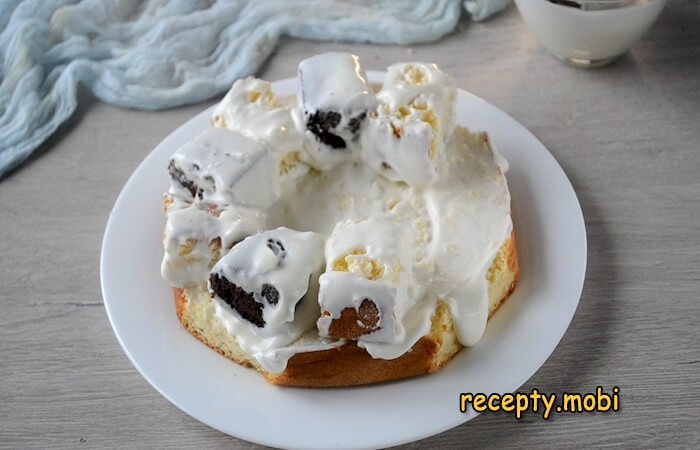
16. Cover the entire cake mound with the remaining sour cream.
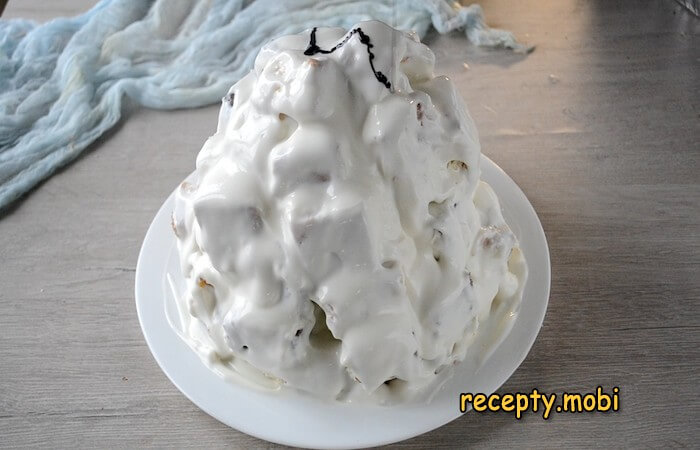
17. Pour the cooled chocolate glaze over the cake.

18. Sprinkle with crushed peanuts or walnuts.

19. The Count's Ruins Cake is ready! Let it sit for at least 2 hours to absorb the cream. Once it's well-soaked, it will slice neatly and won't fall apart. The cake will become soft, moist, and incredibly tender. A true delight! Enjoy!

Cooking video
