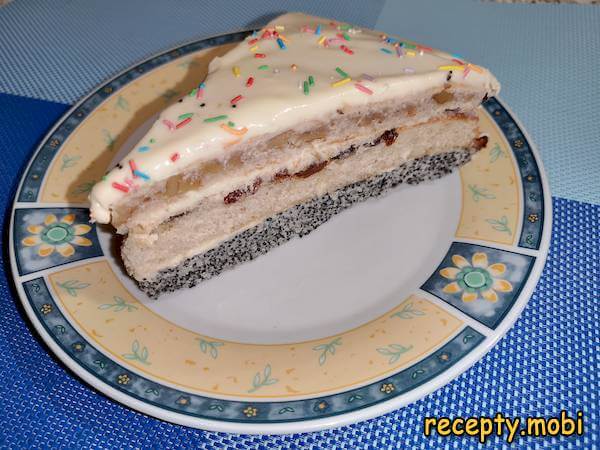
Natasha Cake Classic Recipe
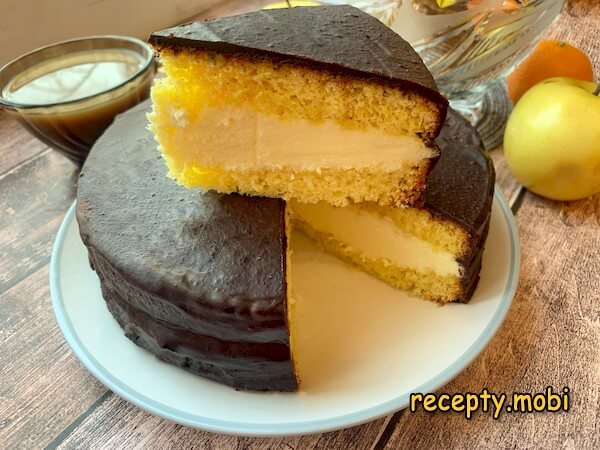
The classic recipe for the "Natasha" cake has been known since Soviet times. This cake can be served at a cozy family tea gathering or on any festive table.
Cooking time: 70 minutes.
Servings: 11.
Cuisine: Soviet.
Calories: 371 kcal per 100 grams.
Ingredients
For 1 layer (total of 3 layers):
- flour – 100 g;
- egg – 1 pcs;
- sour cream – 100 g;
- sugar – 100 g;
- baking soda – 1/2 tsp.
For the sponge fillings:
- walnuts - 50 g. (1st cake);
- confectionery poppy - 100 g. (2nd cake);
- raisins - 50 g. (3rd cake).
For the cream:
- condensed milk - 1 can;
butter - 200 g.
Other:
- vegetable oil for greasing the baking dish;
- confectionery topping.
Cooking
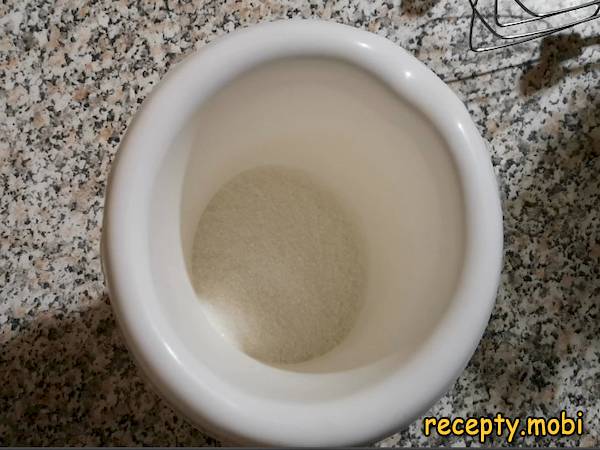
1. To make the sponge, pour 100 grams of sugar into a large mixing bowl.
2. Add 1 egg and beat the sugar and egg together with a mixer until well combined.
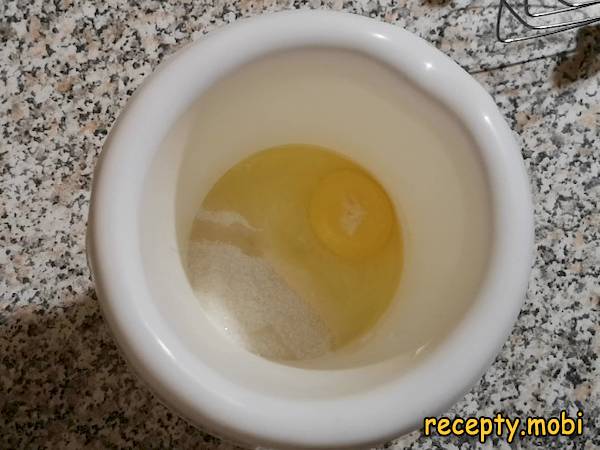
3. Using a mixer, beat the sugar with the egg well.
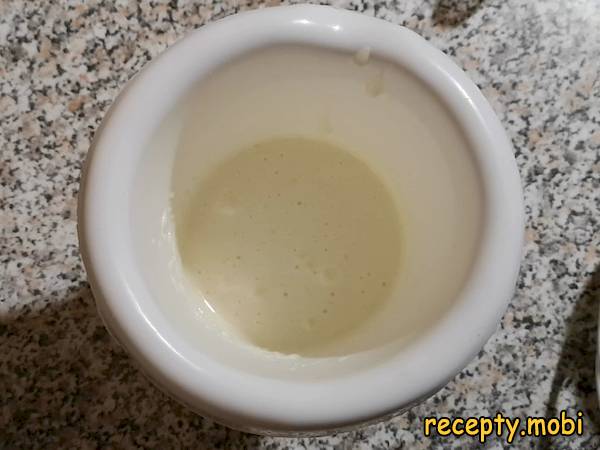
4. Add 100 grams of sour cream and mix thoroughly.
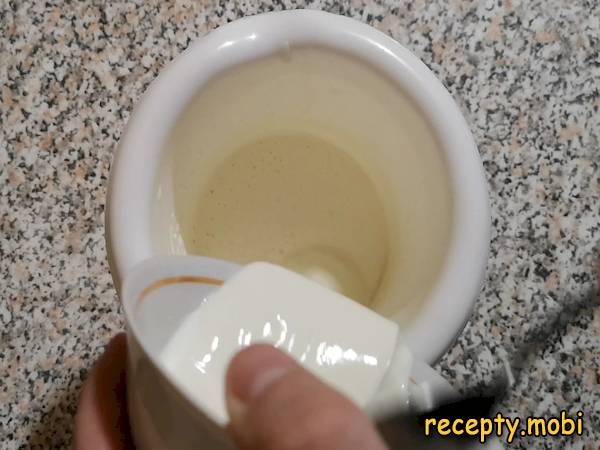
5. Add baking soda, extinguished with vinegar. To do this, mix half a teaspoon of baking soda with 1/2 tablespoon of vinegar.
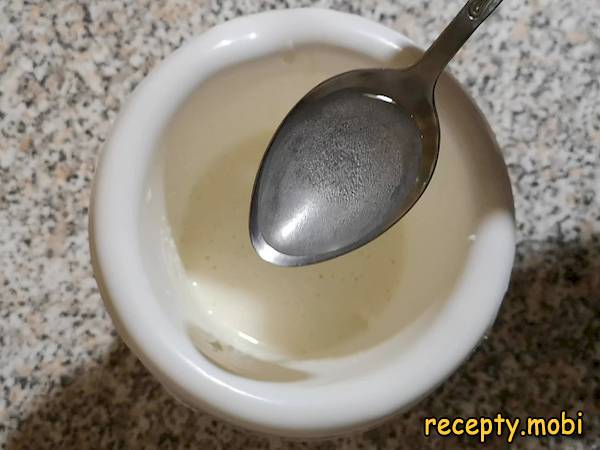
6. Gradually sift in 100 grams of flour and mix until smooth.
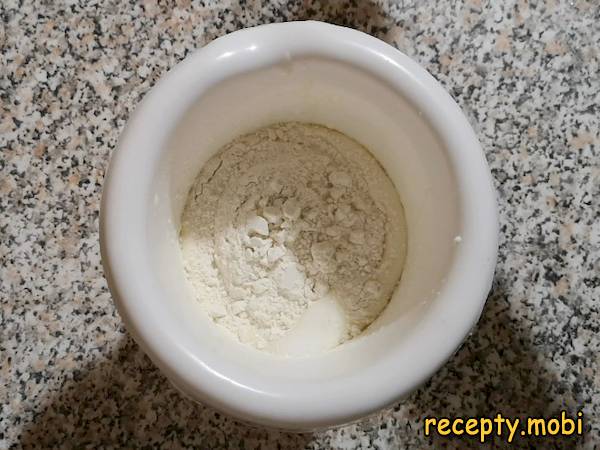
7. Finely chop 50 grams of walnuts using any convenient method.
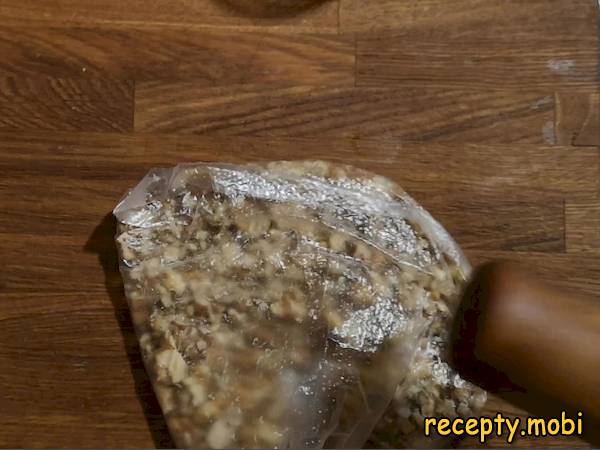
8. Add the walnuts to the mixture and stir well using the mixer. Prepare the other layers in the same way, but change the filling for each one (poppy seeds for one, raisins for another).
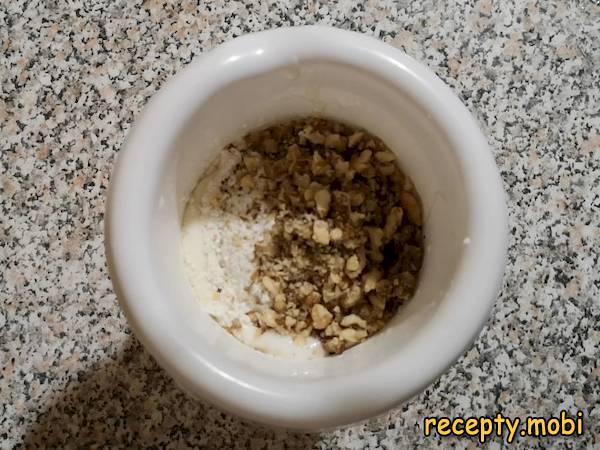
9. Grease the baking pan with vegetable oil.
10. Pour the prepared batter into the greased baking pan.
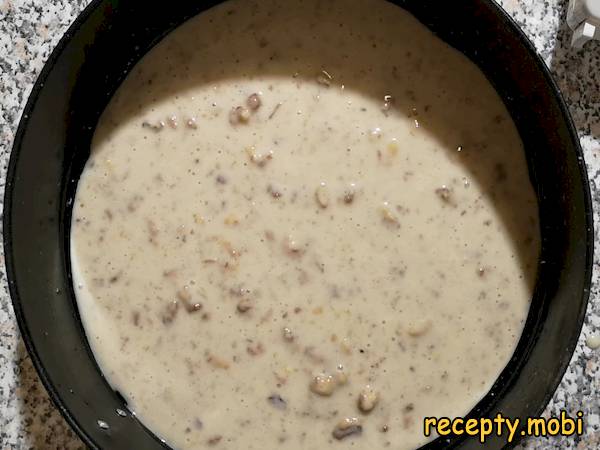
11. Bake in a preheated oven at 180°C (350°F) for 10-15 minutes. Check for doneness by inserting a toothpick into the center. If it comes out clean, the cake layer is ready.
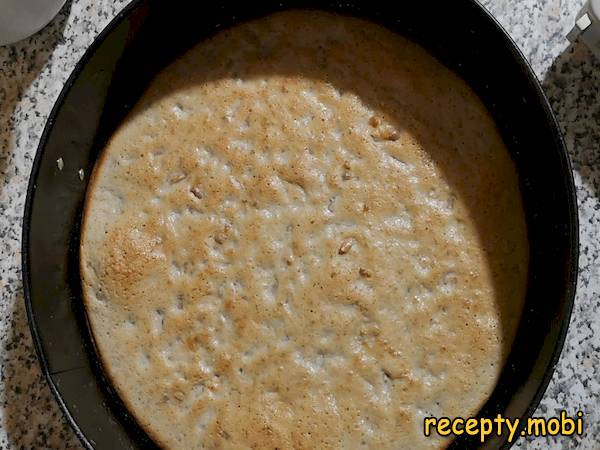
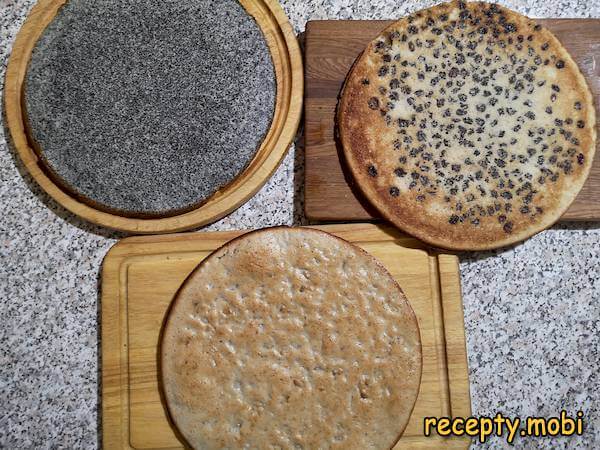
12. Repeat the same steps to make the remaining two layers. You will end up with three different layers: one with walnuts, one with raisins, and one with poppy seeds.
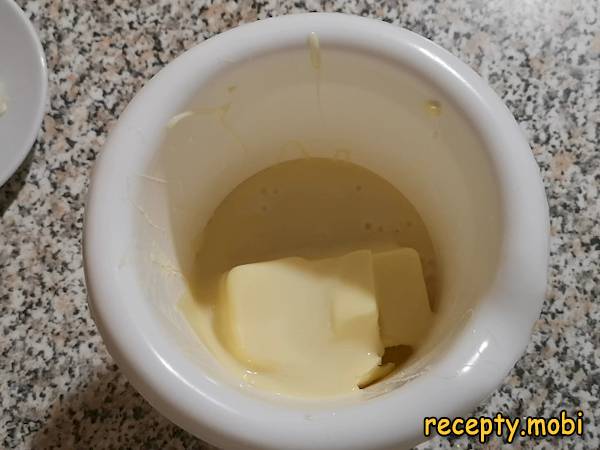
13. Prepare the cream: In a separate bowl, mix 1 can of sweetened condensed milk with softened butter.
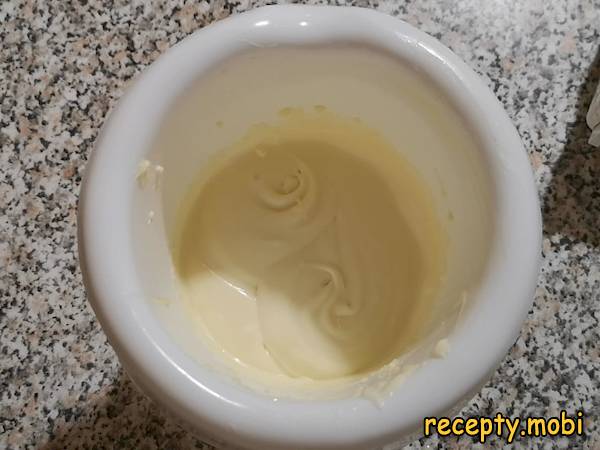
14. Whip the cream mixture with a mixer until smooth and fluffy. The cream is ready.
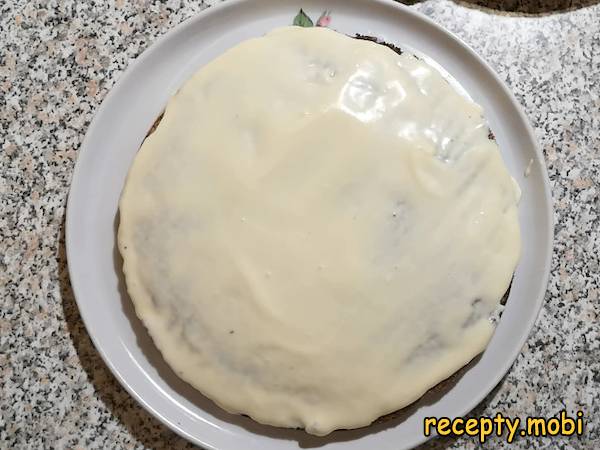
15. Once the cake layers have cooled, start assembling the cake. You can arrange the layers in any order. Place the first layer and spread it with the prepared cream.
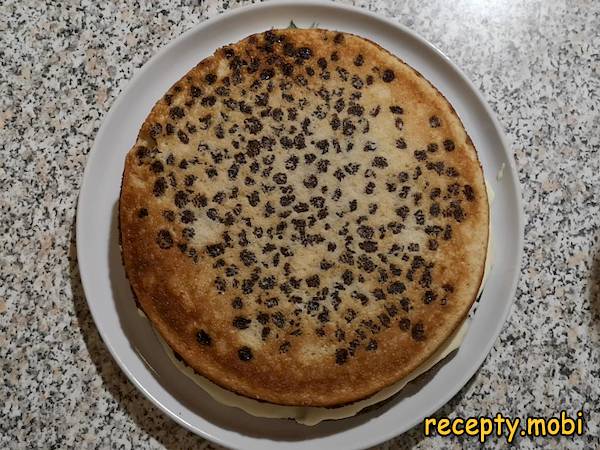
16. Add the second layer.
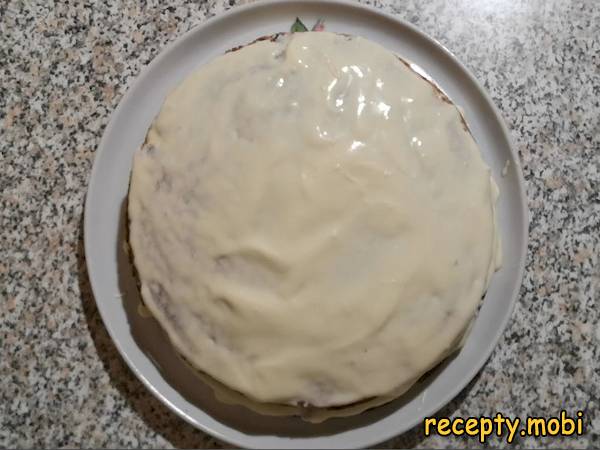
17. Spread the second layer with more cream.
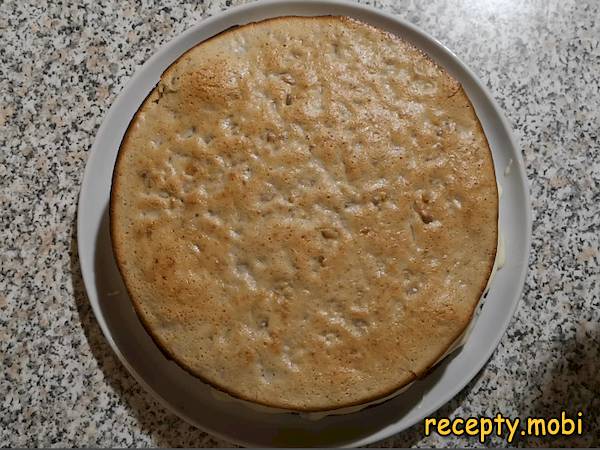
18. Add the third layer.
19. Coat the top of the cake with the remaining cream.
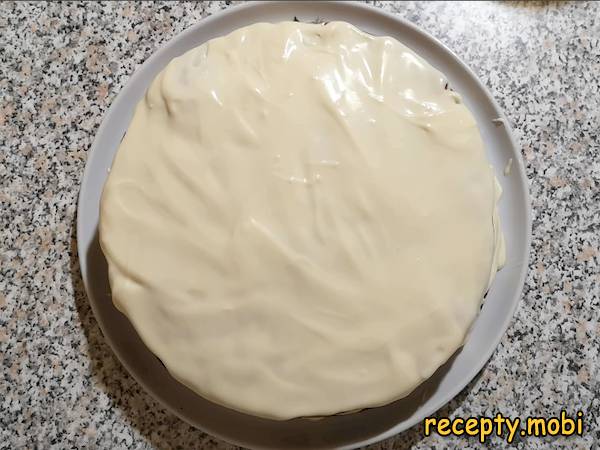
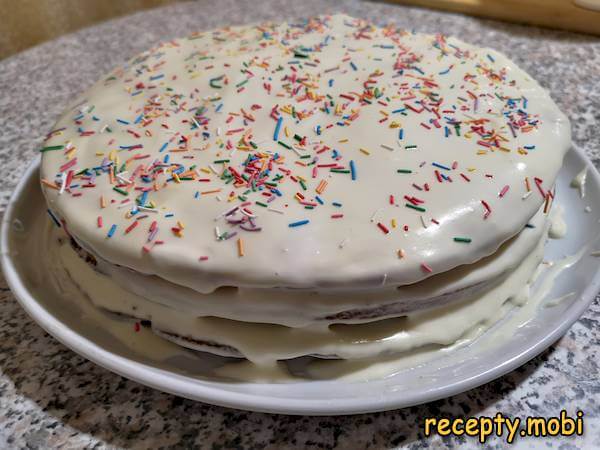
20. Once the "Natasha" cake is assembled, sprinkle the top with colorful sprinkles or any other decorative toppings of your choice. To allow the cake to soak and the flavors to meld, refrigerate it for several hours, or ideally overnight.
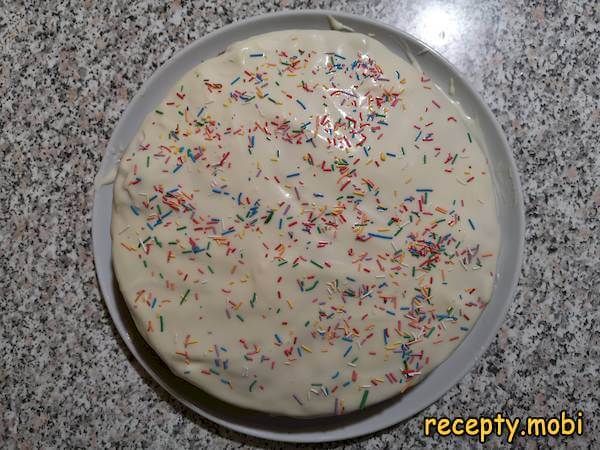
21. Slice the "Natasha" cake into portions and serve.

Enjoy preparing and savoring this classic "Natasha" cake recipe. Bon appétit!
Cooking video
