avg —
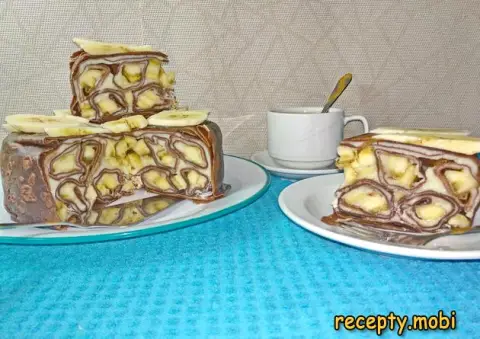
Mousse Cake "Three Chocolates"
Instructions
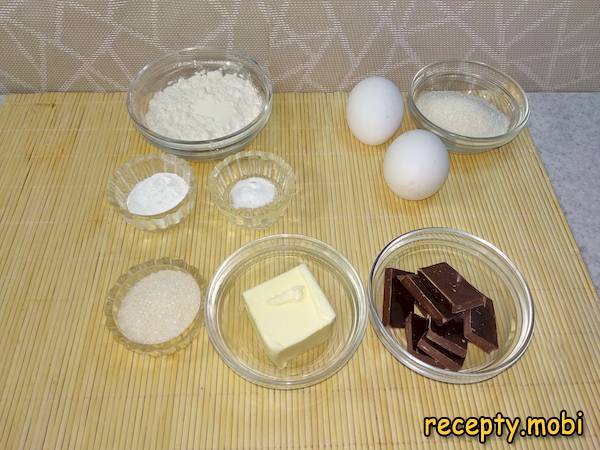
First of all, I bake the chocolate sponge. I gather the ingredients from the list. The eggs and butter should be at room temperature.
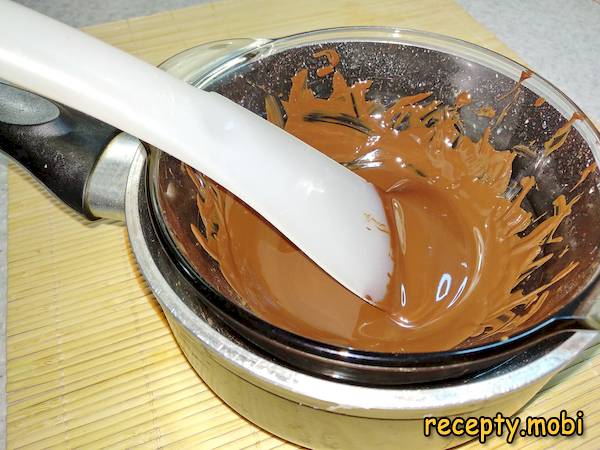
I melt the chocolate in a water bath or by any convenient method. I do not overheat it – dark chocolate quickly "burns" over high heat.
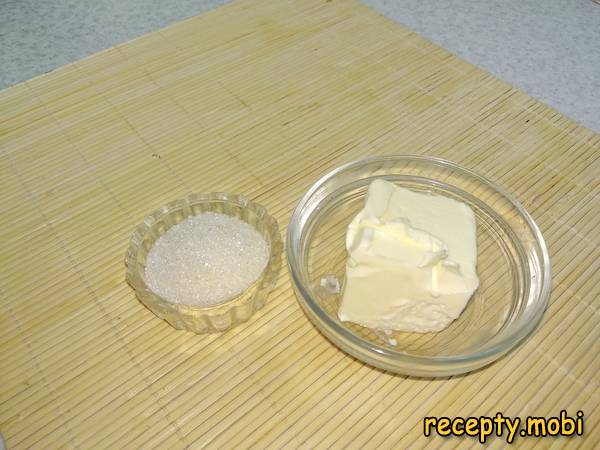
I put the sugar (25 g) and the softened butter into a large bowl and whip them. The mixture should turn pale and grow in volume – the "secret" to an airy sponge.
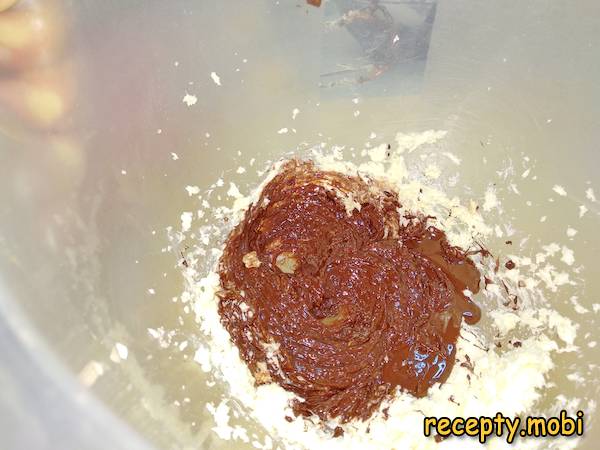
I add the melted chocolate to the bowl with the sugar and butter and mix until smooth.
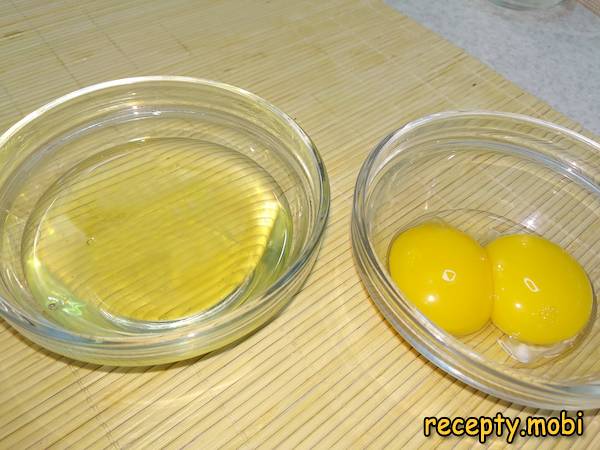
I separate the yolks from the whites. Carefully – even a drop of yolk in the whites will stop them from whipping into a foam.
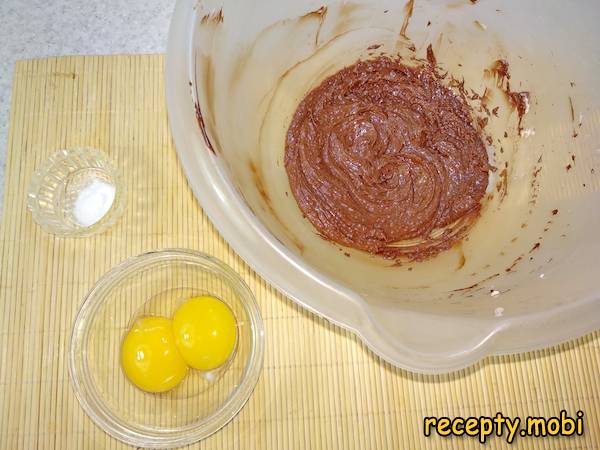
I add the yolks and the vanillin to the chocolate mixture and mix until smooth.
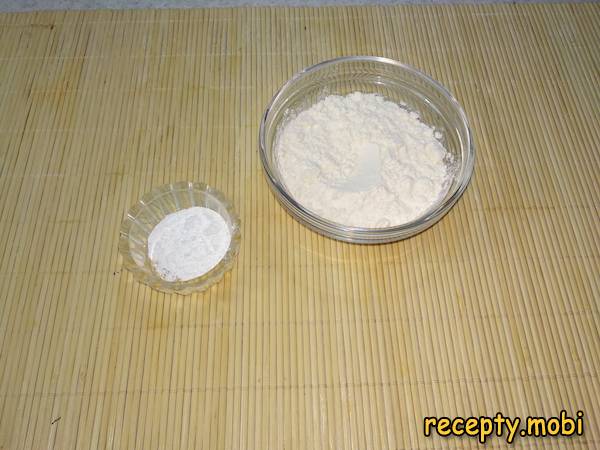
I add the baking powder to the flour. Mixing the dry ingredients is the "secret" to even distribution.
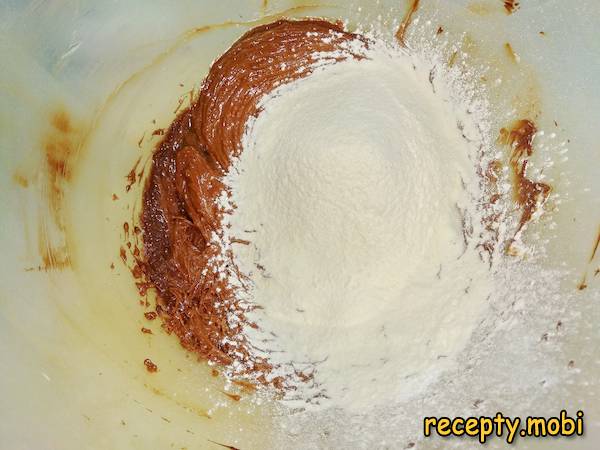
I sift the dry ingredients into the chocolate mixture. I mix with a mixer until smooth.
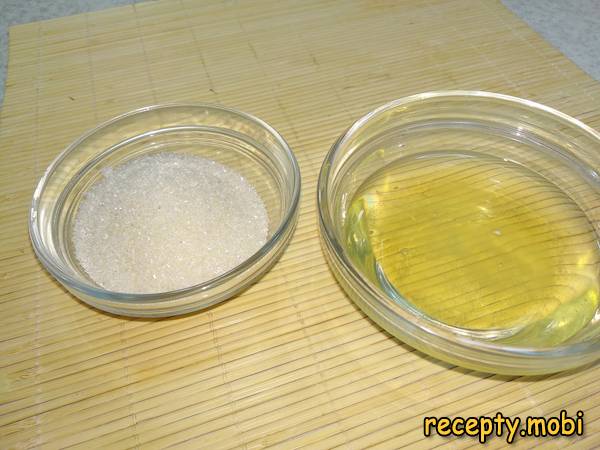
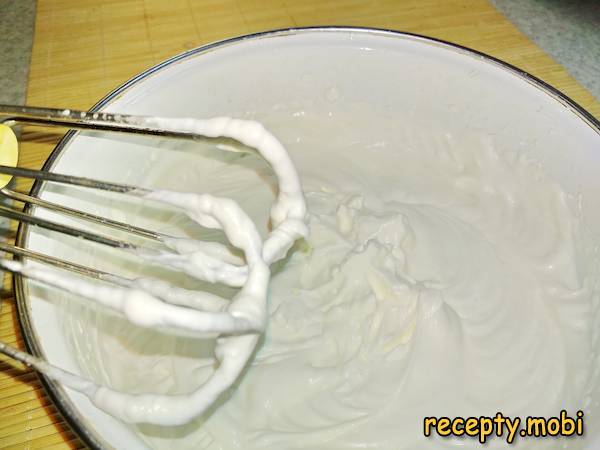
I whip the egg whites with sugar. I pour the whites into a clean bowl and whip them to "soft peaks". I gradually add the sugar without stopping, increasing the mixer speed.
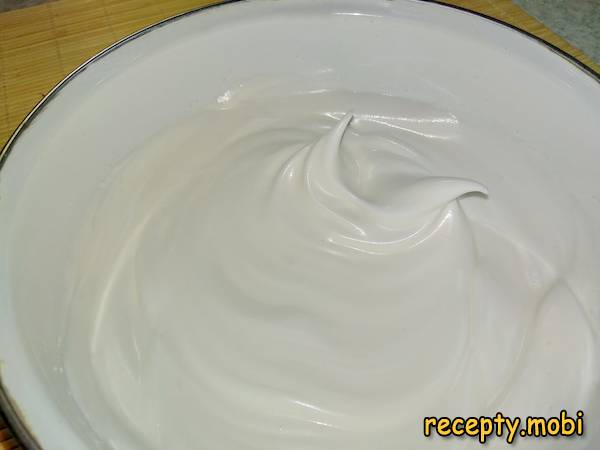
I whip the whites to "stiff peaks" – I check by turning the bowl upside down; the whites should stay inside.
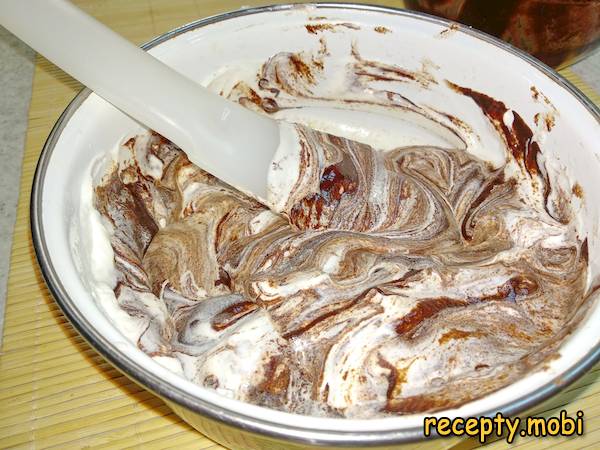
In 2-3 additions, I fold the whipped whites into the chocolate mixture. I stir gently so as not to disturb the airiness of the whites.

The chocolate batter is ready, and I prepare the form. The sponge is baked in a baking ring with a bottom formed from foil. I grease the bottom with butter and leave the sides ungreased.
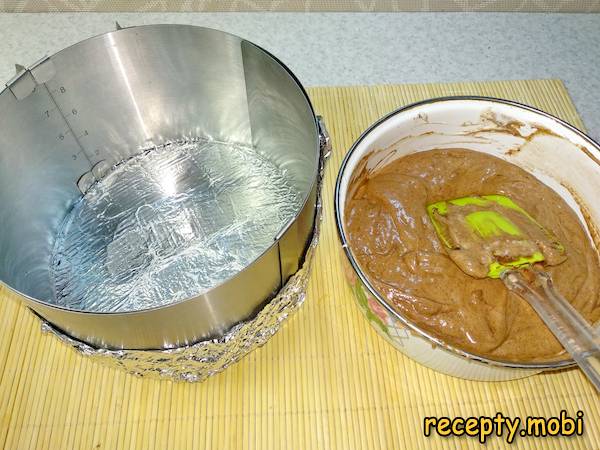
I transfer the batter into the form. I level the surface.
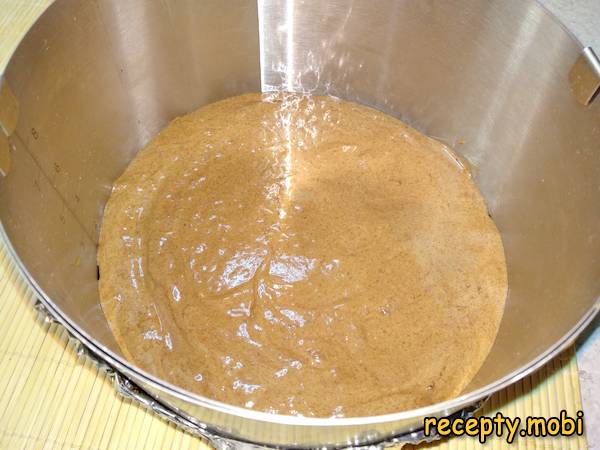
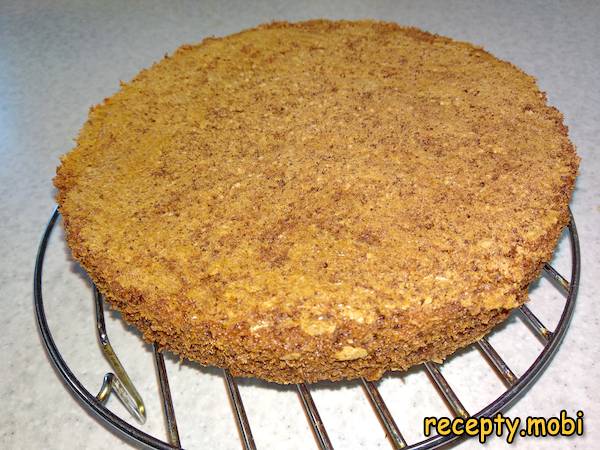
I bake the sponge at 160 °C for 30-35 minutes. The sponge should cool on a wire rack right in the form, then be removed.
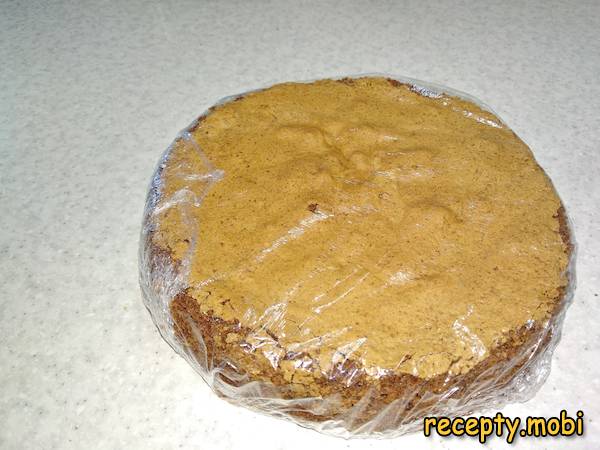
So that the moisture is evenly distributed in the cooled sponge, I wrap it in cling film and leave it like this for 6-8 hours.
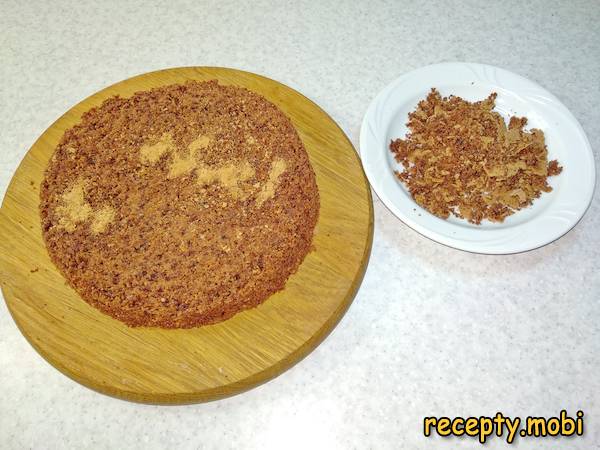
After this time, I unwrap the sponge from the film. With a thin knife I trim off the top crust and even out the sponge.
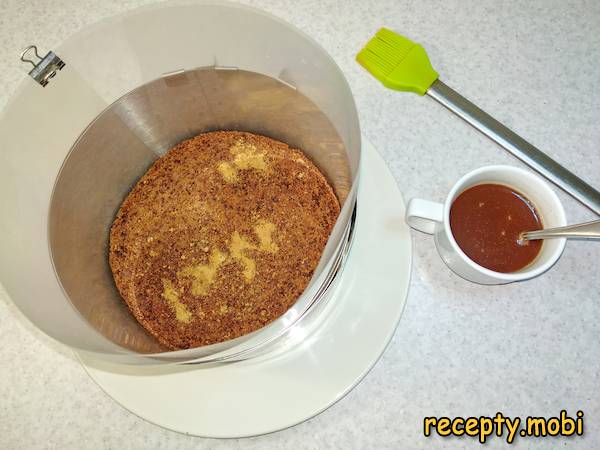
I set the baking ring on the serving plate. Along the inside edge I place a strip of acetate film. I put the sponge in the centre of the ring and clamp it tightly with the ring. I prepare 100 ml of cocoa. With a silicone brush I soak the sponge with the cocoa. I put the form with the sponge in the refrigerator for 20 minutes.
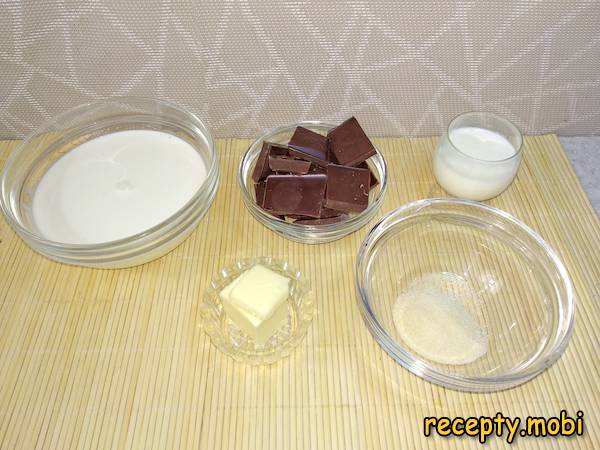
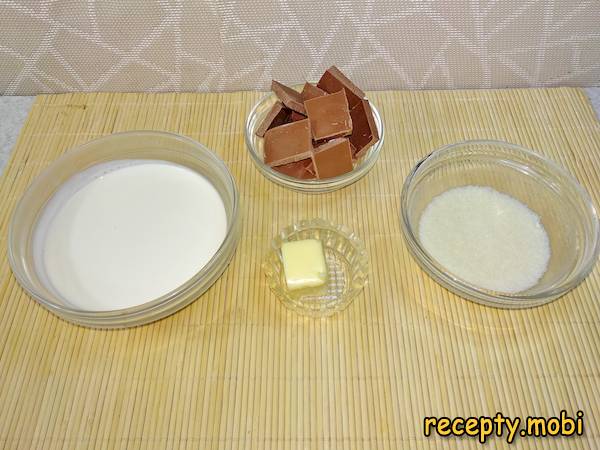
I move on to the chocolate layers. I prepare the ingredients for all kinds of mousse.

For the first mousse layer – the ingredients for the dark mousse. I pour milk over the gelatin and leave it to swell for 5-10 minutes. Meanwhile, I put the cream in the refrigerator.
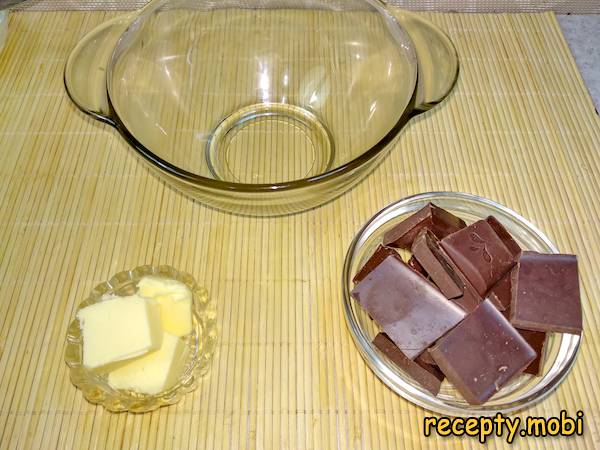
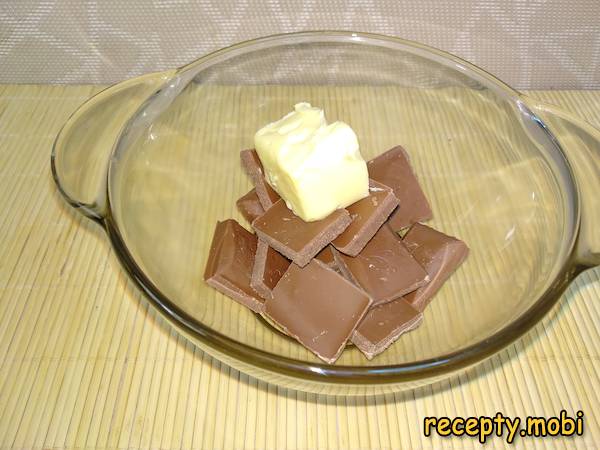
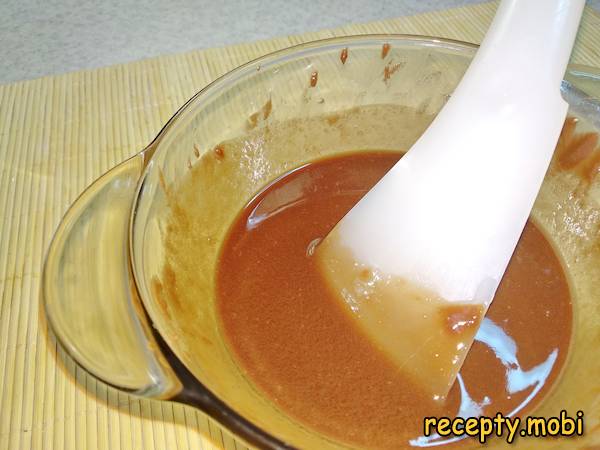
I put the chocolate and butter into a bowl and place it over a water bath to melt.
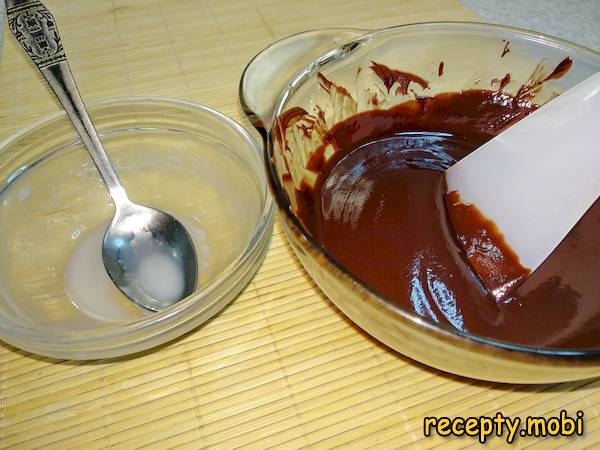
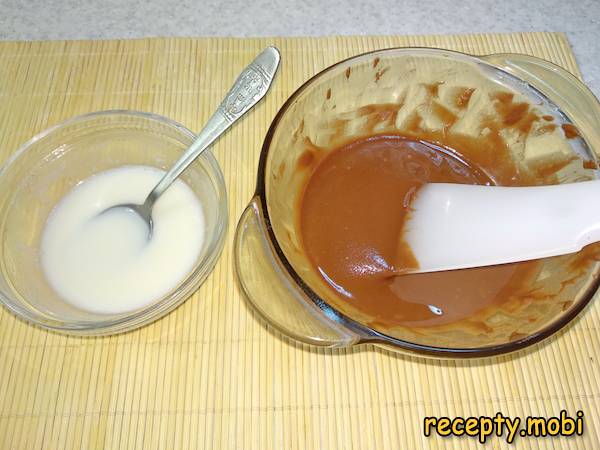
I melt the chocolate and butter and mix them into a uniform glossy mass. I also melt the swollen gelatin and mix it into the chocolate mass. I leave the prepared mass to cool slightly.
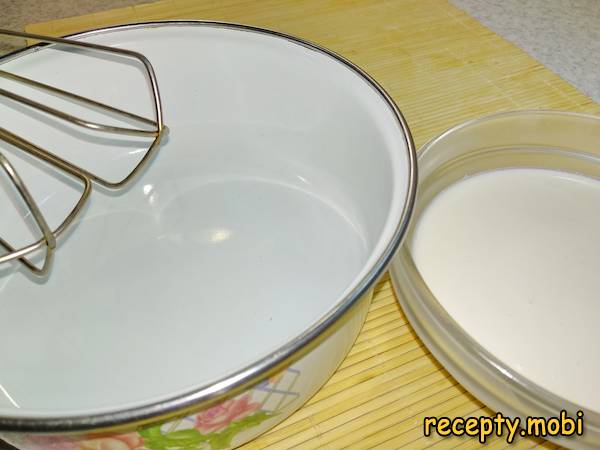
I take the cream out of the refrigerator. The bowl and whisk for whipping were also in the refrigerator – the "secret" to whipping cream well.
I whip the cream until stable.
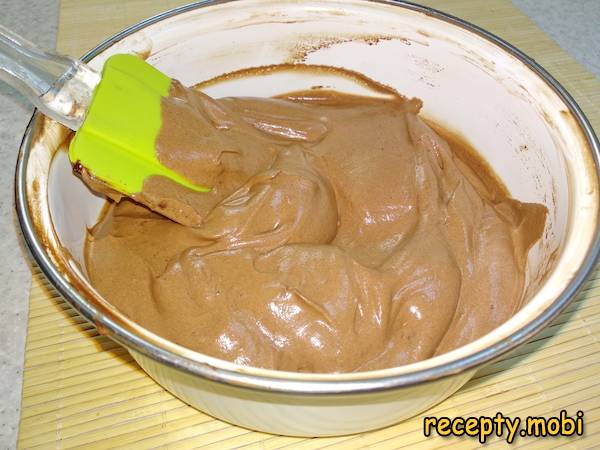
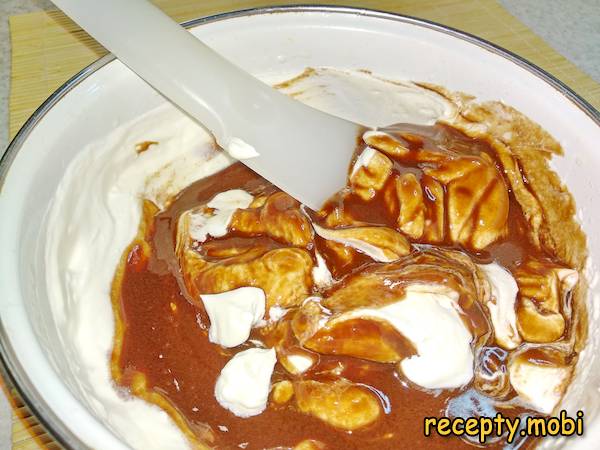
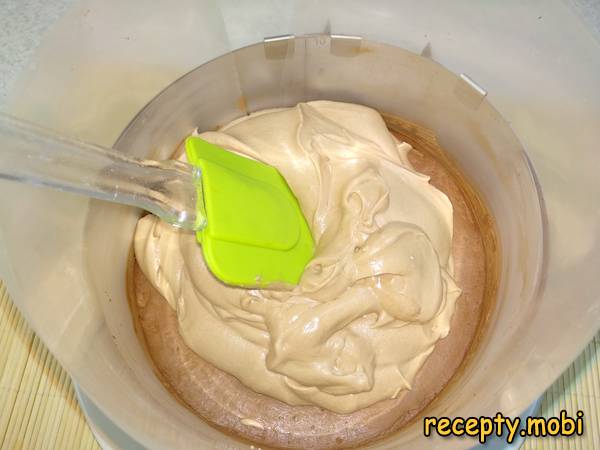
In several additions, I add the cream to the chocolate mass. I stir gently, keeping it airy.
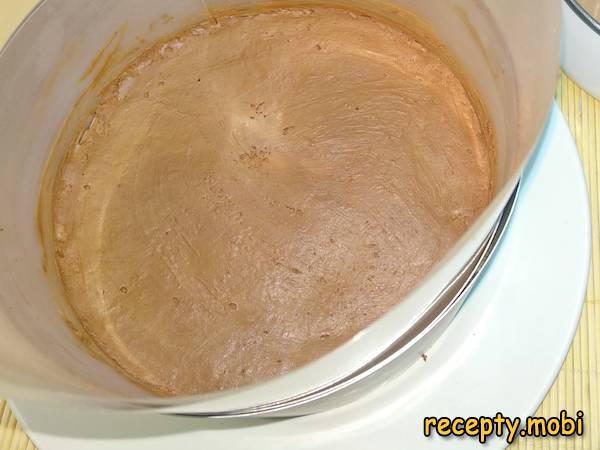
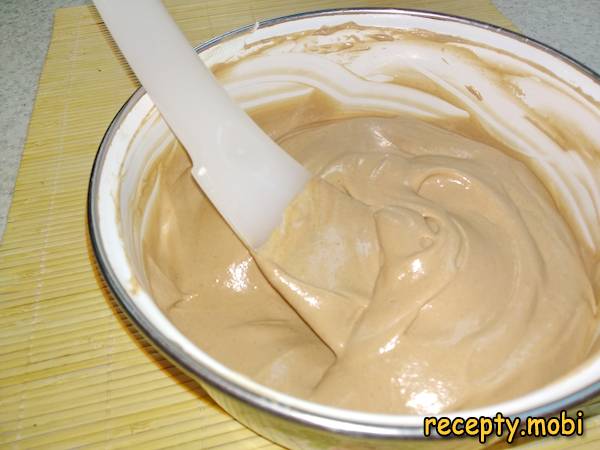
The result is a fragrant, airy, uniform mass – similar to melted ice cream.
I take the form with the sponge out of the refrigerator and add the chocolate mousse. The first layer is ready – I put it in the refrigerator to set for 20 minutes.
I make the second mousse from milk chocolate. The same ingredients, only the chocolate is milk chocolate. I pour milk over the gelatin and put the cream in the refrigerator.
I prepare the chocolate and butter for melting.
I melt the chocolate and mix it with the butter. I melt the gelatin too.
I mix the chocolate and gelatin until smooth.
I take the cream, bowl and whisk out of the refrigerator.
I whip the cream until stable. Gently, in several stages, I add the chocolate and stir.
A uniform mass has formed. The milk chocolate mousse is ready.
I take the form out of the refrigerator. I spread the milk chocolate mousse over the set dark chocolate layer. I level it and put it in the refrigerator for 20 minutes.
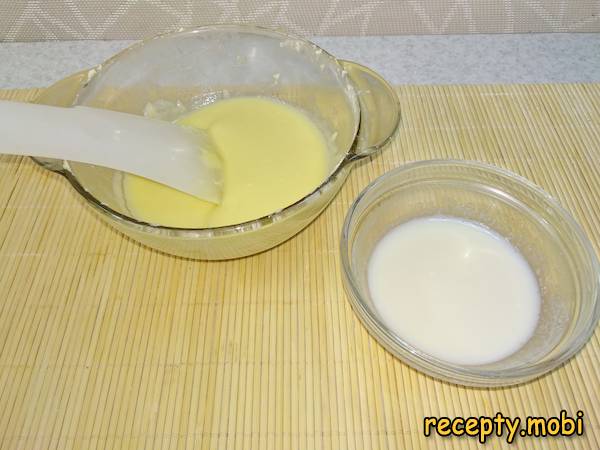
I make the white mousse. I take airy white chocolate and the same ingredients. I pour milk over the gelatin and put the cream in the refrigerator.

I melt the butter with the white chocolate. I melt the gelatin the same way.
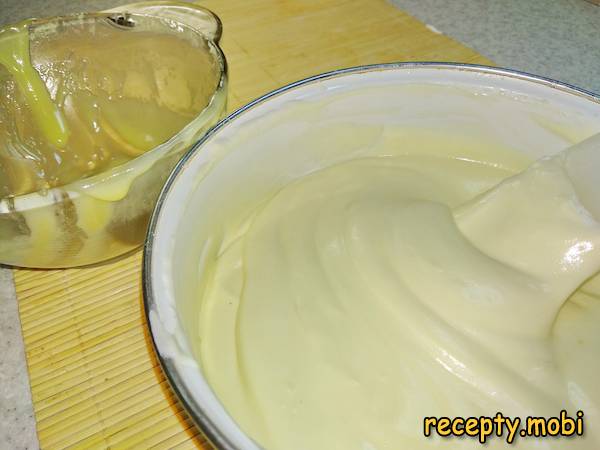
I pour the gelatin into the chocolate and stir thoroughly.

I take the cream, bowl and whisk out of the refrigerator. I whip the cream until thick and mix it with the prepared white chocolate and gelatin.
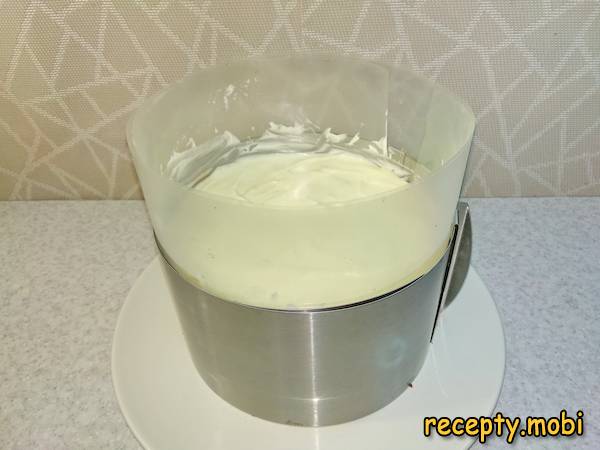
I transfer the white mousse into the form and level it.
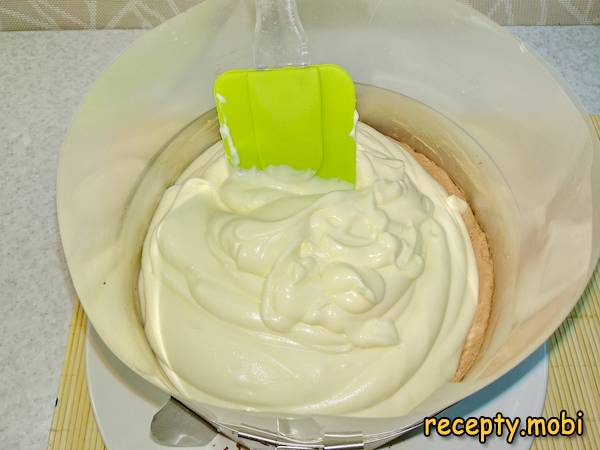
I put the cake in the refrigerator to set. This time the form stays in the refrigerator all night – all the layers must set well.
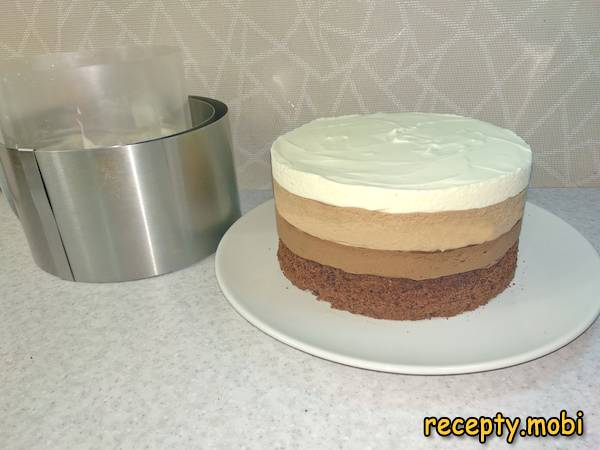
In the morning I take the cake out of the refrigerator and warm the baking ring with a hot towel. I remove the form and the acetate film. The result is a real "beauty".
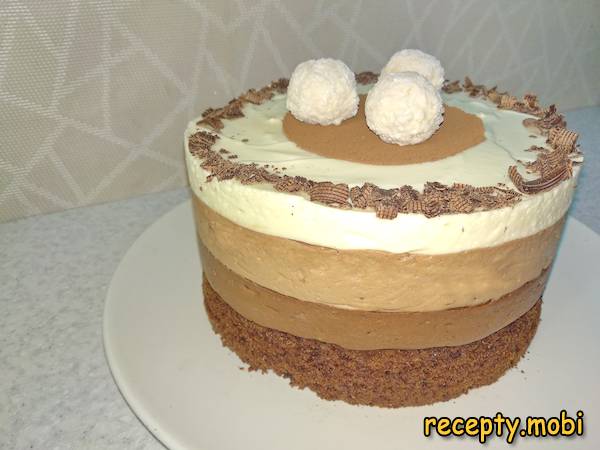
I decorate the cake as I like – cocoa powder, grated chocolate, "Raffaello" candies. It is best to cut it with a hot, dry knife – that way the layers do not get "crushed".


Tips
- 1
Be sure to chill the cream, bowl and whisk before whipping – the "secret" to properly whipped cream that does not separate.
- 2
Each mousse layer must set in the refrigerator for 20 minutes – otherwise the layers will mix together and you will not get the characteristic "three-colour" pattern in the cross-section.
- 3
Cut the cake with a hot, dry knife – the "secret" to neat, beautiful slices. I use a similar principle in other layered cakes.
- 4
Cream with 33-35% fat content is a must – a lower fat content will not whip into a stable foam.
Video
FAQ
Where can I buy acetate film? +
Acetate film is sold in specialist shops for confectioners (online – on marketplaces such as OZON, WB, AliExpress). It costs around 200-500 roubles per roll. You can replace it with: parchment paper (less neat along the edge), cling film (holds its shape poorly), or the sides of a springform pan. For a clean cut on a mousse cake, acetate film is the best option – it comes away from the sides of the cake without leaving marks.
Can I replace the gelatin with agar-agar? +
Yes, but the technique is slightly different. Agar requires boiling to activate, while gelatin only needs heating to 60-70 °C. Proportion: 1 tsp of gelatin (4 g) = 1/2 tsp of agar-agar. For each mousse, 4 g of gelatin = 2 g of agar. With agar the mousse will be more "springy", with gelatin – more "delicate". For a classic mousse cake I recommend gelatin – it gives the right "melting" texture.
How long does the mousse cake keep? +
In the refrigerator – up to 4 days in a closed container. It becomes denser with each day as the mousses "mature". You can freeze it for 1-2 months in portions (cutting it into pieces in film beforehand). Defrost it in the refrigerator for 4-6 hours. Freezing mousse cakes is normal practice in confectioneries; the texture barely changes. You can make it "in advance" for celebrations.
What can replace airy white chocolate? +
Ordinary white chocolate without pores – the taste is almost the same. The main condition is good-quality white chocolate based on cocoa butter, not a "confectionery bar" with palm fat. Brands: Milka, Ritter Sport, Lindt white, Kinder. For a budget option – "Alyonka" white. Cheap "white chocolate" made with palm fat will NOT melt properly and will ruin the mousse.
- Comment
or post as a guest
Be the first to comment.