avg —
Sorceress Cake
Instructions
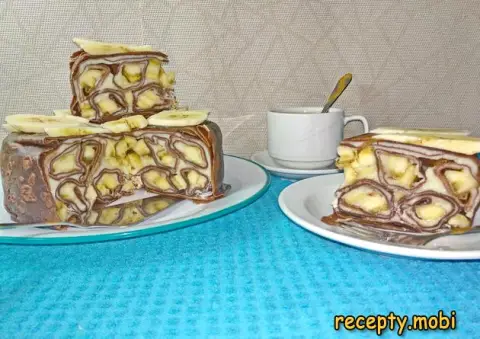
In a deep mixing bowl, break the 3 eggs and add the sugar. There's no need to separate the whites from the yolks in advance. Beat with a mixer until the mass turns a light shade. You can tell it's ready by the raised trail left by the egg-and-sugar mass as it drips from the beater.
Gradually add the flour, combined with the baking powder, to the whipped mixture. Fold the batter from the bottom up to keep the egg foam from settling prematurely.

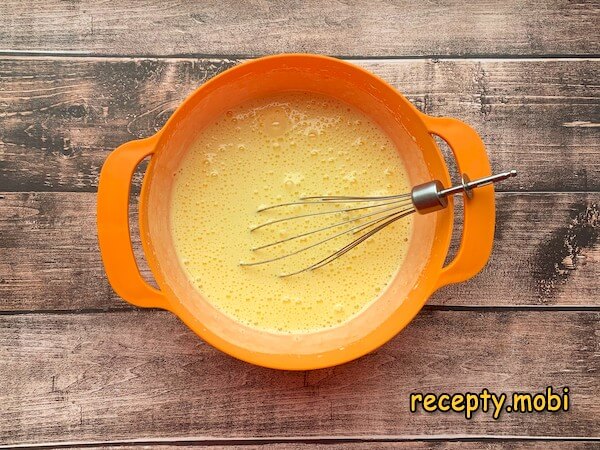
Line the bottom of the mold with parchment and pour in the batter. You can rotate the mold a few times so the sponge turns out even. Place it in a hot oven at 180 °C for 30-40 minutes. Check for doneness with a toothpick – if it comes out dry, the layer is ready. Cool the sponge slightly right in the mold, then release it and transfer it to a rack to cool completely.
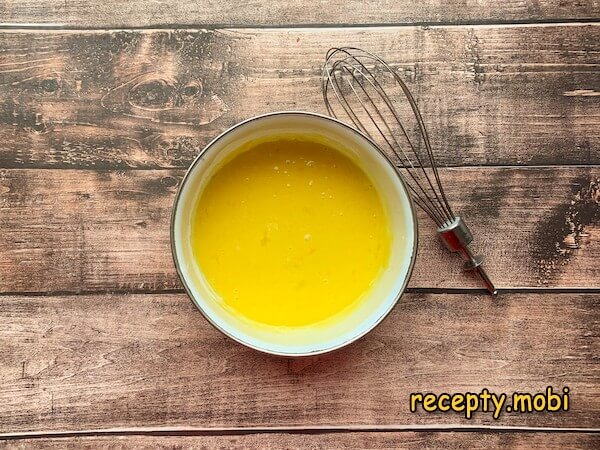
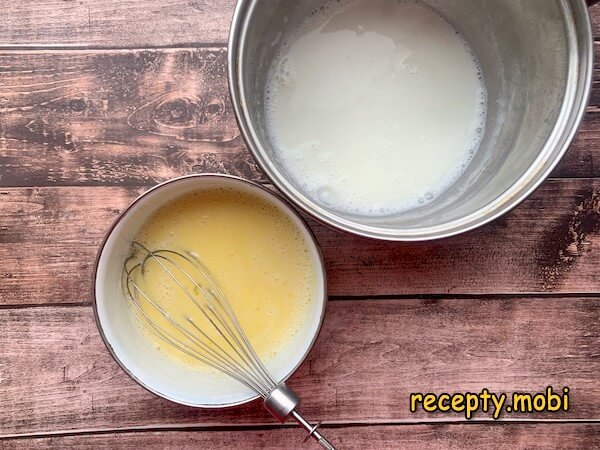
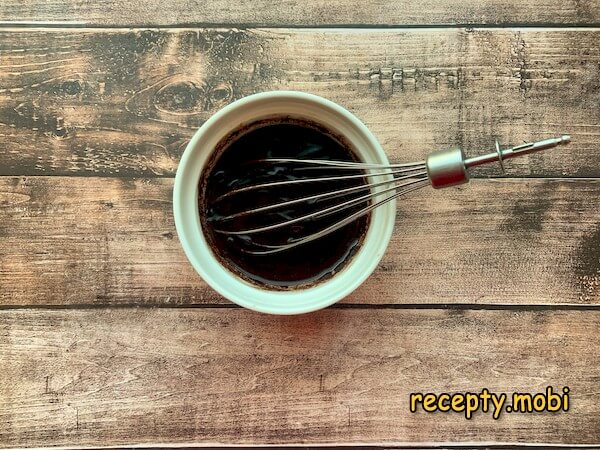
To save time, I move straight on to the custard. Combine the starch with half of all the sugar. If you have no corn starch, potato starch or plain flour will do. In another bowl, lightly beat the egg and add the sugar with the starch, whisking together. If it's too thick, add a little cold milk from the total amount.
Pour all the milk into a saucepan and add the remaining plain sugar, the vanilla sugar and the salt. Put it on the stove and wait for it to come to a boil, making sure the sugar crystals dissolve.

In a thin stream, pour part of the hot milk into the whipped egg mixture, stirring constantly. Then, stirring the remaining hot milk vigorously, pour the egg mixture back into it and put it on the heat.
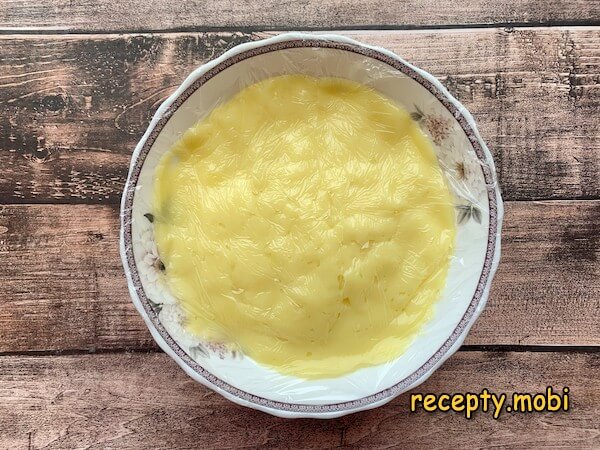
Cook the custard over low heat until it thickens, stirring constantly with a whisk. Once the custard has slightly "set", cook it for 1 more minute – so the starch cooks through and doesn't spoil the taste. Add 50 g of butter to the hot custard, let it melt and stir it in. Transfer the custard to a container, cover it with plastic wrap in tight contact and leave it to cool completely.
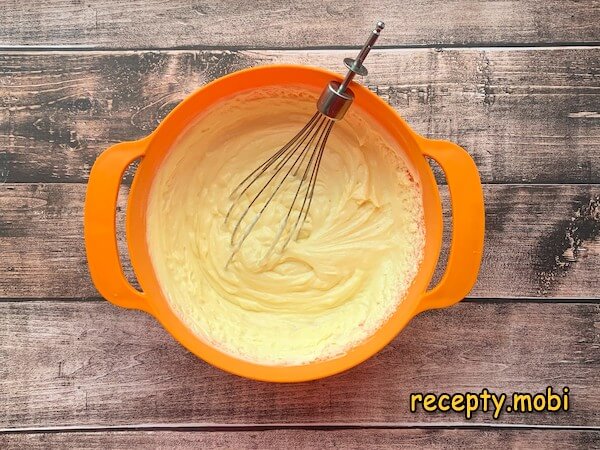
Beforehand, let the remaining butter soften well at room temperature. Whip it into a soft white foam for 4-5 minutes. Gradually, while continuing to work the mixer, add the cooled custard. For a quality, lump-free cream it's important to follow the rule of equal temperatures for both mixtures.
Now it's time to divide the sponge into layers. Ideally, you shouldn't touch the sponge for the first 3-4 hours after baking. So the layers don't turn out dry, I make a simple soaking syrup: 3 tbsp of water + 2 tbsp of sugar, boil for 2-3 minutes, then cool. This gives a sugar syrup. You can add 1 tbsp of cognac.
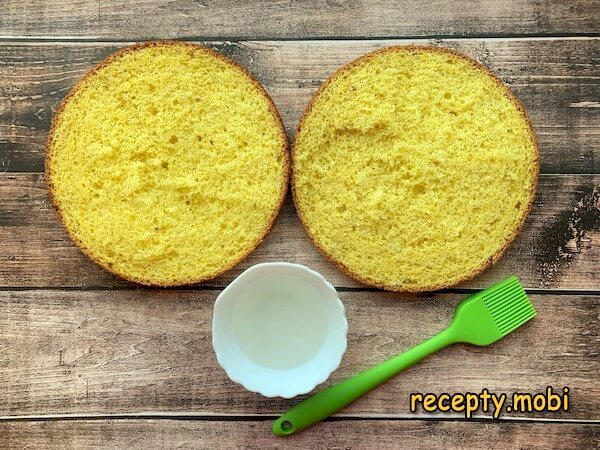
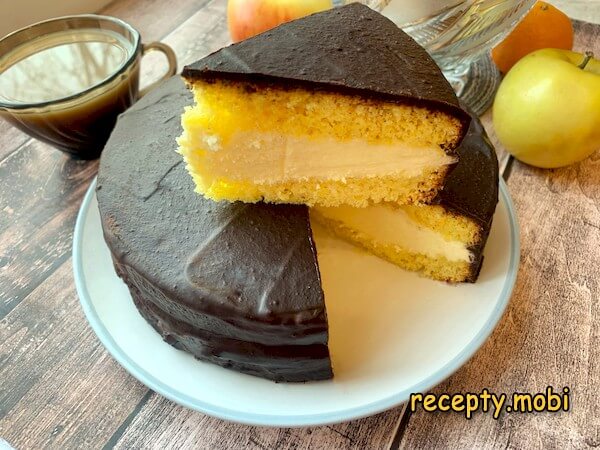
On the bottom of the dish, I place the top layer – it usually stays not perfectly even. Soak the layer with syrup (to your taste). Transfer all the cream onto the bottom layer, spreading it evenly. Soak the other layer too and set it on the first one with the cream, assembling the cake. Put it in the fridge for a few minutes.

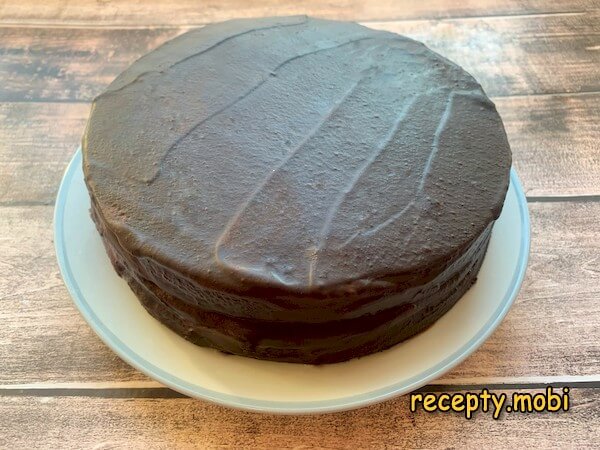
Cover the cake with chocolate glaze. In a bowl, combine the chocolate with the butter and carefully melt them over a water bath (or, failing that, in the microwave). With the microwave, stir every few seconds so you don't overheat the chocolate. If the glaze is thick, thin it with heavy cream.
Pour the warm glaze over the top of the cake and level it with a pastry or ordinary spatula. Put it in the fridge to stabilize for 5-6 hours.
The "Sorceress" cake is ready – all that's left is to cut it correctly. The set chocolate can crack under the knife. To avoid this, heat the knife in hot water and score notches in the glaze, then cut the cake into portions. A simple but incredibly tasty Soviet dessert!


Tips
- 1
DON'T TOUCH THE SPONGE FOR 3-4 HOURS after baking – better a full day. A "matured" sponge cuts evenly, doesn't crumble and holds its shape.
- 2
THE CREAM AND BUTTER SHOULD BE THE SAME TEMPERATURE. Cold cream + warm butter = lumps. Both mixtures should be at room temperature.
- 3
STABILIZE FOR AT LEAST 5-6 HOURS – the cream will set, the layers will soak through and the structure will become perfect. Best of all, leave it overnight.
- 4
A HOT KNIFE for cutting – the chocolate glaze won't crack. The same principle works with other cakes with chocolate glaze.
FAQ
What can replace corn starch? +
Alternatives: potato starch (the classic Soviet choice, giving a more "jelly-like" texture), plain wheat flour (it cooks longer, and you need 25 g instead of 20 g of starch), rice flour (a gluten-free option, more delicate), tapioca starch (premium, with a "glassy" texture). Modified starch (E1404-E1413) – don't use it, it works worse in creams. Corn starch is the "golden mean": neutral taste, it thickens well and doesn't give a "sticky" structure. Ready-made custard mix can be used as a "quick option", but homemade tastes better.
Which chocolate for the glaze? +
The best choice is dark chocolate with 70-75 % cocoa. It is slightly bitter, but combined with the sweet cream it gives balance. Milk chocolate (30-40 %) is for children, but too sweet. White chocolate is a separate "variation" – it won't be a "Sorceress" cake. Check the composition: cocoa butter at the start of the list, with no vegetable fats or substitutes. For "shine", add 1 tbsp of heavy cream to the glaze. A "confectionery bar" is cheaper, but its taste and appearance are worse than chocolate. Avoid "Easter cake" glaze – it has nothing in common with a quality glaze.
How long does the cake keep? +
In the fridge under wrap or in a cake box – up to 3 days. On the 2nd-3rd day the flavor is brighter, as the cream soaks the sponge completely. I don't recommend longer than 3 days – a cream with egg and milk doesn't like long storage. In the freezer – up to 2 weeks, but thawing can spoil the glaze (it will turn "cloudy"). The best way to store it is in an airtight container away from light. Before serving, take it out 20-30 minutes ahead so the cream softens. If you serve it straight from the fridge, the butter cream will be hard, like "set butter", and the taste dull.
What to serve with the cake? +
A classic of the Soviet tea ritual: with black or green tea, espresso coffee, hot cocoa. With a glass of champagne or sparkling wine – a festive serving. With fruit compote or kissel – a children's option. Decorate the top with berries (strawberries, cherries, raspberries), fruit slices or candied fruit. For a "festive" serving – with a scoop of vanilla ice cream and a sprig of mint. A New Year version – sprinkle with chocolate shavings or white "snow" of icing sugar. It suits any celebration: a birthday, an anniversary, New Year, Easter. Individual pieces are 100-120 g (the cake is filling).
- Comment
or post as a guest
Be the first to comment.