
avg —
Ossetian pie with cheese and potatoes
Instructions
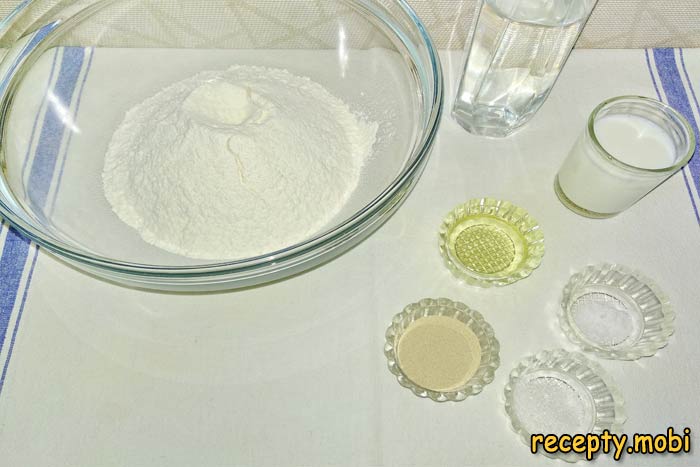
First I prepare all the ingredients for the dough on the work surface. The liquids (70 ml milk and 200 ml water) I warm to a warm 36–38°C – this temperature activates the yeast best. Cold liquids will "kill" the yeast, and so will hot ones above 50°C. The flour (300 g) I always sift through a sieve – it saturates it with oxygen and the dough turns out airier.
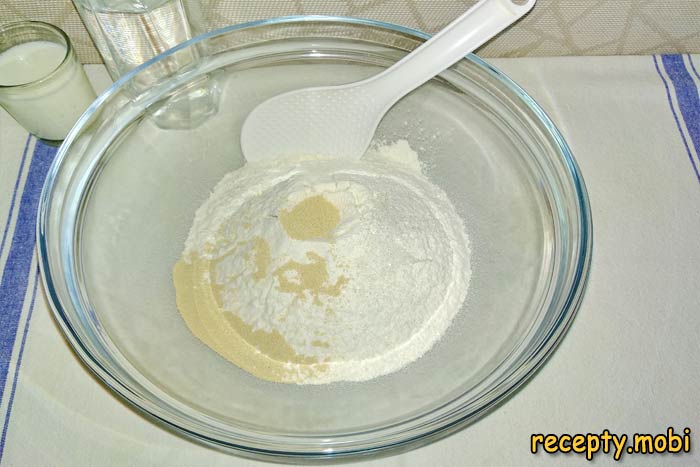
Into a large bowl I tip the sifted flour and add the dry yeast (1 tsp), the sugar (⅔ tsp) and a pinch of salt. I mix the dry ingredients well with a whisk – the sugar "feeds" the yeast and activates it, while the salt regulates fermentation. Do not pour the salt straight onto the yeast – it will "kill" it.
I make a well in the centre of the flour and pour in the warm milk (70 ml) and part of the water (150 ml of the 200 ml). I add the water gradually – flour varies in how much liquid it absorbs, so I do not pour it all in at once. I mix the dough with a spoon, working in circular movements from the centre out to the edges.
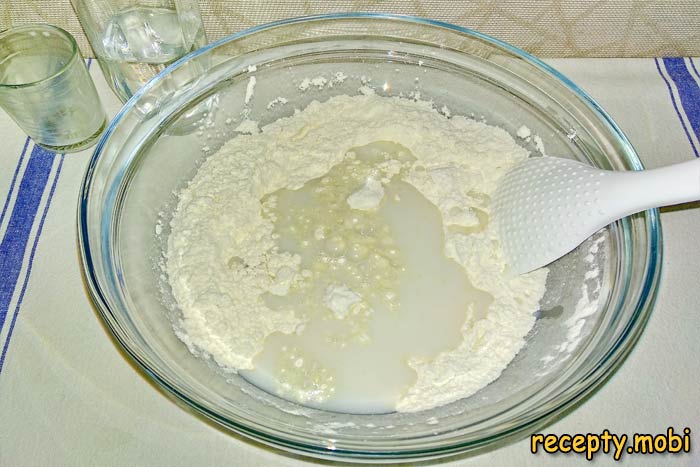
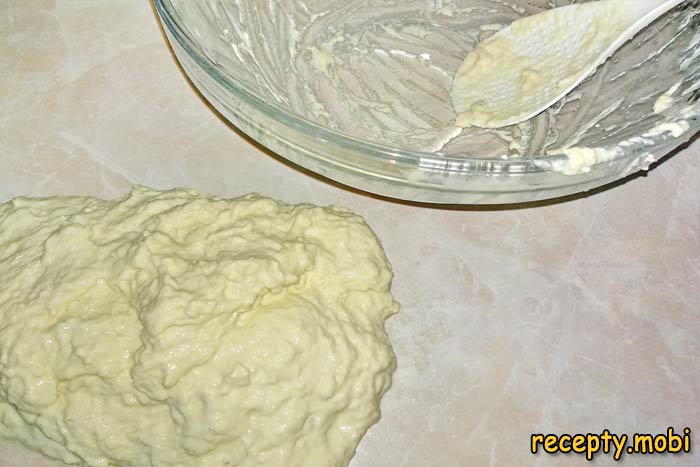
Once the dough comes together into a lump, I add the vegetable oil (3 tbsp) and, if needed, the rest of the water, until it reaches the consistency of "thick sour cream". The dough should stick to your hands – that is exactly how it should be for an Ossetian pie. Dough that is too stiff will not stretch into a thin layer over the filling.
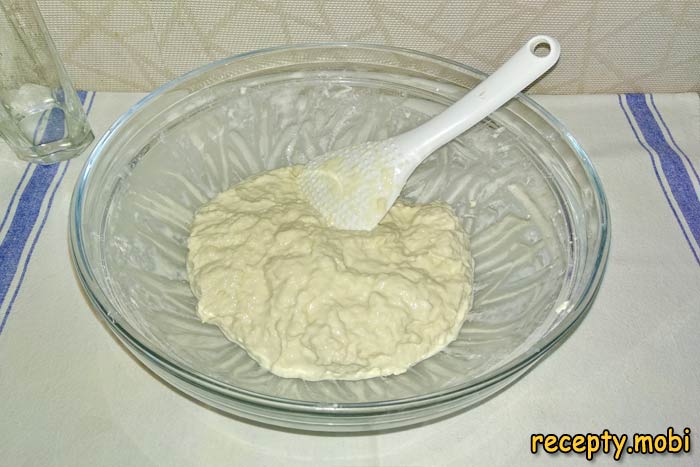
I grease the work surface and my hands with vegetable oil, turn out the dough and knead it for 7–10 minutes. As needed, I re-grease my hands and the surface with oil. After 10 minutes the dough becomes elastic and springy – it will roll "alive" from hand to hand. This is a sign of good gluten.
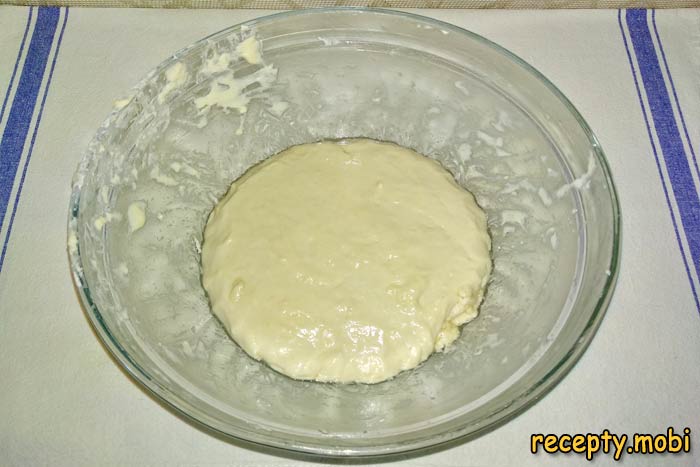
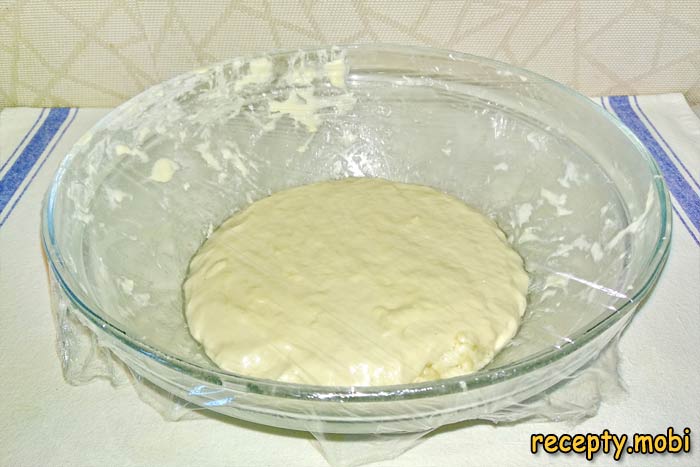
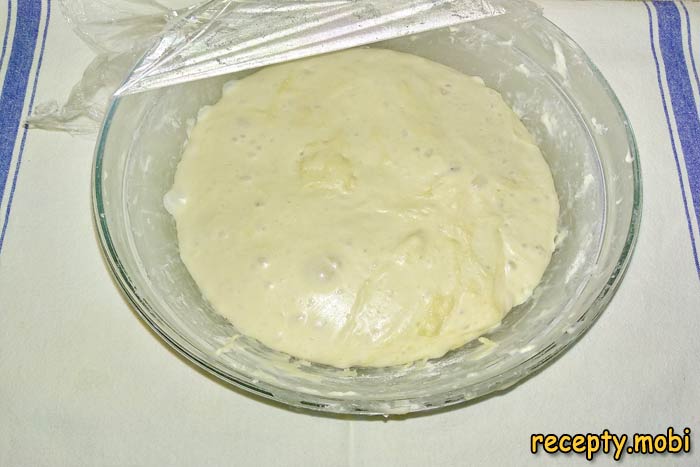
I grease a bowl with oil, shape the dough into a ball, place it in the bowl and grease the top with oil too. I cover the bowl with cling film and put it in a warm place with no draughts for 1 hour. I use the microwave, warmed for 1 minute beforehand while empty (heating only the air!) – it gives an even warmth of 30–35°C, ideal for proving.
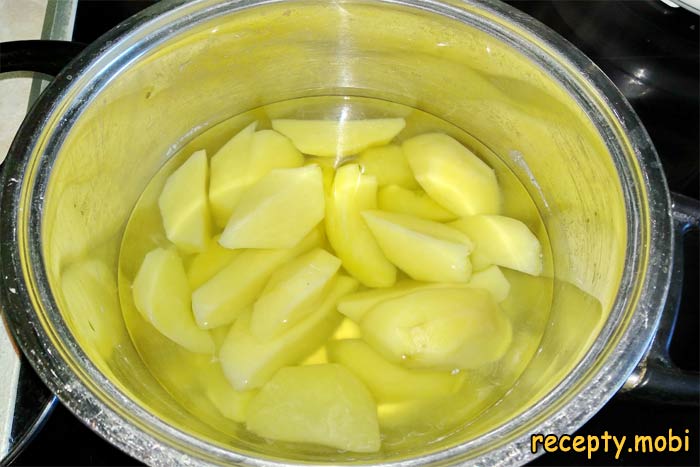
After 30–40 minutes I gently punch the dough down by hand – it releases the carbon dioxide, and the second rise gives an airier structure. While the dough rises I prepare the filling: I peel the potatoes (300 g), cut them into 4–8 pieces and boil them in salted water for 15–20 minutes until fully soft. Then I mash them with a potato masher.
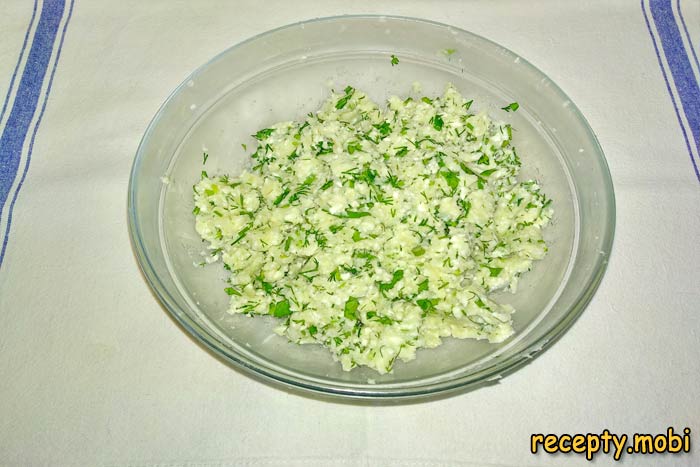
I grate the Adyghe cheese (300 g) on a coarse grater or crumble it by hand – "merchant-sized" pieces in the filling taste better than fine shavings. I finely chop the dill and cilantro (100 g) with a knife – cilantro gives the "Ossetian" character, dill the freshness. You can add spring onion for a bit of bite.
Into a bowl I put the mashed potato, the grated cheese and the herbs. I mix everything well by hand until smooth – the consistency should be a firm mass that is easy to roll into a ball. I add salt to taste (Adyghe cheese is already salty – taste it first). I shape the filling into a ball equal in weight to the ball of dough (about 400 g each).
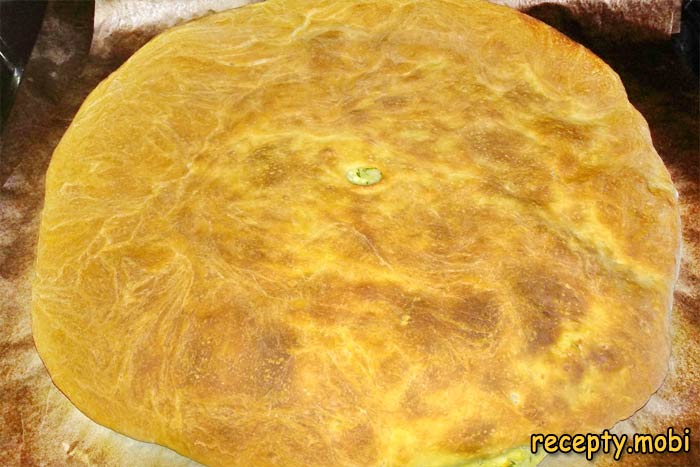
On greased parchment I place the ball of dough and stretch it by hand into a circle 25 cm across. I make the edges thinner than the centre – so that after gathering them up the thickness will be even. In the centre I put the ball of filling and carefully gather the edges of the dough up over it, sealing it into a "giant khinkali". Then I gently stretch the ball by hand into a flat round the size of the baking tray (28–30 cm). In the centre I make a hole 1–2 cm wide for the steam to escape – without it the pie will burst.
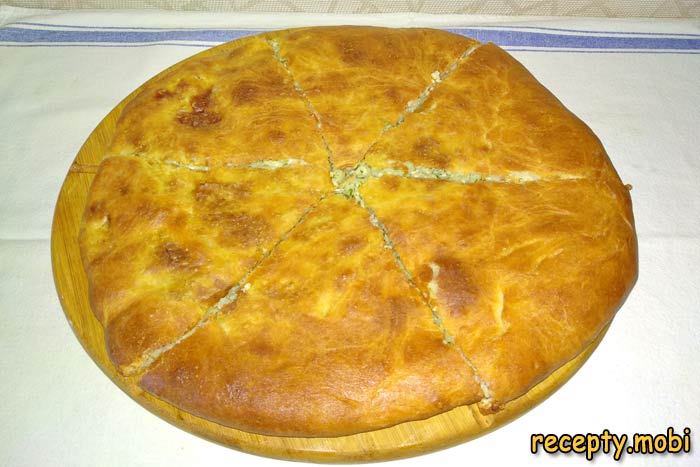
I preheat the oven to 220°C, top-bottom mode. I put the pie above the middle level and bake it for 15–20 minutes until golden brown. After 10 minutes the pie already begins to "bubble" and rise – do not open the door for the first 10 minutes. I take the finished pie out and immediately brush it generously with a piece of butter (30 g) – this is the "secret" Ossetian step.
The Ossetian pie with cheese and potatoes is ready! I cut it into 6 pieces and serve it hot, while the cheese inside is still stretchy. By Ossetian tradition I bake 3 pies, stack them and cut them all through together – that is how they were served in the old days at feasts. It works as a dish on its own, with soup, or with tea.


Tips
- 1
Keep the dough-to-filling ratio at exactly 1:1 (about 400 g each) – this is the "secret" of a real Ossetian pie. Less filling and it loses "that" taste.
- 2
Stretch the dough BY HAND, not with a rolling pin – a rolling pin damages the structure and the pie turns out "rubbery". Hands give it the right "Ossetian" elasticity.
- 3
Adyghe cheese is the "right" choice for an Ossetian pie. You can replace it with suluguni, brynza or feta. On a similar principle I bake khachapuri po-imeretinski.
- 4
Always make a hole in the centre – without it the pie will burst from the inside under the steam. A 1–2 cm cut with a knife is enough.
FAQ
What other fillings are there for Ossetian pies? +
The classic Ossetian fillings are: potato with cheese (kartofdzhin), cheese with beet greens (tsakharadzhin), minced meat with onion (fydzhin), pumpkin with cheese (nasdzhin) and cherry with sugar (baldzhin). They are all made from the same dough, only the filling changes. By Ossetian tradition three pies with different fillings are baked at once and served in a stack – symbolising God, the Sun and the Earth. Each filling has its own meaning in Ossetian culture.
What can replace Adyghe cheese in the filling? +
Suitable options are: suluguni (a more "stretchy" choice), brynza (saltier, so reduce the amount of salt), feta (the Greek equivalent, also salty), young Ossetian cheese (the "authentic" choice if you can find it), Imeretian cheese (the Georgian equivalent) and young mozzarella (for tenderness). The main condition is that the cheese should be a brined or curd cheese, not a "hard" one like parmesan or gouda. Adyghe is the "classic" for Ossetian pies because of its delicate texture.
How long does the finished pie keep? +
A fresh pie is best eaten on the day it is made – it is tastiest "hot" straight from the oven. In the fridge it keeps for up to 3 days, tightly wrapped or in cling film. Before serving, reheat it in the oven for 5–7 minutes at 180°C – a microwave will soften the crust. You can also freeze it in portions for up to 1 month in airtight bags – thaw it completely before eating and warm it through in the oven. A frozen pie is handy as a packed lunch for work.
What to serve the Ossetian pie with? +
It is ideal on its own as a hearty dish with tea or coffee. With the hot pie – sour cream or unsweetened yoghurt for contrast with the salty cheese, pickled vegetables (cucumbers, tomatoes) and fresh herbs. With soup – borshch, kharcho or shurpa are served with Ossetian pie instead of bread (the classic "Caucasian" tradition). For drinks – black or green tea, kefir, ayran, warm milk, or homemade wine for a feast. At an Ossetian celebration – with three pies of different fillings stacked together.
- Comment
or post as a guest
Be the first to comment.


