Write a comment

Декупаж пасхальных яиц

Decoupage of Easter eggs

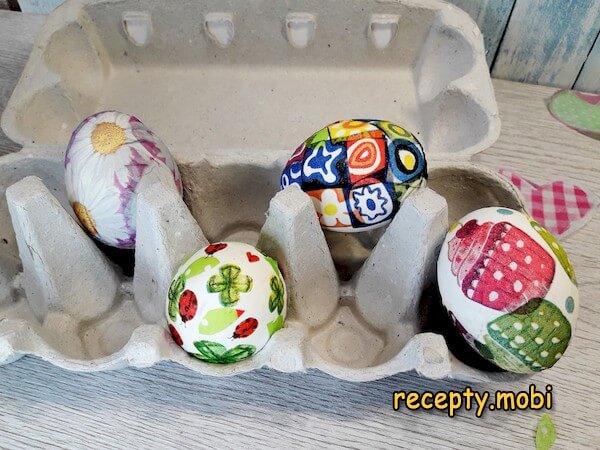
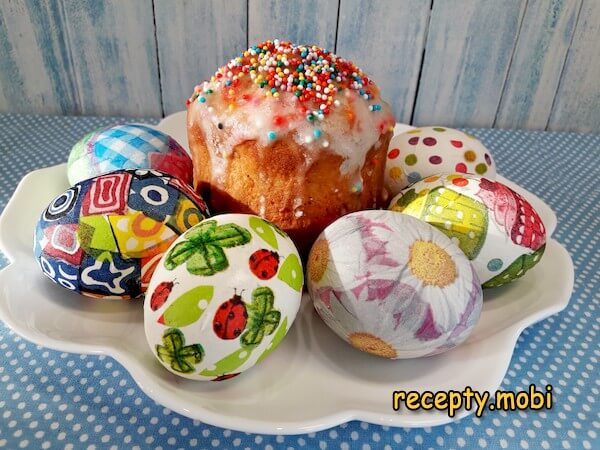
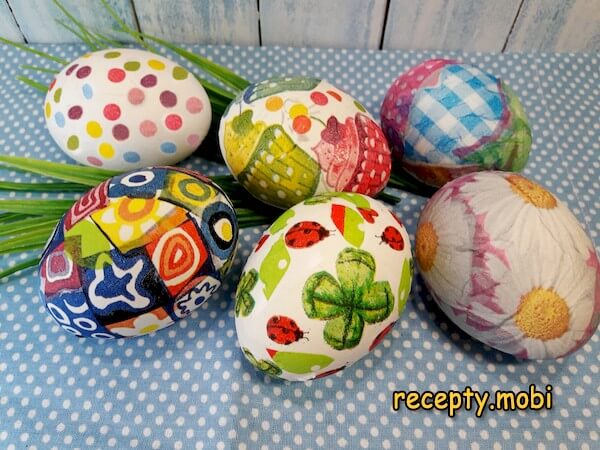
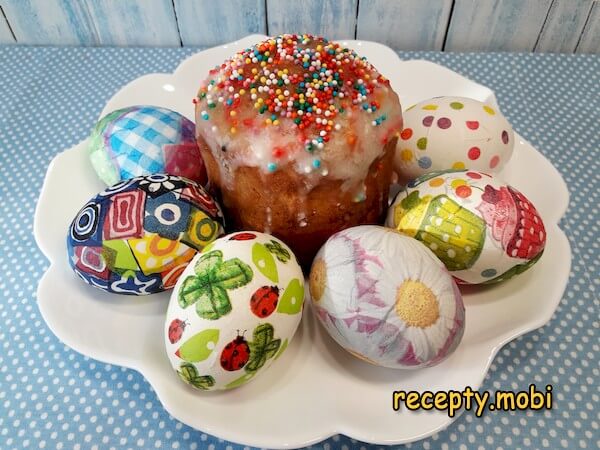
For the holiday, eggs are painted not only by natural and artificial dyes. With the help of special paper napkins, you can make the decoupage of Easter eggs, which will look very impressive and elegant.
Декупаж пасхальных яиц

This method is absolutely safe, because a varnish or glue is not used as a fixer - paper fragments are glued with raw egg protein, and then dried. But the napkins are needed for this - three -layer, with a small pattern. Before the decoupage, the eggs are boiled boiled with salt.

Ingredients

  • white eggs;
  • Napkins with a suitable pattern.

The decoupage process is very exciting and fast. The time spent depends on the number of decorated eggs.

Cooking

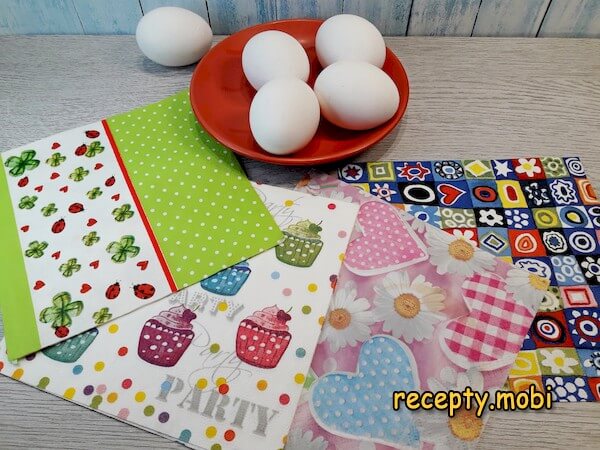
1. Prepare the ingredients, but take into account that 1 egg must be postponed to use protein as glue.

что необходимо для декупажа пасхальных яиц - фото шаг 1

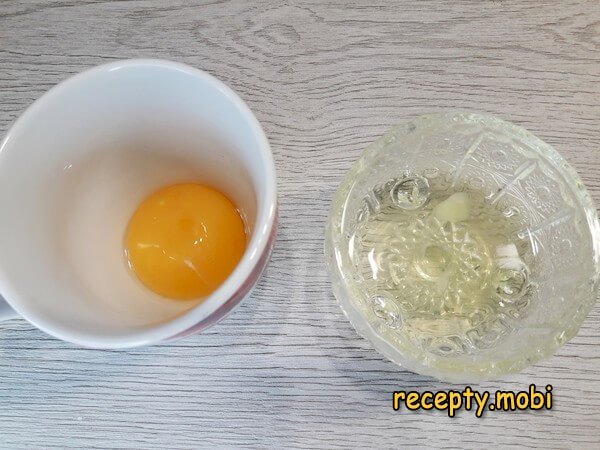
2. Divide this egg into protein and yolk.

желток и белок - фото шаг 2

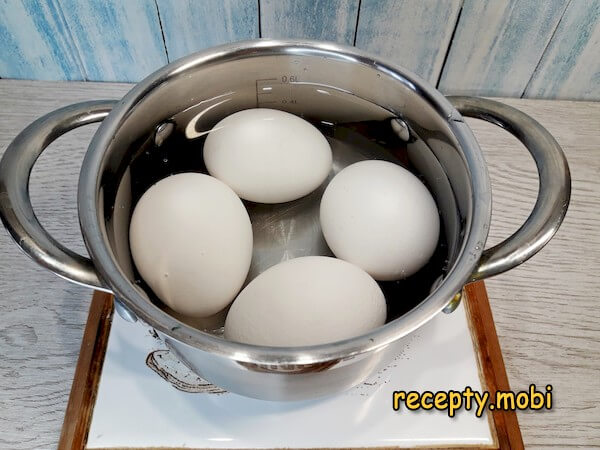
3. Wash and lay the rest of the blanks in a saucepan with water, which should completely cover their tops.

яйца в кастрюльке - фото шаг 3

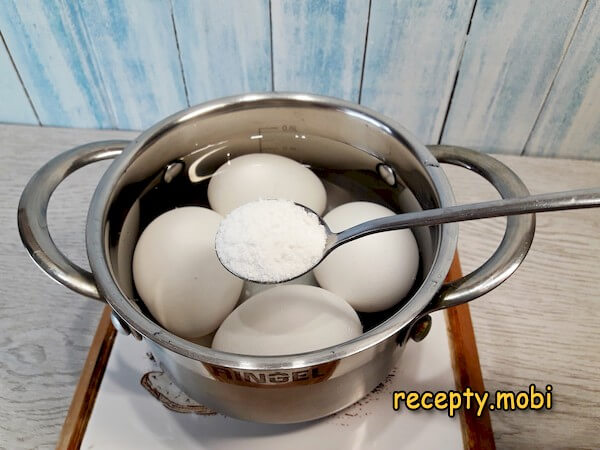
4. So that the shell does not burst, add a small spoonful of salt. From the beginning of the boil, cook eggs for 8-10 minutes.

варка яиц - фото шаг 4

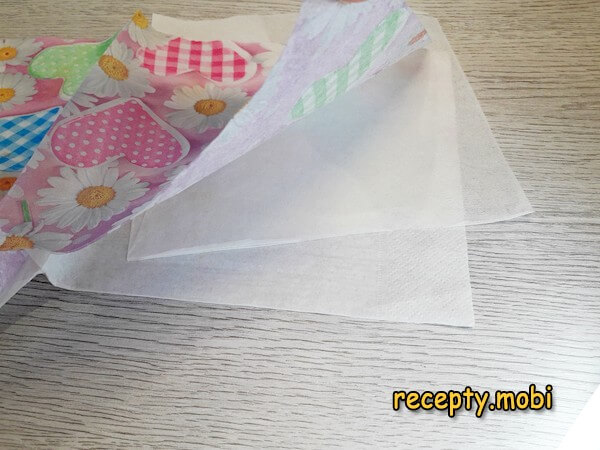
5. Disassemble the napkins on layers - 2 white lower layers will not be needed.

салфетки - фото шаг 5

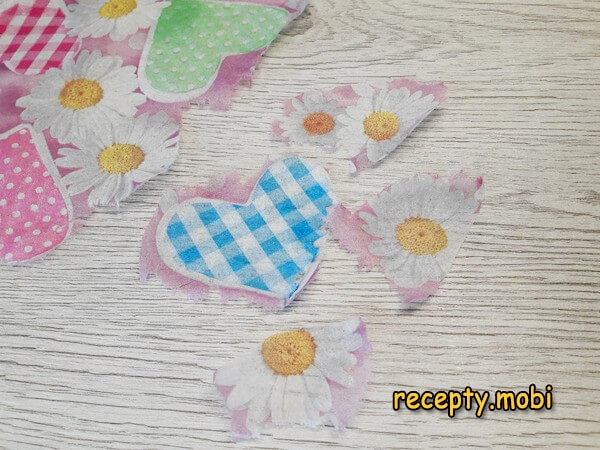
6. Usually, paper fragments for decoupage are torn off with the hands (a torn uneven edge is less noticeable on the glued surface).

подготовка салфеток - фото шаг 6

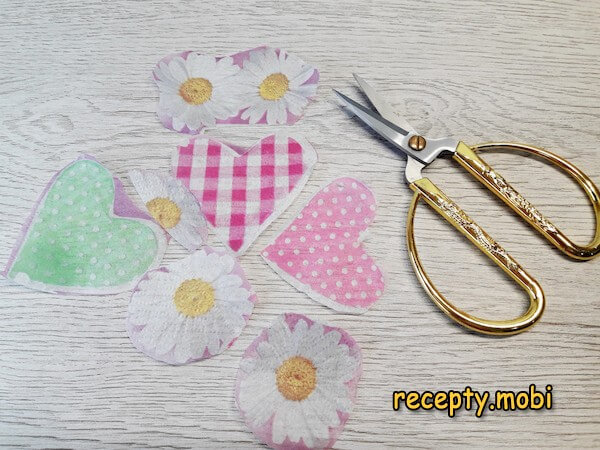
7. But on the egg shell, pictures cut out with scissors look great. How to prepare stories is a matter of taste.

подготовка салфеток - фото шаг 7

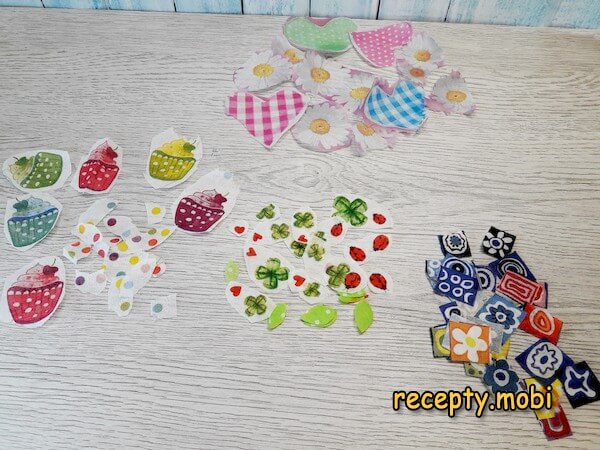
8. It is more convenient to cut pictures at once for all eggs.

элементы для декупажа - фото шаг 8

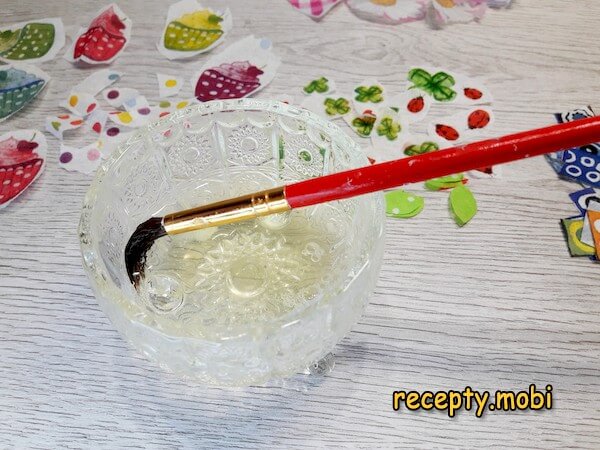
9. Sweeted the protein with a soft brush.

кисточке в яичном белке - фото шаг 9

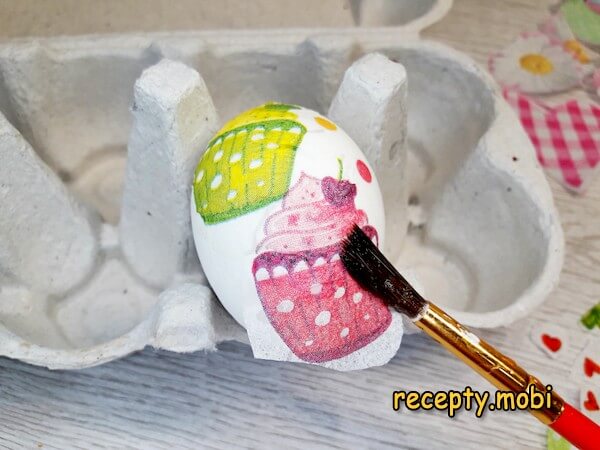
10. Put the plot on the egg and very carefully so as not to tear the napkin, apply protein, moving with a brush from the middle of the fragment to its edges. Sometimes it is convenient to apply a napkin on only half the workpiece, then dry it and continue the pasting of the second part (by touching the thin layer of wet paper, you can deform it and the pattern will shift). As a stand for drying, you can use an egg tray.

декупаж пасхальных яиц - фото шаг 10

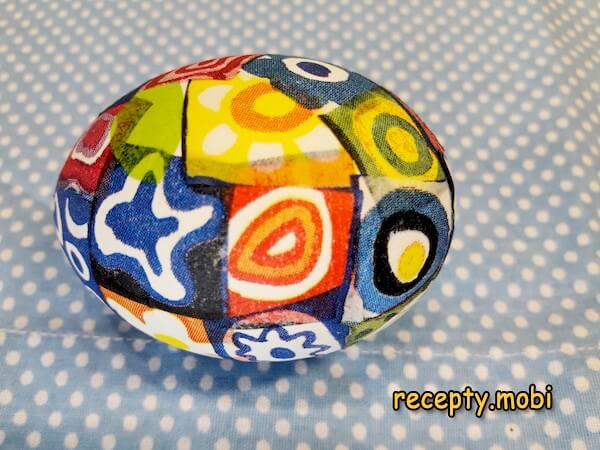
Fragments on the eggshell can be placed closely together, leaving no gaps.

декупаж пасхальных яиц - фото шаг 11

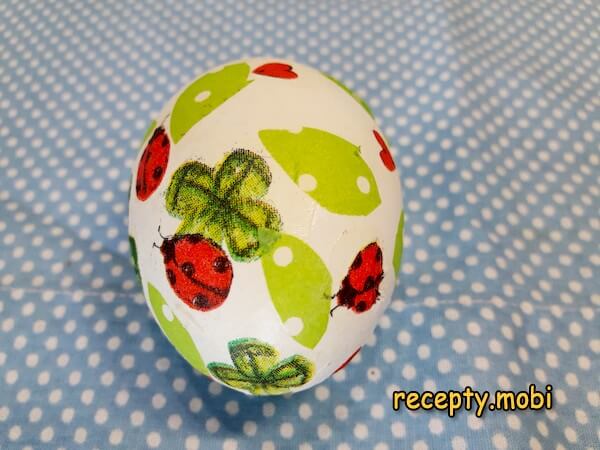
However, you can also affix the images with some space between them to allow the white surface to show. It all depends on the design or theme you choose.

декупаж пасхальных яиц - фото шаг 12

It will take about 5 minutes for the glued napkins to dry, after which you can confidently handle the eggs without worrying about smudging the design.

Декупаж пасхальных яиц

This is a simple way to create decoupage Easter eggs.

Декупаж пасхальных яиц

Write comments ...
Symbols Left.
or post as a guest
Loading Comment ... The Comment Will Be RefreShed after 00:00.

Be the first to comment.