avg —
Classic Napoleon Cake with Custard
Instructions
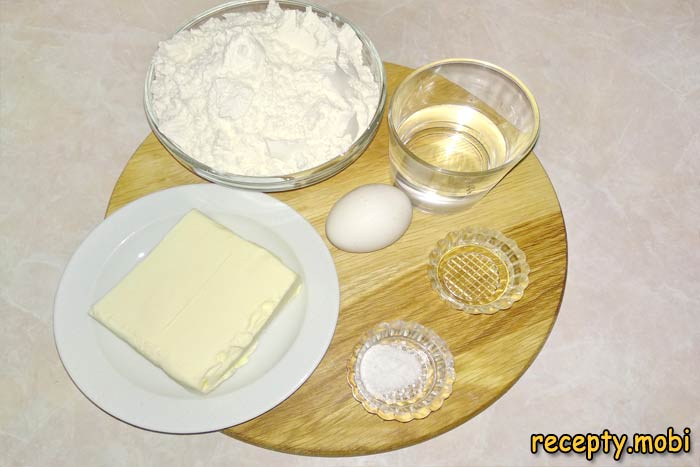
The cake is prepared in three stages – baking the layers, making the custard, and assembling the cake. For the Napoleon layers, prepare ALL the ingredients very cold – that is "secret number 1" of the right flaky dough. Put the butter (200 g) in the freezer for at least 1 hour. Draw the water (110 ml) with ice cubes so it is icy. The egg for the dough should come straight from the fridge. You can chill the flour (350 g) in the fridge too – it will not hurt.
Let's start making the layers. Into a glass or bowl put the egg (1 pc), a pinch of salt, the vinegar (6%, 1 tbsp), and the icy water (110 ml).
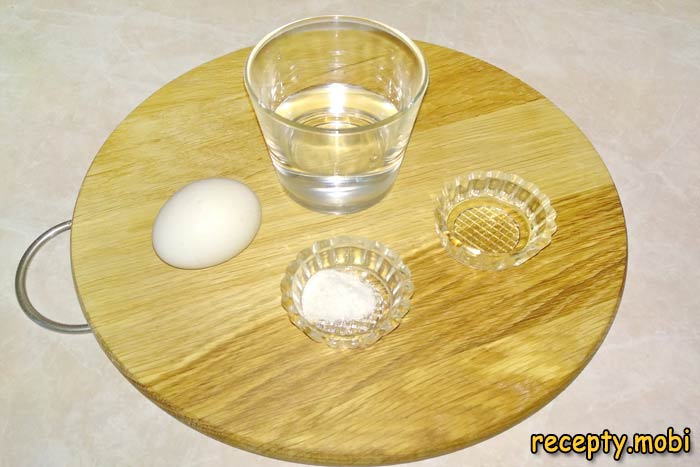
Transfer the egg and the other ingredients into the glass with the cold water.
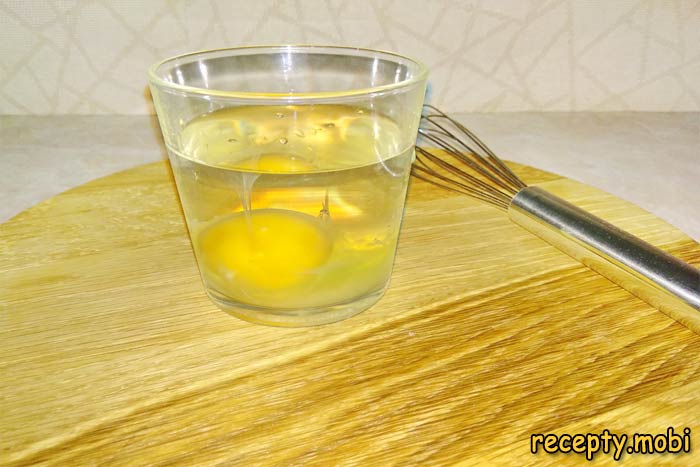
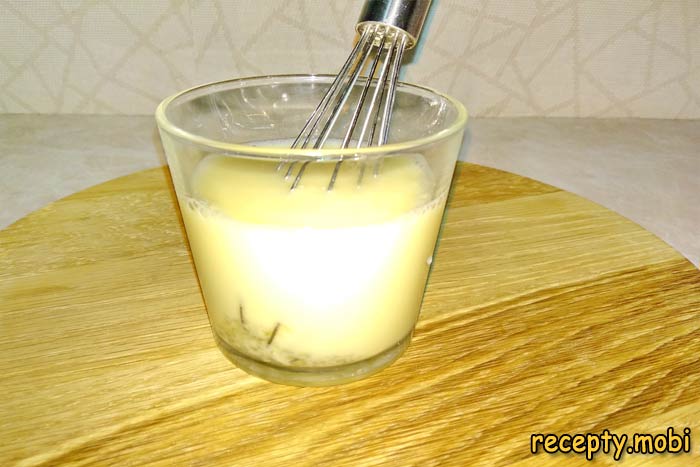
Whisk thoroughly with a whisk or a fork until smooth, about 30 seconds. For now, put the glass with the egg mixture back into the freezer – it should stay very cold.
Sift the flour (350 g) through a sieve into a large bowl. Take the butter out of the freezer too.
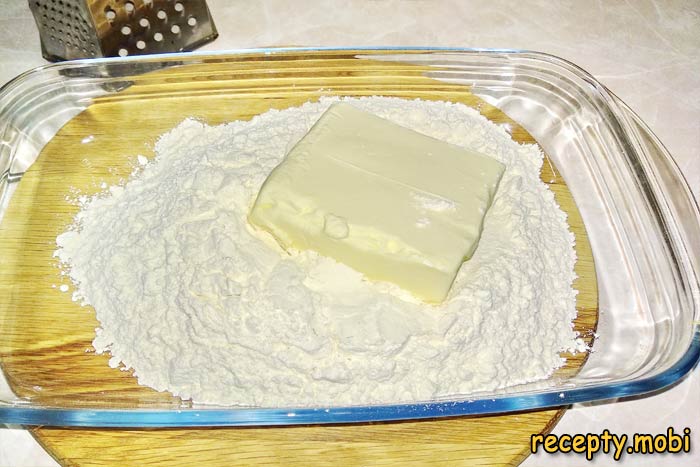
Grate the frozen butter on the coarse side of a box grater straight into the flour, or chop it finely with a knife. Do this very quickly so the butter does not melt from the warmth of your hands.
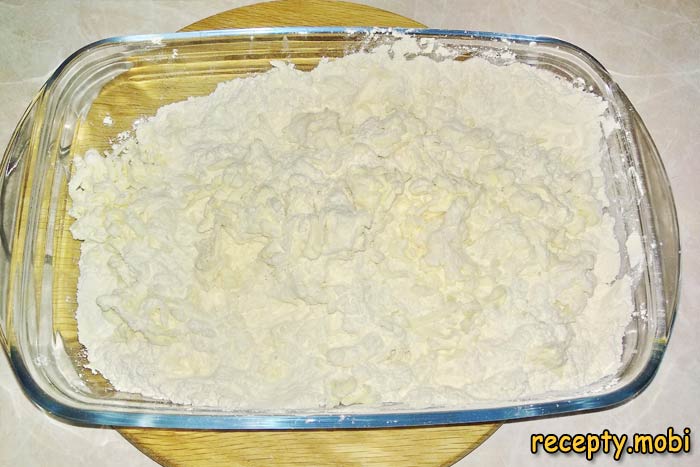
Quickly rub the flour and the frozen butter together into fine crumbs with your hands. The aim is not to rub it "into a paste" but to get "crumbs" with visible pieces of cold butter about the size of a pea. These pieces are what create the characteristic "layers" during baking. If the butter starts to melt, gather the mixture and put it in the fridge for 5 minutes.
Take the icy egg mixture out of the freezer and pour it into the flour-and-butter mixture. First stir it with a spoon.

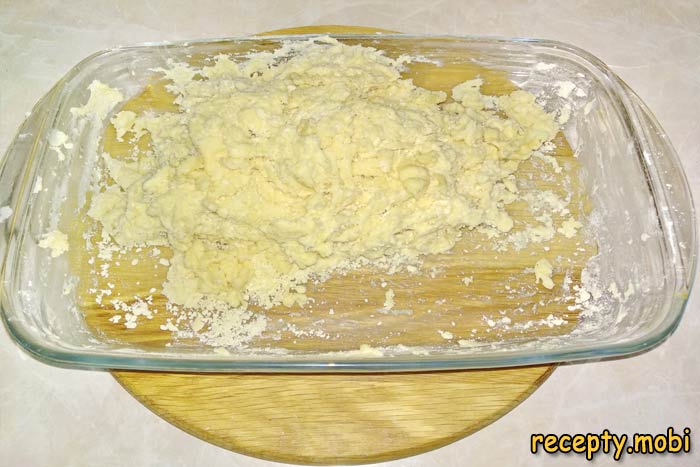
Then quickly gather it into a single ball with your hands. Do not knead the dough for long – it should stay "flaky", not "homogeneous". If the butter has "spread", put the dough in the fridge for 10 minutes.
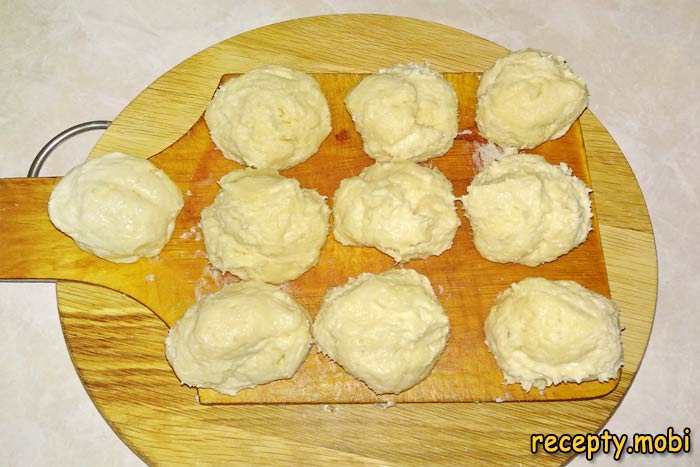
Divide the finished ball of dough into 10 equal parts of about 70 g each (use kitchen scales). Wrap each portion in cling film and put it in the fridge for at least 20 minutes – to stabilise and chill the dough as much as possible. This is critical for the proper flakiness of the layers.
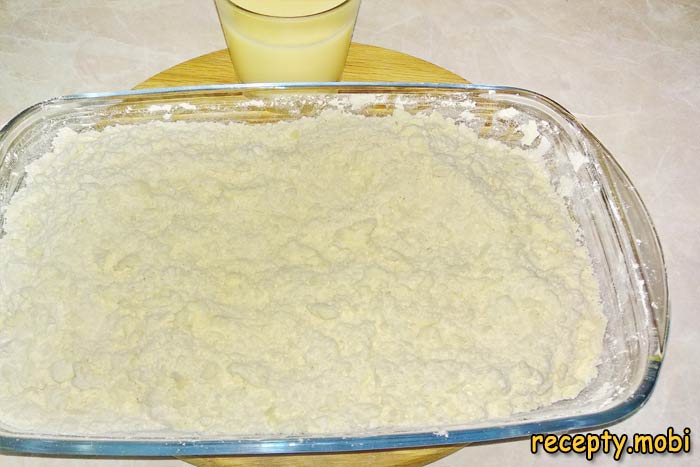
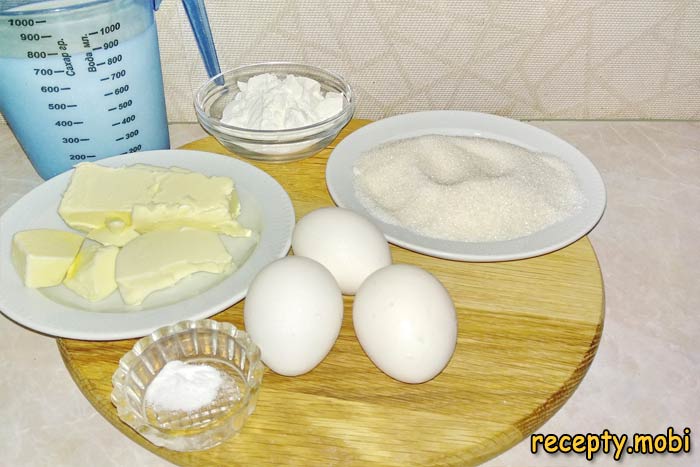
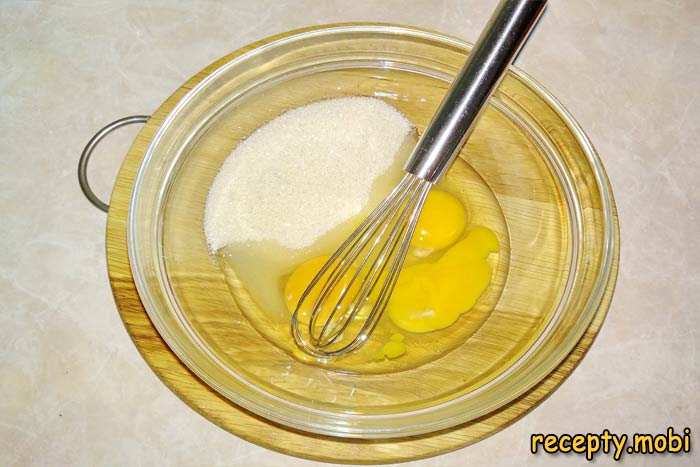
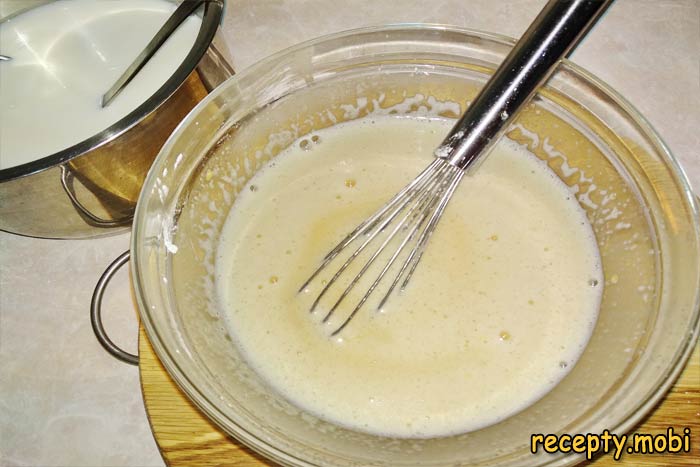
Meanwhile, prepare the custard. Get the ingredients ready at room temperature (NOT cold), since the custard is cooked on the stove. Into a large bowl crack the eggs (3 pcs) and add the sugar (150 g).
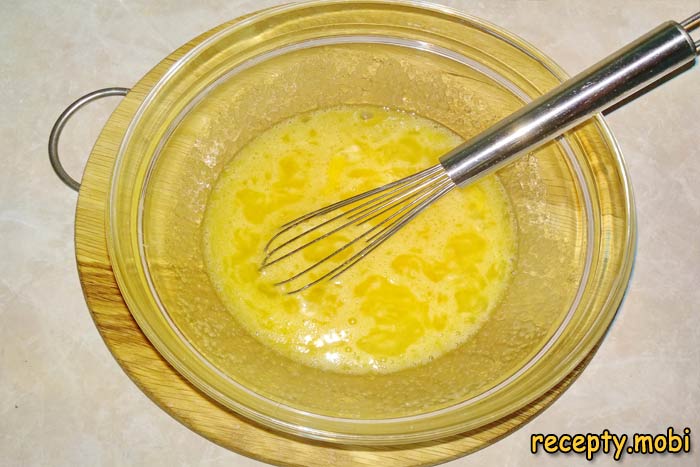
Whisk thoroughly with a balloon whisk until smooth and the sugar has dissolved, about 1-2 minutes. There is no need to beat it into a fluffy foam – an even mixing is enough.
Mix with a balloon whisk.
Add the cornstarch (60 g, for a tender cream) or flour (for a "denser" cream). The choice is up to you, but with cornstarch the cream will be noticeably softer.
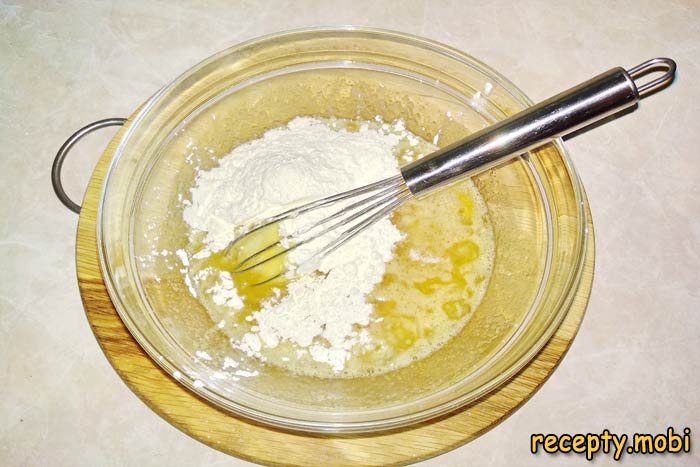
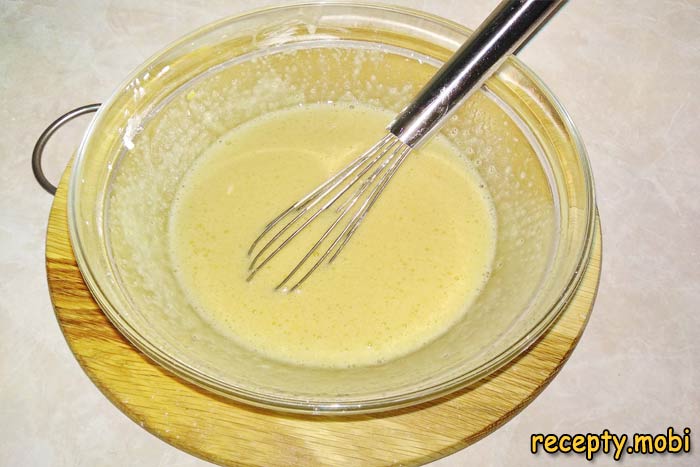
Mix until the lumps have completely dissolved – you should get a smooth egg-sugar-starch mixture with the consistency of a "runny batter".
Into a clean heavy-bottomed saucepan or small pot pour 2 tbsp of water and turn on the stove – the water protects the milk from scorching. Then pour in all the milk (850 ml) and heat it over medium heat.
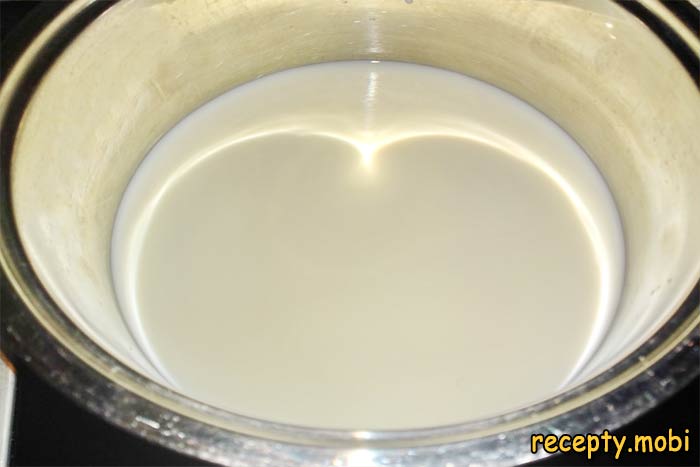
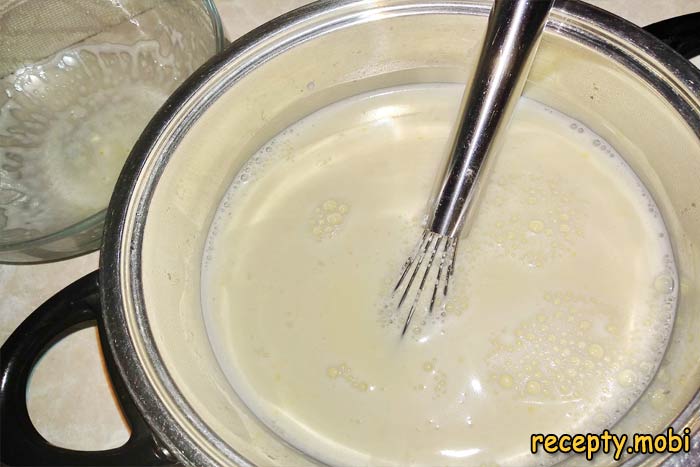
Heat the milk almost to boiling but do not let it boil (about 80°C); steam should appear above the milk. Take the hot milk off the stove. Pour the hot milk into the egg mixture a ladleful at a time, constantly and vigorously stirring with a whisk – this prevents the egg white from "cooking". Once you have poured in half of the milk, the egg mixture has warmed through. Mix it well.
Return the whole egg-milk mixture to the saucepan with the remaining milk and set it over medium heat.
Stir constantly with a silicone spatula along the bottom and sides so the cream does not stick to the bottom.
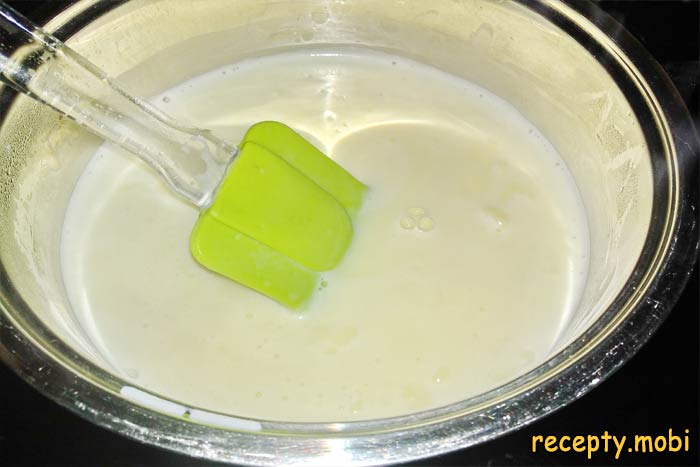
Cook for about 10 minutes until it thickens and the first bubbles appear – this means the cream is ready. As soon as they appear, take the saucepan off the heat.
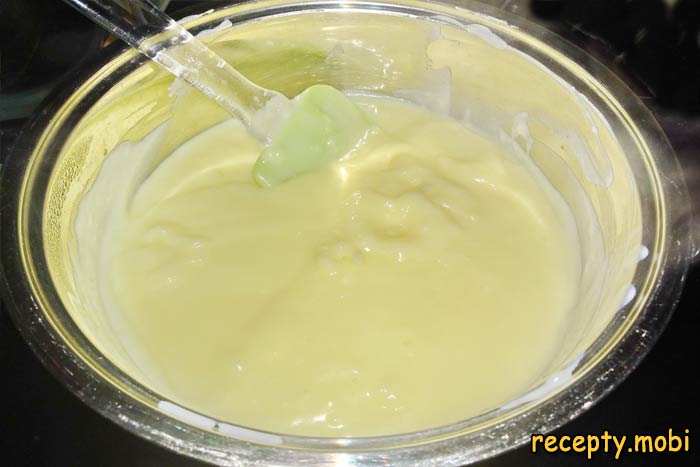
Immediately add the room-temperature butter (150 g) and the vanillin (¼ tsp) to the hot cream. Stir thoroughly with a whisk until the butter has fully dissolved and the cream is smooth. The finished cream is thick, smooth, and has a gentle creamy aroma.

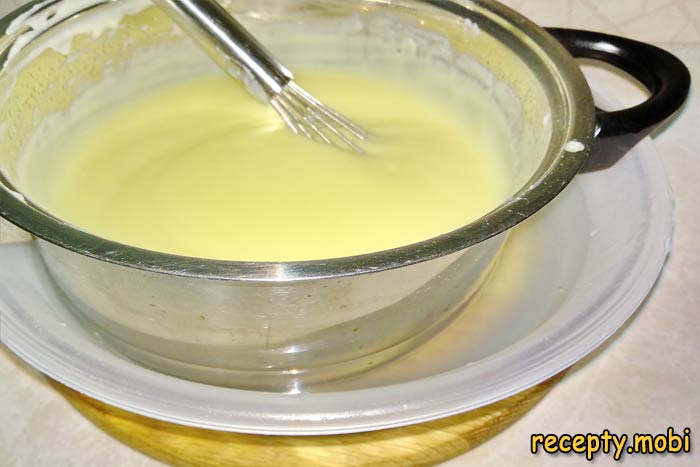
Now cool the cream quickly with a "cold bath": set the saucepan in a large bowl of very cold water (you can add ice cubes). Stir the cream with a whisk so it cools evenly. Cover it with cling film pressed against the surface so a "skin" does not form. Full cooling takes 30-40 minutes.
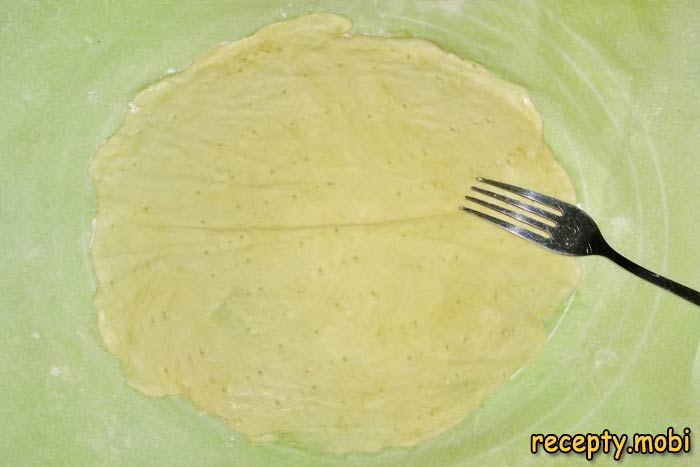
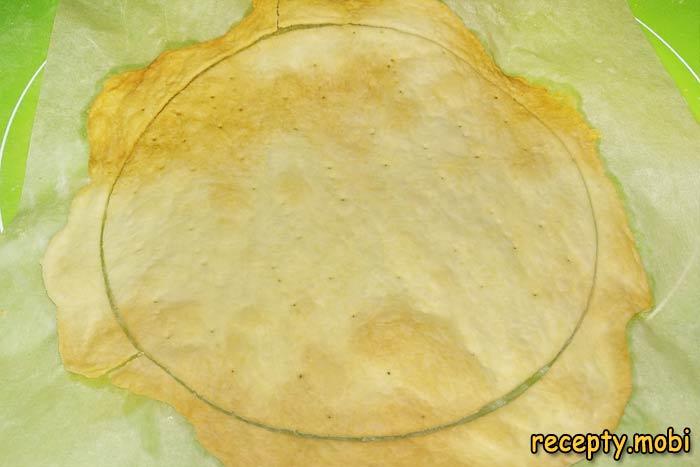
While the cream cools, bake the layers. Take one portion of dough out of the fridge and roll it out straight onto parchment paper into a very thin sheet of 1-2 mm – the thinner it is, the flakier the layer will be. Prick the dough all over with a fork so it does not bubble up during baking.
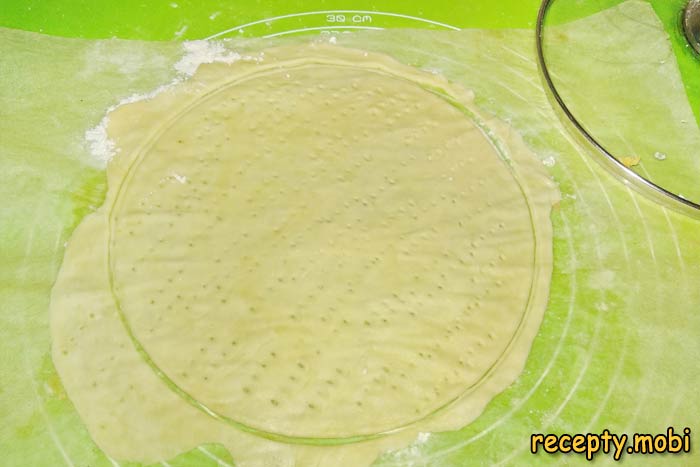
Take a plate or pot lid of the required diameter (I use 20 cm) and place it on top of the dough.

Press down and trim a round layer. Do not throw away the trimmings that fall outside the circle – bake them too. They will become the crumb for the classic Napoleon topping.
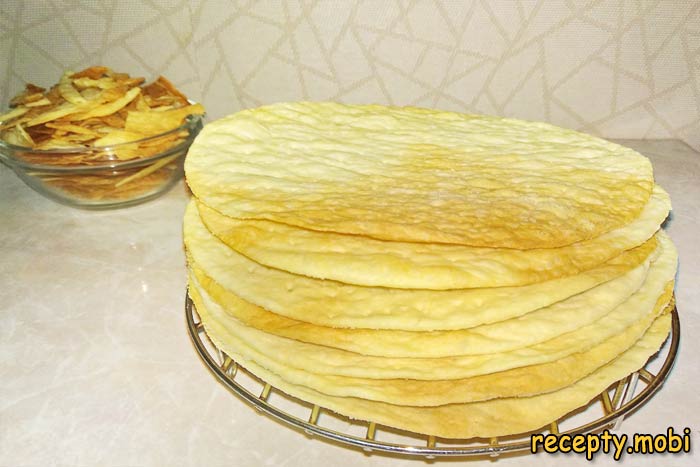
Bake each layer for 8-10 minutes at 180°C (top-and-bottom heat) until golden. Carefully lift the baked layers off the parchment onto a rack to cool, and roll out and bake the next layer in the meantime. The 10 layers will take 1.5-2 hours depending on your oven.
Bake all the dough trimmings in a separate batch for 8-10 minutes until golden, then transfer the cooled trimmings to a blender bowl and grind them into fine crumbs.
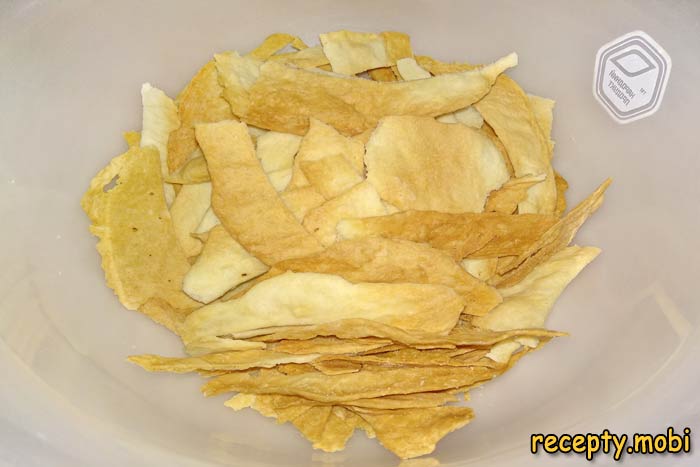
If you have no blender, the trimmings can easily be crumbled by hand or with a rolling pin through a bag.

Here are the even baked layers we have made.
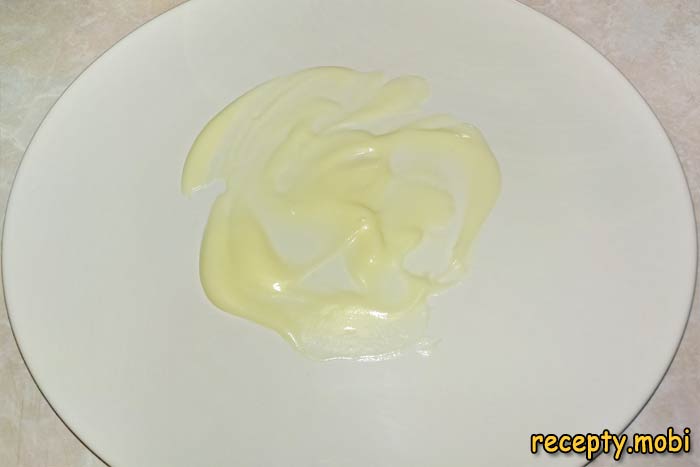
Assemble the cake. On a flat serving dish, spread 1-2 tbsp of cream so it "glues" the bottom layer to the plate.
Place the first layer on top and spread it generously with 2-3 tbsp of cream in an even layer.
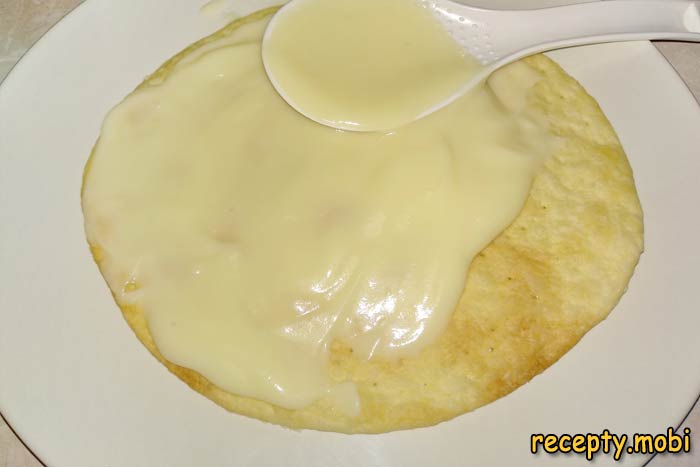
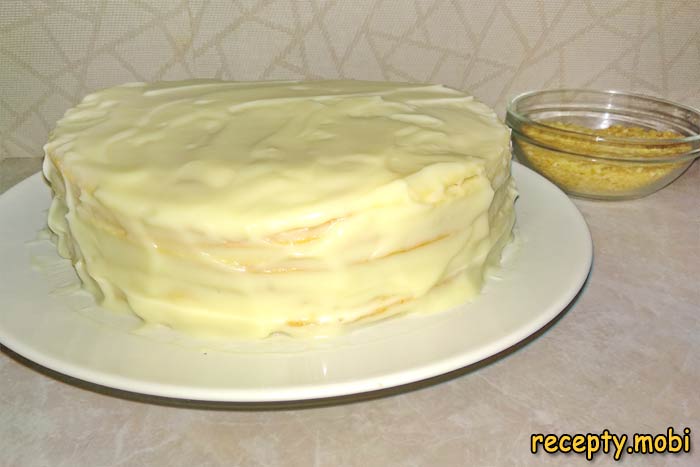
Cover with the next layer and add cream again. Build up the cake this way until all 10 layers are used. Coat the top and the sides of the cake generously with cream too, levelling it with a spatula.
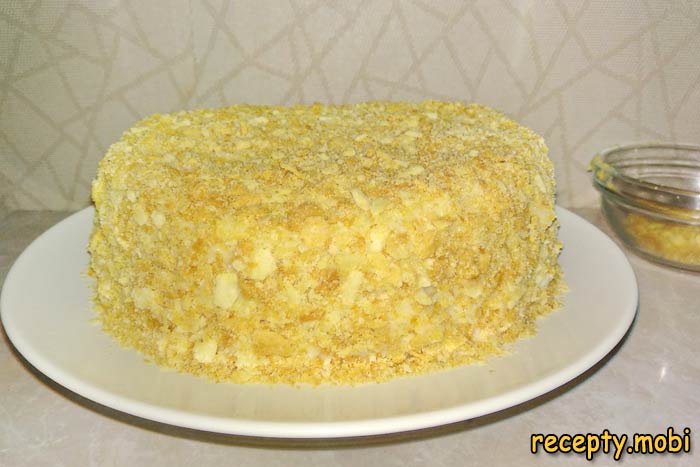
Sprinkle the cake all over with the golden crumbs – this gives the characteristic "shaggy" texture and hides any small unevenness in the cream. Put the assembled cake in the fridge for AT LEAST 12 hours (overnight is better) so the layers soak in the cream – this is the "secret" of a tender, "melt-in-the-mouth" Napoleon.
Take the cake out of the fridge 30 minutes before serving. The classic Napoleon cake with custard is ready!


Tips
- 1
ALL the ingredients for the dough must be VERY COLD – that is the "secret" of the flaky structure of the layers. Warm butter will give you a "short", crumbly dough.
- 2
Roll the layers as THIN as possible (1-2 mm) – the thinner they are, the flakier and more tender the finished layer will be.
- 3
Cover the cream with cling film pressed against the surface as it cools – so no "skin" forms on top. I bake my honey Medovik cake with custard on a similar principle.
- 4
Soak the cake for AT LEAST 12 hours – without this the Napoleon will be "dry". Overnight is ideal.
FAQ
What can replace the custard in a Napoleon? +
The options are: a buttercream with condensed milk (300 g butter + 1 tin of boiled condensed milk – the "grandmother's" cream), a sour-cream one (500 g of 25% sour cream + 150 g icing sugar – a lighter option), a mascarpone cream (250 g mascarpone + 200 ml of 33% cream + 100 g icing sugar – the "Italian" interpretation), or a meringue-style custard (3 egg whites + 200 g sugar – for a more "European" version). Custard is the "classic" of the Soviet Napoleon, tender and not too sweet. Each cream gives the cake its own character.
Can I buy ready-made puff pastry instead of making my own? +
Yes, ready-made yeast-free puff pastry from the shop is a "quick" option for busy cooks. You will need 800-1000 g of ready pastry. Defrost it in the fridge for 8 hours before rolling. Roll each sheet into a very thin layer of 1-2 mm, cut out circles of the required diameter and bake them for 8-10 minutes at 200°C. The advantage is a significant saving of time (1 hour against 2.5 hours). The drawback is that shop pastry may contain margarine and preservatives instead of real butter, so the cake will taste less "homemade". For a celebration, prefer homemade dough; for an everyday cake, shop pastry will do.
How long does the finished cake keep? +
The finished Napoleon keeps in the fridge for up to 4 days in a tightly closed container or under a cake dome. On the second or third day the taste becomes even better – the layers soak through completely with cream and melt in the mouth. Do not leave it at room temperature for longer than 2 hours, as custard spoils quickly. For longer storage the cake can be frozen for up to 1 month – before serving, defrost it fully in the fridge for 12 hours. The layer trimmings or a single spare layer can be kept in airtight packaging at room temperature for up to 1 month as a "standby" for quickly assembling a small cake with fresh cream.
What to serve the cake with? +
It is perfect as a festive dessert with tea or coffee after the main meal. The cake goes well with hot black tea with lemon (the classic of a Russian tea-drinking), green tea with jasmine, an espresso or cappuccino, or cocoa with milk (for children) and hot chocolate. For an adult gathering – dessert liqueurs (Baileys, Amaretto, Kahlua), sweet sparkling wine (Moscato, Prosecco, champagne), or a semi-sweet red (Cahors for the Russian classic). For a child's birthday – with a milkshake, fruit drink, or cocoa. For the New Year's table it is the "star" of the dessert menu, served with hot mulled wine or cocoa with cream.
- Comment
or post as a guest
Be the first to comment.