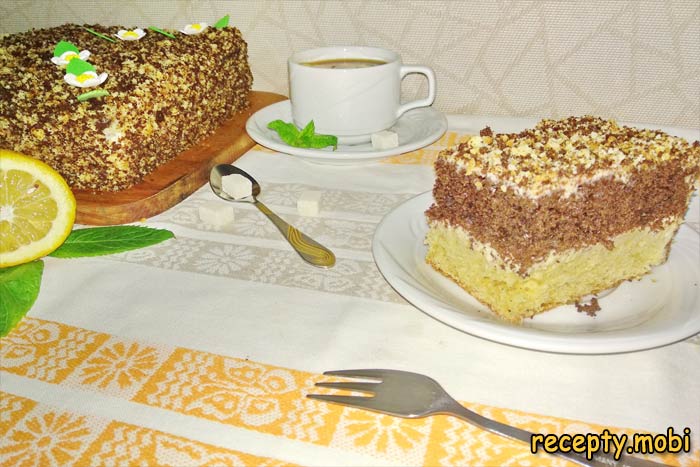
Sour Cream Cake – Classic Recipe in the Oven
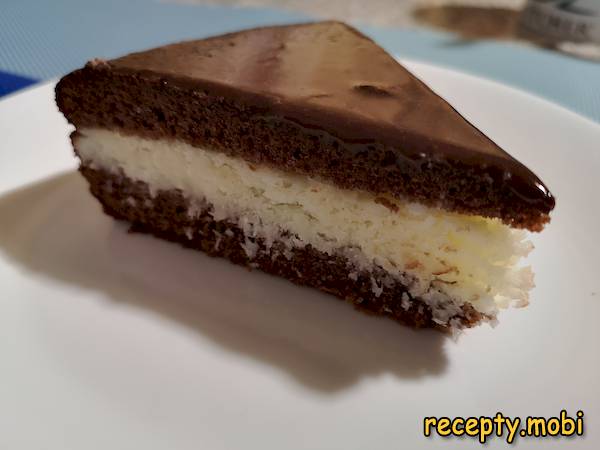
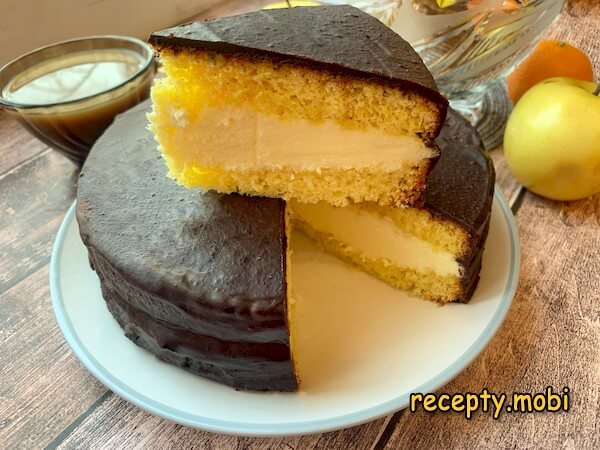
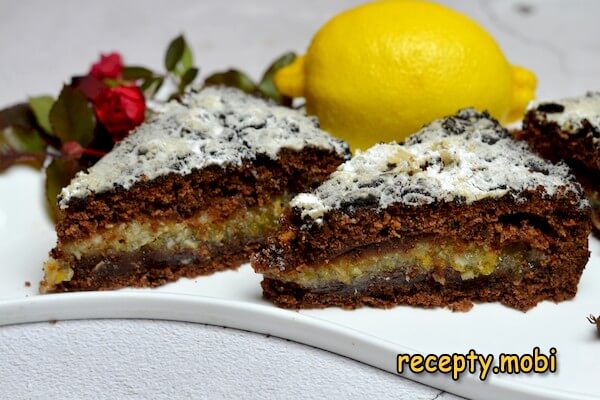
Sour Cream Cake (Smetannik) was a popular pastry during Soviet times. For many, it is the most cherished dessert, as it brings back childhood and school memories.
Preparing a classic sour cream cake in the oven at home is very simple, requiring only the most basic ingredients. Smetannik can be served as individual pastries or as a whole cake. It will look great on a festive table and delight you and your loved ones.
Yield: 10 servings (1.75 kg).
Cooking time: 360 minutes.
Calories: 280 kcal per 100 g.
Ingredients
For light-colored biscuit:
- eggs - 2 pcs;
- sugar - 140-160 g;
- salt - ¼ tsp;
- butter (soft) - 100 g;
- sour cream (25%) - 150 g;
- vanillin - ¼ tsp (or to taste);
- flour - 220 g;
- baking powder - 10 g.
For the dark biscuit:
- eggs - 2 pcs;
- sugar - 140-160 g;
- salt - ¼ tsp;
- butter (soft) - 100 g;
- sour cream (25%) - 150 g;
- vanillin - ¼ tsp (or to taste);
- flour - 160 g;
- cocoa powder - 60 g.
For cream:
- sour cream (25%) - 550 g;
- powdered sugar - 120-130 g;
- vanillin - to taste.
Cooking
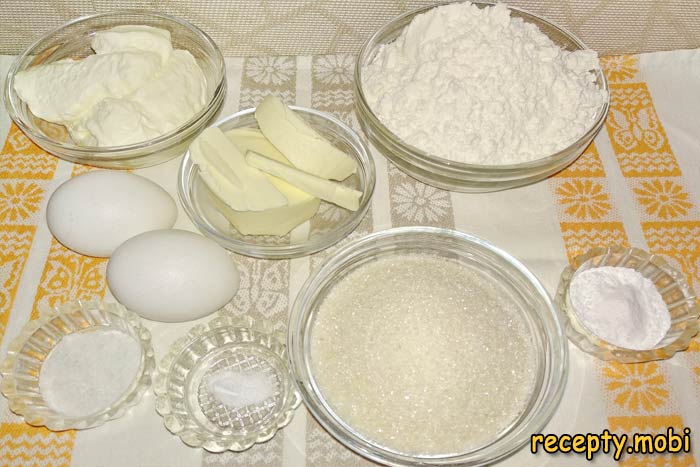
1. The classic recipe for sour cream cake involves several steps. First, we need to bake two cake layers – one light and one chocolate with cocoa. Additionally, we will make a simple but delicious sour cream frosting. Let’s start with the light cake layer. Prepare all the ingredients as listed. Sift the flour and take the butter out of the fridge in advance.
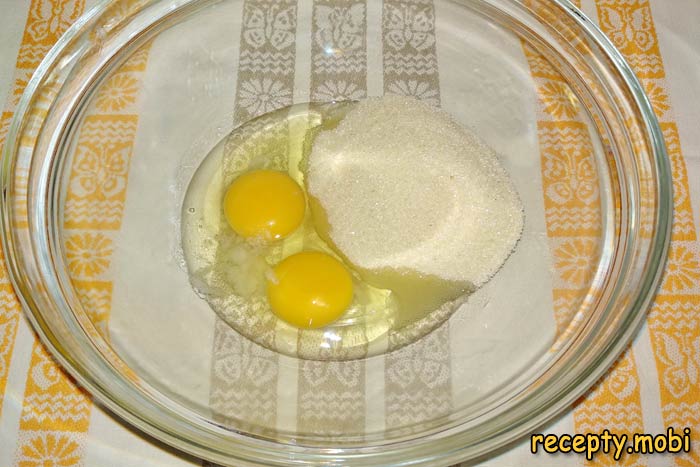
2. Crack two eggs into a deep bowl, add a pinch of salt and sugar.
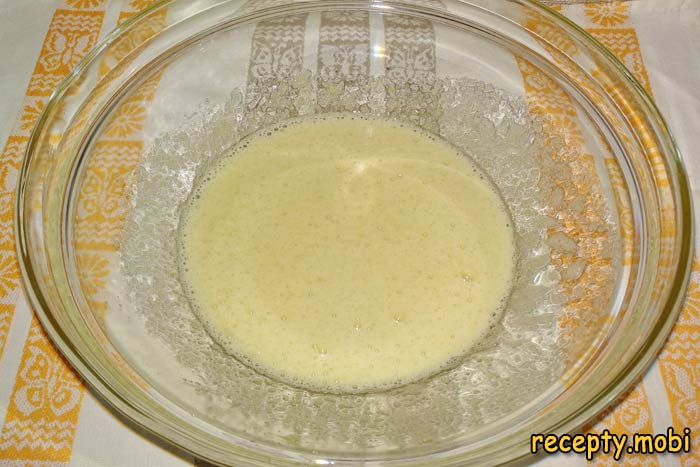
3. Beat the eggs with a mixer or blender until fluffy.
4. Next, add vanilla and room-temperature butter, which should already be soft.
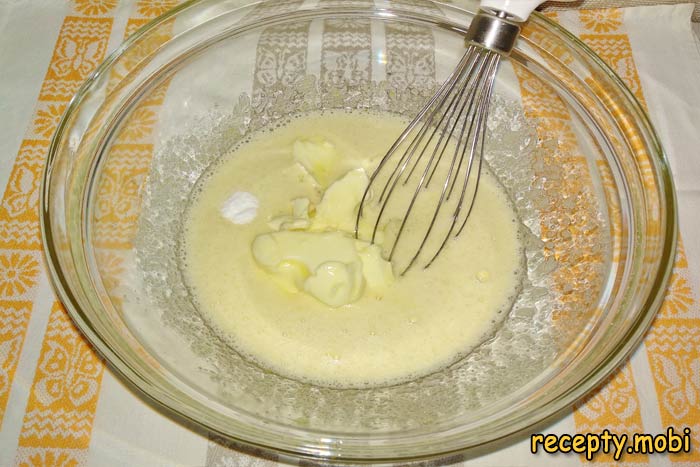
5. Continue beating until the mixture becomes airy.
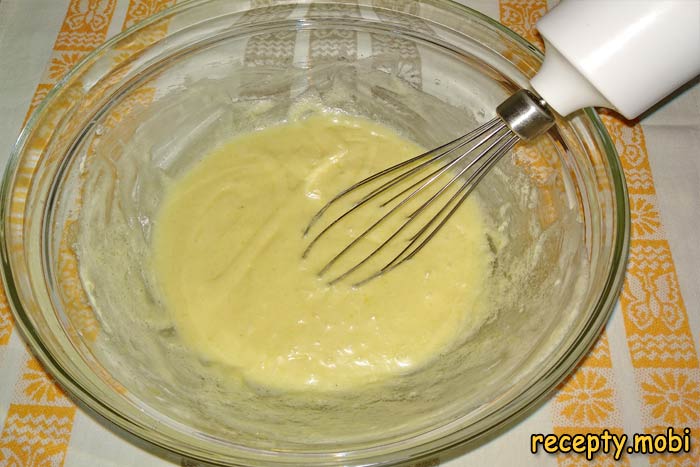
6. Now add sour cream. It’s best to use high-fat sour cream for this recipe, as it makes both the cake layers and frosting richer in flavor.
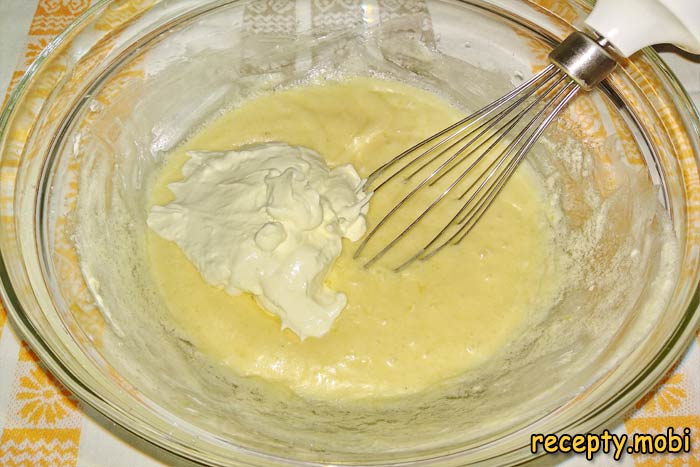
7. Add the baking powder to the flour.
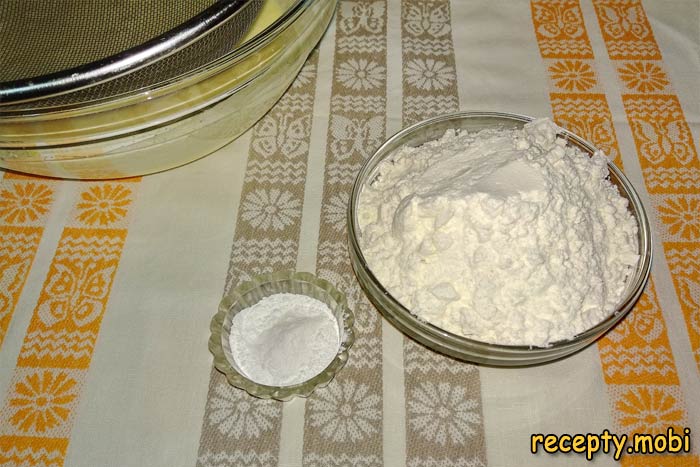
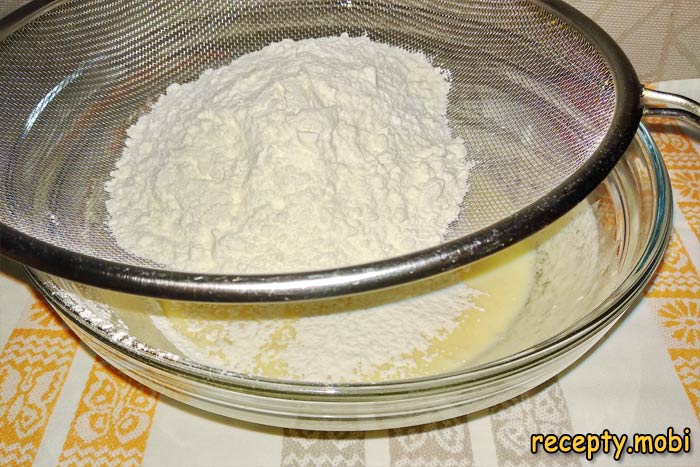
8. Sift the flour into the egg mixture to incorporate more air. This will help the cake rise well in the oven and make it light and fluffy.
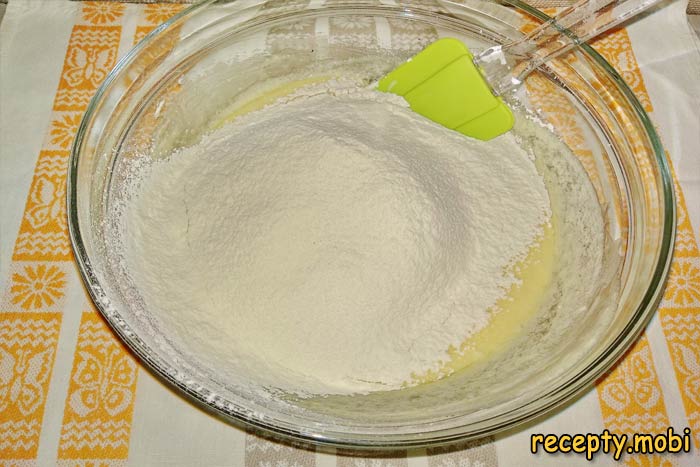
9. Gently fold the flour into the egg mixture with smooth movements. Mix quickly to avoid overworking the dough.
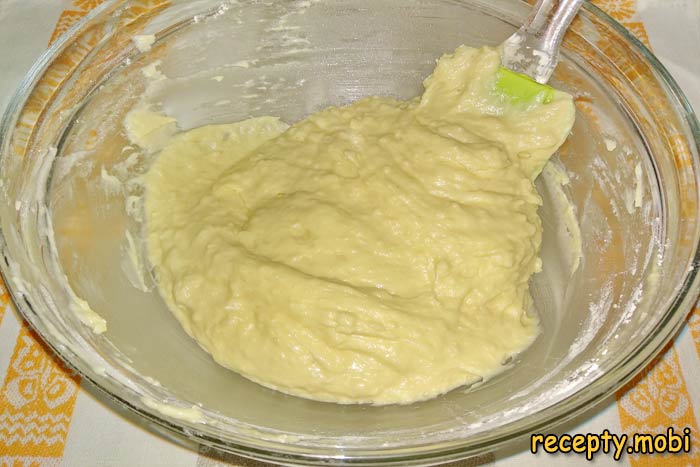
10. The dough should be soft and elastic.
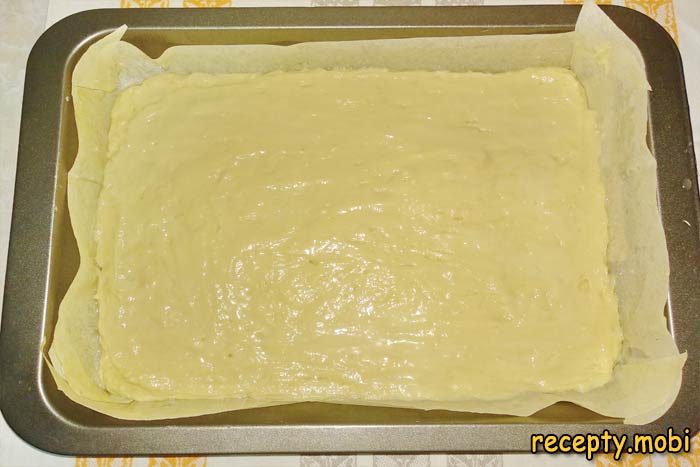
11. Line a baking pan with parchment paper and lightly grease it with vegetable oil. Pour in the batter and spread it evenly using a spatula or wet hands.
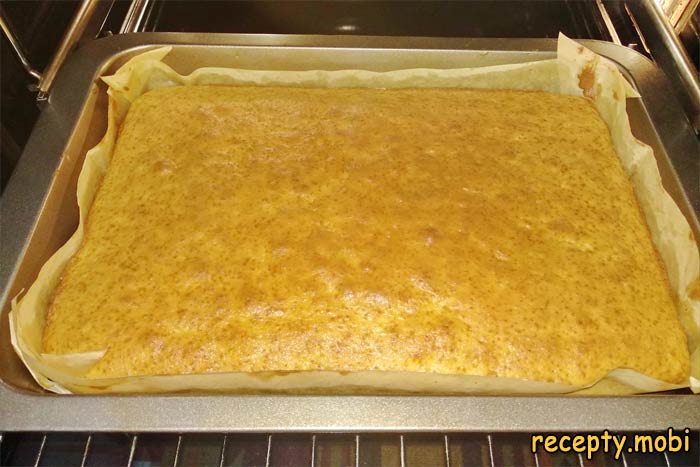
12. Bake at 180°C (350°F) for 20–25 minutes. Check for doneness with a toothpick or skewer. Once done, transfer the cake layer to a wire rack to cool.
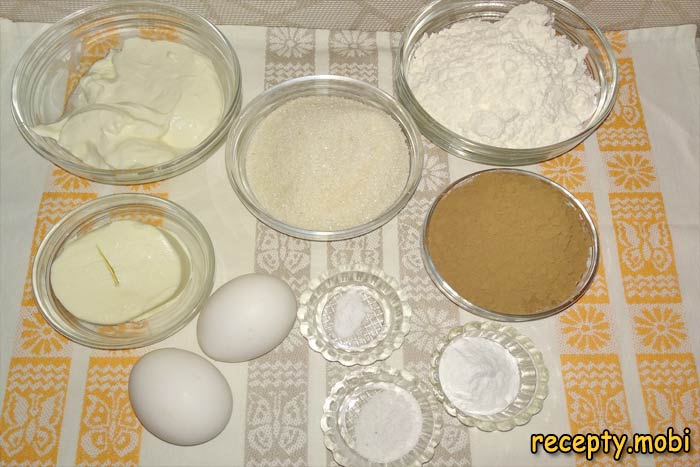
13. Now, let’s prepare the chocolate cake layer. Use the same ingredients as for the first layer, but with one difference: reduce the amount of flour and replace the missing weight with cocoa powder. Prepare all the ingredients as listed.
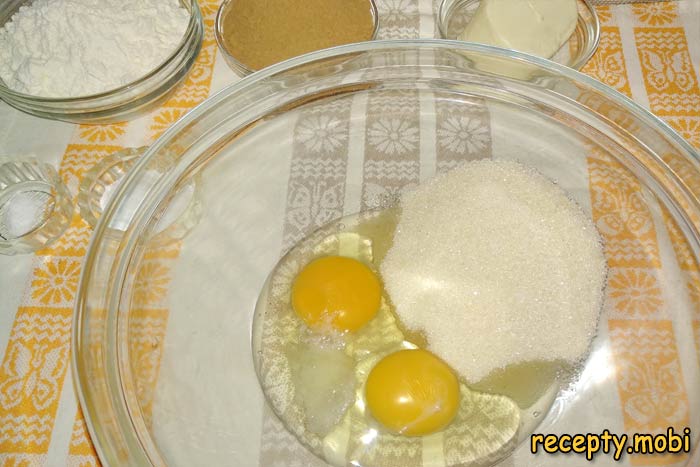
14. Repeat the same process: beat two eggs with salt and sugar until fluffy.
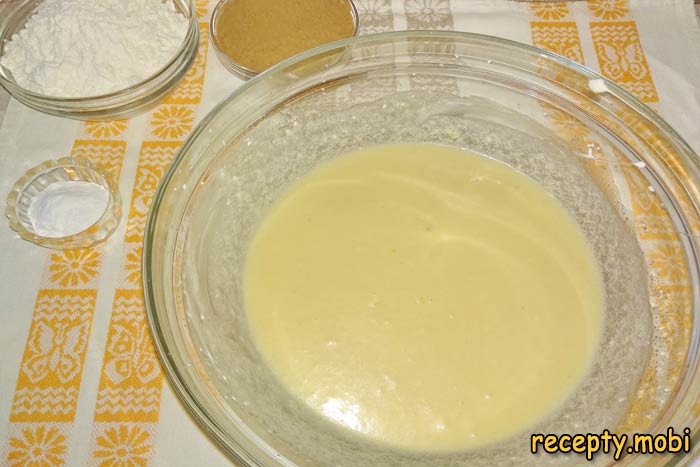
15. Add butter and vanilla, then mix well. Finally, add sour cream and beat again.
16. Place a sieve over the bowl and sift in the flour, cocoa powder, and baking powder to ensure an even mixture.
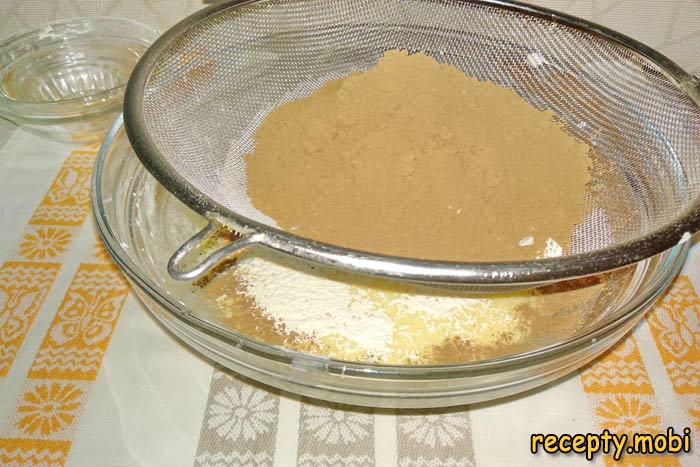
17. Gently but quickly fold the dry ingredients into the egg mixture, avoiding overmixing.
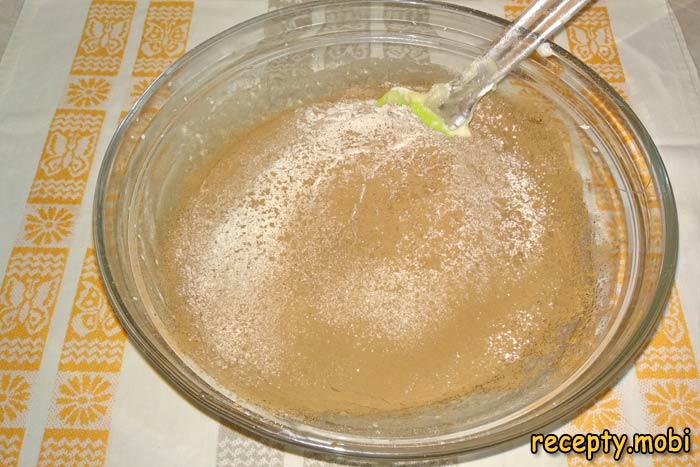
18. The chocolate dough should be soft and elastic. Use high-quality cocoa powder for the best flavor and color.
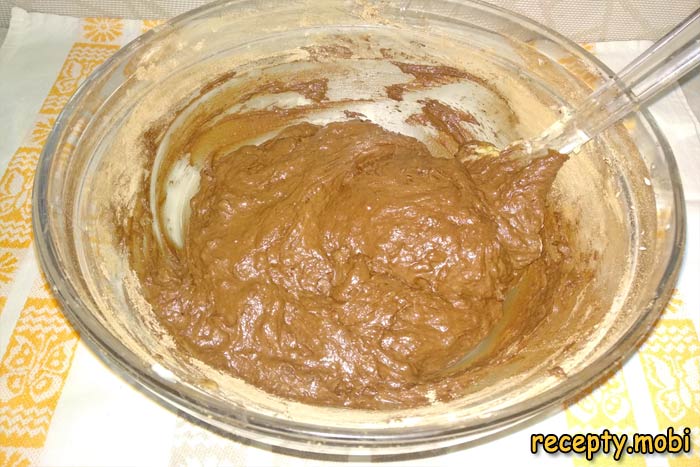
19. Line another baking pan with parchment paper, grease it with oil, and spread the chocolate batter evenly.
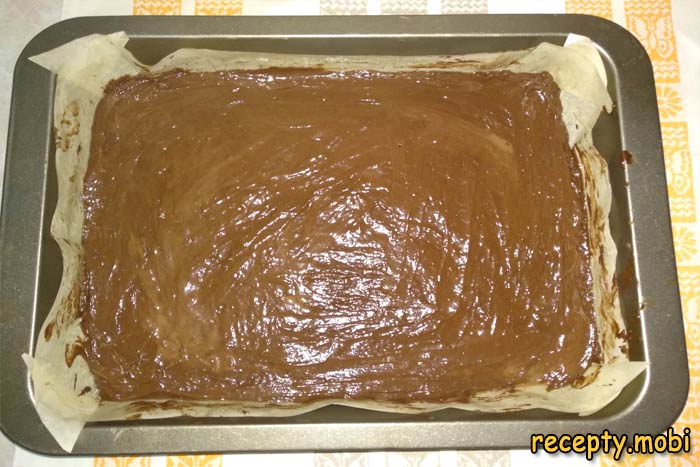
20. Bake at 180°C (350°F) for 20–25 minutes. Check for doneness with a wooden skewer.
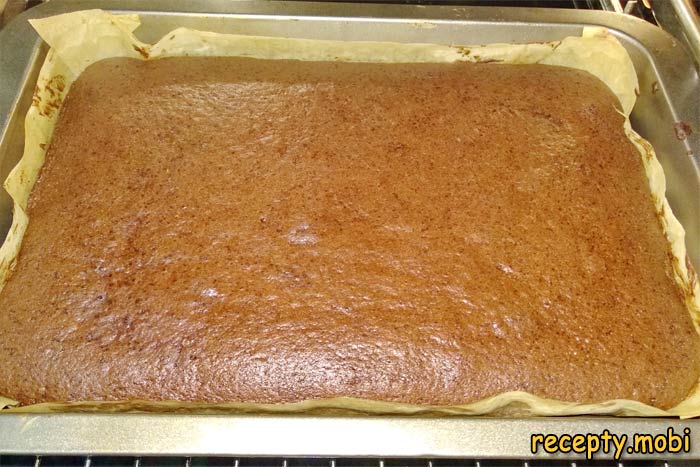
21. Once both cake layers are baked, place them on a wire rack to cool completely. (It’s best to bake the layers in the morning and assemble the cake in the evening, allowing it to soak overnight.)
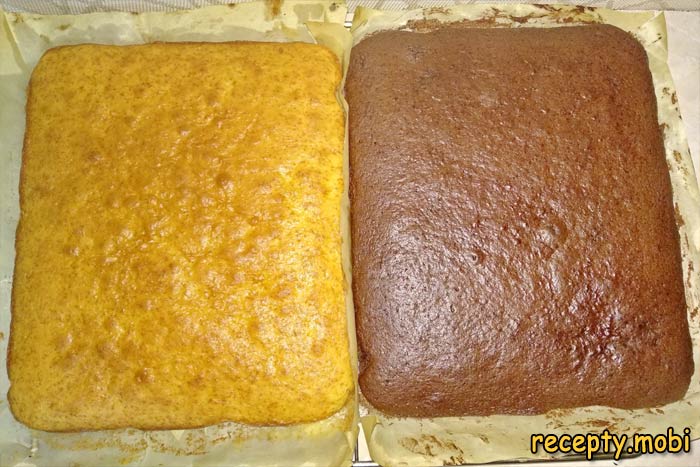
22. Once cooled, trim a thin layer off the top of each cake layer. This evens out the surface and helps the cake absorb the frosting better, making it moist. Start with the chocolate layer.
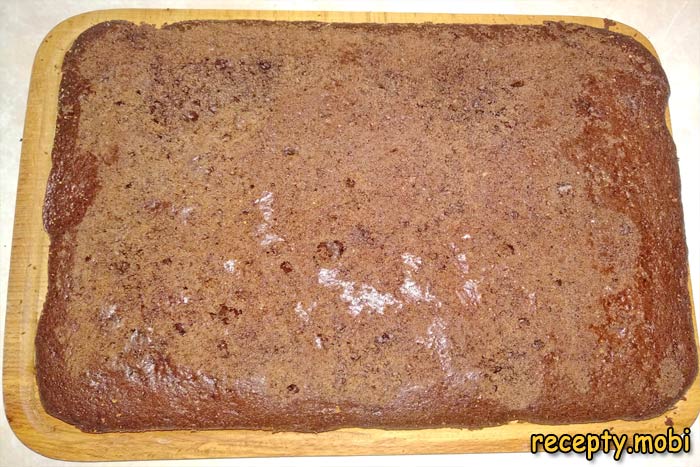
23. Trim the top of the light layer as well. You can now see how soft and porous the cakes are.
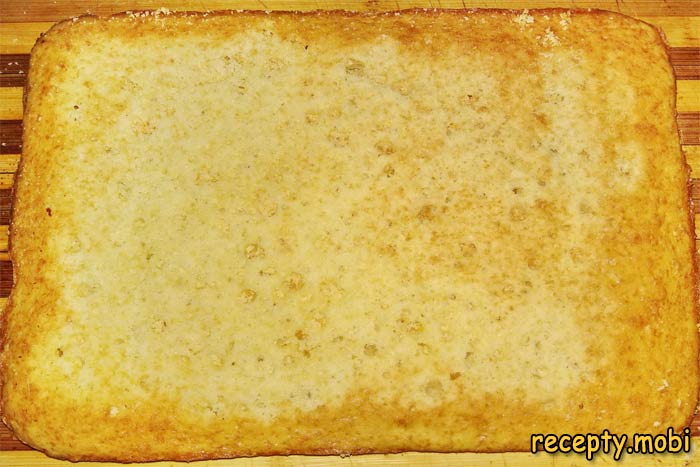
24. Next, align both layers to the same size by placing the chocolate layer on top of the light one and trimming the edges with a sharp knife. Do not discard the cut-off pieces – we will use them later.
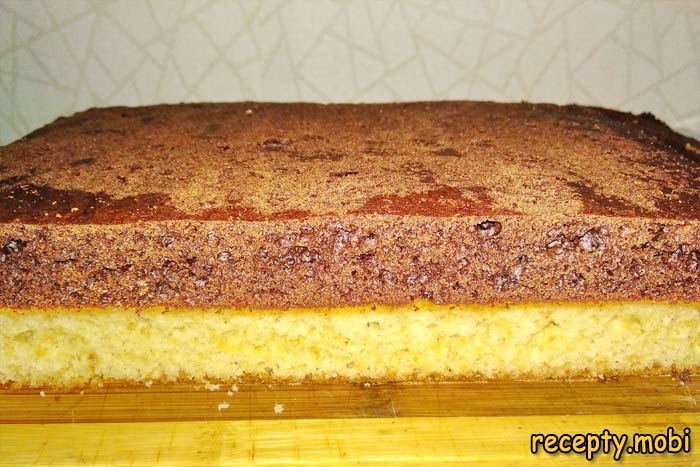
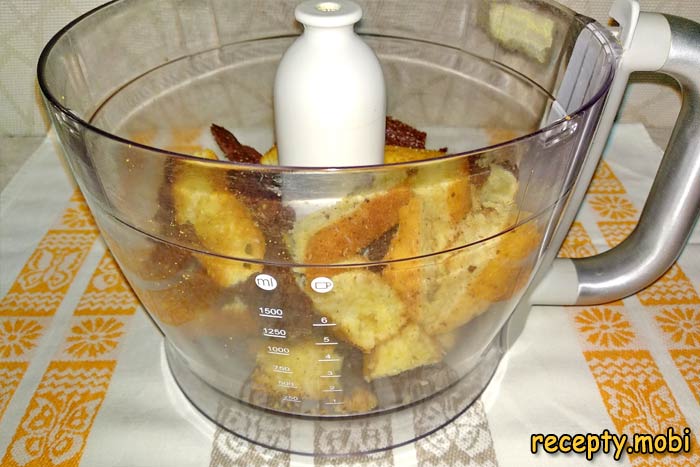
25. Place all the trimmings into a food processor. Alternatively, crumble them by hand.
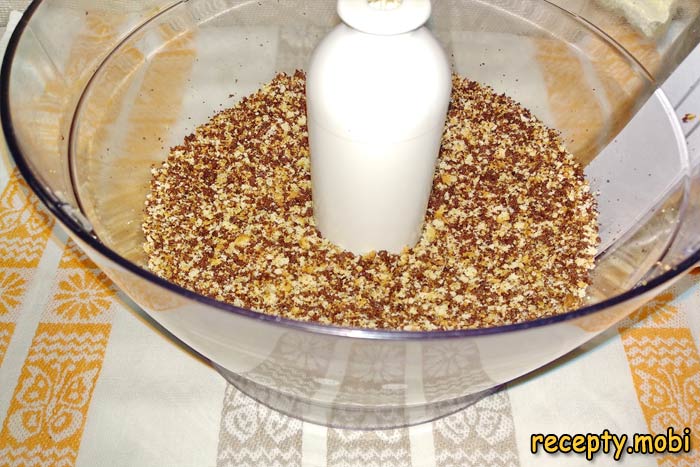
26. Prepare a fine crumb mixture for decorating the cake.
27. For the frosting, you will need sour cream, vanilla, and powdered sugar. If you don’t have powdered sugar, you can make it by blending granulated sugar in a coffee grinder for one minute.
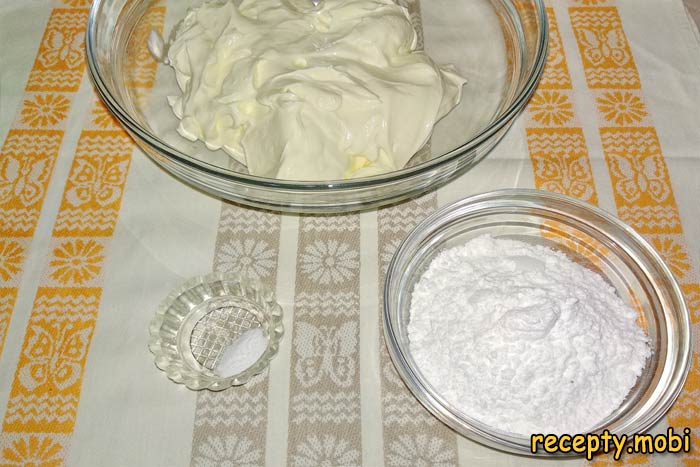
28. Combine all ingredients in a bowl and mix with a silicone spatula. It takes just a minute to prepare the frosting.
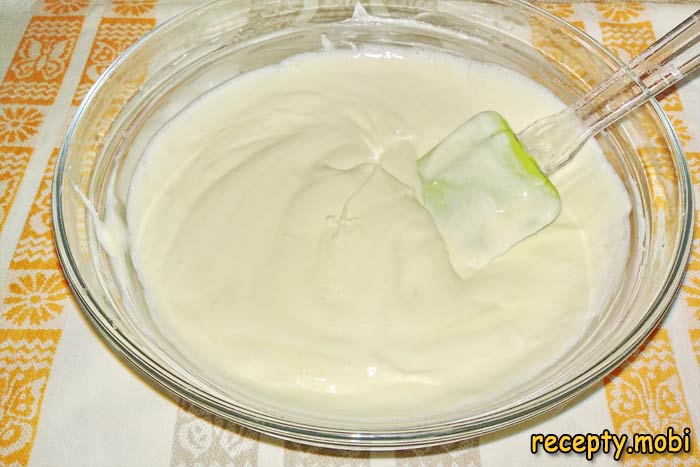
29. Assembling the Cake. The bottom layer of a sour cream cake is always the light one. Place the light cake layer on a serving plate or board. Spread slightly less than half of the frosting evenly over its surface. Gently place the chocolate layer on top without pressing too hard. Cover the top and sides of the cake with the remaining sour cream frosting.
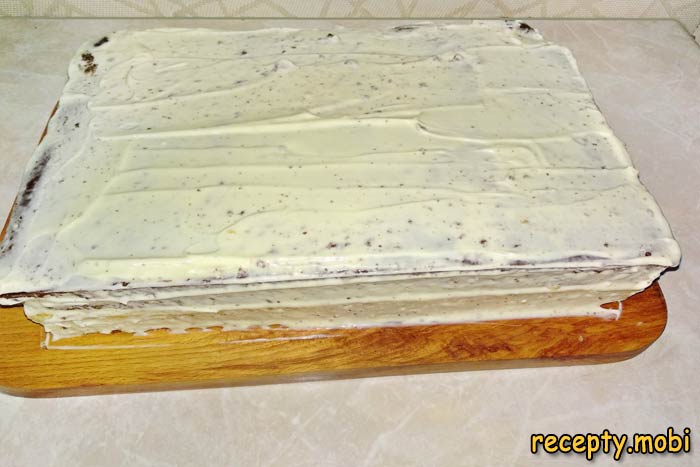
30. Generously coat the cake with the prepared crumbs on all sides. The cake is now ready! Refrigerate for at least 4 hours, but preferably overnight, to allow the flavors to meld. Take the cake out 30 minutes before serving for the best texture.
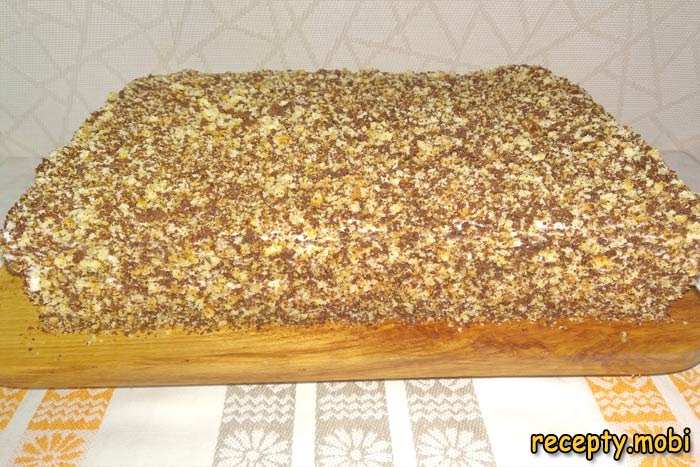
31. You can decorate the cake as you like and serve it whole or cut it into individual portions.
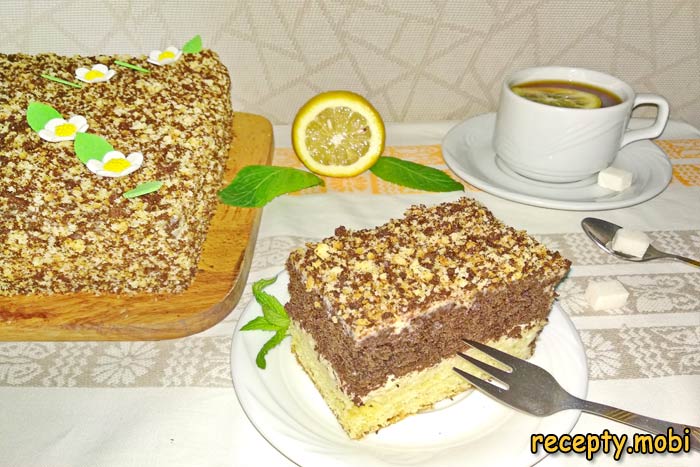
I highly recommend trying this classic sour cream cake recipe baked in the oven. The airy cake layers pair perfectly with the delicate sour cream frosting. This beloved dessert, cherished by generations, goes wonderfully with cocoa, tea, or coffee. No matter which drink you choose, Smetannik will complement it beautifully! ?
