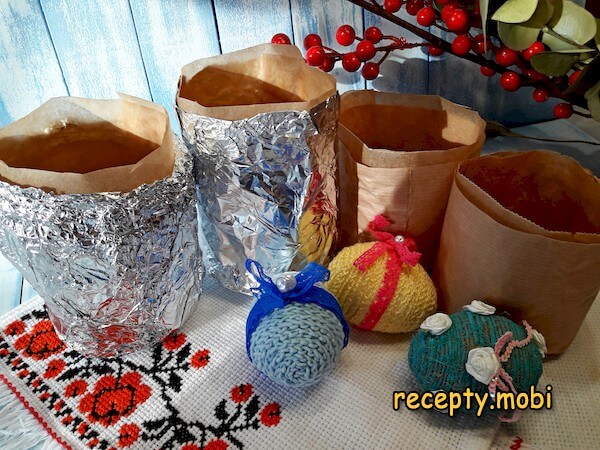
DIY Kulich Mold
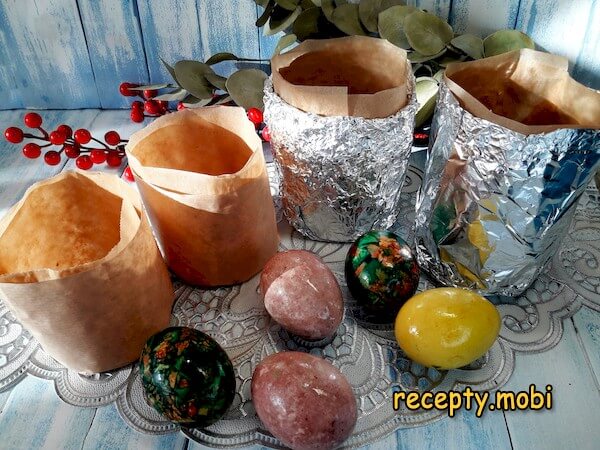
When you find yourself without a baking mold for your kulich and don’t want to venture out to the store, a homemade kulich mold will come to your rescue. This process is so simple that it won’t take much of your time, and the materials are likely already in your kitchen. Below, I’ll guide you through two methods—one using parchment paper and the other using foil.
What You Need for the Job
For both options, you will need:
- the most affordable parchment paper;
- good quality parchment paper with a non-stick coating;
- food-grade foil;
- scissors, a pencil, and a ruler;
- a can of peas, condensed milk, or similar as a template base, along with glass jars of your desired volume (0.5 L or 1 L).
For the Pastry Glue:
- a small metal container for cooking (a mug or a coffee pot);
- all-purpose flour - 1 teaspoon;
- water - 40-50 ml.
Steps for Creation
1. Gather all the necessary tools.
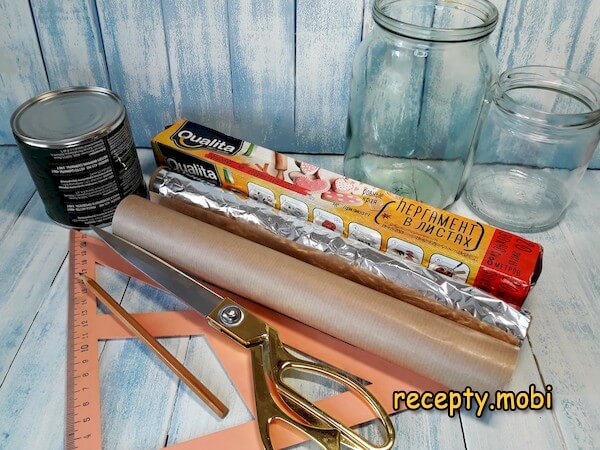
2. Prepare everything for making the glue.
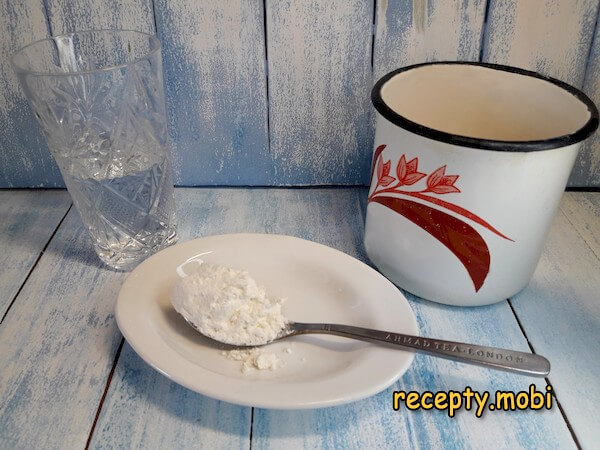
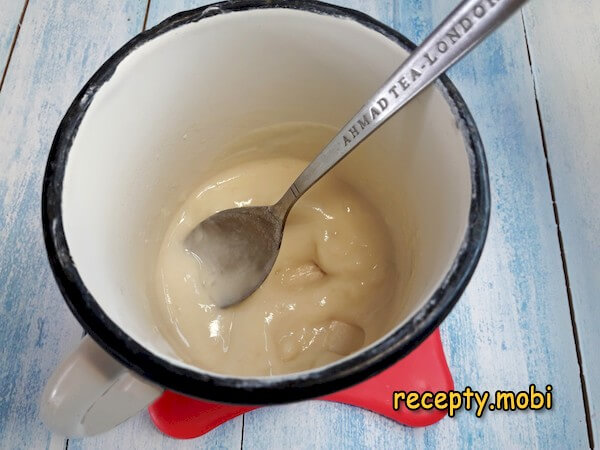
3. Start by preparing the food glue. In your mug, mix the flour with water until there are no lumps.
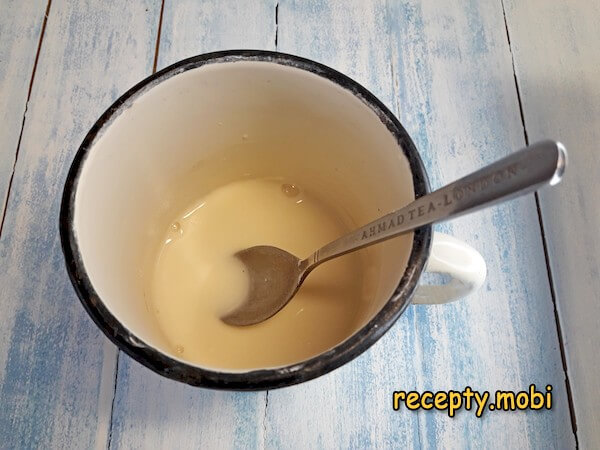
4. Place the mixture over low heat, stirring constantly until it thickens, but do not let it boil.
5. Now, let’s create the parchment base. You don’t need to waste expensive paper; any regular, inexpensive parchment will do. First, measure the height of your mold, adding an extra 2 centimeters. Don’t cut anything yet; just mark it with your pencil.
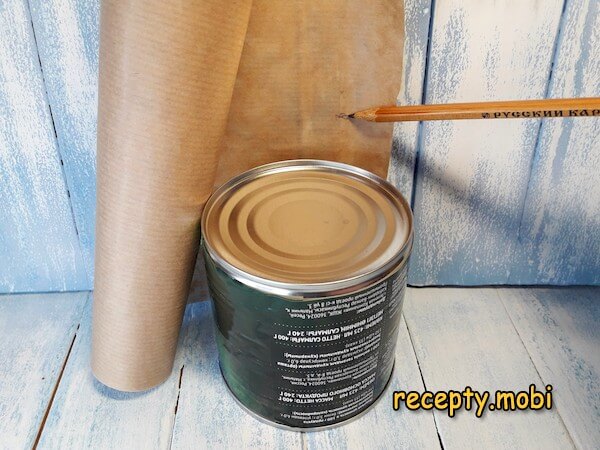
6. Wrap the can with the same paper, adding a small allowance of 2 centimeters—this will be the length of your mold. Mark it and cut to size.
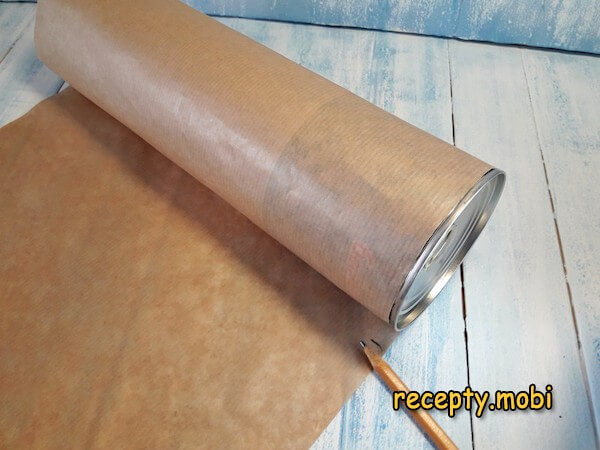
7. Fold the parchment at the mark indicating the height of the can.
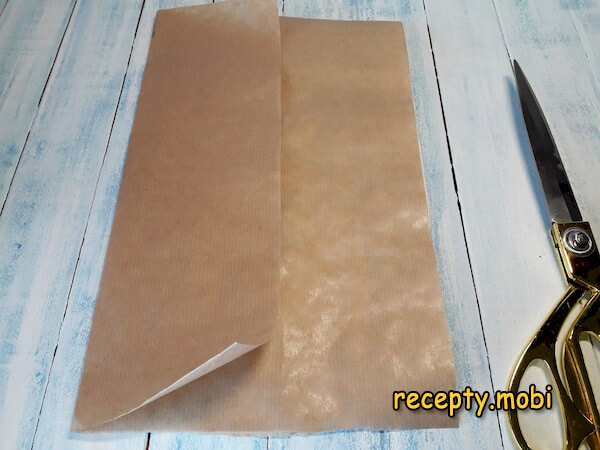
8. Cut out 2 strips.
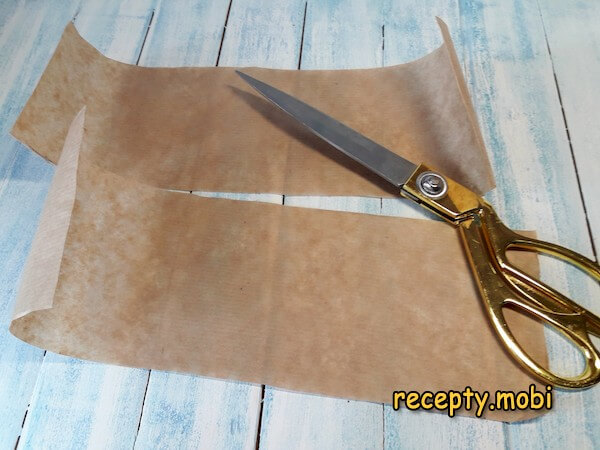
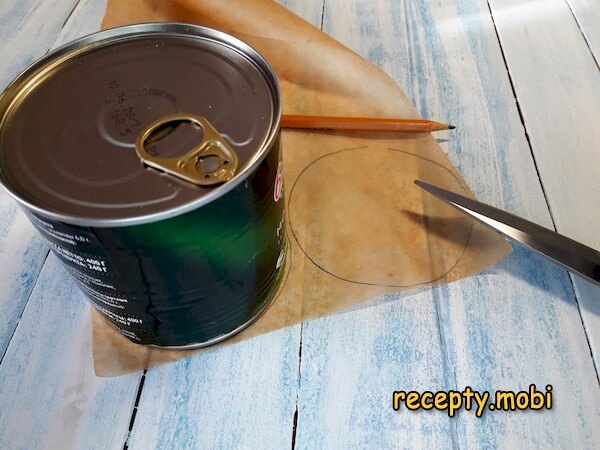
9. On the leftover parchment or on a new sheet, outline the base by tracing around the can.
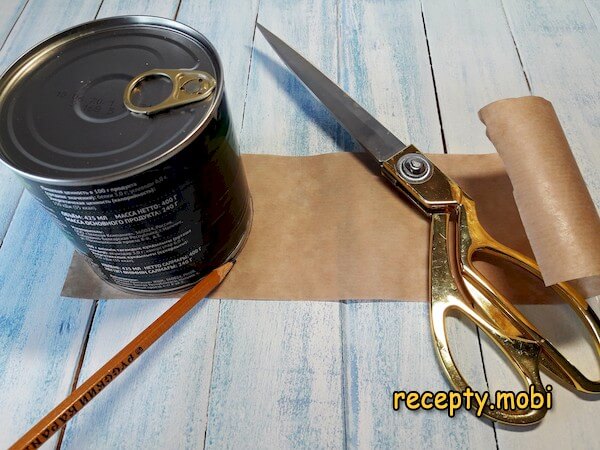
10. You will need double bases, so cut out 4 circles for 2 molds.
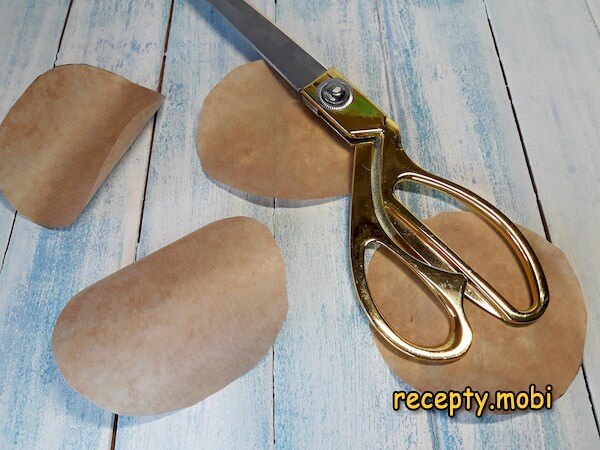
11. Wrap the jar with the cut strip, and use the back of a spoon to spread the paste on the seam.
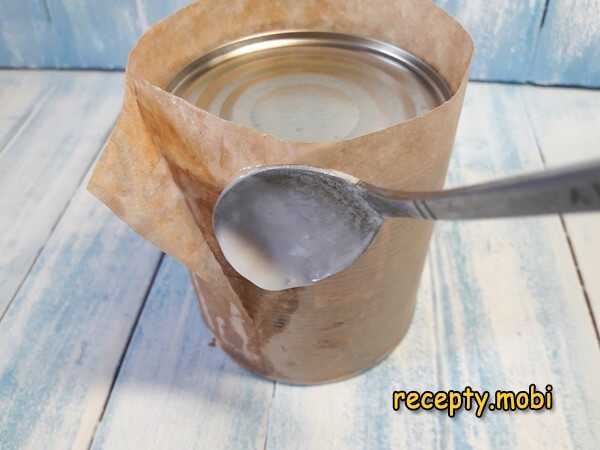
12. Trim the paper edge that extends above the mock-up all around.
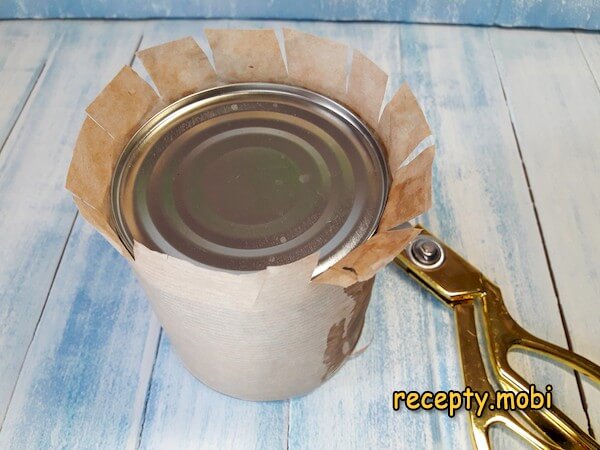
13. Now, fold it down into the bottom of the jar.
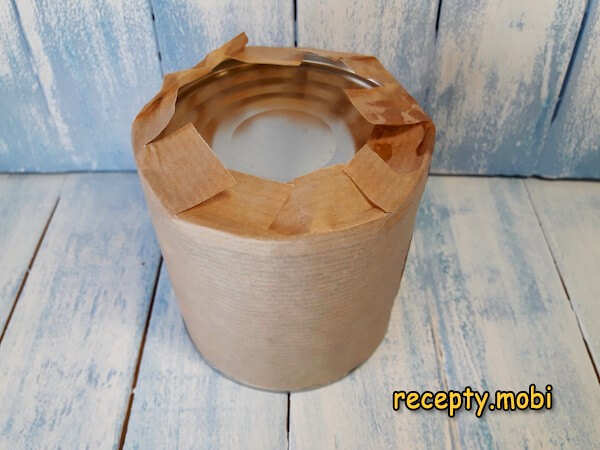
14. Brush the folded edges with paste and place the paper base on top.
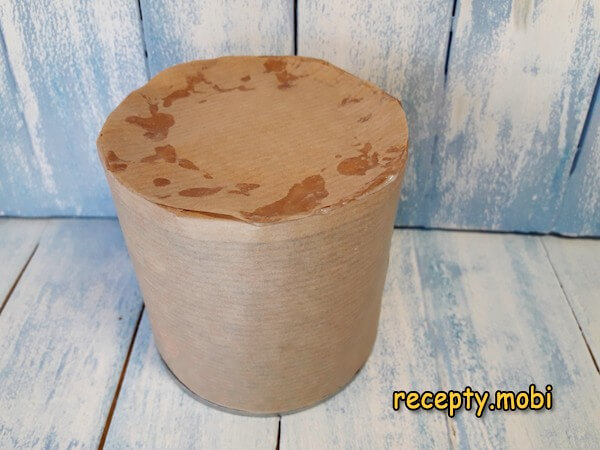
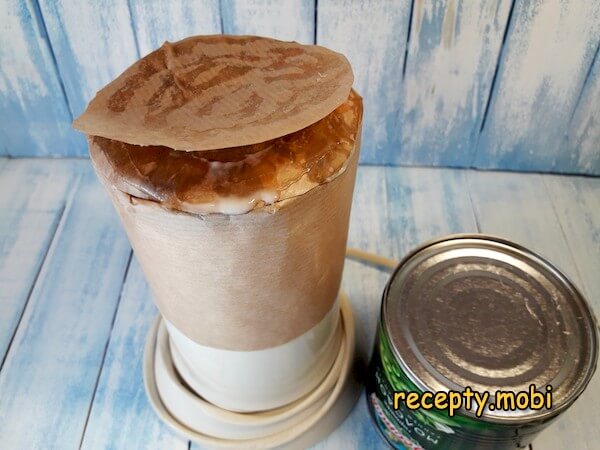
15. Since the bottom of the can is ribbed, it's tricky to smooth out the parchment. If you have a suitable object with a smooth lid of the same diameter (like a coffee grinder or another coffee can), transfer the preparation onto it and gently press down to smooth the base. Alternatively, you can carefully smooth the parchment directly on the can. Then, brush it with food-safe glue.
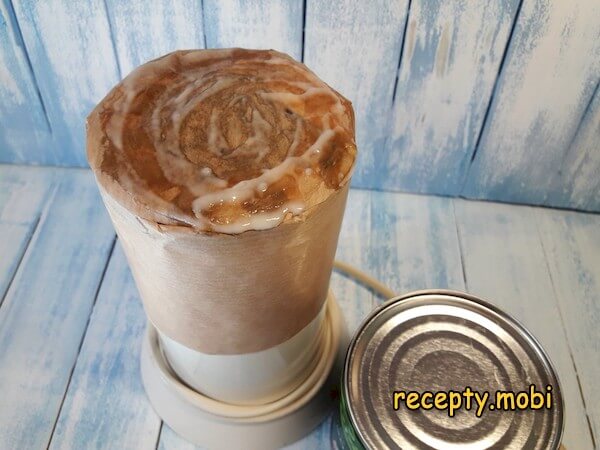
16. Cover the first bottom with the second circle and again well smooth everything. Remove the mold from the layout and dry. This can be done on a battery or in the sun.
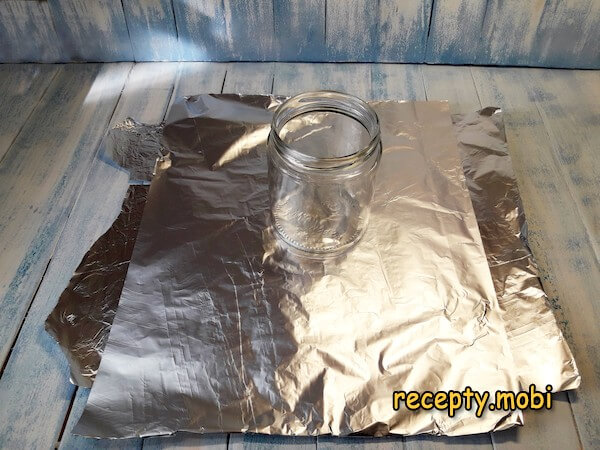
17. While the parchment bases are drying, let's make the foil molds. Measure out the necessary amount of foil by placing a glass jar so that the edges of the foil on both sides extend 2 centimeters above the height of the jar. Cut out 2 pieces like this.
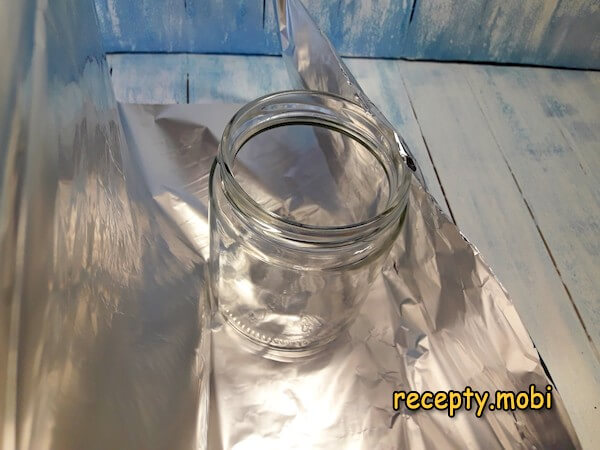
18. Fold the foil in a cross shape and place the jar in the center.
19. Wrap the foil tightly around the jar and fold the excess height outward.
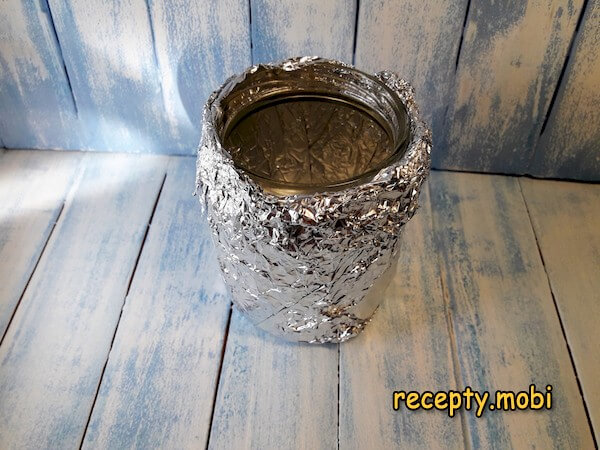
20. Alternatively, you can wrap the jar 3 times with foil directly from the roll, then trim the edge, and fold any excess under the base, pressing it down firmly.
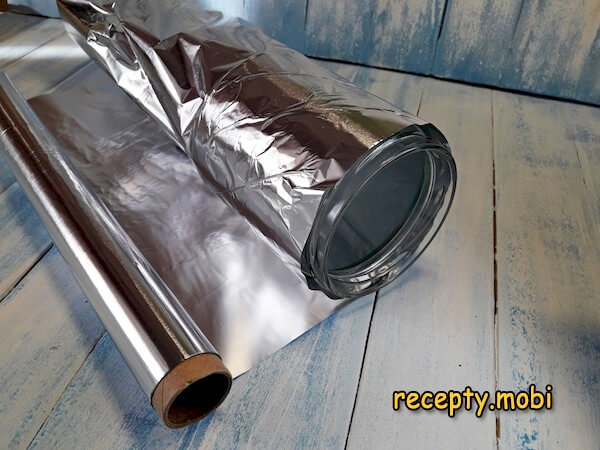
21. Carefully twist the jars to remove them from the foil. You now have nearly ready molds.
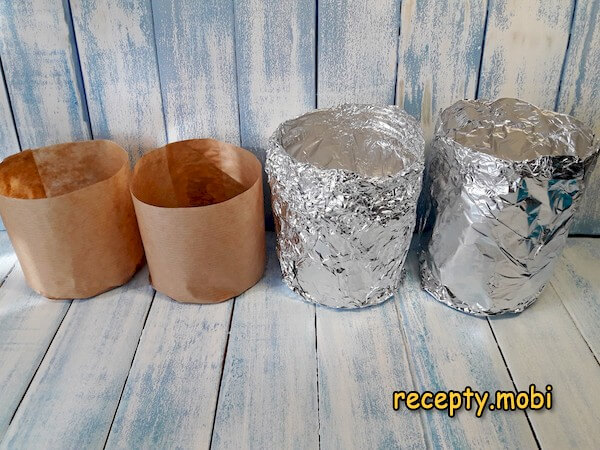
22. Now, let's finish the preparations to ensure nothing sticks during baking and that the molds are easy to work with. For this, you’ll need inserts made from high-quality parchment with a non-stick coating. Cut out 2 bases, tracing around the jar.
23. Place the circles into the mold (you can brush the insert with paste to help it sit evenly in place).
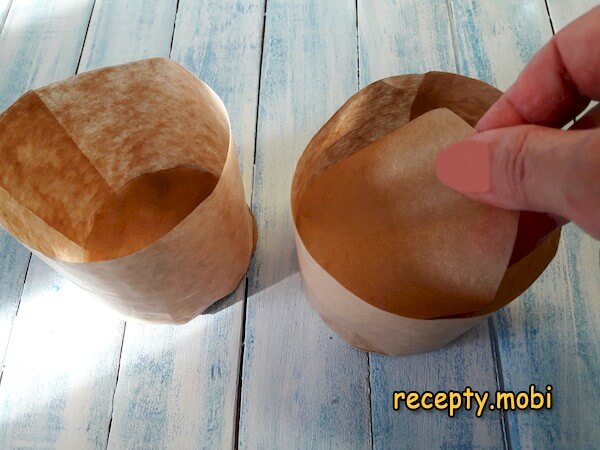
24. Measure a strip of parchment for the walls of the mold, allowing a small extra margin of 2 centimeters.
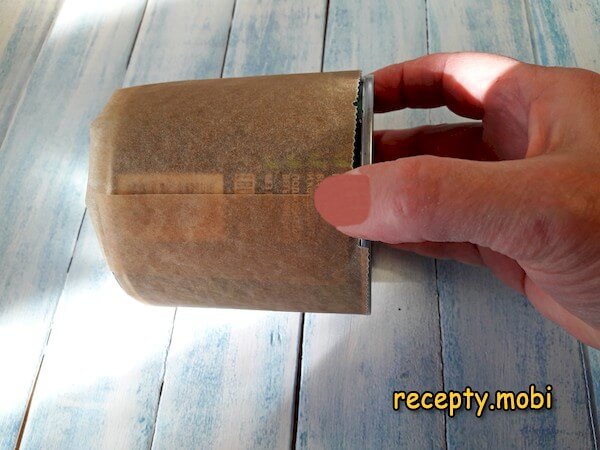
25. Insert this strip inside the mold. If necessary, secure it with a bit of glue.
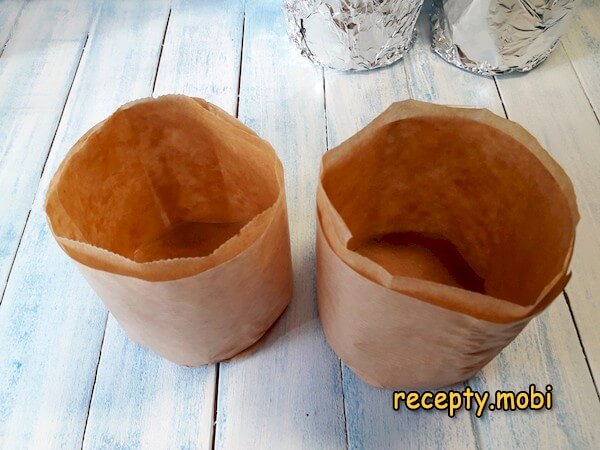
Create similar liners for all molds.
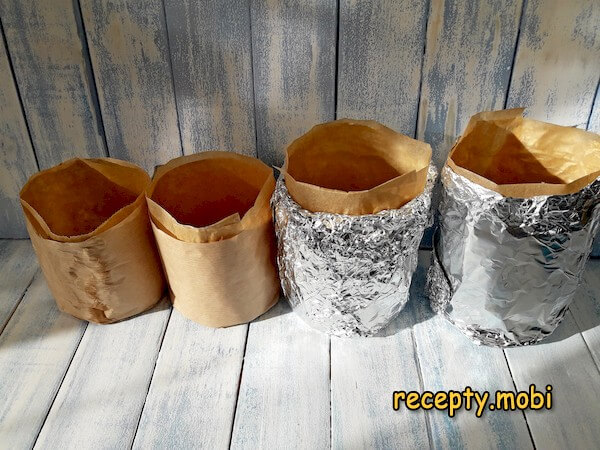
A homemade mold of this size for Easter bread will hold the necessary amount of dough. If your mold has a volume starting from 1 liter, be sure to use several layers of paper or foil to reinforce the structure. This way, you can create the required number of Easter molds in various sizes without spending too much time or money.
